Quilting combines art, utility, and a hint of disorder. I also started to love the idea of three–yard quilts. These beautiful things only need three yards of fabric whilst guaranteeing that the process is stress-free, economical, and quick. The three-yard quilt pattern is perfect for both beginners and experienced quilters, making it ideal for a person like me who has countless projects half done but wants to feel productive.
So let us get started. First, let me assure you that quilting is fun and I’ll be sharing nostalgia from my own experiences with three-yard quilting step by step, and a hint of sarcasm which you barely need to roll your eyes at.
1. How I got into Three-Yard Quilting
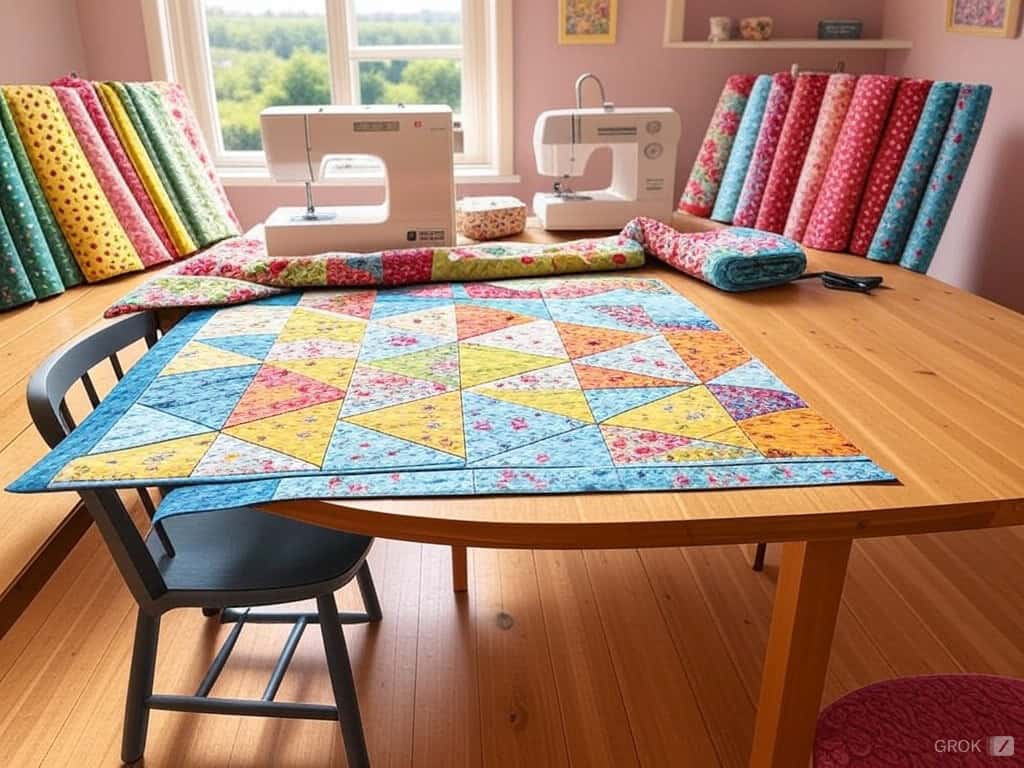
Three-yard quilting, quite possibly, is the quickest and most simple way of completing a creative piece. It is what you call fast food in the quilting; quick, satisfying, and pleasantly surprising. With just three yards of fabric, you can make such an exquisite quilt top in such little time that it is ideal for those fabric hoards that are collecting dust or even for an unplanned gift.
People look for creative ways to cut corners and this is particularly why I love this technique, it is so simple for beginners. The limited fabric choices make the process easy, and the whole thing can be completed in a few hours. The next part focuses on how you can do three-yard quilting and what other tips I found handy in my quilting journey.
2. Gathering My Materials (and My Patience)
To kick things off, here are a few essentials:
Three-yard cuts of fabric: One major fabric and two minor supporting fabrics are what you want. Three-yard quilt patterns simplify fabric selection and provide a variety of design options, making them suitable for both beginners and experienced quilters. Aim for dresses made from big patterns but try and avoid tops as they make you the center of focus which is embarrassing.
Rotary cutter and mat: To make accurate cuts. Scissors are not going to work (sorry for the joke).
Ruler: Ideal is a clear and non-slipping ruler. Trying to eyeball it as I have done before is not a good idea.
Sewing machine: Or hand cramps unless you want to make this your best friend.
Ironing: Yes, it is necessary. No, you cannot miss it. I have made that attempt… the creases in the seams say it all.
Once, I ran out of thread and used whatever colors I was able to find – which didn’t match at all. Well, my quilt turned out to be like something created by an abstract artist… not what I was going for. In fact, it is advisable to go through your supplies before you begin the work, the time you will curb will be well worth it.
3. How I Select Fabric Like A Boss
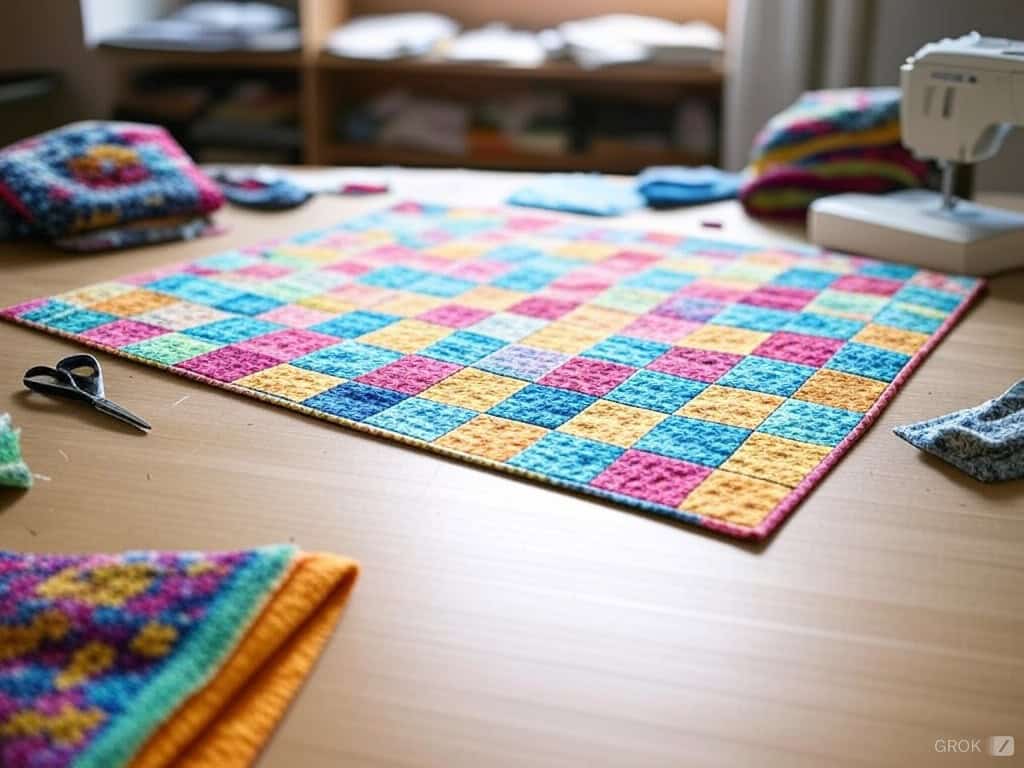
Selecting the fabrics is where the fun starts. But first, start with your focus fabric, which is the star’s character which should be the first fabric towards which you will center the other fabrics. I once tried to combine floral stripes and polka dots, which was a very bad decision.
I would say it was daring though. It did not pay off, however. Select single and stacked patterns instead or a triad of colors (that’s a bunch of twelve evenly spaced hues on the color wheel.) To be on the safe side, small to medium-scale dies are a good starting point. A white background can enhance the visibility and appeal of your design elements by creating a striking contrast with other colors.
If you’re unsure about the colors to choose, try putting your pieces together under bright light. I remember this one time I was trying to mix neon green and mustard yellow, light almost got me into huge trouble.
4. Choosing a Quilt Pattern, My Way
There are so many things I love about quilting, but my favorite part has to be the patterns. They’re the language that beauty in every quilt speaks. As it stands for my bag of three-yard quilt, choosing a quilt pattern is such a tone-setting moment and it determines exactly how the project is going to go.
With so many options to choose from, most people enjoy the variety but at times I find it like an adventurous seeking a lost needle in a gigantic haystack. But I have concluded that: match the quilt pattern with its intended dimensions, your fabric, and the piece’s complexity, then you’re set!
That is why for me, the best way to start is to search for patterns that come amusingly as a set: a proper index and pictorial guides to further clarify everything. They do not allow me to think overboard when it comes to completing one stitch.
Log Cabin Classic, Sawtooth Star, and Nine-Patch need no introduction, they are easily among my go-to patterns. It is quite spectacular how every piece crafted from different fabrics has a character and wow factor when these patterns are implemented. Patterns are essentially the last puzzle when it comes to quilting but for me, they’re about conviction and the beauty of an idea visualized.
5. Cutting – The Step I Value Most
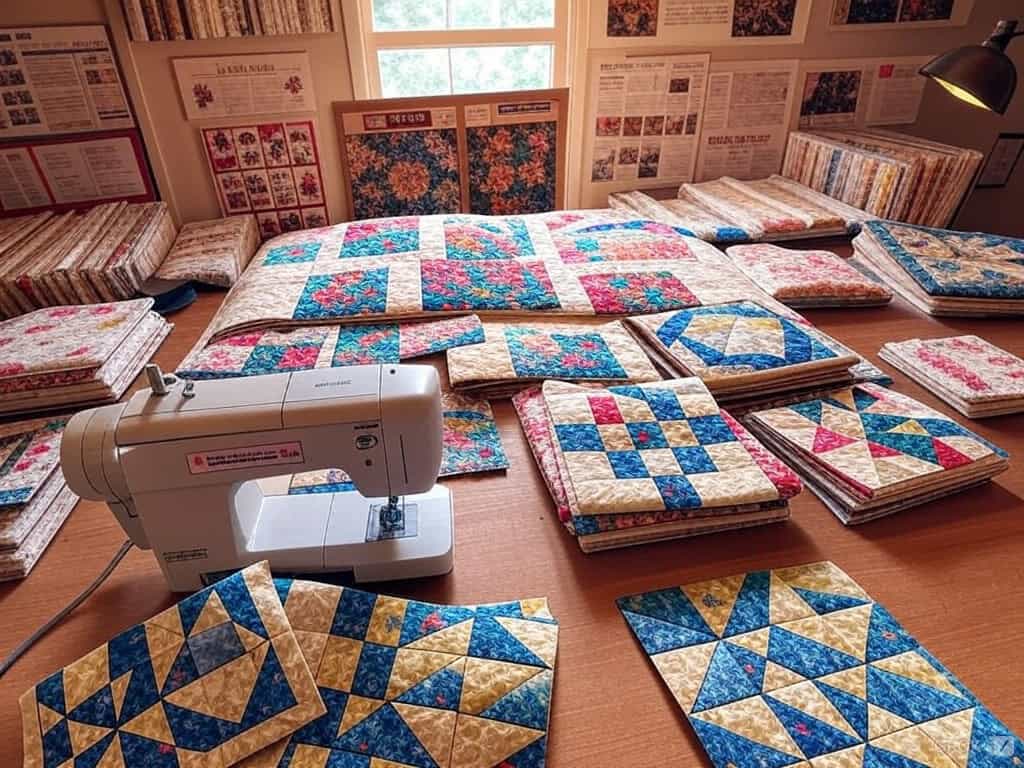
This is the point where I put down my ruler and grabbed the rotary cutter because this was the best moment. Select a pattern, then cut your fabric slips with that pattern in mind. Half-square triangles are essential in constructing various quilt designs, so consider them when planning your cuts. If you are anything like me then this will become a cycle. You are advised to measure twice and then cut, or in my case, take a single measurement, cut twice, and then sigh.
Time-saving cuts are both economical and reasonable. Start with cutting your strips or end cutting them, this point doesn’t concern us. The point I wish to drive home is to always ensure your strips are aligned before cutting and to save even more time, number your pieces. I made the mistake of not numbering them once, I forgot it was conservatively engaging to play puzzles at midnight.
Start placing tape with the dimensions mentioned according to your materials on the ruler so you don’t mess it up at all because repeating cuts can become messy really quickly.
6. How I Assemble Quilt Blocks Without Stress
My first step is putting together the quilt blocks and whether it’s a simple nine-patch or a rail fence block I always maintain consistency. Chain piecing, attaching the pieces in a single row sews them greatly optimizes the time taken to make it which saves a lot of time. Believe me, it is a new thing. Just remember to avoid situations where you might sew yourself in a corner. (Yes, it is something that I have gone through.)
With my sewing, I also iron my seams as I sew them, sort of like giving my quilt a mini spa and allowing the whole assembly to come together quite nicely. From my experience, I think it is better to press the seams toward the darkest side of the fabric which helps in concealing any dark shadows which might appear on top of the quilt. The pattern consists of detailed instructions and templates that are very easy to follow allowing the entire process to be both easy and fun.
7. Giving My Quilt a Polished Look with Sashing and Borders
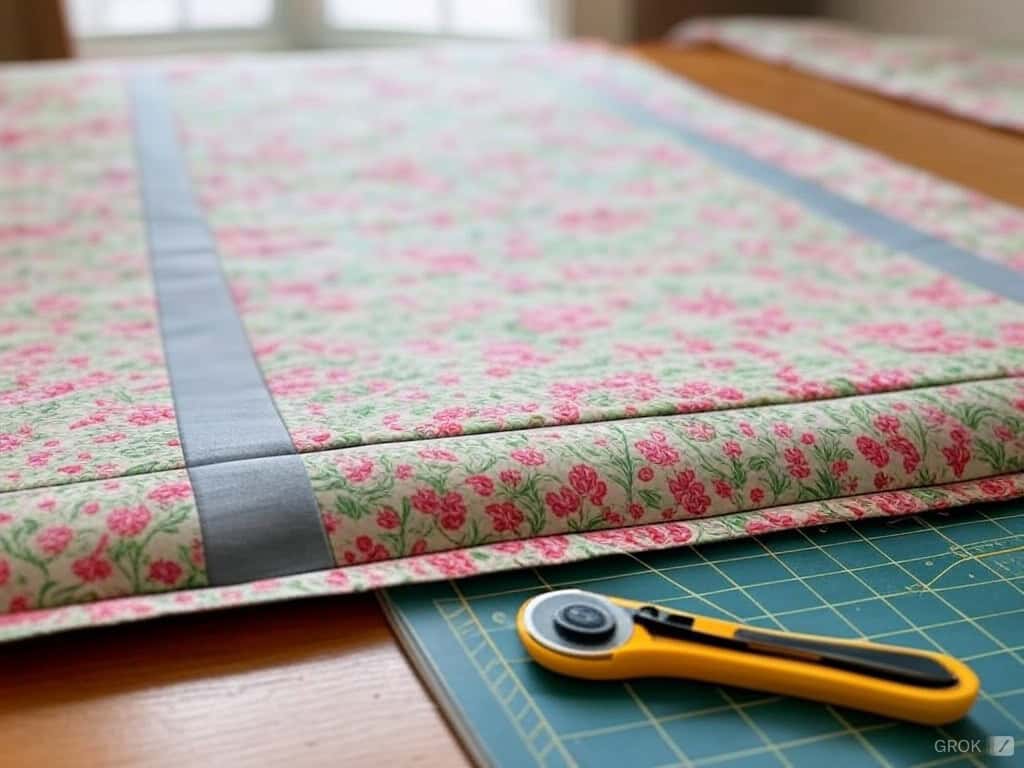
Let us look at the sashing and borders of your quilt as this would bring out some character. In my opinion, sashing is those long strips of fabric used for separating the quilt blocks while borders are for enclosing the entire piece. Together, they give a more accentuated design, bounding it and giving it that finished feel.
When I select the sashing and the borders of a quilt, I consider its color, pattern, even its width, and that of the strips as well. Well, I prefer sashing about 2-3 inches wide and the borders about 4-6 inches wide – sounds about right. Of course, I always work with a rotary cutter and mat because accuracy is important when creating a quilt, I always press seams. It aids tremendously in obtaining the end product’s neatness with crisp edges and surfaces. Trust me, your quilt will appreciate the attention to detail!
8. How I Arrange, Sew, and Enjoy
Put your blocks on the table and finalize the design. Once I allowed my puppy to help me with this stage. Bad idea. Always position your blocks strategically so the colors and patterns interlink well. The finished quilt will showcase the final dimensions of your design.
Attach corresponding seams while sewing rows. This is the stage where you develop patience and perhaps create other new contemporary words for situations when seaming does not match. If you like to add a border then go ahead. These are the frames for your artwork. Measure accurately, look for wavy edges, and pin everything so that it doesn’t move too much.
9. Putting It All Together with My Quilting Skills
Let’s get everyone’s favorite part done, quilting, whether it’s your first quilt or your 100th quilt, you can either hand quilt or machine quilt. I have attempted free-motion quilting before but most did not turn out as well as I like and instead looked like haphazard spaghetti. Beginners can simply start off using a simple grid or even a meandering stitch.
You can add more polish to your quilt through the use of double-fold binding and that is what I personally use all across my projects to sew the edge of the quilt. Then just mitre the corners and boom, your quilt is finished! If you want to go the extra mile, you can even add a custom label on the back of your quilt to make it more personal.
10. Customizing My Three-Yard Quilt
What excites me the most about three-yard quilting is that I can always add my little signature to every piece. It could be selecting a particular fabric, adding a more decorative border, or placing a quilt block that signifies something special to the person, it’s all about customizing.
I’ve also had fun trying out techniques such as free-motion quilting or even hand quilting to give the quilt a distinctive feel. What I appreciate about quilting is that there are no definite principles that must be followed; it is all about the idea and its application. So go on, make your quilt an extension of yourself, and enjoy every stitch you make!
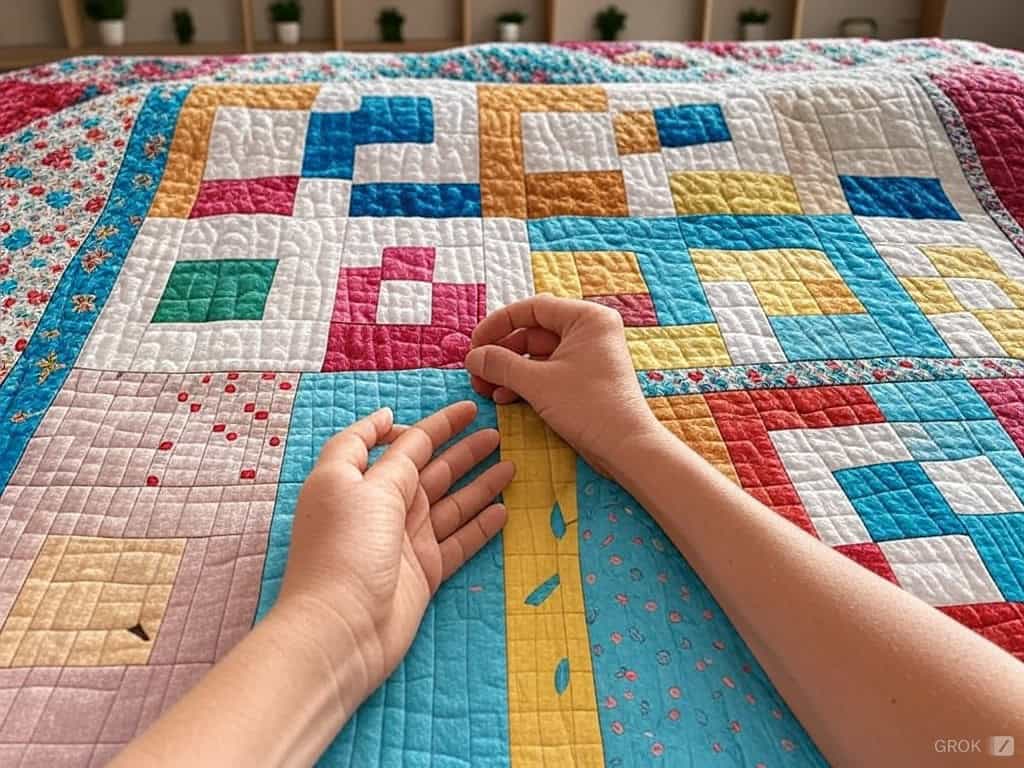
11. Troubleshooting Tales – Learning from My Fails
- Got trouble with seams? Then use tons of pins for added security.
- Are your borders looking slightly wavy? If yes then quit worrying and measuring your quilt top in different spots and take the average.
- Did you run into some batting issues? Then use the correct thickness for instance my winter quilt became basically a sauna when I bundled it up using thick batting.
In case everything fails just do not worry, embrace it. Quirks in quilts are what makes all of them special, life isn’t perfect either. Consider using a free pattern to simplify your quilting process and create beautiful, eye-catching quilts.
I’ve Learned That the Journey is Just as Important as the Quilt Itself
The process of making a three-yard quilt can be seen as chaotic at times when in reality it is just the creative and learning process one goes through until they finally have the cosy quilt made specifically for them. So what are you waiting for, add the fabric into the sewing machine and begin! Making mistakes is part of the journey so don’t worry too much about it, it all falls under the category called ‘artsy’.


