When it comes to Native American cultures, the of crafting traditional bags, such as four-corner bags, has been passed down through the ages as art in the community.
And it is still as beautiful as ever. Traditionally, they were crafted from natural materials like animal hides, woven plant fibers, or quality cloth. Today, however, modern materials like fabric, leather, and suede are more popular and commonly used.
If you are planning to create these bags to further your art of sewing as, it allows both beginners and experienced crafters to engage in a meaningful practice. Here is everything you need to know and do in this guide.
Sounds Good? Great, let’s begin!

1. Preparing Your Materials
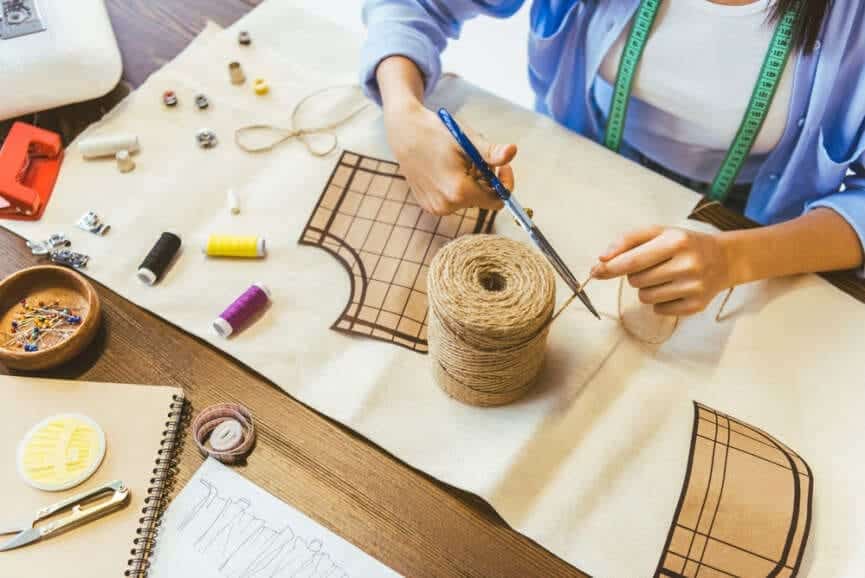
Before we begin that process, you need to prepare the core essentials—namely, Fabric or Leather, Theard, Needles, Measuring Tools, and Scissors.
While assembling the core components and things, each has some rules you should keep in mind.
1. While choosing your material, keep in mind the intended use and the style you want to go with, as different styles have different pros and cons, for example, the traditional pros may opt for leather or suede, while contemporary crafters often use fabric in various colors and patterns.
2, While selecting the tread you wanna go with, Select a strong, durable thread that complements your chosen material and fabric you are going to use. Maybe consider nylon thread for leather and cotton or polyester for fabric.
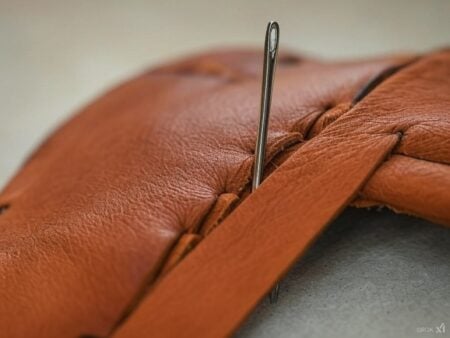
3, When it comes to needles, remember leather requires thicker needles, while fabric is better suited to finer needle usage.
4, For the measuring tools, you only wanna go with the trusted ones, have a proper ruler and not a fancy one, measuring tape, sharp but comfortable and specific fabric chalk or markers on hand. It will directly affect how accurate your measurements and cutting will be.
2. Step-by-Step Guide to Sewing a Four-Corner Bag

2.1 Design and Measurement
Let’s Begin by designing your four-corner bag, as different hearts want different things. So, begin by determining its size, shape, and any particular decorative elements you like to add to the design. Just sketch your design on paper as a reference. Start by measuring and mark your chosen material according to your design.
Note: Remember to account for seam allowances.
2.2 Cut the Material
Now it is time to cut the material for your bag.
Begin with your measurements and markings in mind. Now, carefully cut out the pieces and components for your bag.
Here you wanna remember, one will typically need two identical pieces for the front and back and two pieces for the sides. so, get them both.
2.3 Sew the Sides
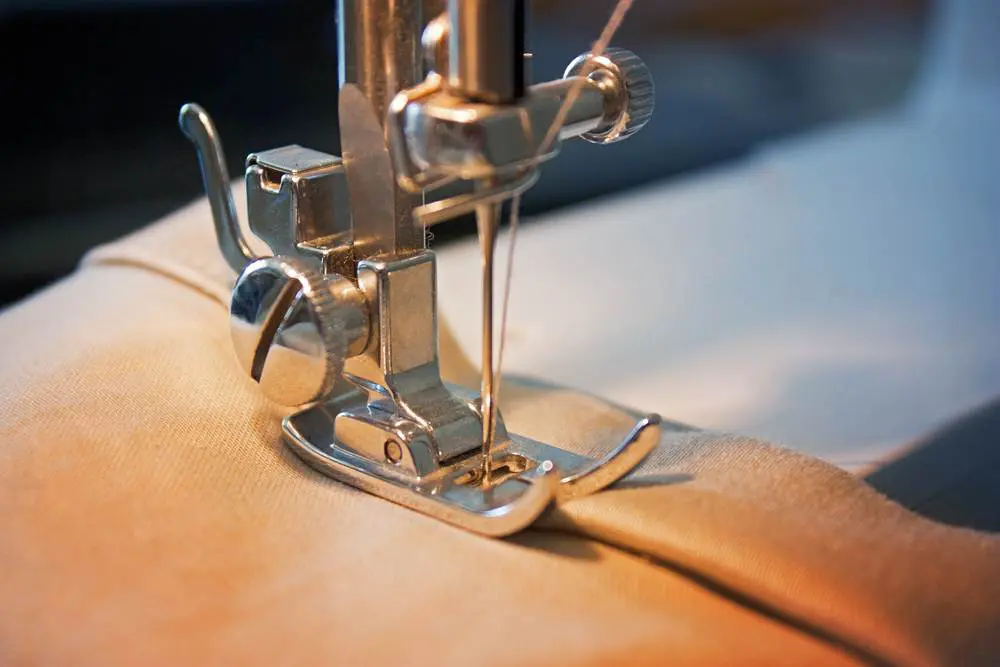
It is to Sew, First, Take one of the side pieces and align it with the front piece, right sides facing each other. Pin them together along one edge. Second, now, using your chosen thread and needle, sew along the pinned edge, creating a straight seam. Ensure your stitches are secure and evenly spaced. And of course, repeat this process to attach the other side piece to the front piece.
2.4 Attach the Back
Okay, now, it’s time to attach the delicate piece together for the base frame, so attach the back with the front and sides assembled. It’s time to attach the back piece.
Align the back piece with the unattached edges of the side pieces, right sides together. Now, Pin and sew along the edges, leaving the top open for now. If everything went well… you got yourself a proper structure for your bag.

2.5 Create the Four Corners
Okay, this one is straightforward: first, to transform your bag into a four-corner bag, you’ll need to shape the corners. Flatten one of the bag’s corners, aligning the side and bottom seam. Second, Measure a distance from the corner, typically about an inch, and mark it.
This will be the depth of your corner. Now, carefully sew across the corner, perpendicular to the side and bottom seams, starting and ending at your marked point. This will create a boxed corner.
Finally, repeat this process for all four corners, ensuring symmetry and uniformity.
2.6 Reinforce Seams and Trim Excess Material
finally, it is reinforced to ensure quality. First, to strengthen the seams and enhance the bag’s durability, sew additional stitches along the existing seams. Second, trim any excess material from the corners and seams, leaving a clean and tidy finish.

2.7 Decorate and Personalize
Okay, now, for the fun part, if your design includes straps or handles, it is time to sew them securely to the bag. One thing is to keep in mind: Placement and style may vary depending on your preference but you still don’t want to deviate from the standard practice too much, though it can be tempting.
Also, suppose you enhance the visual appeal of your four-corner bag by adding decorative elements, such as beadwork, embroidery, or traditional patterns here. In that case, you want to properly infuse your unique style into the cultural identity of the bag.
Basically, it should look and function like a bag properly; don’t create something that is hard to carry and does not have extra space for those emergency kits.
2.8 Final Touches
Finally, to complete the quest, begin with properly Inspecting your completed bag for any loose threads or imperfections. Trim any stray threads and make any necessary adjustments.

Conclusion
The four-corner bag in Native American cultures comes in various ways, each tailored to specific purposes: Utility Bags, ceremonial Bags and Regalia Components (which is something traditional dancers often wear as part of their identity).
Thus, mastering the art of sewing a four-corner bag is not just a creative endeavor you can do in your free time. It is, in fact, a way to honor and preserve Native American traditions.
Hopefully, you were to get answer to the question of how to sew a four corner bag ? With our blog assure you get four corners in no time. Whether you are making linen bag, waste bag, triangle bag, boxed corners box with bottom corners or other craft projects.


1 Comment
I found this guide on sewing a four-corner bag truly captivating. It beautifully explores the traditional art passed down through Native American cultures, emphasizing the use of both traditional and modern materials. The guide’s comprehensive approach makes it accessible for both beginners and experienced crafters, providing a meaningful practice for those interested in the art of sewing.