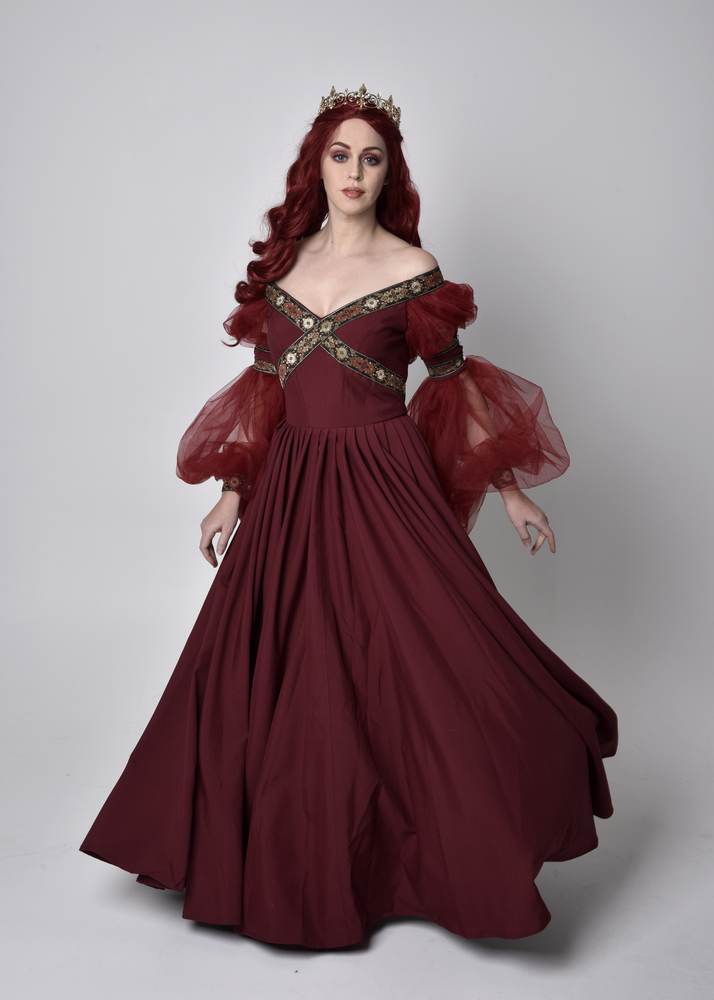
If you are looking for something that could instantly add a touch of elegant bohemian style then bell sleeves are the one of the best things you add to your garment.
No matter what you are dealing with, reviving an old piece of clothing, making changes in sewing pattern, or creating something new, sewing bell sleeves can elevate effortlessly while adding a unique flair.
In this blog essay, let’s go over the material and tools as well as a step-by-step guide on how to sew successfully.
1. Materials and Tools
Before diving into the sewing process, gather all the necessary materials and tools:

- First of all, begin by choosing a quality fabric that suits your project well. Recommended ones are a lightweight chiffon for a flowy blouse or a cozy knit for a sweater.
- Second is the sewing pattern guide. You can either use an existing pattern that comes with a sleeve, or just create your own with the help of the internet, as we’ll discuss later in this guide.
- Third is of course the sewing machines.
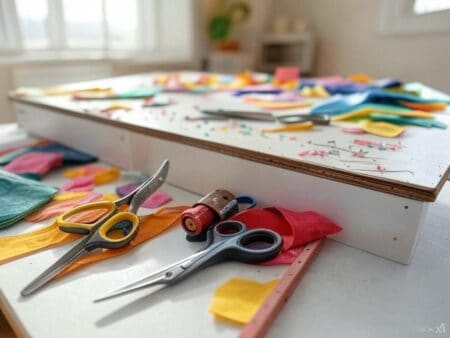
- Then comes the tools you need. These are threads, scissors, pins (particularly straight pins), Measuring Tape, seam ripper (In case you need to undo any stitches) and Iron and Ironing Board to press seams and achieve a polished finish.
Okay, Now that you know everything you need, let’s go over the step-by-step process of sewing bell sleeves.
2. How To Sew Bell Sleeves – Step by Step
2.1. Select or Create a Sleeve Pattern
Alright, First step is all about the pattern. For this you have two options–Namely: using an existing pattern or create your own. Here’s what you need to keep in mind for both.
While choosing the bought pattern, you wanna choose a sewing pattern that has a sleeve blouse or dress pattern. Either way you should go with a sleeve style.
On the other hand if you are creating your own pattern.
Start by taking the sleeve piece from your chosen pattern. Now, decide on the length of your bell sleeves. Recommended three-quarter, or full length.
For added drama you can also extend the sleeve width.
2.2 Cut Out Your Fabric
The second step is where you begin to cut out your fabric, once you have your modified sleeve. Follow these steps:
First, place your pattern piece on the fabric, making sure that the fabric’s right side faces each other properly.
Then pin the pattern piece to the fabric to keep it in place. Now it time begins cutting by using sharp fabric scissors. following the outline you set, Just carefully cut around the pattern piece.
You wanna make sure to remember to cut two identical pieces for each sleeve. Also the same goes for bell sleeves that are typically symmetrical.

2.3 Attach the Bell Section to the Sleeve
Okay, it’s time to attach the bell section to the sleeve. Here the step you have to follow ;
One, begin by properly placing the right sides of the bell section and the sleeve together.
Two, now pin them along the bottom edge of the sleeve.This is to ensure that the gathers (if gathered) are evenly distributed.
Three, Here you wanna adjust your sewing machine to the regular stitch length and begin the sewing process just below the gathered line or along the edge if you didn’t gather.
Fourth and final step, If your sewing machine has an overcasting stitch here you wanna use it to finish the seam.
Otherwise, you can go with a zigzag stitch that will prevent fraying.
2.4 Finish the Seams
Alright, On to the fourth step!

Once you finish properly sewing the bell section to the sleeve. As it’s essential to finish the seams to give it a clean and professional look:
First up, If you have a serger here you wanna use it to properly finish the raw edges of the seam.
One thing to keep in mind here; if you are using a serger helps you create clean enclosed seams.
And in the case if you don’t have a serger? Then you wanna use a zigzag stitch along the raw edges to prevent fraying.
2.5 Iron and Press
Next up the fifth step, which is all about the Ironing and finishing press process to achieve a polished finish. Here’s the thing you should keep in mind when following the steps.
you wanna follow these steps:
First of all, when Ironing the seam allowance upwards towards the sleeve’s top. And carefully press the entire sleeve to ensure it lays flat and has a neat appearance.
2.6 Complete the Garment
Finally step 6, Now that your bell sleeves are attached properly.
Here you follow the remaining instructions of your sewing pattern to complete the garment. This might involve sewing side seams, adding closures (buttons, zippers, etc.), and hemming the garment.

Conclusion
sewing bell sleeves can be a very rewarding and with by following our guide above you can get it instantly. Whether ita basic sleeve block step or wide bell sleeve step, you will confidently create your bell sleeves while mastering the bell sleeve start technique to refining the outer edge.
Did our guide help you out or did we miss something? We love to read the answer! Let us know you opinions or insights in the comments below.


8 Comments
Your tutorial on sewing bell sleeves was exactly what I needed. The sleeves turned out beautifully, and I’m so pleased with the results. Thank you for sharin information
Your tutorial on sewing bell sleeves was exactly what I needed. The sleeves turned out beautifully, and I’m so pleased with the results. Thank you for sharin information
I found this blog essay on sewing bell sleeves quite informative and inspiring. The detailed guide on materials, tools, and the step-by-step process, especially choosing a quality fabric and creating or selecting a sleeve pattern, is well-explained. As someone relatively new to sewing, I appreciate the clear instructions and tips provided, making it easier to envision adding a touch of elegant bohemian style to garments effortlessly.
The article is geniunly informative , It really helped my sister as she was seaching about how to sew the bell sleeves , the article explanied every minute element in very detailed manner , it is a quick guide to sew the bell sleeves .
This comprehensive guide on sewing bell sleeves provides a valuable resource for both beginners and experienced sewers. The step-by-step instructions, accompanied by clear visuals, make the process accessible. The emphasis on choosing quality fabrics, using proper tools, and finishing techniques contributes to achieving a polished and professional look. The inclusion of alternatives for those without specific tools, such as a serger, adds practicality. Overall, this guide offers a rewarding journey into mastering the art of sewing bell sleeves, enhancing garment customization with a touch of elegant bohemian style.
Wow, what an informative article! I’ve always been fascinated by bell sleeves but never knew where to start when it comes to sewing them. This guide has truly covered everything I need to know. The step-by-step instructions and helpful tips make it feel so much more accessible. I can’t wait to try my hand at sewing bell sleeves.
Both novice and seasoned sewers will find this thorough tutorial on bell sleeve sewing to be a useful resource. The technique is made accessible by the clear images and step-by-step instructions.
Convenience is increased by providing options for those without specialist tools, such as a serger. All things considered, this course offers a fulfilling path to becoming proficient in the art of sewing bell sleeves, which adds a lovely bohemian flavor to clothing customization. What a fascinating piece of writing! Bell sleeves have always drawn me in, but I’ve never understood how to start sewing them.