When it comes to a handy accessory that everyone needs but nobody wants to carry because of how much it ruins one carefully selected aesthetic look and vibe, there is no bigger culprit than a water bottle holder.
Now, a water bottle holder offers not only convenience and accessibility, but also the assurance that your drink, whether typical water or not, is always within reach.
For those folk who engage in outdoor activities like hiking, camping, or sports, where easy access to water can be a game-changer, it is one more valuable and life saving thing there, you can’t stop carrying water around even if it ruins your style..
But what if there is a way to actually make the water bottle holder fit your vibe regardless of branding.
Well if you know the art of sewing you can easily do this today? With the proper use of sewing you can craft your very own water bottle holder. It will be a lot more versatile and rewarding thing, allowing you to create personalized aesthetic look
So, if you want to learn how to sew a water bottle holder, here is everything you need to know the steps you need to follow.
Let’s begin!
1. Gathering the Materials
Alright, let’s start by covering the basics of such materials so we don’t stop at step to prepare things.
From the experience here are the things i always gathered for this, other then basic sewing supplies like; a quality sewing machine, thread, pins, scissors, and an iron etc are;
- First and foremost, two pieces of carefully chosen fabric.You only wanna go with a medium-weight woven fabric like quilter’s cotton or lightweight duck canvas. And the length you wanna consider is approximately 11″ wide by 8″ tall.
- Then comes the one piece of Insul-brite.The purpose it serves is that it works as an insulation material and will help keep your water cool. This follows the same size standard, as above which is 11″ x 8″.
- Alright, no to the poly webbing strap.. The length of the strap will vary based on the intended user: The most trusted size if you are going a standard use is 39″ for a young child, 45″ for a tween, and 50″ for an adult.
- Only one left now, which is something called basting spray. Now, the thing is it is an optional addition however, if you think it’s harder for you to secure the Insul-brite in place then it can help you out..
2. Sewing Instructions
Now let’s dive into the sewing process to create your water bottle holder.
2.1 Step 1: Preparing the Main Fabric and Insul-brite
Alright, let’s begin the actual process! First and foremost place the Insul-brite on the wrong side of one of the fabric pieces, aligning the edges.
Here you wanna use basting spray to secure it in place or baste along the outer edge. Depending on the style you choose.

2.2 Step 2: Adding the Strap
Next comes the second most essential thing you need to consider, the straps. Remember more than the actual holder, it’s the strap that actually ruins ones’ aesthetics.
To do things properly, begin by working on the right side. First, on the right side of the fabric, position the outer edge of the strap 2.5″ from each short edge.
Here you wanna ensure the strap is not twisted in anyway and the baste it in place ideally at 1/4″ from the edge.
2.3 Step 3: Sewing the Tube
Alright it time for the actual sewing process!
First, fold the fabric in half, right sides together. You wanna do this while the short edges are aligned.
Now, just carefully, sew in place with a 1/2″ seam allowance.
Note: some people like to begin ironing at this step, it is actually a very wrong step to take right now, as the Insul-brite can melt your iron right now.
2.4 Step 4: Creating the Bottom
Finally it creates the third most essential component of the holder, the bottom part. Now, aesthetics wise it does hold any meaning and will not be visible to anyone, so you can cheat here with a low quality or weird looking pattern here, however, it would argue, it’s the last thing you want to ruin.
Since everything we do is almost hand made, it can often lead to imprections, it doesn’t really matter how beautiful the holder is, if its infant starts to leak the water on your dress.
So, instead I would ask to do a double layer here to prevent any future embarrassments.
How do you do this? Well.. first align the bottom raw edges of the tube and then sew the bottom edge closed. Now, add an additional piece in it to secure its position from the sides. While doing this, remember to make sure to move the straps out of the way.

Okay, now to give it the stable bottom, just clip the ends of the seam allowance. Once done properly it will allow you to open the bottom seam flat.
This will form a triangle at the top of the holder. Here you wanna begin to sew once again, along the marked line 3/4″ down from the top and clip off the triangle to remove bulk.
2.5 Step 5: Finishing Touches
We’re almost there! Now, it’s time to turn your creation right side out, revealing the insulated water bottle holder for some finishing touches.
Moving on! With right sides together, slide the lining over the main fabric, ensuring that the straps are placed between the two fabrics and dangle out of the bottom of the carrier.
Now, sew along the top edge of the carrier it will help you secure the lining and main fabric in place.
Alright, almost at the finishing line. to complete the water bottle holder, just pull the lining up over the top of the carrier while making sure that the right sides are out.
Then tuck the bottom 1/2″ of the lining inside and press it. Here you wanna sew the hole shut.
Finally, tuck the lining into the carrier and press the top edge. You wanna be extra careful here to avoid the strap, which can melt sometimes.
Finally, topstitch 1/8″ from the edge to keep the lining securely in place, and you’re done!
Closing Thoughts
Our step step method offered convenience options, hopefully making your design easier to achieve.
Did you find this guide helpful crafting your own bottle holder? Let us know in the comment below


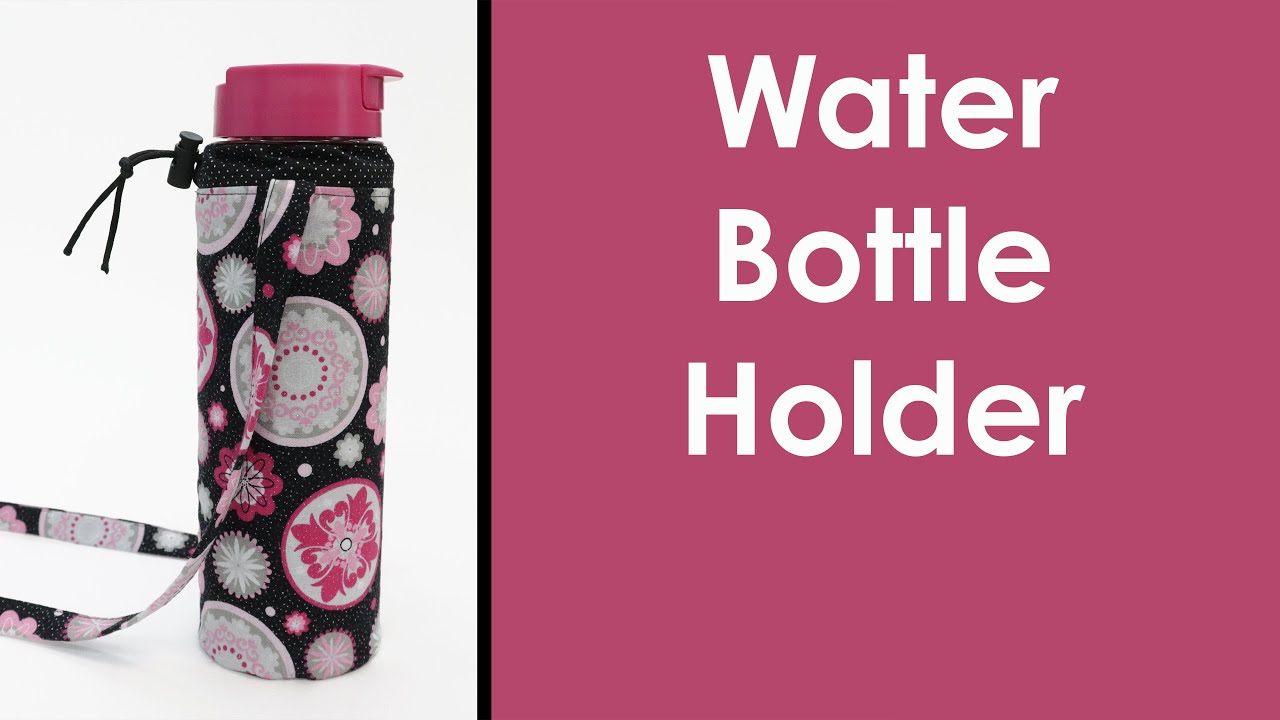
![Easy Bottle Bag Tutorial 👍 Make your own water bottle holder [sewingtimes]](https://sewingtales.com/wp-content/cache/flying-press/25dbefd7ab4c1b39add2e90e3945a005.jpg)


7 Comments
The sewing instructions are presented in a clear and organized manner, with each step broken down for easy understanding. The inclusion of images throughout the article enhances the visual understanding of each step, making it more engaging. Overall, this article serves as a valuable resource for individuals interested in creating a customized water bottle holder through sewing.
Your detailed sewing instructions for creating a water bottle holder are incredibly thorough and helpful. The step-by-step breakdown, along with the inclusion of specific details like using basting spray, positioning the strap correctly, and addressing potential issues with Insul-brite, demonstrates a keen understanding of the sewing process.The addition of practical tips, such as avoiding ironing at certain steps and the importance of a double layer for the bottom, enhances the guide’s value. It’s evident that you’ve put effort into providing a comprehensive and user-friendly tutorial.
This water bottle holder sewing guide by Anna Smith was a lifesaver! The detailed steps and clear instructions helped me create a customized holder that fits my style. The emphasis on material selection and the tip about the risk of melting the strap with the iron were especially useful. I’m thrilled with the final product, and the finishing touches section ensured a polished look. Thanks to this guide, I now have a practical and aesthetically pleasing water bottle holder!
Anna Smith’s tutorial on how to sew a water bottle holder was a game-changer for me. The detailed step-by-step instructions made the entire process easy to follow, even for someone with basic sewing skills. The choice of materials and the addition of an insulating layer were brilliant tips that I wouldn’t have thought of myself. Now, not only do I have a functional water bottle holder, but I also customized it to match my style. The clear explanations and helpful tips in this guide have empowered me to take on more sewing projects. Thank you, Anna, for sharing your expertise!
They say water is life and I agree with that through experience. However, often are times when carrying the water can be a challenge. From inconvenience to style compromise, that changes for me following this blog post. I will sew a perfect water bottle holder using the above steps.
This water bottle holder sewing guide is a lifesaver! As someone who loves outdoor activities, having a customized holder that matches my style is fantastic. The detailed step-by-step instructions, along with the recommended materials, made the sewing process a breeze. Now, I can carry my water in a stylish and functional holder that I crafted myself. Thanks for sharing this helpful and creative DIY project!
This article on sewing a water bottle holder is incredibly helpful! The step-by-step guide breaks down the process in simple terms, making it easy for someone like me, who’s not an expert in sewing, to follow along. I appreciate the detailed instructions, especially regarding the materials needed and the sewing steps. The tips on choosing fabric, adding the strap, and creating a stable bottom are practical and ensure a functional and aesthetically pleasing result. The author’s personal touch, sharing their passion for sewing and providing insights, adds a friendly and encouraging tone. Overall, it’s a valuable resource for anyone looking to craft their own water bottle holder.