")


Ripstop Nylon is all the rage right now,If you are looking for something that stands out, it is the best for its properties and applications.
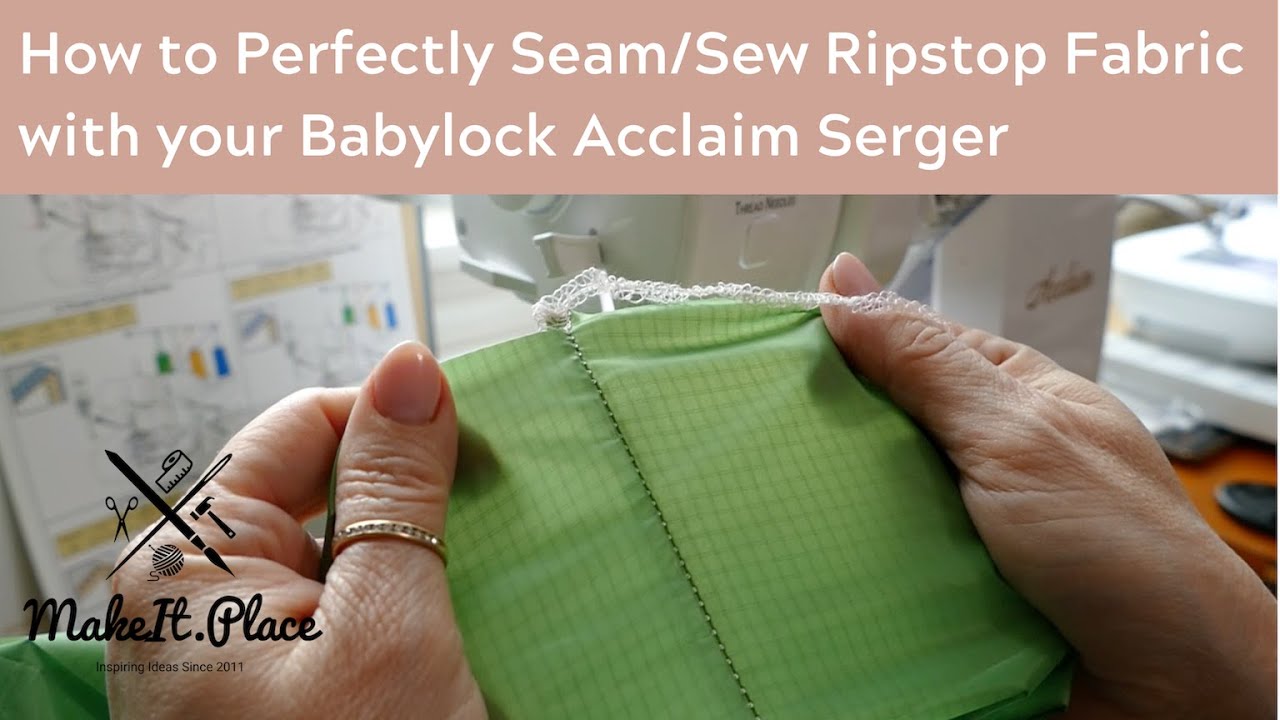
This particular type of nylon is a synthetic fabric known for its strength and durability. It is often done in a crosshatch pattern. Its originates from a unique weaving technique which is used that reinforces the fabric with even thicker threads.
It helps create a weaving method that gives a grid-like appearance and helps one to maximize nylon’s distinctive properties.
However, the actual process of properly sewing ripstop nylon can be a bit tricky for beginners thanks to its characteristics.
So to help you out, In this piece, we’ll go over all the techniques of properly sewing ripstop nylon.
Sounds Interesting? Let’s begin!

1. Benefits of Ripstop Nylon Fabric
First of all let’s start by listing out all the benefits of using ripstop nylon fabric.There are three in particular.
1.1 First of all, you can get ripstop nylon fabrics in various weights and thickness types. Really making them suitable for a wide range of projects.
1.2 Second benefits, Not only these are lightweight but also get you excellent water-repellent qualities.
In some cases, ripstop nylon can even be flame-retardant or have zero porosity, depending on the specific application.
1.3 Third and most important, Its versatility and longevity make it an ideal choice for projects that require strength, durability, and resistance to the elements.
2. Essential Tools and Materials
Alright it time to gather all the stuff you need to properly sew the ripstop nylon. Here’s a list of essential ones you’ll need:
2.1 Ripstop Nylon Fabric
First up, you wanna pick the kind of ripstop nylon fabric that suits your project best. Here you only wanna choose ensuring proper weight and color.
If you are looking for recommendations; Get some top-notch 100 percent nylon or polyester thread.

2.2 Needles and Thread
Second up, Begin by grabbing some sharp needles. The kind you wanna get are 70/10 or 80/12 kind. Make sure that it matches the fabric’s weight.
2.3 Cutting Tools
Third comes the basic tools. First of all some sharp scissors or a rotary cutter for slicing through ripstop nylon. Note; you only wanna go with the quality ones you’re gonna need for creating clean edges and keep fraying at bay.
2.4 Machines
Then comes the sewing machines. And don’t forget to use the right presser foot, like a walking, roller, or non-stick foot (Teflon), depending on your fabric.
Also, when you’re done sewing, you’re gonna need an iron to smooth out wrinkles and creases. So, make sure to remember to acquire a quality one and ensure you have a pressing cloth to protect the fabric, ready.
2.5 Marking Tools and Weights/Clips
Alright, now all you need are basic stuff but forget about traditional pins, you don’t wanna use them here only marking tools like chalk or weights.
The reason you wanna go for pattern weights or sewing clips to keep everything in place is basically to let you use nylon properly without poking holes in your fabric.
2.6 Glue Stick or Fabric Glue
And finally, This is optional and depends on the person’s skill but If pins aren’t your thing, you can utilize a glue stick or fabric glue that can hold your fabric pieces securely. And it can do it without leaving a mark.
3. Sewing Techniques for Ripstop Nylon
Alright, Let’s get to the meat of the story you are here for!
Let’s delve into the sewing techniques step by step to effectively use ripstop nylon:
3.1 Needle Selection
First of all, you wanna begin by choosing the appropriate needle size and type based on the fabric’s weight.
3.2 Thread Matching
Second step! Begin by selecting the thread, once again it should be made of 100 percent nylon or polyester and match its color to your fabric for a cohesive look.
3.3 Presser Foot Choice
Nextup, depending on the texture you are going with your ripstop nylon you gonna need to use a right presser foot choice.
You only wanna opt for a walking, roller, or non-stick presser foot to prevent fabric slippage and ensure even feeding during your process.
3.4 Stitch Length
Then comes step four of considering stitch length. Here you wanna use a medium-length stitch, which is typically around 2.5mm. This is essential to prevent excessive needle penetrations as it could weaken the fabric.
3.5 Tension Adjustment
Fifth step is all about tension adjustment. In this step you need to fine-tune your sewing machine’s tension settings to ensure proper finished quality of your thread.
At first you only wanna begin by slightly reducing tension to prevent puckering and increase it if necessary.
3.6 Handling the Fabric
Now, properly hold the fabric securely on both sides of the presser foot and begin sewing. While sewing make sure to guide it smoothly and avoid uneven feeding.
3.7 Seam Finishing
Nextup, in this step it is time to minimize fraying. For this seam finishing consider using techniques. This includes things like pinking shears, zigzag stitching, or a serger with a 3- or 4-thread overlock stitch.
All depends on your preference! But finishing you wanna make sure to utilize the grid-like pattern to guide your sewing for straight and even seams.

3.9 Ironing
Final Step! In this step we’ll begin the ironing process.
First of all, make sure that you are using sewing clips, washable fabric tape, or fabric glue and avoiding using pins directly on ripstop nylon within the seam allowances.
Also, After that, If necessary, gently iron ripstop nylon with low heat. Here you wanna use a pressing cloth to prevent damage to the fabric.
Alright begin with the ironing process.
Closing Thought
So, whether you’re crafting shorts, shirt’s logo or sewing jackets that shield against the elements, The ripstop nylon is perfect for all your creativity needs.
Hopefully, with our step you were able to properly learn how to sew ripstop nylon without any trouble.


