")


There was a time when bonnets were all the rage in women ‘s fashion. Times have surely changed but its value remains.
Now, granted bonnets are considered a fashion statement that you like that Victorian style, however it has proven its value as a great hat to wear even in modern times, much better than other hats of that time.
Do you wanna jump into fun too? Make your Instagram blow with people singing praises for personal pioneer bonnets that were created by your own hand.
Well you are in luck! Cause here everything you need to know!
1. Here’s a list of what you’ll need:
Alright, you are ready then here comes the first and foremost essential step. THE STEP Zero!
Which is simple to gather all the necessary stuff you gonna need to get before you begin crafting your own bonnet.
Here is the stuff that I always use…
1.1 Fabric
First and foremost comes the right kind of fabric that excites the right kind of vibe in me.
I’ll always go with a lightweight cotton or calico fabric here. For me that helps me reach that authentic pioneer look. You might have a different opinion than me but this is what i’ll always recommend to my friends.
As for the aesthetics? Just go with a pattern instead of a color that suits your style or the occasion.
1.2 Basic supplies
After that comes the basic supplies that include; a cute measuring tape, to properly measure and make it a little bit more fun.
Then my trusty old sharp scissors cut into the proper side and finally the fabric glue or adhesive tape whichever you prefer.
Remember to go only for a quality brand as you not only need to secure bonnet’s seans but since you’ll be wearing it on your head, it has to be something you can trust not to ruin your hair style everytime you wear or leave you itching your hair.
1.3 Special supplies
In this you only need to worry about two particular type of supplies; first the Iron and ironing board and second is the elastic cord.
You need the former to make your creases and folds in the fabric properly and the latter to create the band that holds the bonnet in place as you work on it.
2. Step by Step
Alright, Now that we have our materials ready, let’s proceed with the step-by-step process.
2.1 Measure and Cut the Fabric
The first step in making a pioneer bonnet without sewing is to measure and cut the fabric.
You’ll need to cut two pieces of fabric: one for the bonnet’s crown and another for the brim.
Here are the measurements to consider:
2.2 For the crown
One tip here is to; fist properly measure the circumference of your head and plus an inch for overlap.
This measurement trick helps you get better results with overall width of the piece, which is actually a more important factor than its height. A bonnet height is around 5 to 6 inches and it suits a lot of people, so go with that especially if its your first time undertaking it.
2.3 For the brim
As for the width of the brim, It will totally depend on how wide you want it to be, really. But I would suggest just keeping it between a range of 3 to 4 inches works well.
One way to measure that is to keep this rule in mind. the length should be approximately twice the circumference of the crown you are creating in your piece..
2.4 Create the Crown
With your fabric pieces ready, let’s start by crafting the crown
Here’s how to do it:
- Begin this one by simply laying the crown piece flat on a clean surface with the wrong side facing up.
- Apply fabric glue or fabric adhesive tape along one of the shorter edges of the crown piece.
- Fold the crown in half widthwise, with the right sides facing each other. Press down firmly to secure the seam. The adhesive will bond the two edges together, forming a tube-like structure.
- Leave the crown to dry according to the adhesive’s instructions, ensuring a strong bond.
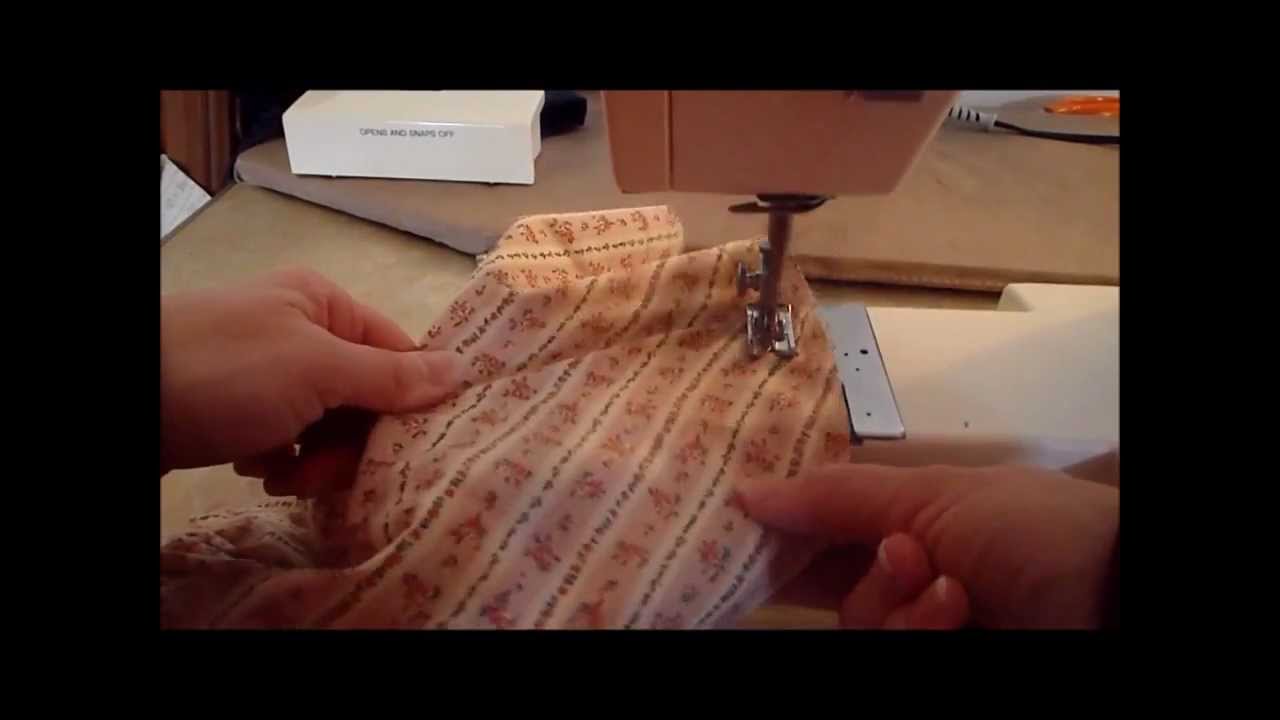
2.5 Assemble the Brim
Now, let’s work on the brim of the bonnet:
- Lay the rectangular brim piece flat on a clean surface with the wrong side facing up.
- Apply fabric glue or fabric adhesive tape along one of the longer edges of the brim piece.
- Fold the brim in half lengthwise, with the right sides facing each other. Press down firmly to secure the seam, forming a long, narrow tube.
- Leave the brim to dry according to the adhesive’s instructions.
2.6 Attach the Crown to the Brim
Once both the crown and brim have dried and are ready, it’s time to attach them to create the bonnet:
- Apply fabric glue or fabric adhesive tape along the top edge of the crown (the edge without the seam).
- Carefully position the top edge of the crown inside the bottom opening of the brim. Make sure the seam of the crown faces upward, and the adhesive bonds the two pieces securely.
- Gently press the crown and brim together, ensuring a snug fit. Adjust the position as needed.
- Leave the bonnet to dry thoroughly, allowing the adhesive to create a strong connection between the crown and brim.
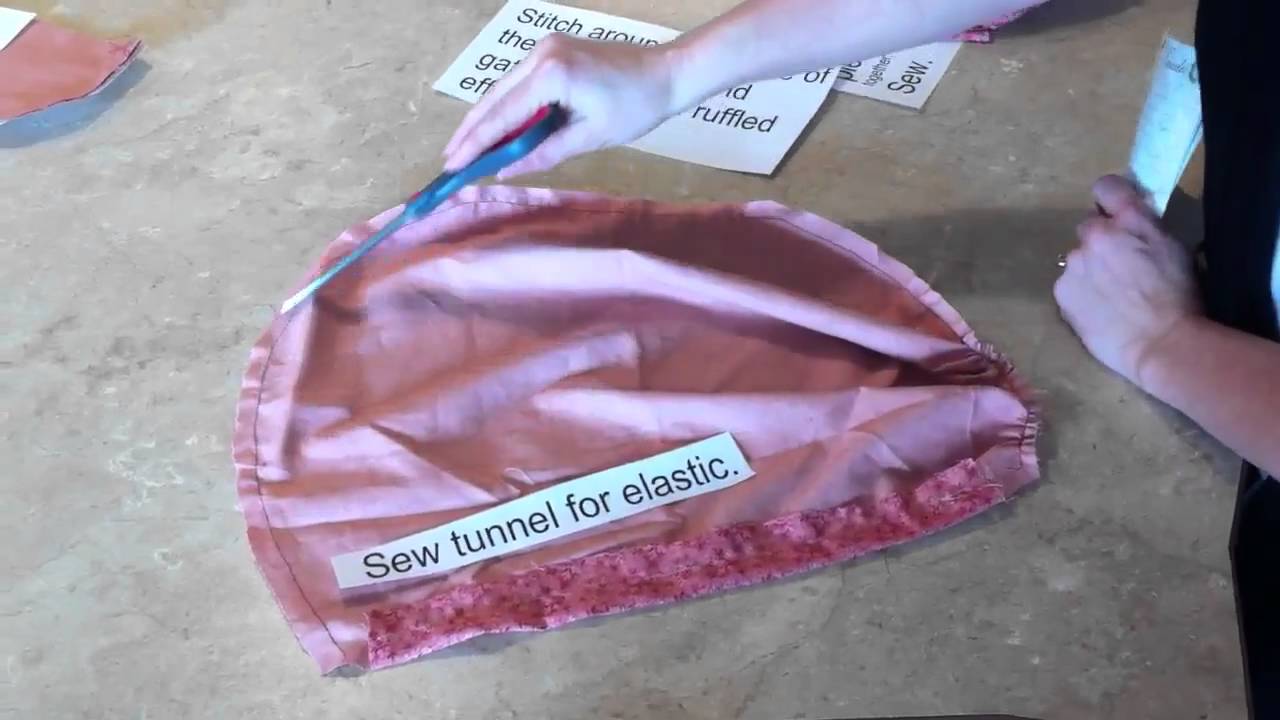
2.7 Create the Band with Elastic
Last by not the least, let’s add the elastic band to keep it in place:
- Here you wanna use a piece of elastic cord that fits comfortably while allowing for a snug but not too tight fit. It should typically be 15 to 18 inches of elastic should suffice.
- Using fabric glue or fabric adhesive tape, attach each end of the elastic cord to the inside of the crown, near the seam. Ensure the elastic is evenly distributed to create a secure band.
- Allow the elastic to dry and bond with the fabric. This band will help keep the bonnet in place when worn.
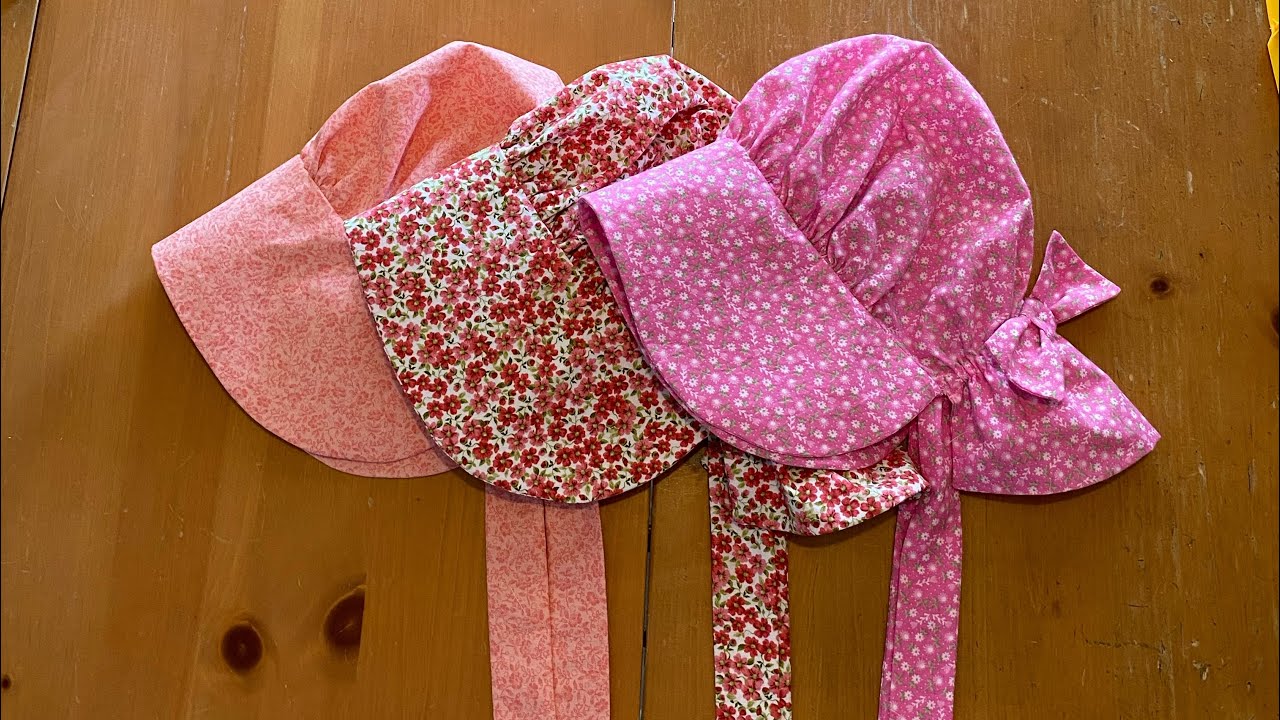
Closing Thoughts
So, Whether it’s for historical reenactments or simply just bold old charming fashion statements in modern times, Hopefully with the method above you were able to make that perfect bonnet for you.
How was your experience let us know in the comment section below.


