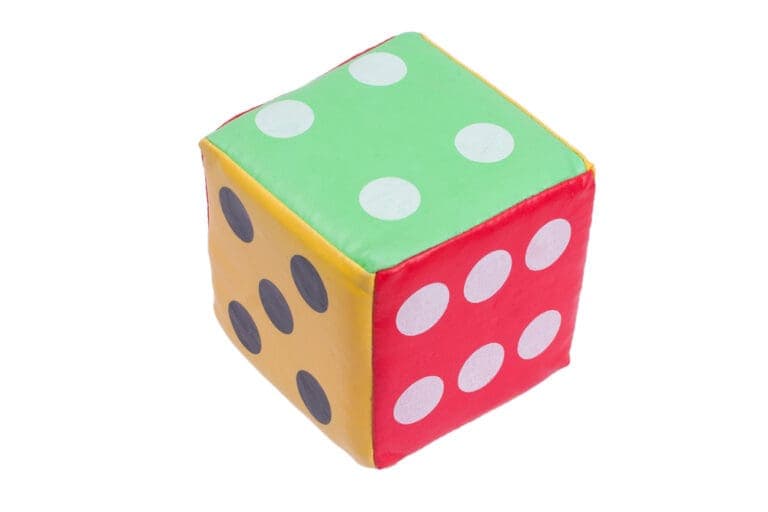
Are you tired of sewing two dimensional items like clothing and accessories again and again? If yes, then why don’t you try sewing three-dimensional projects. They are super trendy in markets nowadays, although there are many three dimensional projects available for you to try but in this blog, we will focus on Cube.
You must have seen them in the market before, right? Now, we will explain how you can sew them. It might seem a complex task but with the right guidance, it can be a satisfying endeavor.
Sounds Interesting right? Let’s begin!
1. What You Need
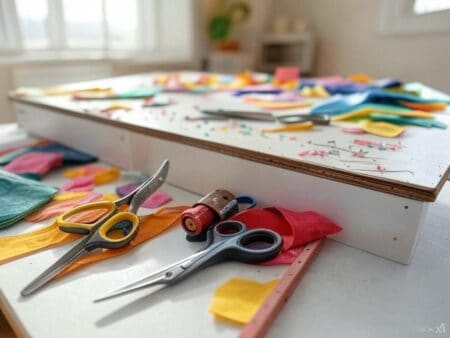
Alright, let’s start by covering the basics first but ladies. You wanna begin by gathering the following materials and tools:
- Fabric of your choice
- Sewing machine
- Thread
- Needle

2. How to Sew a cube?
okay, now that you have your tools ready, let’s get into the main thing you hear for:
2.1 Preparing the fabric
First and foremost, you wanna begin by selecting the right fabric for your project. If you haven’t found one yet then you can go for cotton or silk. They go with all the dresses.
2.2: Starting With First Two Pieces
Moving on the main process and it begin with sew the first two pieces together. Here’s how you goona do it:
Alright, you wanna begin by taking these two fabric pieces and align them together properly.
Secondly, now start sewing the pieces together. But beginning sewing along one edge, you need to leave a seam allowance of 1/4 inch. This seam allowance is important to ensure accurate corners.
Also, make sure to use a straight stitch on your sewing machine to sew along the edge. Once you are with one side repeat the process on the other two sides of the cube.
2.3 Creating the “L” Shape
Now let’s move onto the next step of creating the famous “L” Shape. In this step, you need to add the third fabric piece to create an “L” shape.
To create this shape, you need to align the first two sections and fold the seam allowance of the third fabric piece. Remember Three sides need to be connected to form an “L” shape.
Once you’ve aligned the pieces now start sewing them.
2.4 Closing Cube
Okay, let add final those final touches and closure to your cube. Here’s how you gonna do it:
Start with folding the fabric to form a corner and sew while tucking the seam allowances out of the way. This will help in sewing off to the point where the three fabric pieces are intersecting.
Also, don’t forget to add backstitches of more security.
2.5 Turn the Cube Right Side Out
Last but not the least step! After you’ve completed the third seam you need to turn your cube right side out. You will see that the stitches you’ve created are forming a perfect 90-degree angle.
In case you’re thinking of creating a large cube then you can add more squares to make it big forming a cube corner.
Well done Ladies! you have successfully sewn a cube without anyone’s help. The process might seem difficult at first but with practice, you’ll be able to create beautiful fabric cubes of various designs.
3. Additional Tips
Here are some additional tips that will help you out:
- Try to maintain a consistent seam allowance (1/4 inch or any other measurement) throughout your whole project. This will give your cube a more professional look. This is very important that’s so don’t overlook it.
- Don’t forget to add backstitches at the beginning and at the end to secure your fabric. This will help prevent unraveling too.
- Mix and match different fabrics to create unique pieces. You can give your cubes a more appealing look by mixing different patterns together.
- Add embellishments or decorations to your cube, It will make it look more beautiful. You can do anything whether it is embroidery or fabric paint.
Closing Thoughts
All in all, many folks believe that sewing a cube on your own is a very hard task. However, Even with a little sewing knowledge you can do this as long as you follow the steps we’ve mentioned above.
Have you sewn your own cube? Share your experience with us in the comment section.


