")


Thinking of sewing a snap onto your outfit but don’t know how? Then worry not, we will explain the snap sewing process in this world.
But, before diving into the sewing process, let’s start with the basics of snaps sewing. The idea of sewing snap onto the fabric might seem intimidating at first glance. However, it is not. This process is much simpler than you think.
In just 4 steps, you can sew snaps onto the fabric easily.
Sounds interesting right? Let’s begin!
How to Sew Snap onto the Fabric?
The task of attaching sew on snaps might seem difficult at first. However, it is a much simpler process than you think. Here is a step by step guide to help you out.

1.Preparation
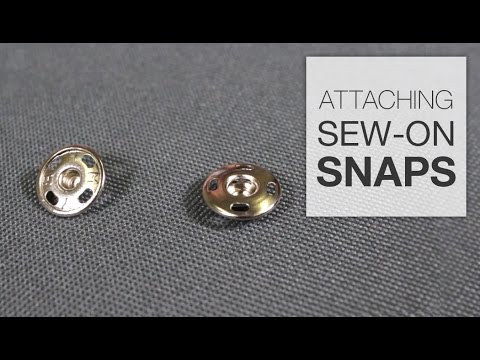
First and foremost let’s talk about the preparation. In this step, you need to start removing the snap from its packaging. After that, position your snap to the place you want.
Now, use pins to secure the snap to the position you have chosen. Once you are done with position placement, mark both layers of fabric with a fabric pen or pencil. This ensures accurate placement for sewing.
2. Stitching Process of Ball Sided Piece
Okay, moving on to the actual stitching process. In this you wanna start by choosing a thread. You need to keep in mind the color that matches or complements your fabric.
Now, you need to place a ball sided piece on the bottom of your fabric where you have marked. After that, just thread a needle with matching color thread. You can also choose a thread that complements your fabric.
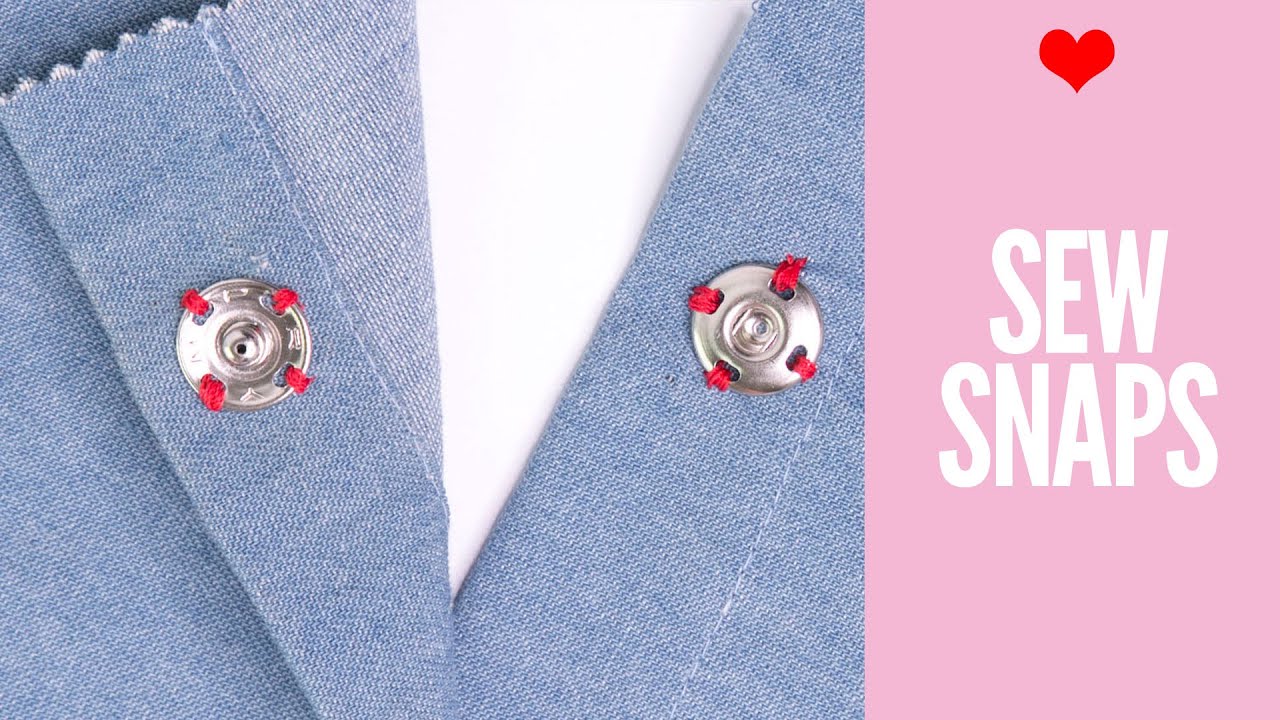
Start the sewing process now, once you are done with one hole move on to the other. After you are done with sewing, tie a knot to secure it.
3. Sewing the Socket Piece
Next up the dealing with the socket piece. In this step, you need to sew the socket piece. You gonna begin to sew the socket piece onto the top layer of fabric, underneath so it contacts the bottom of the snap.
But, before starting the sewing process you need to put the socket piece on the mark and secure it with a pin through the center hole.
Stitch at least 5 times and repeat the same process to each hole. Once you are done with the sewing process, secure it with a knot.

4. Final Touches
In the last step, you need to add finishing touches. Here is how to do it:
First of all, you gonna begin with folding the fabric and snap the pieces together. You can use snap tape for curtains.
If you’re sewing curtains then pleat the fabric and pin the snap tape to the top, sewing in the proper place with a sewing machine. This will give it a clean and professional look.
Congratulations! Ladies, with this you have successfully sewn snap onto the fabric on your own without anyone’s help.
Closing Thoughts
Many individuals believe that sewing snap onto fabric is a difficult task that requires professional help. However, this is not true at all. With a little guidance and skills, you can easily sew snap buttons onto the fabric.
And you can also utalize many tech and tools to get better results too, for example, you can use snap pliers for doing snap button hassle-free.
As long you any excess thread and address any loose threads, with you trusted sewing machines for a neat finish. You will not have any trouble getting that polished look in the end.
This easy tutorial will guide you through the process, making it a straightforward task even for beginners. Happy sewing!


