Close Menu
Sewing Tales
  • Homepage
  • Basics of Sewing
  • Fabrics & Materials
  • Patterns & Embroidery
  • Quilting
  • Sewing Business
  • Sewing Techniques & Tips

Subscribe to Updates

Get the latest creative news from FooBar about art, design and business.

What's Hot
image 2

Why You’ll Never Guess How Easy Ordering Leather Can Be (Spoiler: It’s Life-Changing)

image 29

Your First Mini Quilt Will Become Your Most Prized Creation—Here’s Why

image 24

Your Windows Deserve Better—Make Custom Curtains That Actually Fit

Facebook X (Twitter) Instagram
  • Homepage
  • Basics of Sewing
  • Fabrics & Materials
  • Patterns & Embroidery
  • Quilting
  • Sewing Business
  • Sewing Techniques & Tips
Trending
  • Why You’ll Never Guess How Easy Ordering Leather Can Be (Spoiler: It’s Life-Changing)
  • Your First Mini Quilt Will Become Your Most Prized Creation—Here’s Why
  • Your Windows Deserve Better—Make Custom Curtains That Actually Fit
  • Stitching Stories: How Quilts and Creations Unite a World of Fabric, Passion, and Community
  • Ever Wondered Why Your Leather Goods Fail? Learn the Thread Size Chart That Made All the Difference!
  • Crafting Cuteness: How Free Sewing Patterns for Dogs Can Transform Your Pet’s Wardrobe
  • Never Pay for Ill-Fitting Clothes Again: Free Plus Size Patterns That Flatter
  • The Best Sewing Thread for Leather (And Why Your Grandma’s Cotton Spool Won’t Cut It)
Sewing Tales
Facebook LinkedIn
Sewing Tales
You are at:Home - Fabrics & Materials - How to Sew Bias Tape together: A Step-by-Step Guide
Fabrics & Materials

How to Sew Bias Tape together: A Step-by-Step Guide

Anna SmithBy Anna SmithDecember 11, 202304 Mins Read
Share Facebook Twitter Pinterest LinkedIn Tumblr Email
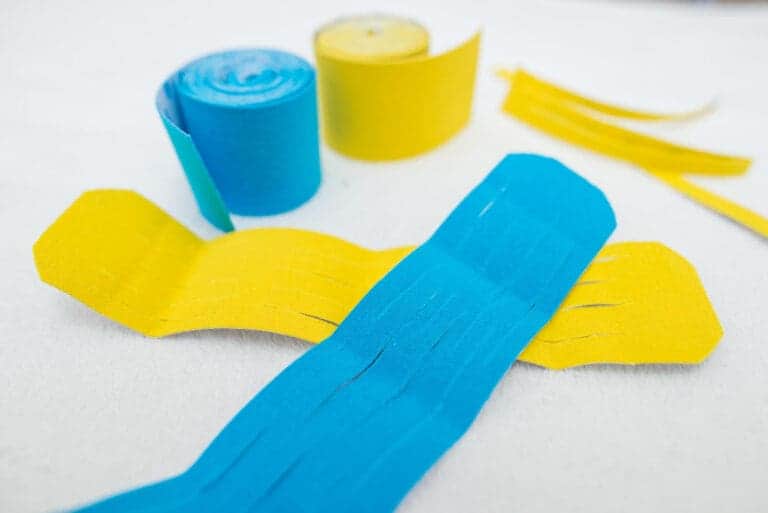
blueyellow tapes kinesio taping
Share
Facebook Twitter LinkedIn Pinterest Email

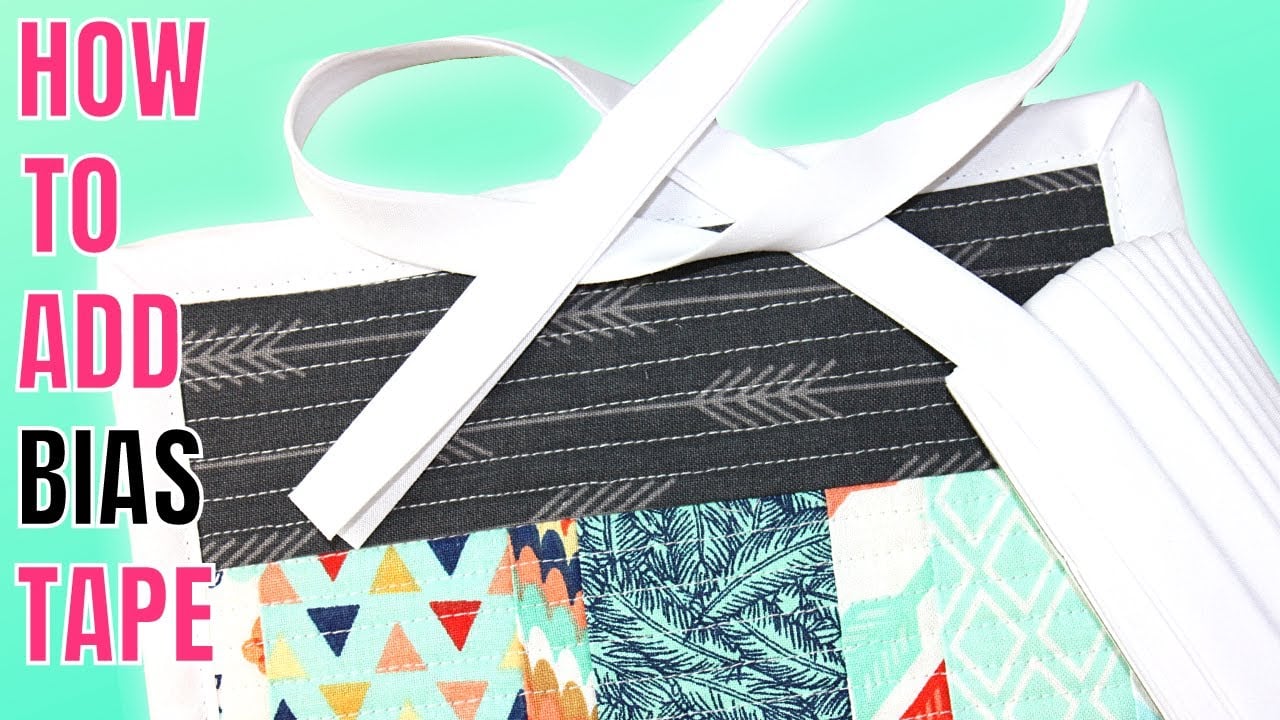
Thinking of sewing bias tape together but don’t know how do it properly? Then we have got you covered. In this blog, we will explain the process of sewing bias tape together. 

But before explaining the sewing process, let us first uncover the basics of bias tape. Bias tape is a strip of fabric that has more flexibility than regular tape. It is also available in various sizes in the market. 

In the world of sewing bias tape is a versatile and essential tool that is used in various projects. This tool also provides a clean and polished look to your creations.

So let’s begin! 

How to sew bias tape together? 

Alright ladies, now that you have gathered the tools, it’s time to met the story; How to sew bias tape together. 

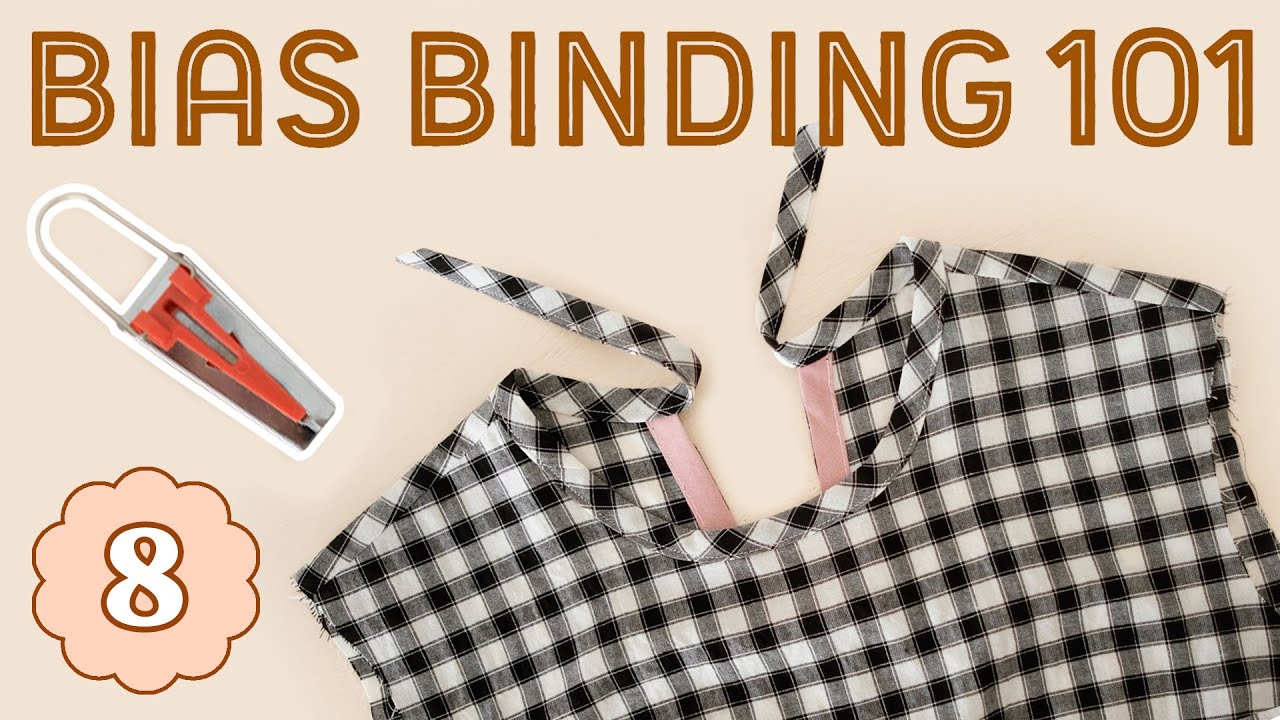
How To Make and Use Bias Binding | Sewing For Beginners - Episode 8

1. Preparing the fabric

In this 1st step, you need to prepare the fabric properly. Here is how you can do it:

Start by deciding which type of bias tape you want. You can go with pre-made bias tape or creating one on your own. In case you are thinking of creating one on your own then you need to cut strips of fabric on the bias, typically at 45 degree angle to the selvage. The width of the strips depends on your project and the desired width of the bias tape.

2. Pressing

In the 2nd step, you need to fold the bias tape in half lengthwise. Make sure that the wrong sides are together and align the raw edges. 

Once you are done with this, iron the fold by pressing it. This will result in creating a crease. 

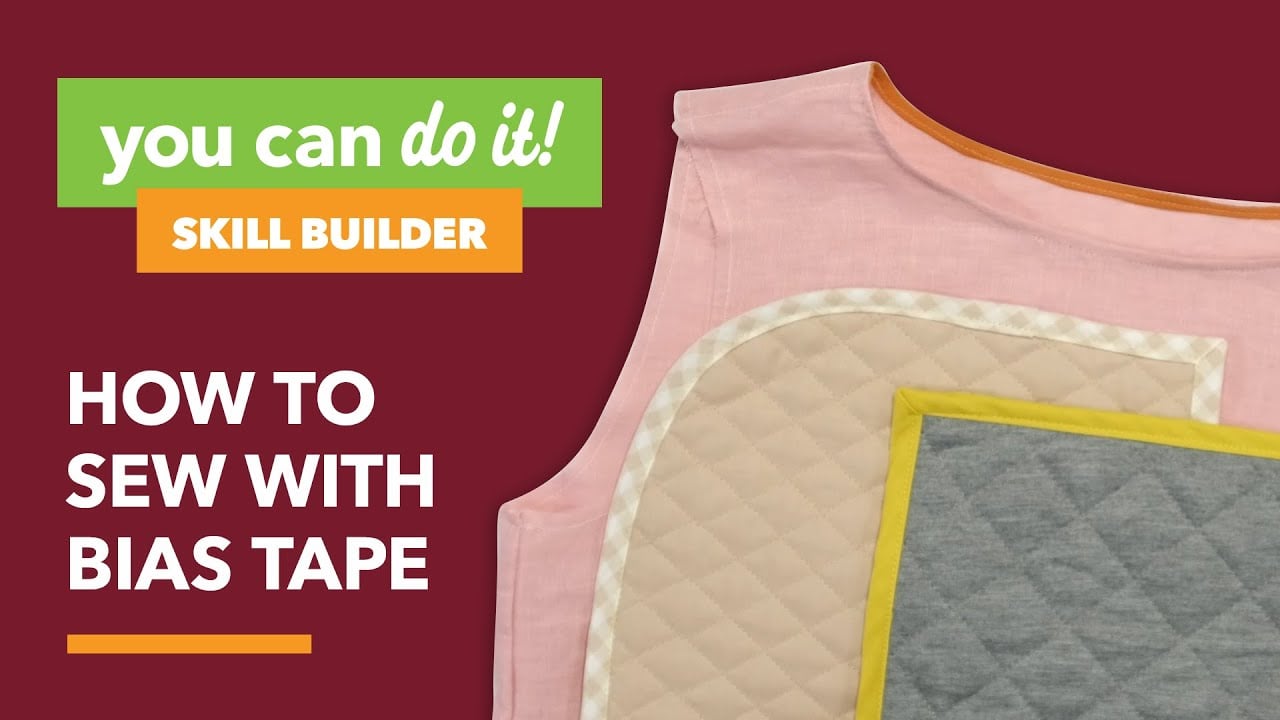
How to Sew with Bias Tape

3. Joining Bias Tape Ends Together

Let’s move onto the 3rd step. In this step, you need to join the bias tape ends together. Here’s How:

First of all, you need to lay the starting end of the bias tape along the edge of your project. You need to leave a small tail which extends from the starting point.

Once you are done with this, just trim the ends of the bias tape. This step ensures a neat appearance of your project. 

4. Use Diagonal Seam 

In this 4th step, you need to create a diagonal seam to connect the two ends of bias tape. Here is how:

Firstly, you need to place the ends together. Make sure it forms a 90-degree angle. After that, start the sewing process from the top to the bottom right corner, you need to create a diagonal seam. Don’t forget to iron it to give it a clean look. 

Once you are done with this, trim out excess fabric using a seam ripper. Also, don’t forget to leave 1/4-inch seam allowance.

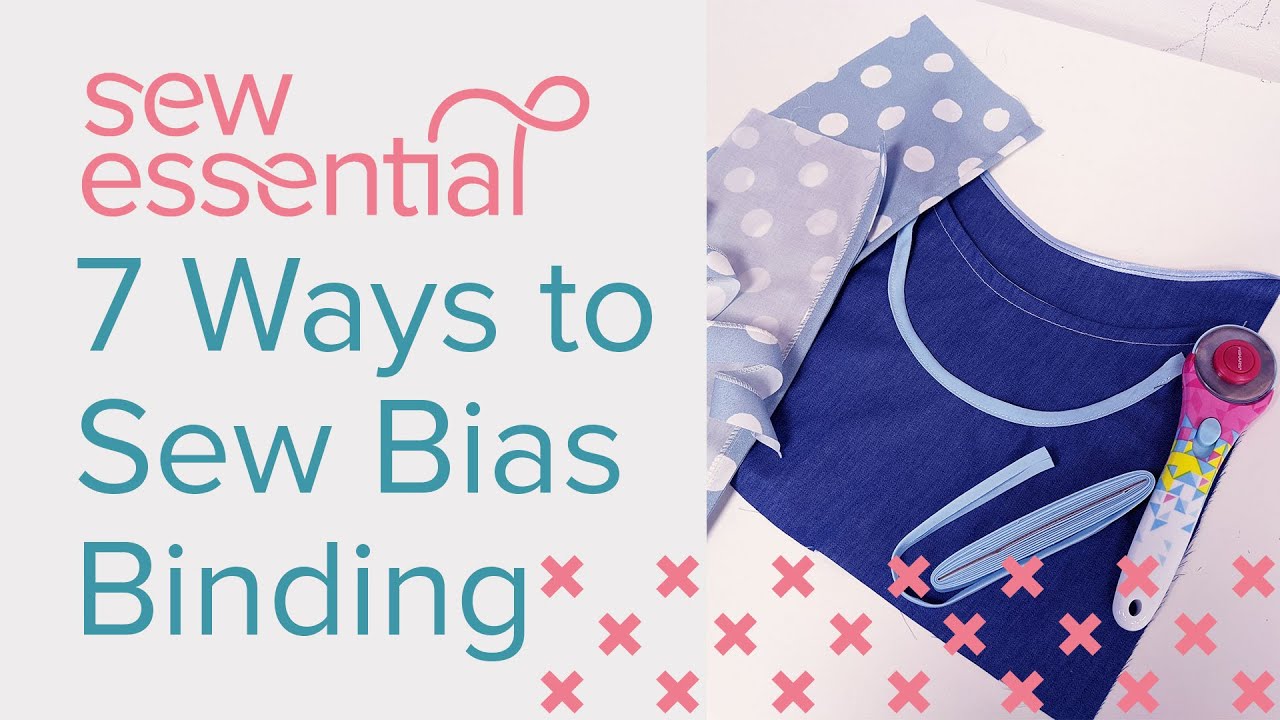
7 Ways to Sew Bias Binding

5. Refolding Bias Tape

In the 5th step, you need to refold the bias tape to give your creation a seamless look. Make sure to fold it in a way that hides the diagonal seam you’ve created. 

6. Attaching to Projects

The 6th step is about attaching bias tape to your projects. Here’s how:

Firstly, you need to align the unfolded edge of the bias tape with the edges of your fabric. Make sure that the right sides are together. 

Secondly, use pins to secure the tape on the fabric to the fabric you’ve chosen. 

Once you are done with this, start the sewing along the fold line of the bias tape. At the end use backstitches to secure the stitches you’ve made. 

7. Finishing Touches

In the final step, to give a professional look you need to refold the corners again at a 45-degree angle to create a mitered corner. After that, start stitching again to secure the file you’ve made. 

Once you’re done with this, trim out the excess bias tape. Congratulations ladies, with this, you’ve successfully sewn bias tape together on your own.

HOW TO SEW BIAS TAPE ONTO ANY SEWING PROJECT / EASY BEGINNER SEWING TUTORIAL

Closing Thoughts

Many people believe that sewing bias together is a difficult task that requires professional help. However, it is not true at all. With the right guidance and techniques you can sew bias tape together on your own. 

You just need to follow the steps mentioned above to sew bias tape together seamlessly.

Have you tried the method? Share your experience with us in the comments sections. 

Share. Facebook Twitter Pinterest LinkedIn Tumblr Email
Previous ArticleHow To Sew On Fur Trim? A Complete Guide
Next Article How To Sew Fake Fur With Ease? A Comprehensive Guide

Related Posts

image 10

Why I Choose Special Fabrics to Make My Homemade Quilts Extra Warm

November 24, 2024
alter or donate

How Much Alteration is Acceptable? Common Alteration Issues and Tips

September 30, 2024
how to sew a t-shirt

Step-by-Step Guide on How to Sew A T-Shirt: From Fabric to Fit

March 4, 2024
Add A Comment
Leave A Reply Cancel Reply

Recent comments
  • Manasi on Transform Your T-Shirts into a Cozy Blanket : How to Make a Blanket Out of T-shirts Without Sewing
  • Marvin Gathings on Mastering the Art : How to Stabilize Knit Fabric for Sewing
  • where can you find magic mushrooms on Transform Your T-Shirts into a Cozy Blanket : How to Make a Blanket Out of T-shirts Without Sewing
  • Donald Bishop on Mastering the Art : How to Stabilize Knit Fabric for Sewing
  • Ricky on How To Sew Turtle Neck Like A Pro?
Categories
  • Basics of Sewing (50)
  • Fabrics & Materials (19)
  • History (2)
  • Lifestyle (12)
  • Patterns & Embroidery (11)
  • Quilting (42)
  • Sewing Business (22)
  • Sewing Techniques & Tips (72)
  • Uncategorized (9)
  • Without Sewing Hacks (9)
Top Posts
image 2

Why You’ll Never Guess How Easy Ordering Leather Can Be (Spoiler: It’s Life-Changing)

March 27, 2025
image 29

Your First Mini Quilt Will Become Your Most Prized Creation—Here’s Why

March 21, 2025
image 24

Your Windows Deserve Better—Make Custom Curtains That Actually Fit

March 18, 2025
Our Picks
image 2

Why You’ll Never Guess How Easy Ordering Leather Can Be (Spoiler: It’s Life-Changing)

image 29

Your First Mini Quilt Will Become Your Most Prized Creation—Here’s Why

image 24

Your Windows Deserve Better—Make Custom Curtains That Actually Fit

Sewing Tales

A Product of Icy Media

3- 11860 River Rd.

Surrey, BC V3V 2V7

Canada

+1-7789512734

Email – Support@icymedia.ca

What’s Your Next Read?
  • Homepage
  • About Sewing Tales
  • Sewing Classes T&C
  • Terms and Conditions
  • Privacy Policy
  • Get In Touch
Facebook LinkedIn
  • Homepage
  • About Sewing Tales
  • Sewing Classes T&C
  • Terms and Conditions
  • Privacy Policy
  • Get In Touch
© 2025 Copyright by Sewing Tales.

Type above and press Enter to search. Press Esc to cancel.