")


If you’ve ever wondered what that horizontal panel near the shoulder or waist is on your favorite shirt or dress, you’re about to find out! It’s called a yoke, and it’s one of the most important pieces in creating a garment. Today we’ll be unraveling the mystery behind this piece.
In this article, we’ll explore the; what is yoke in sewing in-depth, its importance of yokes, how to draft them, and even some sewing tips for those wanting to jump right in.
1. Demystifying Yokes: What Is It?
If you’ve ever flipped through a sewing pattern or done some DIY garment projects, then chances are you’ve come across the term “yoke.” But what exactly is this mysterious yoke and how do I use it to make fabulous garments? Think of them as an unsung hero — they sit at your shoulders and waist on a cleverly designed panel, bringing both structure and shape to your designs.
Typically made up of two partners in crime — the inside and outside yoke — these two attach themselves to the front and back of your garment and wrap everything up neatly. By hiding raw edges with their teamwork , it ensures that it looks just as good inside as it does outside.

So now that we’ve demystified what a yoke is, where can I spot one in real life? You’ll see them all over shirts, tops, dresses, trousers, skirts, and even coats. They’re not only functional but also allows creativity to run wild. Think contrasting fabrics or even adding hand embroidery!
2. Drafting and Sewing: A Beginner’s Guide
Now that you know what a yoke is (and how cool it is), let’s dive into actually making one! Don’t worry though; I’ll try my best to keep it beginner-friendly. Before diving into the steps though there are a few materials you’ll need: Your fabric of choice (linen maybe?), matching thread, pattern paper, ruler, chalk, measuring tape, scissors, pins and a sewing machine.
2.1: Drafting the Pattern
Even if your pattern doesn’t come with a yoke don’t worry! You can easily add one to almost any shirt or top with a plain back. Choose whether you want the yoke in the front or back of your shirt, draw a line above the bust level for the front piece or above/at the shoulder blades for the back piece.
For merging together a basic yoke you’ll want to combine your front and back pattern pieces along their shoulder line — effectively eliminating their shoulder seam altogether. Add 1 inch to your back yoke though as it might hold gathers or pleats for an extra flair.
2.2: Adding Some Volume
Feeling adventurous today? If you’d like to introduce gathers or pleats to your yokes then you’ll need some extra volume on your back sloper. Decide how wide you want that area to be, then add double that amount along your center fold line.
2.3: Cut and Go
With all that info outta the way it’s time to make those patterns! Cut out two identical pieces of fabric for each side of your yoke — one each for both front and back slopers. Think of it as gathering ingredients before making a meal!
Once you’ve finished preparing your pattern, cut out two yoke pieces from your fabric that are just alike – one for the back and front slopers. It’s like setting up for a massive sewing party!
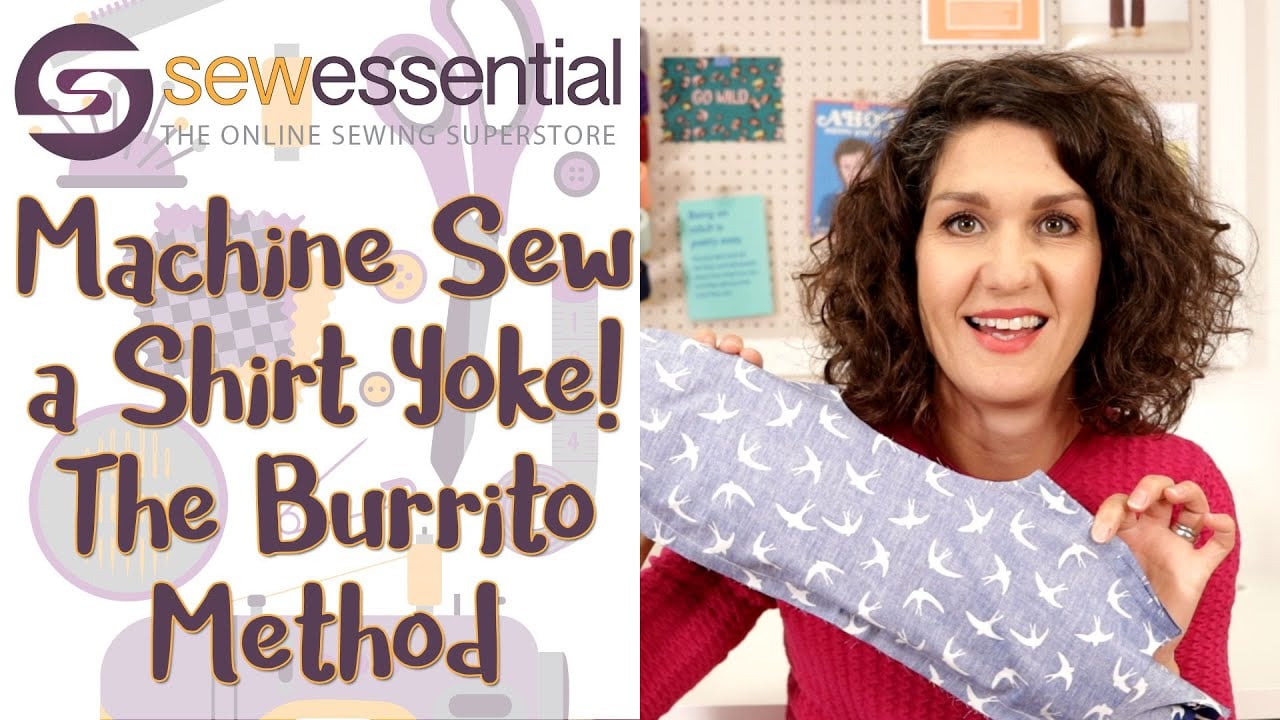
3. Most Popular Sewing Methods
Now that you have your yoke pieces ready, how exactly do you attach them to your garment? There are two techniques that people are most fond of: the straightforward method and the mysterious-sounding burrito method. We’ll break down both contenders.
3.1: Simple and Neat
This one doesn’t play tricks with your mind – it’s purely about simplicity and providing a clean finish. No burritos here!
– Pin the outside yoke piece to the shirt back right sides together, match up the centers.
– Sandwich the pleated shirt back between the two yoke pieces and stitch together at a 3/8 (1 cm) seam allowance.
– Grade your seam for a smooth finish, press both yokes up, then topstitch along the seam line.

3.2: The Burrito Intrigue
The burrito method is pretty much like rolling up your creation in a sewing tortilla; however, don’t be intimidated! It’s not as difficult as it sounds.
Repeat steps 1-7 of the straightforward method.
– Fold inside yoke facing upward and pin wrong side of front bodice piece to right side of inside yoke at shoulders.
– Roll up front and back bodices and fit between yoke layers like a burrito. Align yoke shoulder edges and pin.
– Sew ½” seam across shoulders, turn everything right side out, and press. Topstitch to finish.
3.3 Yoke Variations: Beyond Basics
Yokes aren’t one size fits all – they come in various shapes! Straight ones, curved ones, even pointed ones! This allows you to bring out your inner fashion designer. Try them out on different garments to make a statement.
Whether you went the simple route or explored the burrito territory, give that yoke a good press. This final step ensures your creation looks polished and ready to flaunt your sewing skills.

Closing Thoughts
And that’s the scoop on yokes in sewing – they’re not just functional, they’re vital for shaping, designing, and adding that extra oomph to your garments! So grab your fabric, thread, and sewing machine – let’s get stitching!
Have anything else to add? Let us know in the comments below.


")
1 Comment
I’ve been sewing for quite some time, yet I’ve never come across the term yoke. It was great to learn that it refers to the horizontal panel near the shoulder of a shirt and plays a crucial role in shaping and enhancing the design. I am going to take advantage of this to make my clothes better.