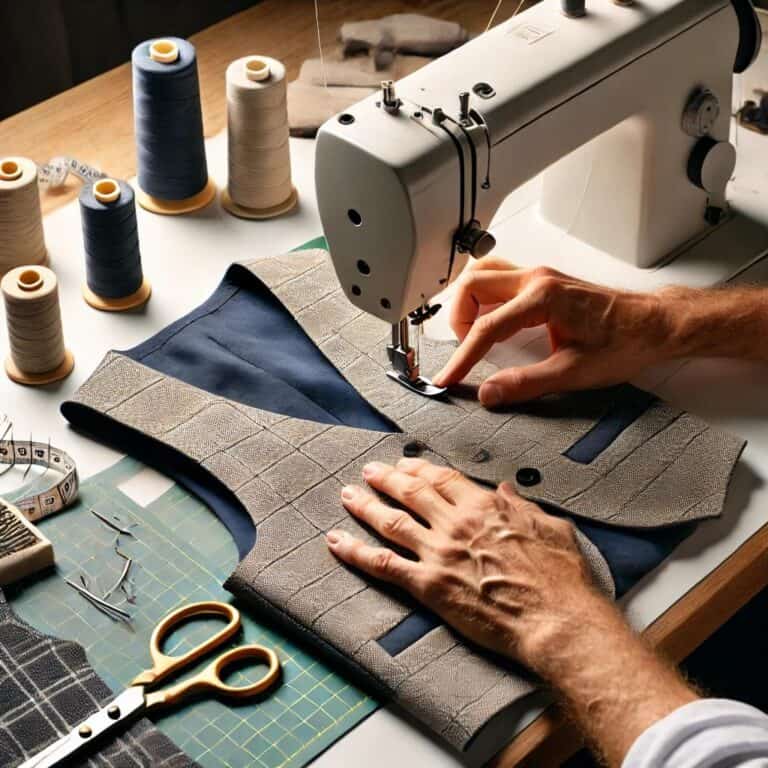
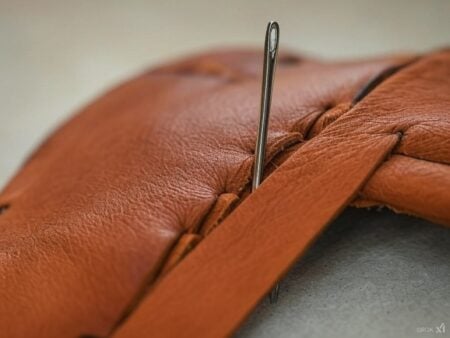
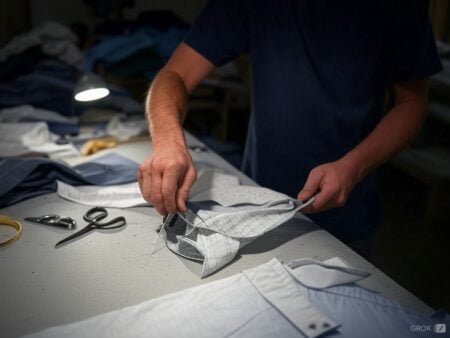
Let me put this in a nice way: I most certainly dislike doing hand stitches. Then, I stumbled upon the facts that it was possible to make a fully lined vest without the use of hand sewing, and I was all in. It turns out, it’s not only possible, it’s actually quite enjoyable – especially when you pull that entire garment through some tiny hole and do a lovely sewing magic trick. Come take a peek inside my mind and experience how exhilarating it is to make a vest without going crazy or becoming unavailable mentally (loosing patience for hand sewing wardrobe).
Step 1: Cut the Fabric (Avoid Fabic Avalanche)
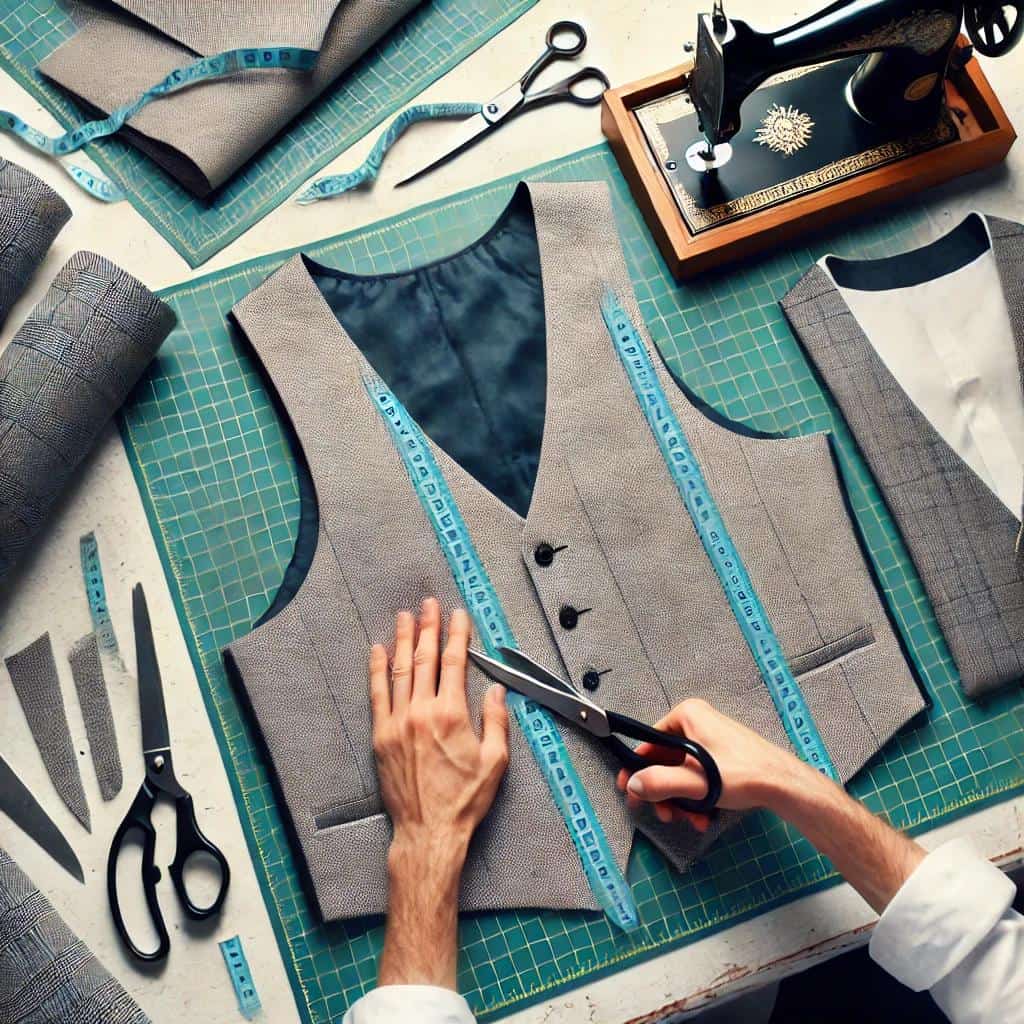
Sure enough, go for the cut-out of the vest and lining pieces. If you have ever tried to fight with a piece of fabric that keeps on escaping from it’s bounds then you know what this part calls for-a very jovial and quite annoying concentration not forgetting a couple of deap7)oghting up angy bre564athes Pro tip-Give the lining pieces about one eight inch allowance on all the edges so that everything fits nicely. This is where I get to feel all posh-But please do not zoom in on my so called, cutting brightness.
Step 2: The Proficient Use of Interfacing (or Faking it for the Benefit of the Brief)
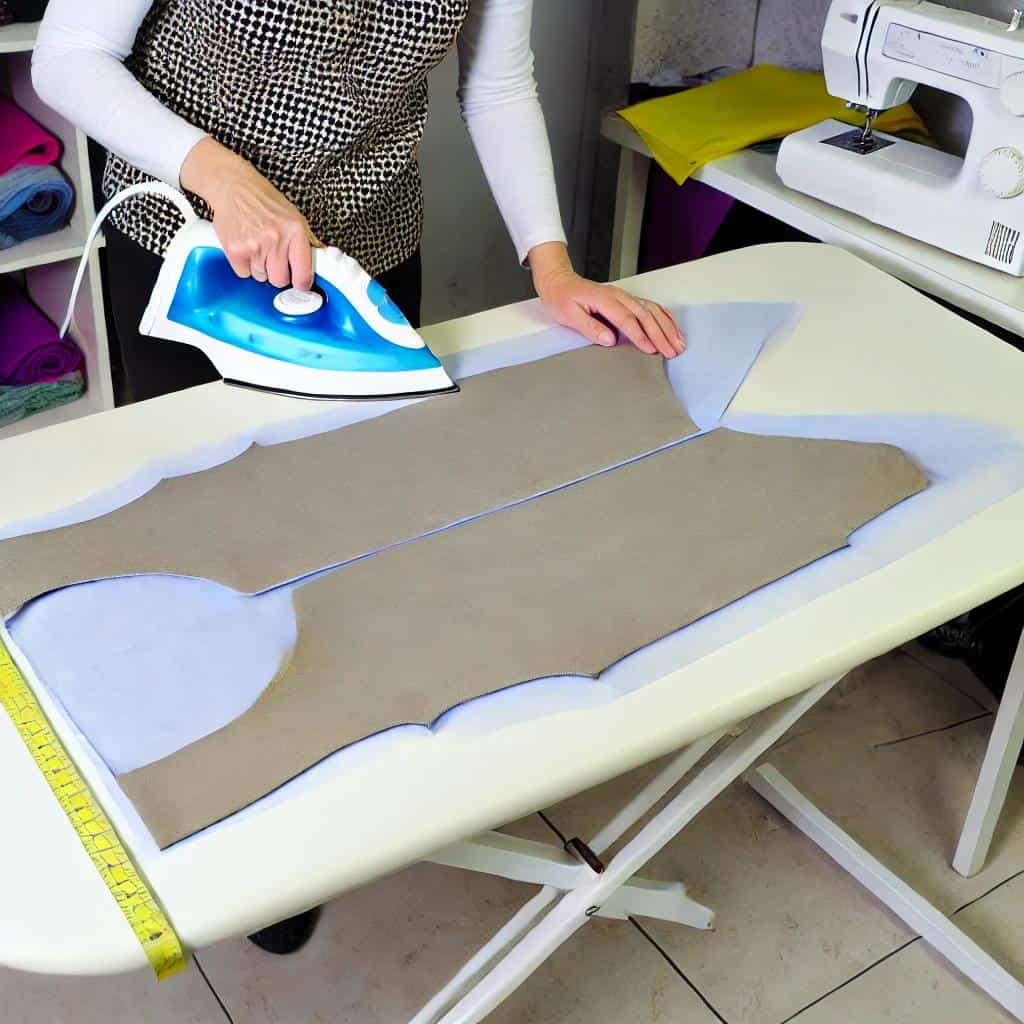
When it comes to women’s vests, you’re gonna want to interface the whole front. As for the men’s vest, you just have got to put some interfacing to the neckline, armholes, and front opening like a pro. Even fleece gets interfaced, yes, fleece has to get the structural treatment too and don’t even mention that I had to google interfacing once more.
Step 3: Hack It with Darts, Princess Seams, and Pockets
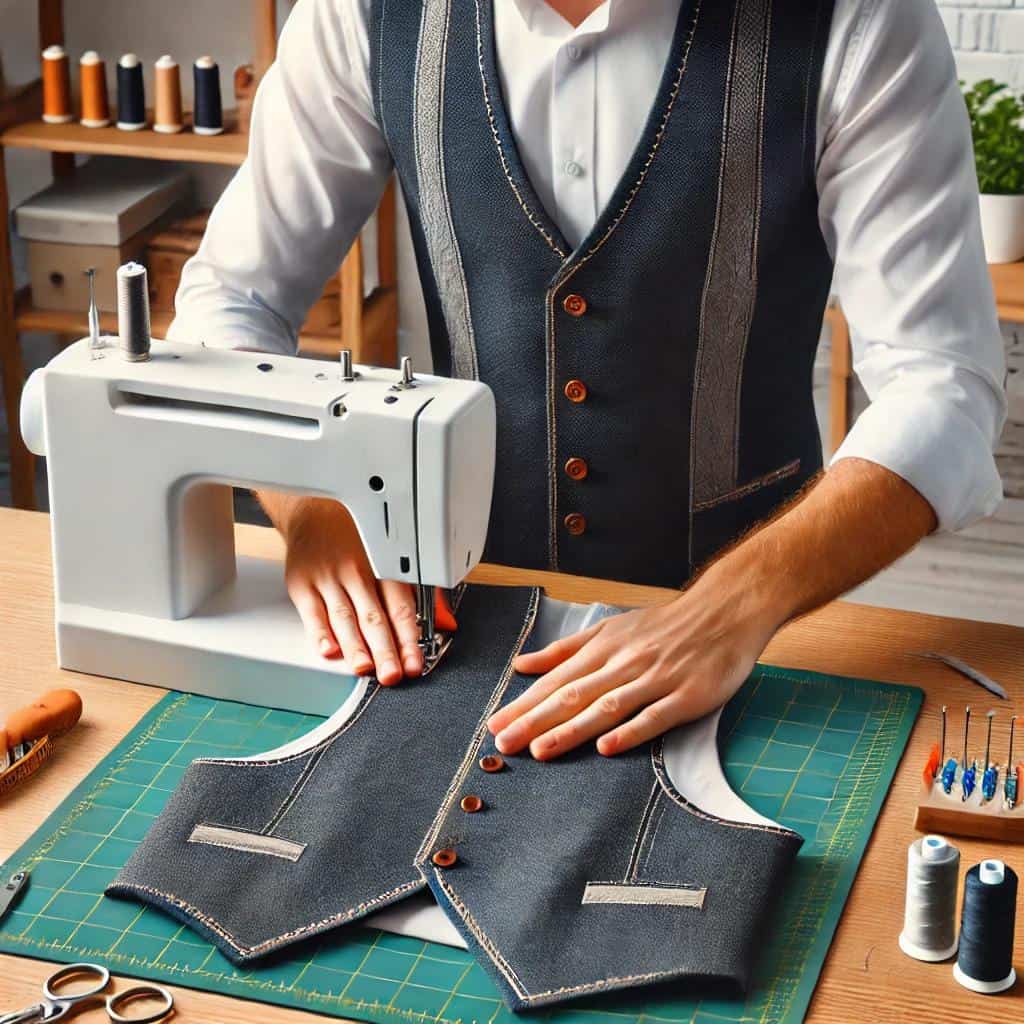
It’s dart and princess seams time, or as I prefer to call it “Why Is It So Hard For Me To Remember Which Way To Press Seams”. Stitch them shoulder seams up on both vest and its lining. Do not even bother themselves to make them perfectly pressed open-I’m not that so inclined to perfection and I’m more of a ‘close enough’ person. And if you feel like getting an extra cut, you can also go for some pockets. You deserve it.
Step 4: Join the Right Sides and Sew the Front
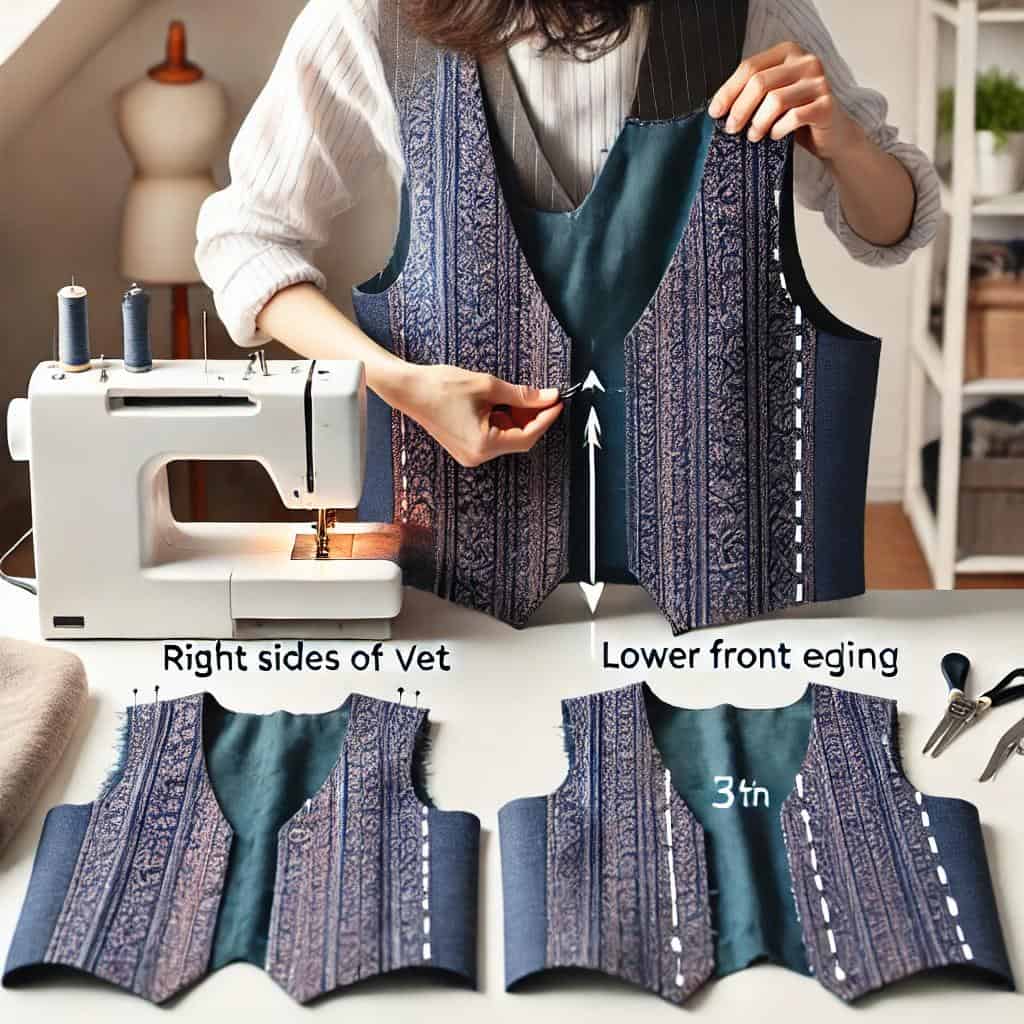
This is the fun part (and the slightly puzzling). You take the vest and lining right sides together, sew also the front edges, bottom edges, and nape line, but not the side seams and lower back seams Why? Because a magic trick is going to be pulled later on, and you will thank me for it. Just go with it. It will all fall into place. Sooner than later.
Step 5: Attach the Armholes Like a Pro
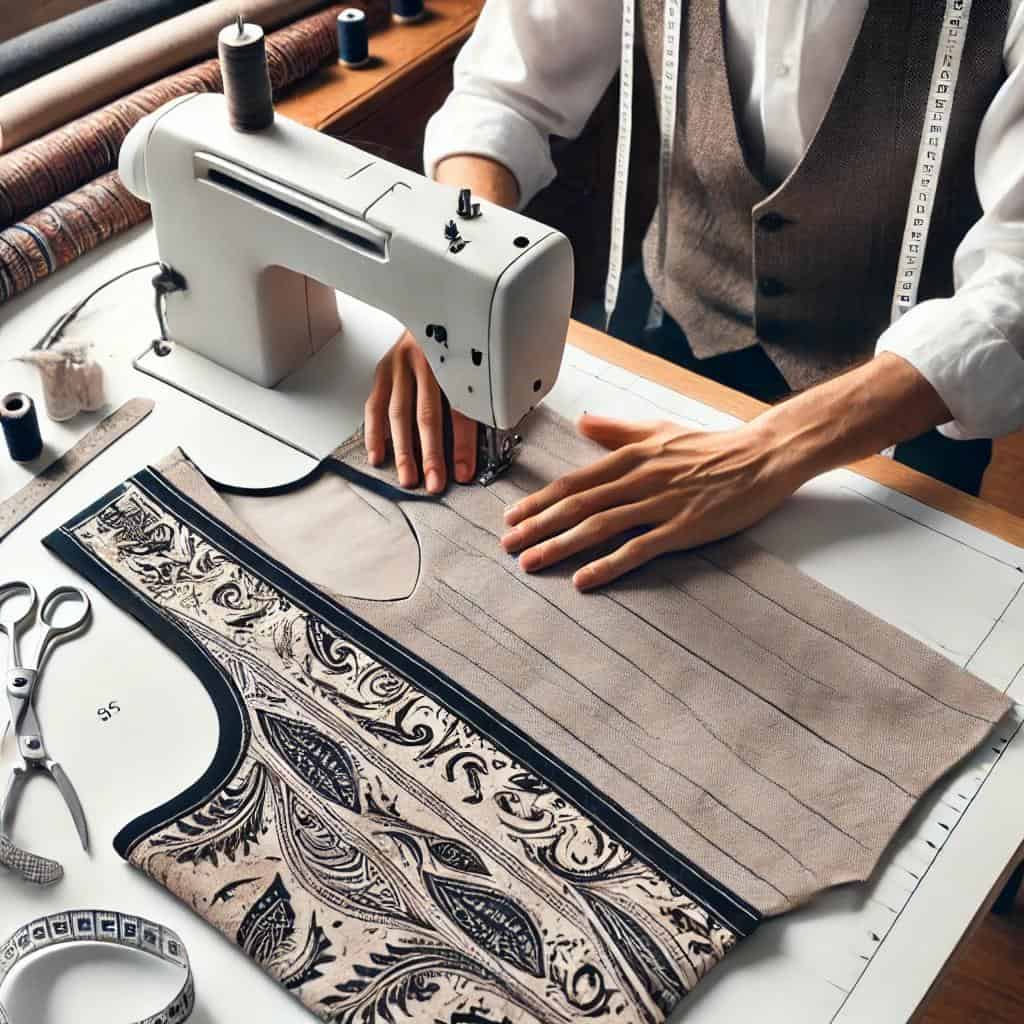
Now we are at the very innermost part of the garment which is the armholes and this is where it gets interesting (in a “where do I even begin” type of interesting). In this step for example you take the lining and the armhole fashion fabric, and sew it down. No, don’t on the side seams. Just make sure you don’t accidentally sew them shut, because that is a conversation with your seam ripper that you don’t really want to have.
Step 6: Pull the Whole Thing Through the Back (Yes, Really)
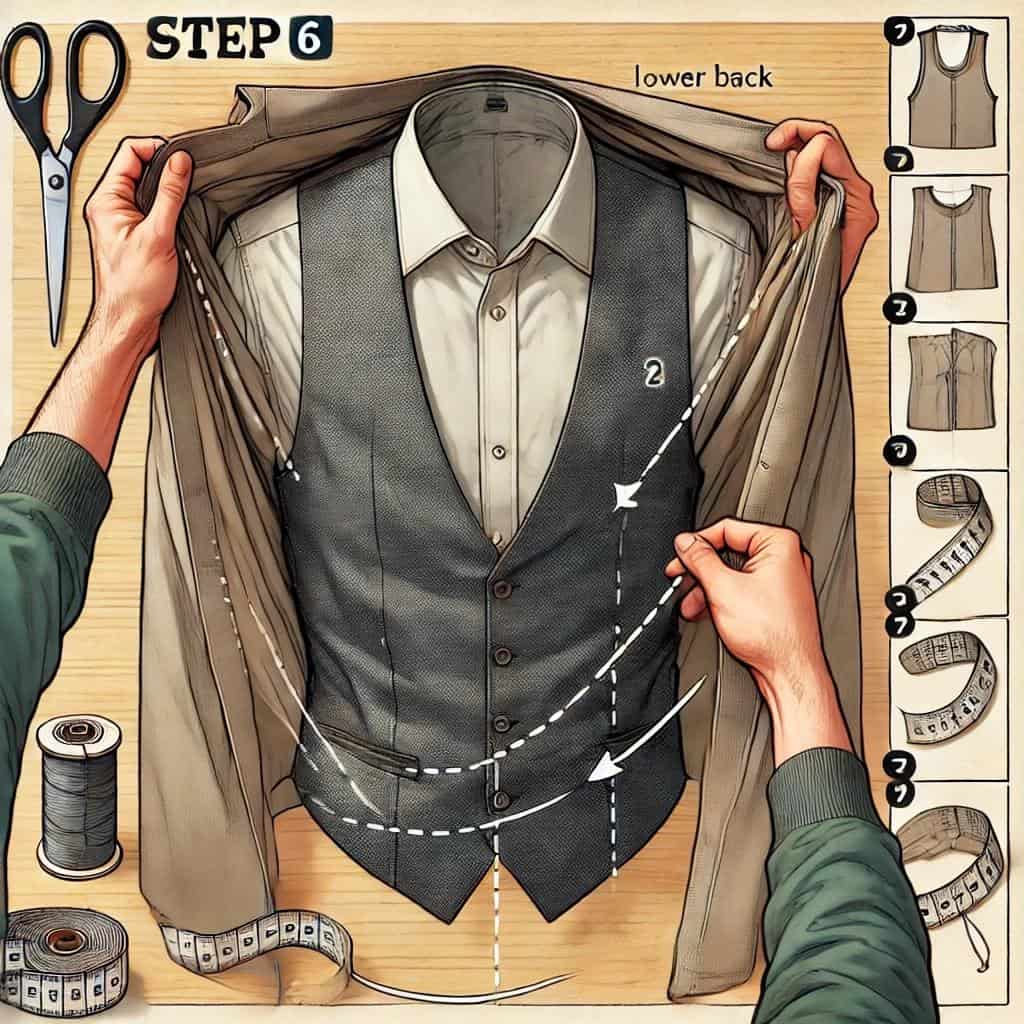
Now this is my favorite part because I have to become crafty: reach beneath the unsewn lower back edge, take out vest’s front, and pull it through the shoulder. Sounds odd no? But believe me, this step is important. You’ll feel like a magician who has successfully mastered an illusion of reaching down a Joomla web template from his/her hat. After each side has been attended, and boom, this is how we transform ordinary flat fabric into well rounded vest with linings. It is impressive, huh?
Step 7: Press Like You Are Indebted to Your Pressing Cloth
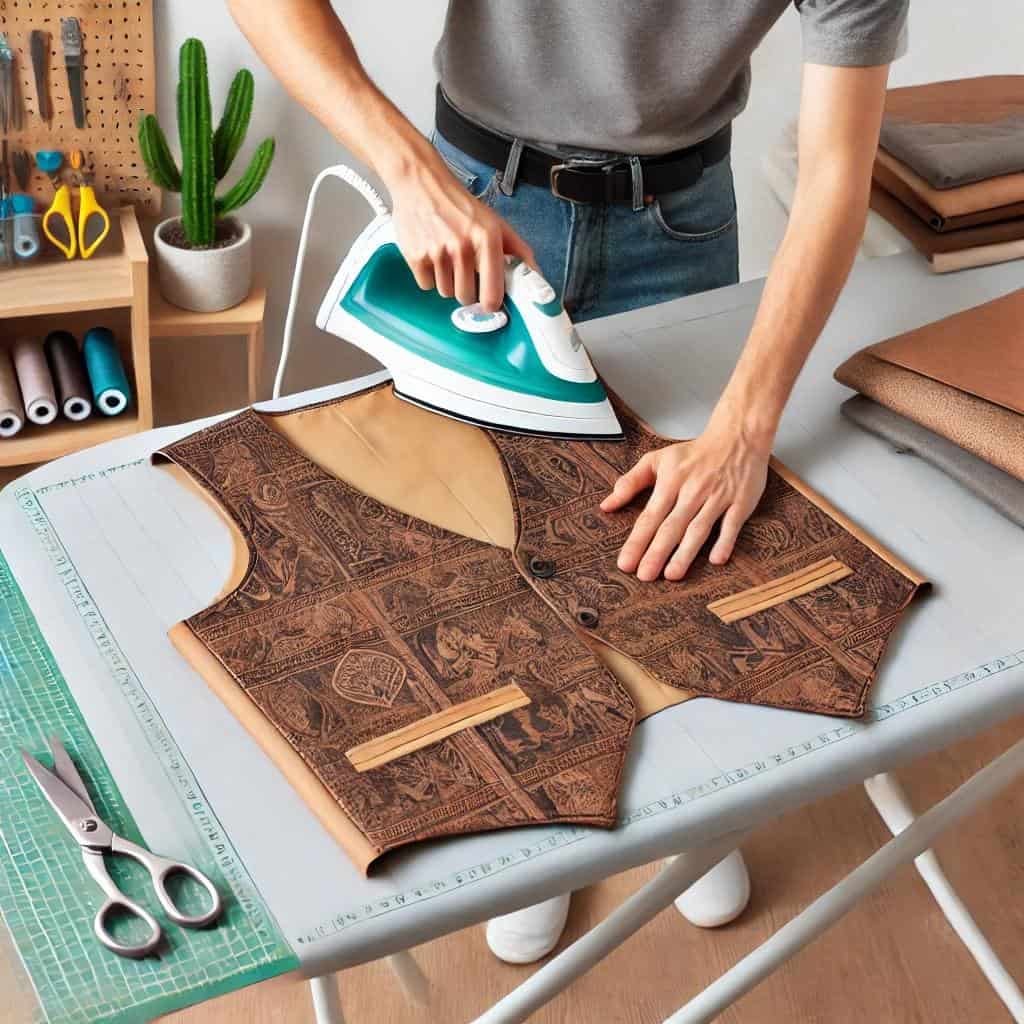
Since we have come this far, it becomes important to apportion the pressing off all these seams. Roll it on the lining so that the fashion fabric concealed seams do not appear ragged. At this stage I usually enjoy pretending that I am cross promoting a product on a TV screen – “But Wait! There’s More!”…
Step 8: Sew Closed the Side Seams (Focus, Just This Will Take a Second)
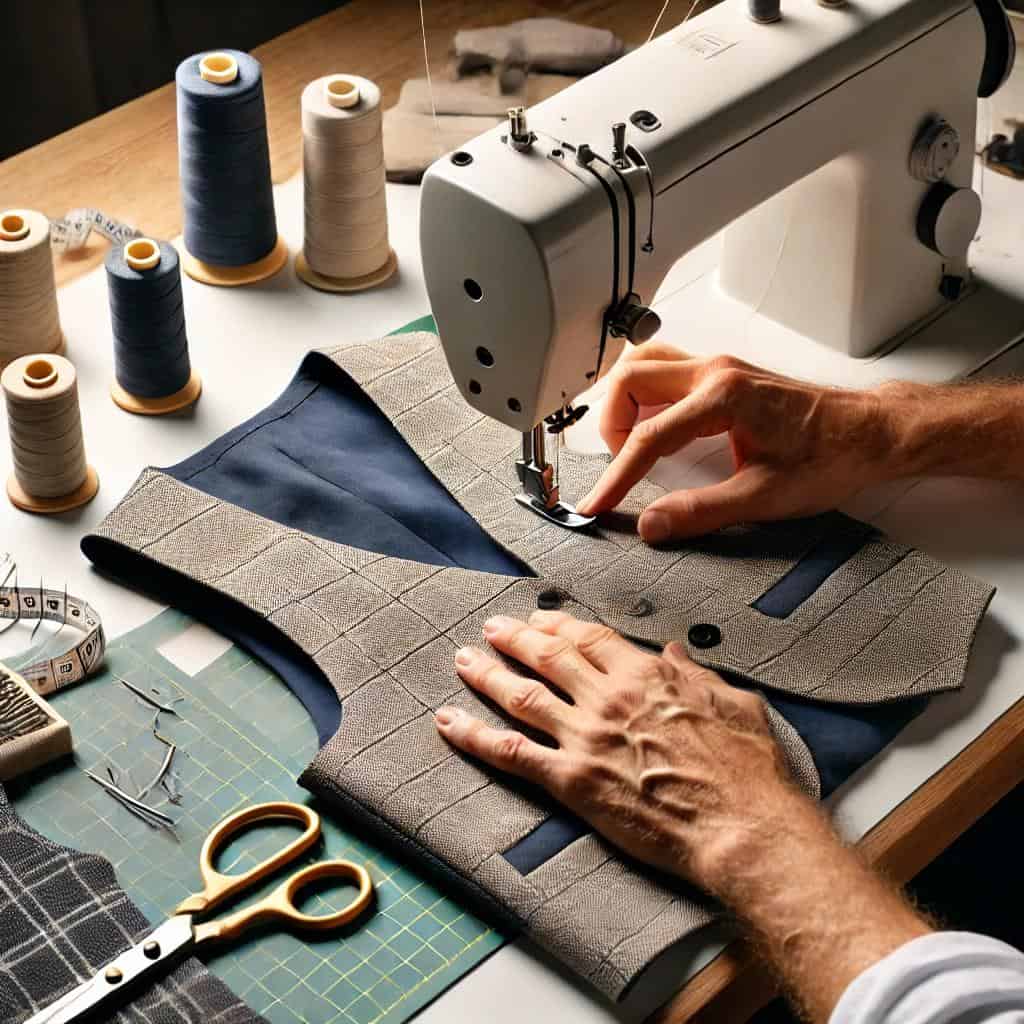
Take the unsewn lower back edge and match and sew the side seams of the fashion fabric. Then repeat on the lining. If you’ve made it through this far without going to town on your sewing machine – well done – you are officially my hero. Dew those seams, and you begin imagining oneself as at the door of some great achievement.
Step 9: Close the Back (But Leave a Small Hole for the Magic Trick)
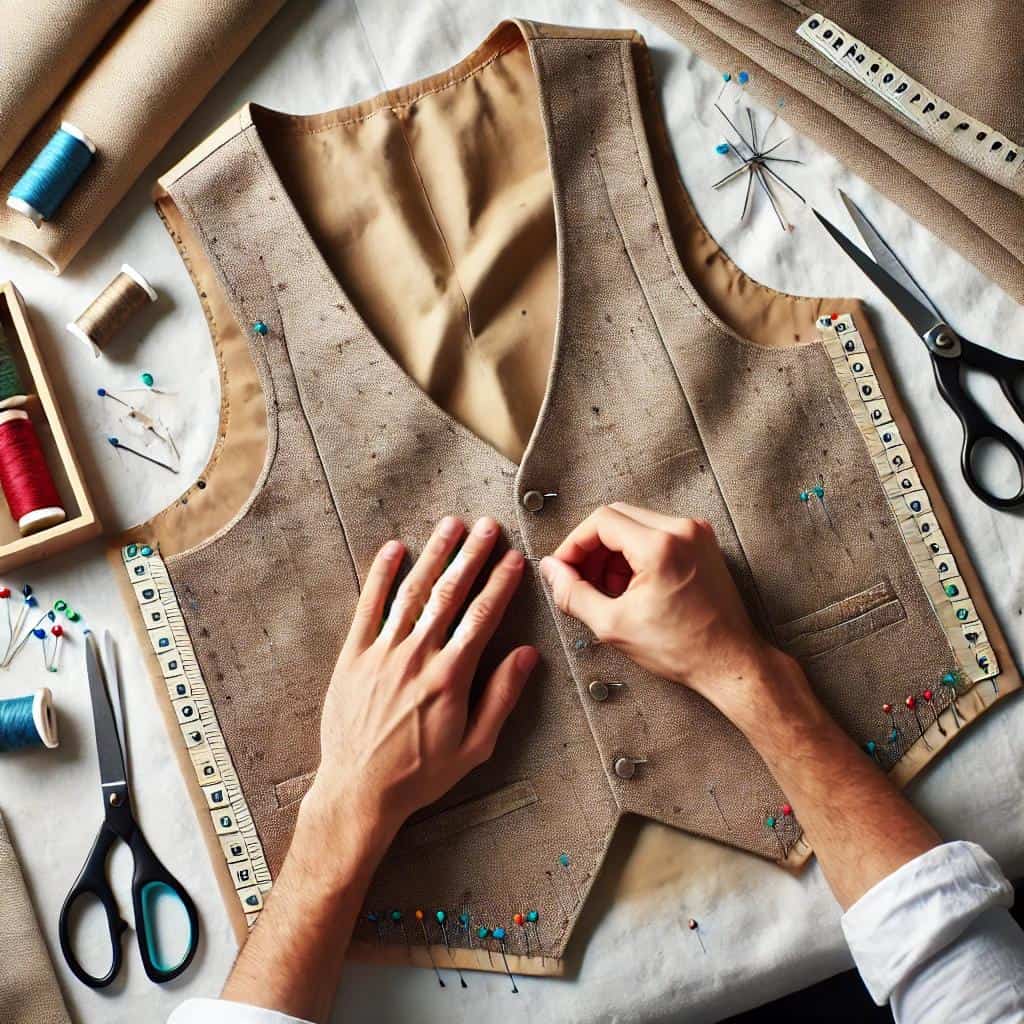
Now we encourage you to turn the vest inside out this way so as to allow you sew in the lower back edge only. However, please do not close the lower back completely, there is another magic trick to be done. Now turn it inside out through that small little hole of yours (I know its hard to believe this but it works just fine!). Now topstitch, blindstitch or hand sew that very last little gap shut and you’re all set. And boom! Yeah, you are now fully equipped.
Step 10: Admire Your Work (and Maybe Add on Some Buttons)
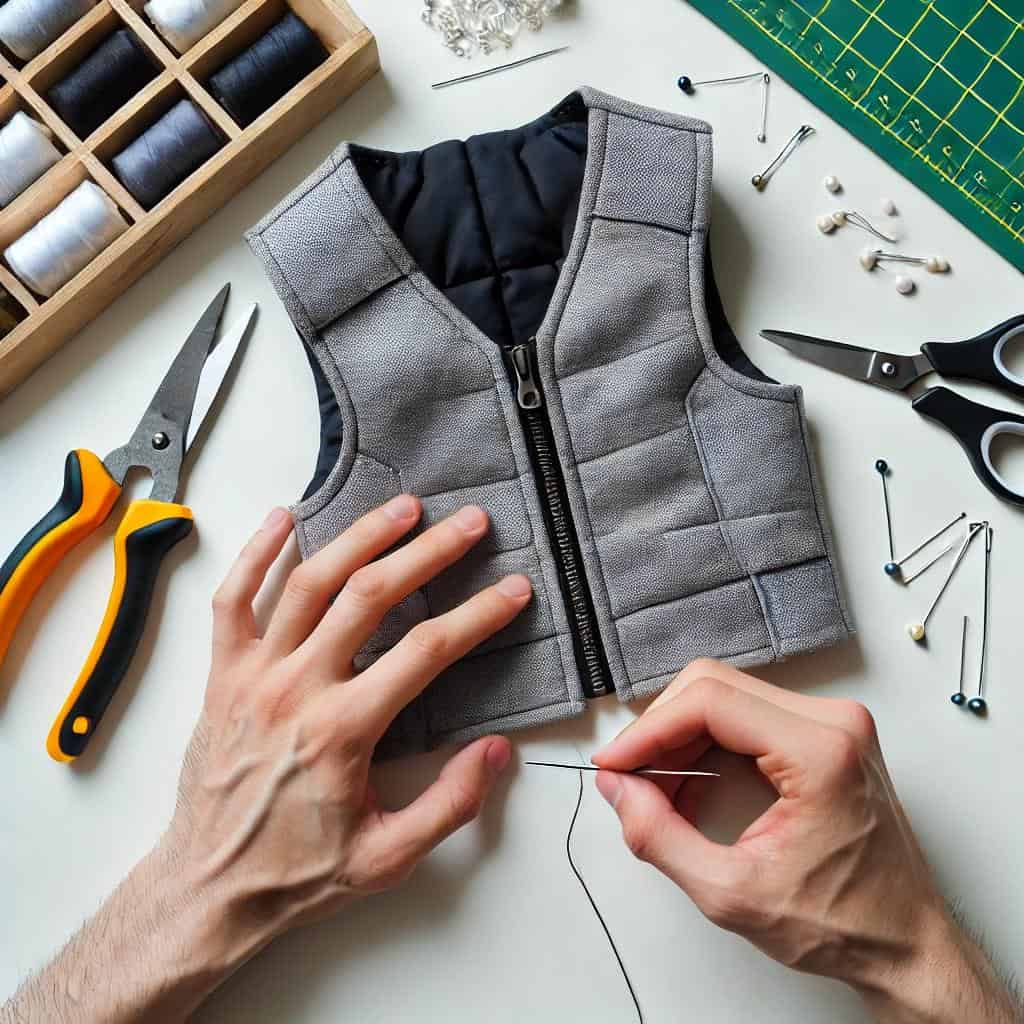
Look at that! You have actually made a fully lined vest with not that much hand stitching and it’s rather cute. You can if you wish add some buttonholes for extra comfort if you want to get all fancy pants. I, on the other hand, would rather sit with a coffee and look at the results of my work because let us face it, there is no way you can say that finishing something like this on time is easy. The source of irritation raises a lot of appreciation for the work when completed since the dedication has been about getting the relative puzzle pieces together and each segment of the work has its own character and that is what makes it interesting.
There comes the solution—a fully lined vest with almost no hand sew in. Well, how is that possible? You didn’t have to suffer through stitching a hundred knots that were so tiny. And I could finally put “sewing magician” in my resume, just like you. Go sew some vests, and at the same time, don’t forget that there has to be a little gap for the magic to come.


