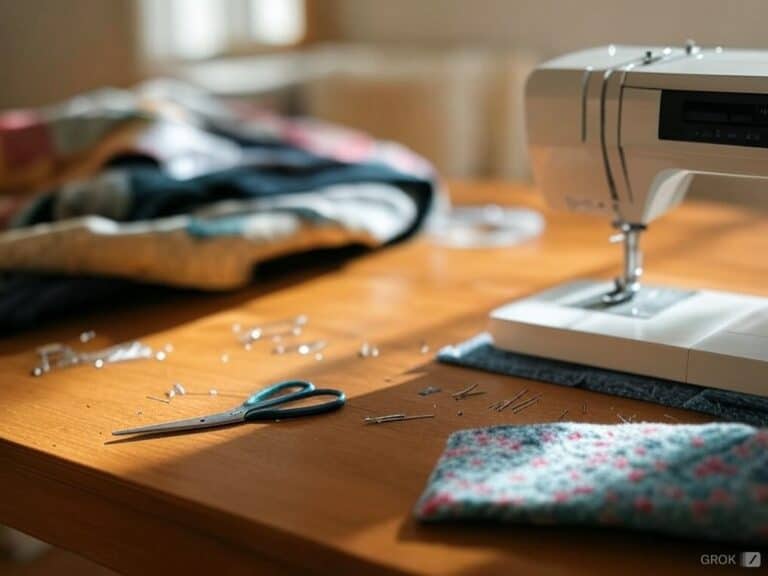
Sewing machines have always felt like a space shuttle. I remember the first time I used that machine with so much intimidation (guess it was so quiet to fit the cheap). My hands were shaking on the pedal as if the machine would just fall down the table. Of course, when the needle started hissing and moving around in cycloidal motion, it was just as scary as it was pleasing.
But everything started clicking after a while until I had to unpick the reverse coil and then put it back in, but hey, this process would just let me remember the exciting feeling of making that mess from the beginning.
Clutters of buttons and knobs were engulfing my mind, as havoc it was, but let me tell you, the moment you learn the process, doing it becomes as easy as sipping on coffee. Do not, and I repeat do not quit a task halfway if you are unsure you will have enough time to finish it up because that won’t make you feel good.
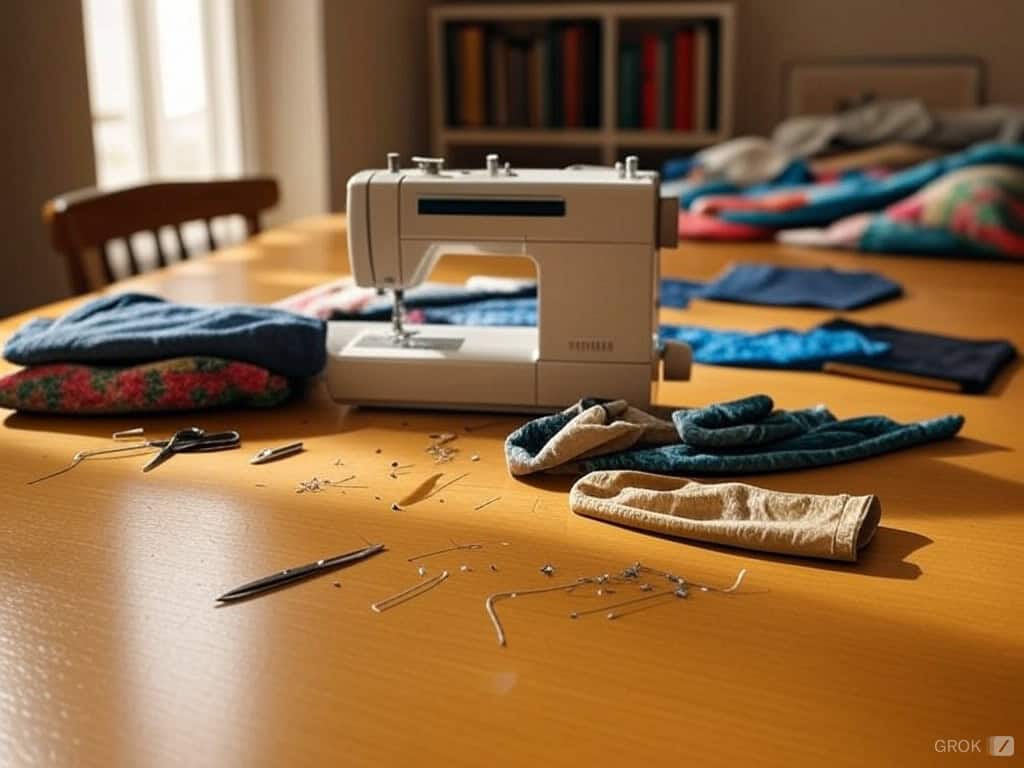
1. Setting Up My Sewing Machine: Basic Features I Use
Your sewing machine is your newest companion, so treat it like one. Learn how it works and its eccentricities including the manual. Yes, even if you are one of those people who throw instructions away. Check the machine for a zigzag, straight stitch, stitch length adjustment, and reverse stitch which is useful in locking seams.
A solid workstation would be composed of a steady table, appropriate lighting, and a comfortable chair. Make sure to have all your craft supplies organized and within reach to make your sewing experience smoother.
The hard way taught me the significance of lighting. My first sewing design done under dim light had the shame of stitches that resembled those done by a hyperactive squirrel. Brighten up your work area or invest in a bright lamp, or better yet, find a workspace next to a window during daylight hours.
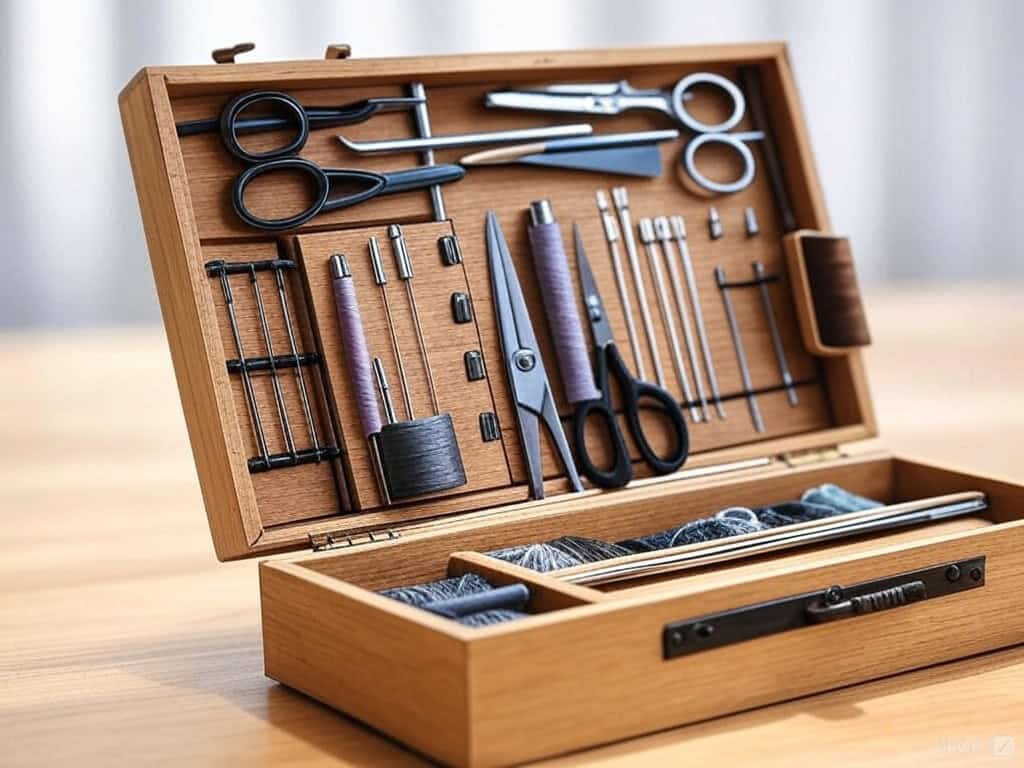
2. Must-have Tools I Rely to Develop Sewing Skills
Here’s a basic kit I started with:
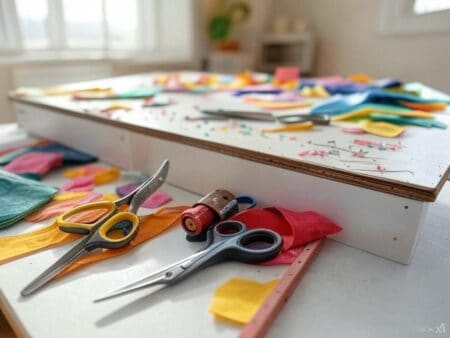
Scissors: Fabric scissors are non-negotiable. Take them away from the other members of your household to keep them sharp. (Trust me when I say that cutting one piece of paper with them will get them ruined more than your grandma on Christmas.)
Pins and Pin Cushion: Glass-head pins are marvelous; they do not melt when you iron them and are pretty cool looking without the fancy price.
Measuring Tape: No one wants their pieces to fit like a sack. Buy a flexible yet precise measuring tape.
Fat quarters are also a great addition to your sewing kit, as they can be used for a variety of small projects.
3. How I Choose the Right Fabric
For me selecting fabric for my sewing project is similar to selecting the desired ingredient for a meal – it’s a decisive factor as far the the finished product is concerned. Considering the various forms of fabrics available, I have come to learn it can be a bit tricky at the beginning, but here is how I handle it.
Consider the Purpose of the Project: The first thing that pops into my head is what I intend to make. For instance, when making dolls and other stuff I would use cotton, and if I am making cushions and curtain clips then I would use said polyester.
Think About the Season: I select the fabric in line with the season I am undertaking that particular project. For instance, for winter projects I would go for heavier materials such as wool and fleece. For summer, I prefer thin cotton and linen materials. Trust me you don’t want to feel like you are in a wool dress in the summer heat!
Consider the Texture: A critical aspect is the texture of the fabric, and it is amazing how much of a difference it makes. For instance, clothing fabrics are usually made with cotton, silk, and other smooth fabrics versus home decor items that use rougher versions such as burlap and canvas. The feel alters the end look and how the project feels like.
Think About the Color: My aim always focuses on the color and coordination of fabrics that I hope to use in my project but I also experiment with some colors that are totally off the project. I never tempered with the idea of color combinations as it is my project!
4. Basic Sewing Techniques I Learned
Every sewing project I have worked on has necessitated me to master several basic sewing techniques. In my opinion, these serve as the building blocks of my sewing performance. Below are some essential tools that make it easier for me to begin:
Sewing Machine Threading: Starting out, I tried out various techniques for threading my sewing machine in order to achieve proper stitches. It felt tricky back then but after a little time, patience, and practice I am with great levels up and threading like a pro.
Sewing In A Straight Line: As one of the first things that needed to be done, I practiced sewing in a straight line. Slowing down with the edge of the presser foot and reminding myself to not rush serves as a great tip for achieving a clean and professional finish.
Backstitching: Backstitching has been and still is one of my primary go-to’s when it comes to securing the stitching seams and preventing the ends from fraying. It may be simple, but it greatly enhances the durability of the project.
Turning A Corner: In my practice, I showed extensive focus on cornering, as that is an important practice in sewing. It feels like steering a car where you need to make a sharp turn. For a perfect sharp turn, I push down the needle with the presser foot raised and pivot the fabric while stitching.
Pressing My Fabric: For me, the most life-changing invention has to be pressing fabric instead of ironing. Depending on how you are lining up the seams, such as opening them or pressing to one side, makes it much easier to make the finished product much neater than it would otherwise be.
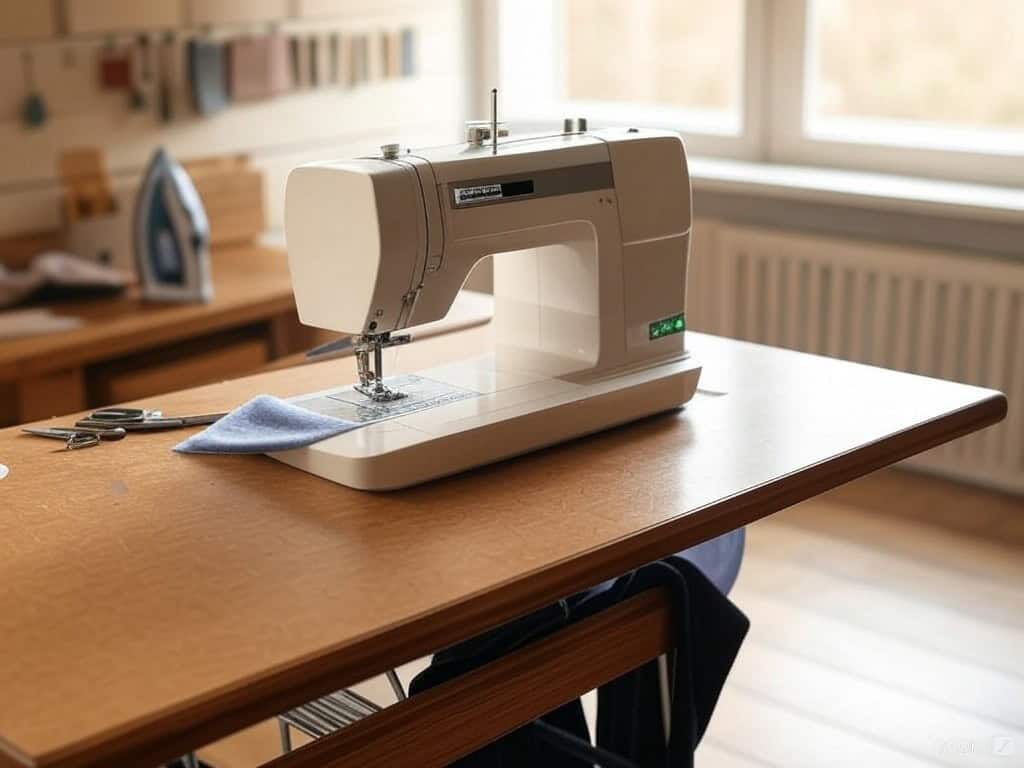
5. Understanding Patterns and Instructions My Way
Familiarizing oneself with patterns and instructions is the key to successful seamstressing. I like to imagine it this way: it is like having a map in my palm for the sewing trip. This is how I do it:
Read the Instructions Carefully: I put the slippers on reading the instructions, before starting with everything else. Although it might be boring, it is something that saves me time and strain later on.
Understand the Pattern Pieces: I even take it upon myself to first know the different pattern pieces, namely the front back, sleeves, and collars. Every piece makes an important contribution, and knowing that makes it easy for me to assemble things back together, perfectly.
Measure My Fabric: I make it a point to accurately measure my fabric as I don’t like to make baseless assumptions that I have adequate fabric for the project. I strongly follow the saying ‘measure twice cut once’ as a golden rule.
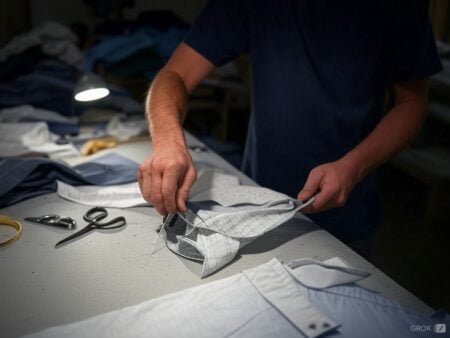
Cut My Fabric Carefully: My main aim when cutting my fabric is to ensure that even if I get four pieces out of it, they are all as even and accurate as possible, therefore I concentrate on cutting my fabric. Proper cutting can be achieved by using sharp fabric scissors and taking my sweet time.
6. Selecting My Simple Fabric Accessories with Free Sewing Pattern
Although my first scrunchie looked like a lumpy donut, I was proud of myself because I felt as if I was making my first steps into a world of creativity. Despite them, the feeling of owning something I’ve created slightly camouflaged my mistakes in a pinch – this was my debut in finger sewing.
For scrunchies, cut a mini strip that is 1 inch to 2 inches wide and about 18 inches to 20 inches long. Sew it length-wise while the right sides are together and make sure you leave a space for it to be turned inside out. Now put the elastic inside, stitch it, and sew the gap closed by hand. There you go! You have a handy accessory that boosts your confidence.
Headbands are similar in concept but larger, about 3 to 4 inches thick and 36 inches long. They are ideal for hiding bad hair days while still learning how to straighten and stitch. You can also use scrap fabric to create unique and colorful hair accessories.
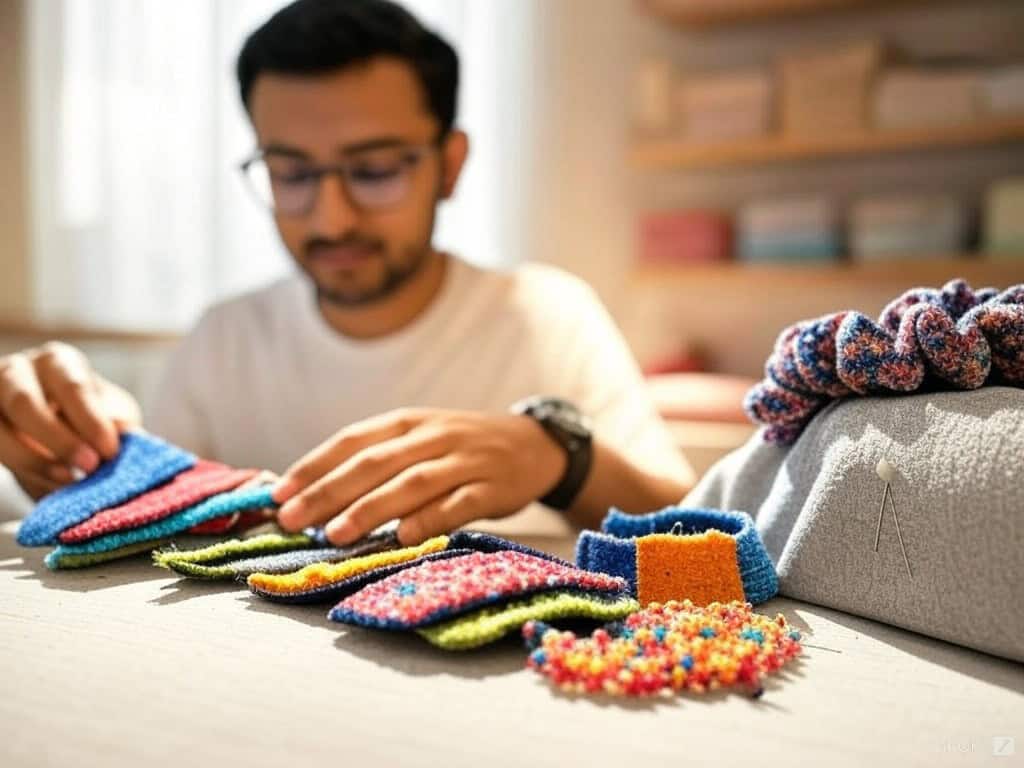
7. How I Maximize the Upcycling of Fabric
Every little piece of fabric is critical! I have this box called ‘Scrap Nation’ where I stash all my leftover material. These scraps are perfect for smaller projects like hair ties that can simply be done by sewing a strip of 10 x 2 inches into a tube and placing an elastic strip measuring six inches in length. It’s convenient as well as eco-friendly!
8. Grasping the Significance of Seam Allowances and Straight Lines in My Quilting
Seam allowances might be one of the underestimated aspects of sewing but they are important. Try to stick to the measurement highlighted on your pattern, usually not exceeding a quarter to a half inch. If you make a mistake, it’s okay to take the stitches out and start again; even today, I respectfully refer to my seam ripper as ‘Professor Fix-It’.
9. How I Start With Simple Handles
Handles are quite easy to make, just cut out two strips from the fabric, fold them in half, and sew the edges together. You may further enhance their strength by stitching another seam or by attaching interfacing to them. There are times that some beginners may find it difficult to sew straight stitches, in that case, a workaround might be to use the fabric marker to draw a guide line onto the fabric.
Attach them to the bag by sewing a rectangle with an “X” in the center to make it stronger. You can also use bias tape to reinforce the handles and add a decorative touch. A while back a friend of mine carried out library books in one of her self-made totes and needless to say without reinforcements, that poor bag just gave up. This is a crucial step; do not overlook it.
10. My Easy To Understand Pillow Cases Projects Using Scrap Fabric
For instance, when you decide to begin with your pillow insert, measuring it is quite important, for it will determine the amount of fabric you would need. When making an envelope style pillow if, on the other hand, if you are making an envelope-style pillow, you would only be required to cut one piece from the front (equal to one side of your pillow) along with two back pieces, an explanation to that being you would required to add around 4 to 5 inches in width. Using patterned fabric can add a unique and stylish touch to your pillowcases.

11. How I Do An Envelope-Style Closure
A sewing pattern or instructions can be studied in such a manner so as not to adversely affect the customization process. I take the time to properly finish the inner edges of the back panels first. Next, all the edges are joined together after placing the two sides together in such a way as to ensure the right sides of the two pieces touch.
At this stage, we sew the edges of the fabric, firstly enclosing the pillow and flipping the other end to turn to the right. I always assist in corner coverage and fabric cross-feed from the top. In the end, the results are neat!
For beginners, I’ve found these free pattern types to be helpful:
Tote Bag Patterns: Great for making bags that can be used again and again, simple and hassle-free so they always work for me.
Pillowcase Patterns: They allow me to design a wide variety of pillowcases that could serve as decoration around my house which I find amusing.
Apron Patterns: These assist in the manufacture of usable aprons which I enjoy and are helpful for household chores.
Zipper Pouch Patterns: Nice for little purses and bags: very useful to keep my sewing tools in order.
12. My Suggestion for Upcycling and Repurposing
Upcycling and repurposing are great ways to get creative with your sewing projects. It’s all about giving new life to old materials. Here are some tips to help you get started:
- Think outside the box: Consider using unconventional materials, such as old clothes, fabric scraps, and repurposed items. You’d be surprised at what you can create with a bit of imagination.
- Get creative with your fabric: You can use different textures, colors, and patterns to create a unique and interesting design. Mix and match to your heart’s content.
- Add embellishments: Think of adding embellishments, such as buttons, ribbons, and appliques, to add a personal touch to your project. It’s the little details that make a project special.
By following these tips and techniques, you’ll be well on your way to becoming a sewing pro. So grab your sewing machine, and some fabric, and get started on your next sewing adventure!
13. How I Avoide Common Mistakes
Ensure that you thread the needle properly and adjust the tension dial accordingly. My initial few interactions with my sewing machine made me sure that threading wasn’t going to be easy. I’ll always remember how there was one time when the bobbin somehow managed to thread its direction inside out, and when I attempted to sew my first stitch, the bobbin thread.
Remember the original machine was in stitches and bolts, therefore, let it guide you around till you hit the sweet spot. And tension? Adjust it until both sides of the stitches are on par with each other. Starting with the best sewing projects for beginners can help you avoid common mistakes and build your confidence.
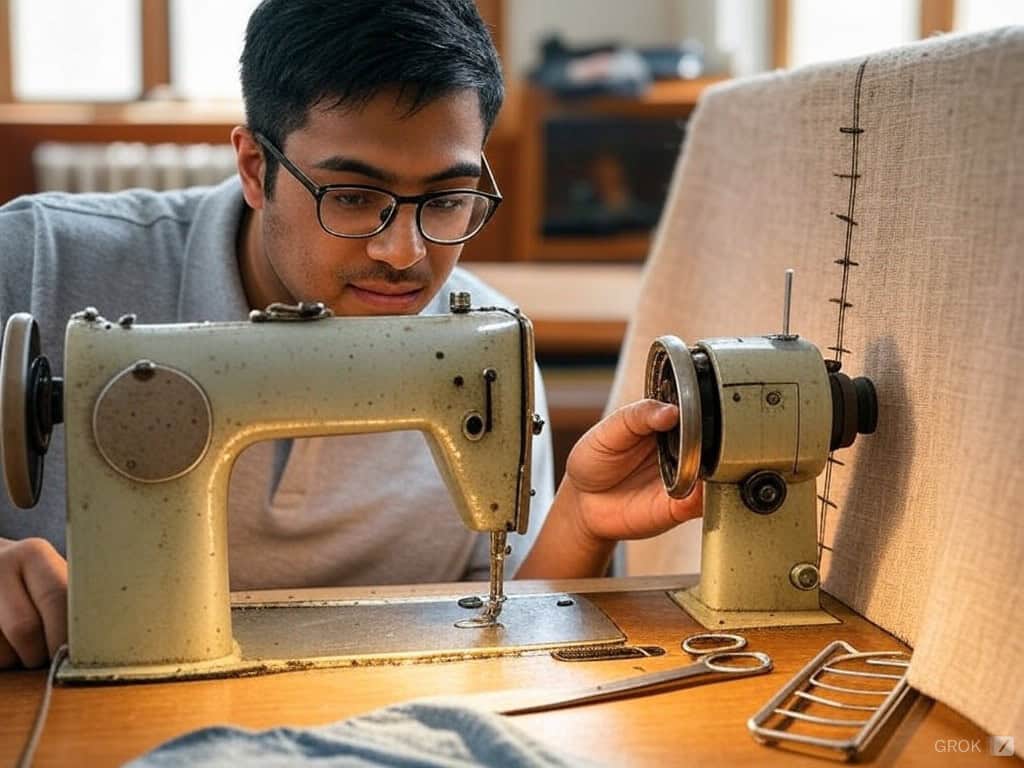
14. Troubleshooting My Sewing Projects
Use a different needle if you do have suasion or scarification. Take everything apart, dissolve fabrics, and rethread the set. Not once overlapping or fabric patterns, but rather allowing the machine to go through with it. It was no issue but this made my receipts resemble contemporary art. As a result, I was obligated to improve my projects. Having a dedicated sewing room can help you stay organized and troubleshoot issues more effectively.
15. Caring My Sewing Machine
After my device started to make a noise similar to a lawnmower, I realized how much maintenance there is for a machine. There is a need to clean off lint after every project and oil the parts that move from time to time as well as keep changing the needles. If you come to treat your sewing machine well, it will most likely reward you.
Sewing is part science and part creativity and 100% satisfaction for the person performing the work. So grab some of your sewing and embroidery supplies let’s get started making huge mistakes and keep working until the bag works properly (you remember that my tote bag had different lengths of straps). Every time you stitch, you not only build things but also create your imagination and self-trust.


