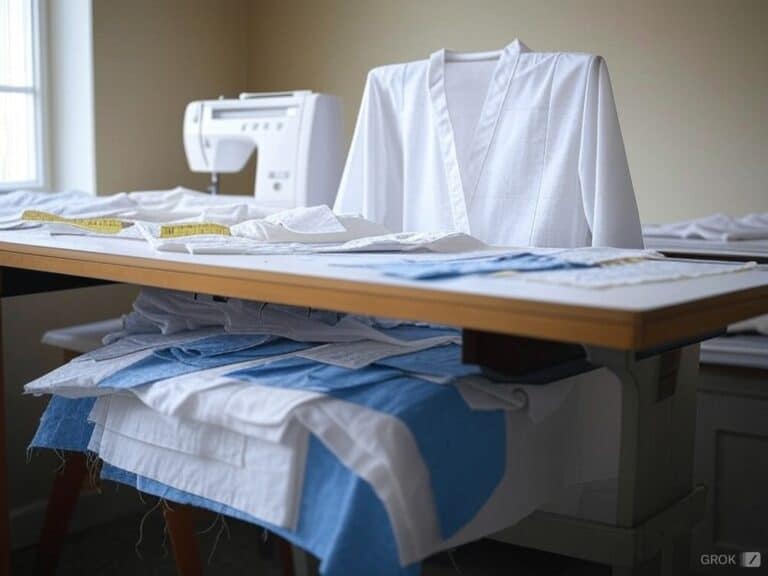
Whether I’m making weekend trips to the beach or going for a swim, I gravitate towards dapper and functional activities. So, the idea of crafting a lightweight robe out of cotton voile baffled me, as I thought it was out-of-the-box.
Lighter weight fabric, such as linen, cotton lawn, and silk charmeuse, is ideal for making a lightweight robe that is comfortable and suitable for various occasions. The most intriguing aspect of the entire process is thinking of a solution that meets your design preferences, practically speaking. And it can be more enjoyable than just how the product looks in the end.
Why don’t we examine my case so that you can repeat it and make your exquisitely appealing piece– first, we must choose the appropriate fabric for the stitching. Heads up: Yes, there were certain problems, but with a bit of understanding and comedy, everything was sorted out.
1. Why I’m Obsessed with the Elegance of Cotton Voile
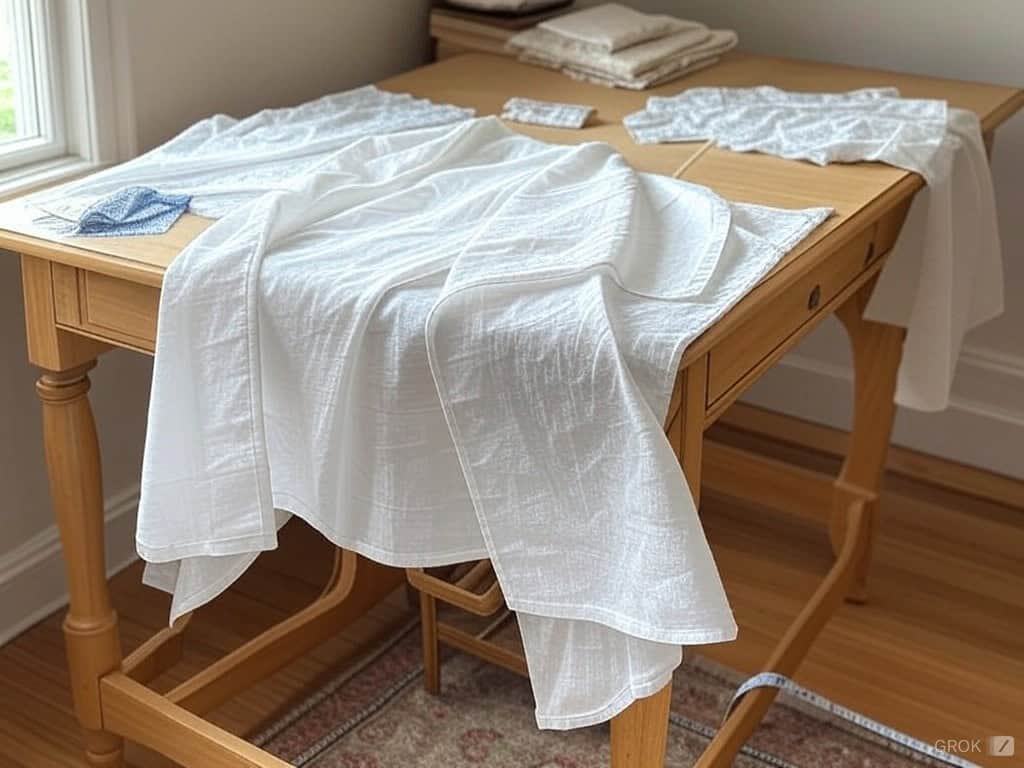
Cotton voile is quite a striking cloth material. It is light, airy, and a bit crinkly when touched, making it an excellent cloth for sumptuous yet functional robes. Double gauze is another suitable fabric option for making a robe, offering a lightweight and comfortable feel.
Consider wearing something semi-sheer and drapey, perfect for hot summer mornings or even worn on top of pajamas. Imagine it to be a spa day but in the form of fabric. There is an interesting tale as to how I came across cotton voile for the first time. Its smooth texture made me want to purchase it right away.
I could picture myself lounging around in the sun during winter, sipping a mug of coffee in a cotton voil robe. It was a fabric that made my vision seem realistic, elevating the most mundane routines.
2. How I Manage Skill Level and Time Commitment in My Projects
It is easier than you think! Using a digital pattern, you can conveniently download sewing patterns in multiple sizes along with instructional PDFs to guide you through the process. If you’ve ever sewn a straight seam and worked with delicate fabrics, you are halfway there. The project requires an intermediate level of sewing experience, especially French seams, and light handling of voile.
I felt like a weekend was just the right amount of time to dedicate to this project. Trust me when I say, I completely low-balled the amount of coffee I needed to stay in the zone. I began my Saturday off with much more promise than I could’ve imagined.
However, on Sunday afternoon I went through every stitch with a pinch of worry over the idea that my initial enthusiasm might fade away. That frustration transferred into satisfaction as every stitch made it look like the robe was getting close to completion.
3. The Tools and Materials I Swear By for My Projects
Obtaining the materials resembled preparing for a skilled robbery, as attention to detail was of utmost significance. But here is the complete set:
- A robe sewing pattern (available for download in formats suitable for both A4 and US letter-sized paper)
- Cotton voile fabric (remember to confirm your pattern for the yardage limit)
- A piece of thread for sewing
- A pair of dressmaking scissors or a rotary cutter
- Dressmaker pins or clips
- A sewing machine that has a new needle (this is important especially for fragile fabrics)
- Measuring tape, seam ripper, an iron, and tailor’s chalk
I thought I was ready to sew it all together- until I realized I forgot some extra needles. You need to have some extras on hand and take my word for it. It gets very irritating when you have to search for a spare needle because you dropped yours mid-way through a project. Such lessons are always a reminder of the age-old cliche saying: how proper planning prevents poor performance.
4. How I Select and Prepare My Patterns for Perfect Results
The Pattern Selection Process
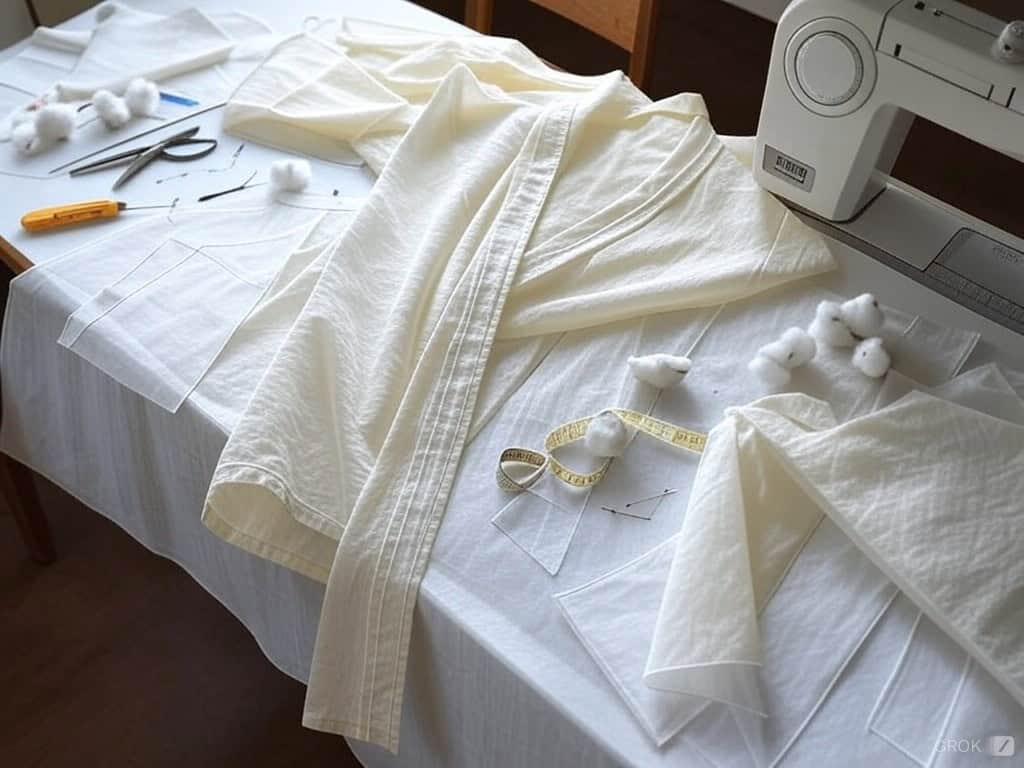
Choosing the proper robe pattern is very critical. In my case, I chose a design that eased out the fabric and wasn’t harsh on the texture. So I was like, some light airy feel to it, simple summer robe vibes.
After going through several patterns and what seems like ages, I came across a pattern and I was like ‘Yes this is it’, it had that special flair to it which I was looking for and I thought it was just beautiful. To be honest, looking for the Sew Design Pattern was just as much fun as actually getting to sew!
Fitting For Tailoring and Finished Garment Measurements
Now is when the excitement started. As someone who is 5’10”, I oftentimes have the need to lengthen standard patterns, especially the sleeves. Depending on individual measurements, a bust adjustment may be necessary for a better fit. I added onto the bottom hem a couple inches and shortened the sleeves in turn to not look as if I am overwhelmed by fabric.
I thought those minor modifications were helpful. The first time I used the modified pattern, it was like trying on a made-to-measure garment and, in a way, it was. Moments like this motivate me to cherish the reason I sew—to make something that is distinctly mine.
Embarking On The Pattern Which Needs Cutting Out
Cutting forex needs to be done in a very careful and delicate manner together with having a lot of patience. I used my rotary cutter on a larger flat surface marking everything in place. It was very difficult yet gratifying, almost like finishing a jigsaw. The hardest part was ennobling my workspace in a way that my cat would not be able to use it and disrupt my garment.
My furry friend however seemed to think the fabric was dresses made for her to wear. It was a great experience of sorts and everything from weaving through my cat’s paws to removing cuts was an adventure on its own.
5. Preparing Fabric for a Flawless Finish: My Process
Choosing Quality Cotton Voile
Always touch the fabric before making a purchase – this is a crucial step. I remember having this tussle regarding a stylish, semi-sheer, and smooth voile that seemed perfectly woven. There was uniformity in its quality which was evident when I held it up to the light- there weren’t streaks or unseemly patches.
I did end up liking the allure of some bright prints but, I stuck with a classic white voile in the end because it’s a fabric that never goes out of style. Perhaps there’s something about minimalism that is just eternal.
Pre-washing and Pressing
On a gentler cycle, I put the fabric in cold water before approximately washing it and drying it by hanging it outside. The ironing session that came after this was quite hard, but one which made sure that we started this process wrinkle-free. Even though my cat seemed to be convinced that the fabric that hung down presented a new opportunity for a game, there seemed to be a meditative quality to pressing fabric.
After all these activities regarding sewing fabric, both the fabric and myself were ready for the next steps. For some reason, the prepping fabric stage seems monotonous. But we all know that eventually, this may prove to be very helpful down the line.
6. My Take on the Fundamentals of Sewing
How to Sew French Seams
Although French seams may sound complicated they are actually quite easy. I began with a quarter-inch seam and stitched a quarter-inch seam after folding the garment so that the right side came together while leaving the other side out. I then cut it down to an eighth inch and put it right sides together.
What did it yield? Absolutely sealed raw edges and an exceptionally sweet clean finish. It’s like trying to wrap a present with no tape—it’s very rewarding. After watching those beautifully sewn seams get created, I knew I was leveling up my sewing game.
How to Work with Lightweight Fabrics
To prevent my fabric from getting pulled, sewing clips were making my practice slightly difficult so I used them in place of pins. When sewing not to force it, especially while using a walking foot helped. At one point, my thread started to feel tight and layer up but thankfully a minor adjustment was made.
That is the time when you understand a bit of patience helps, doesn’t it? This was what tackling voile was about for me, taking things slower and getting the most out of it.
7. Adding a Structural Element: My Step-by-Step Process
Belt Loops
To my surprise, belt loops appeared easier than expected- almost like mini tacos in a fabric wrap and sewing blanket. I cut voile into strips, stitched the strip ends together, and then intricately melded the two pieces together which was rather enjoyable.
Every successful connection felt like a personal victory. Once all the pieces were neatly joined together, fastening them onto the side seams was an easy task. There is no doubt that completing each of these tasks as an reformed weakling- will you now appreciate the difference between an amateur and an expert.
Collar and Pockets
As someone who enjoys working with pockets, during this redevelopment phase, I knew skimping their creation was never going to be an option. An automatic attention grabber, the collar made it easier to work the piece around it, where a slight getting used to work wonders.
But now, I need to pour some honesty alcohol- getting the collar shaped to be satisfactory requires a good amount of brainstorming and smooth control over verbal communication. I redesigned every single aspect of the gown in such a manner, that every step I took assisted in sharpening the end look of the gown.
Reinforcing Points under Stress
Sewing an extra stitch into the underarms, hems, and belt loops reinforced the sore spots and a very touch of fabric created an added value to the robe. All of this added a delicate detail that I knew would last a lifetime.
Whenever the new robe is worn while sipping my morning coffee, I keep my head high, proud to know that I have reinforced every seam whilst keeping all the minute details in perspective. So adding all of these taking my time felt like I was perfectly fabricating the robe for the next joins it is worn to.
8. Adding the Final Touches to My Projects
Hemming
For the finishing of the edges, it was decided that a narrow hem would be sewn. The intention of folding and pressing the edges twice is to ensure a clean and neat look after stitching is done. It’s toilsome yet it is worth every minute.
At this point, I was fueled with half the amount of pure dedication, and the other half contained caffeine. The hem was beautiful so seeing it after working solely for that was extremely pleasing after putting in so much hard work.
The Belt
The process of making the belt was quite easy. It was simple to fold, sew, turn it to its right side, and have it pressed which surprisingly completed the whole robe. It almost felt like putting a ribbon around a present when I wrapped it the first time around, I must say it felt rewarding. It turned out that the whole build was complete when I put on the belt.
Final Pressing and Care
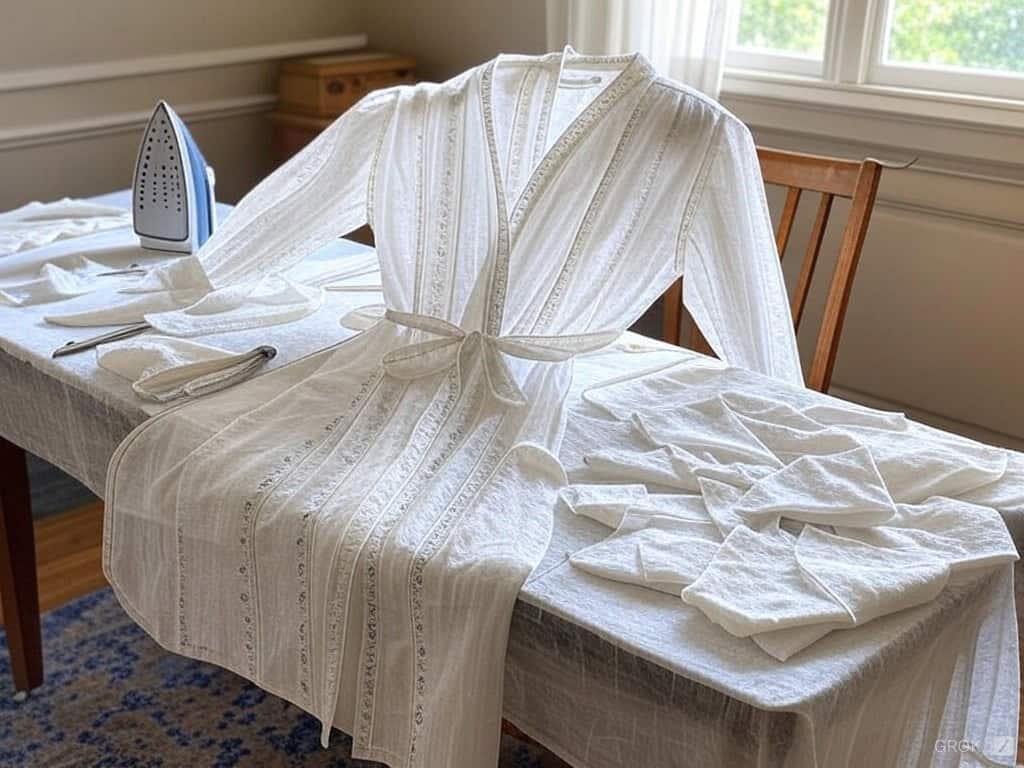
The last part where the robe was pressed was able to give the robe what seemed to be a professional touch. To prevent scaling, I will be putting it on a soft washing cycle and let it dry naturally. In order to stand out and add a unique touch, I put a packet of dried lavender flowers in the same drawer. Touches like these ensure using something that you have made yourself feel much better.
My Joy in Making a Lightweight Cotton Voile Robe
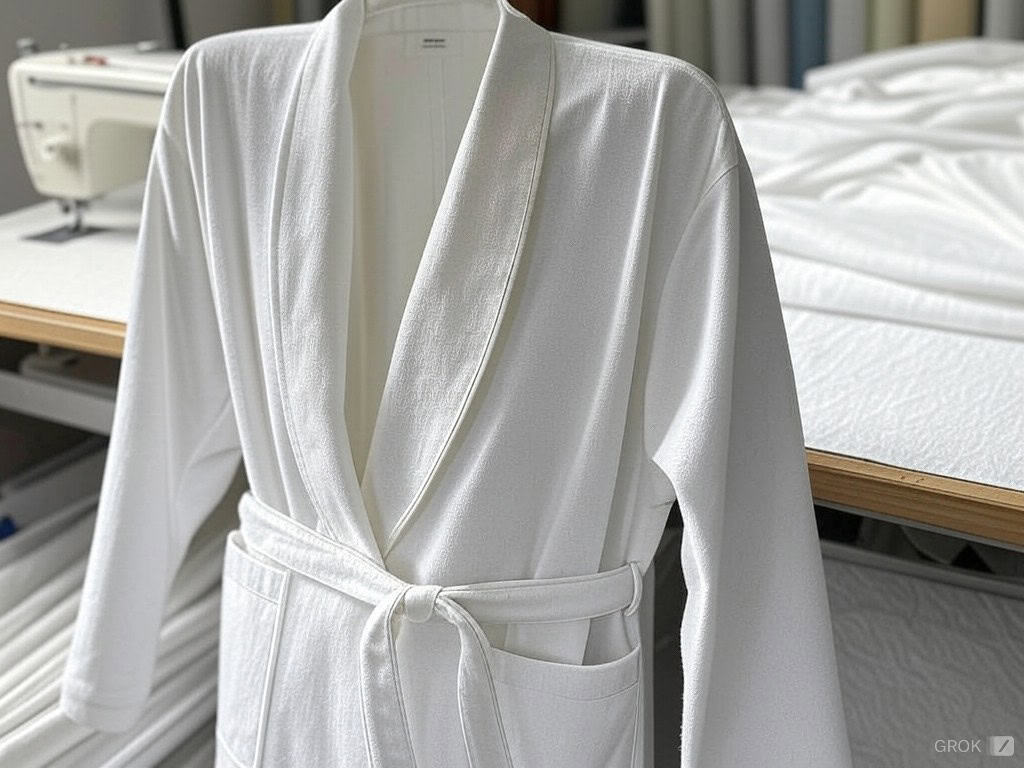
And so, here is a lovely lightweight cotton voile robe that is quite pleasing to put on, as much as it was to sew. It was a fun mix of accuracy, imagination and some laughter (more like watching the silly acts of my cat). So whether you’re making something for your wear or as a present, this robe is a beautiful project which will give you satisfaction. Now, if you’ll excuse me, it’s time to treat those around me as I would a lovely holiday in Paris.


