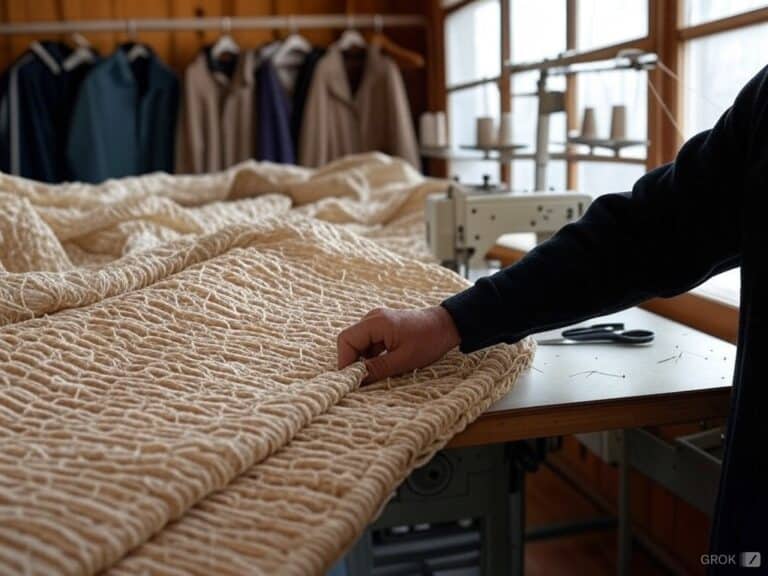
I never realized how crucial the knowledge of woven materials was when I took up sewing. Initially, I thought it was enough to just select any fabric and work my magic on it. Easily predicted, this didn’t occur in reality.
Quite the contrary, through the experience I gained, I was able to fathom that for a sewing project to be successful, the fabric selection, the essence of the pattern, and the technique are everything. Allow me to take you on this journey of transforming plain woven fabrics into your next best-loved garment.
1. My Journey to Understanding Woven Fabric Patterns
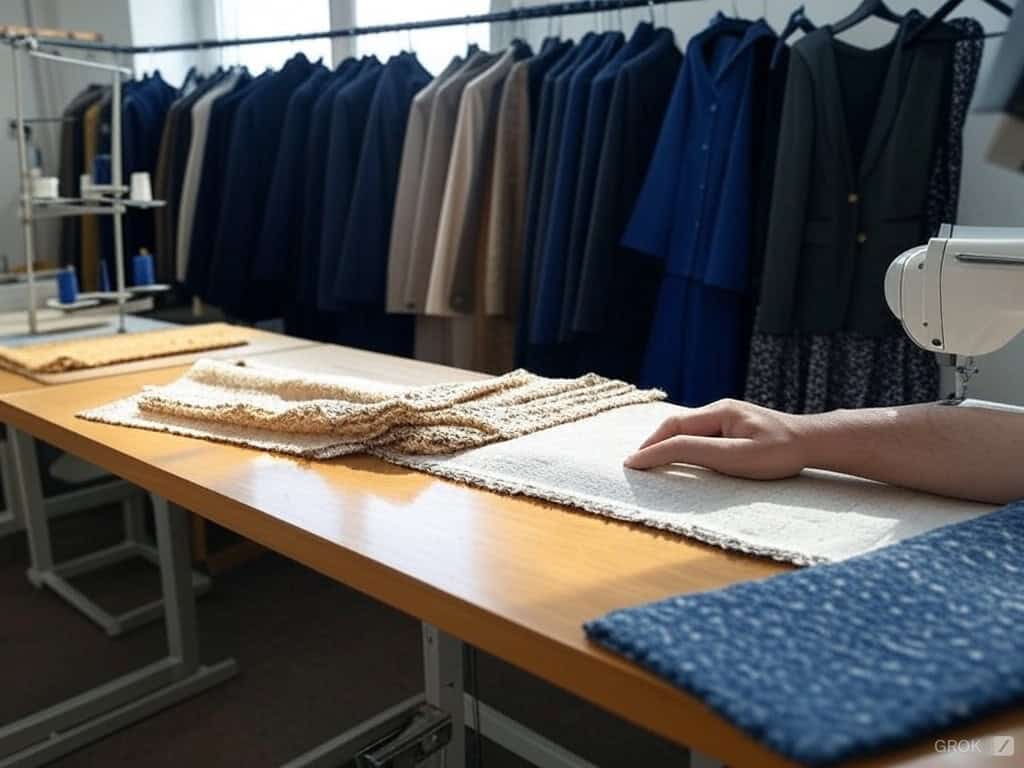
To further understand woven fabrics, one must comprehend woven fabric patterns, they are like the skeleton of your garment aside from the necessary needlework. This is what I have learned over the years. There are several types of woven fabric, each appropriate for different sorts of work. Let me list my incomplete list of favorite ones for you:
Cotton: I use cotton every day. It is the quintessential lightweight, breathable fabric that is able to be sewn easily. I remember sewing a complete set of summer dresses for my niece out of cotton and let’s just say she was twirling for a couple of hours nonstop.
Linen: Linen is also a well-known fabric trusted by many, especially on those boiling hot summer days, nothing like a quick change into a linen shirt. The only downfall? It crinkles quite easily and in summation wrinkles. But crinkle-free face masks were effective for the face.
Silk: As you probably know silk is very hard to manage its like managing liquid gold. It’s soft and feels great, but I have to admit, it is extremely slippery at times. For this one, I have figured out that thick silk and a lot of pins work well!
Denim: Denim is quite strong, like a good pair of my denim trousers. a thicker needle and a stronger thread is needed for it but then again, the denim is great for some cool jackets.
Twill: Fabrics such as chinos fall into the twill category and are best suited for day-to-day use. I’ve made quite a few trousers with twill and the results are quite good. Twill fabrics are often used for garments with a relaxed fit, making them ideal for everyday wear.
2. Reading and Interpreting Pattern Markings for Woven Fabrics: What I Learned
A sewing process has many patterns, which may look like a blob of lines and shapes but are indeed your allies, once one learns to read them, it saves a lot of fuss. These patterns are crucial:
Grainlines: Grainlines are the key to giving a neat finish to the piece. The arrow pointing along the grain must be aligned with the fabric’s selvage. Getting it wrong will mean that the garment will hang down awkwardly.
Darts: Darts are like a miracle. They assist in contouring for a specific shape of the garment on the body. Remember that there is a wide and point end, thus it is recommended to sew from the wide end, move to the dart end, and match the dart lines. You don’t want to be in my shoes after having stitched darts, so let’s just say that I’m a constant double-checker now.
Notches: These small triangles are points where the accuracy of placing pieces together is made easy. In case I’m behind my schedule, I sketch them in chalk, still, don’t ignore them!
Seam Allowances: The broken lines are the places where you shall sew. For most woven fabrics, residential sewing allowances are 5/8 but check the patterns. Cut one piece and measure twice, especially those seam allowances that get difficult to aim at, I have learned this the hard way.
3. How I Select the Right Pattern Size and Make Adjustments for a Perfect Fit
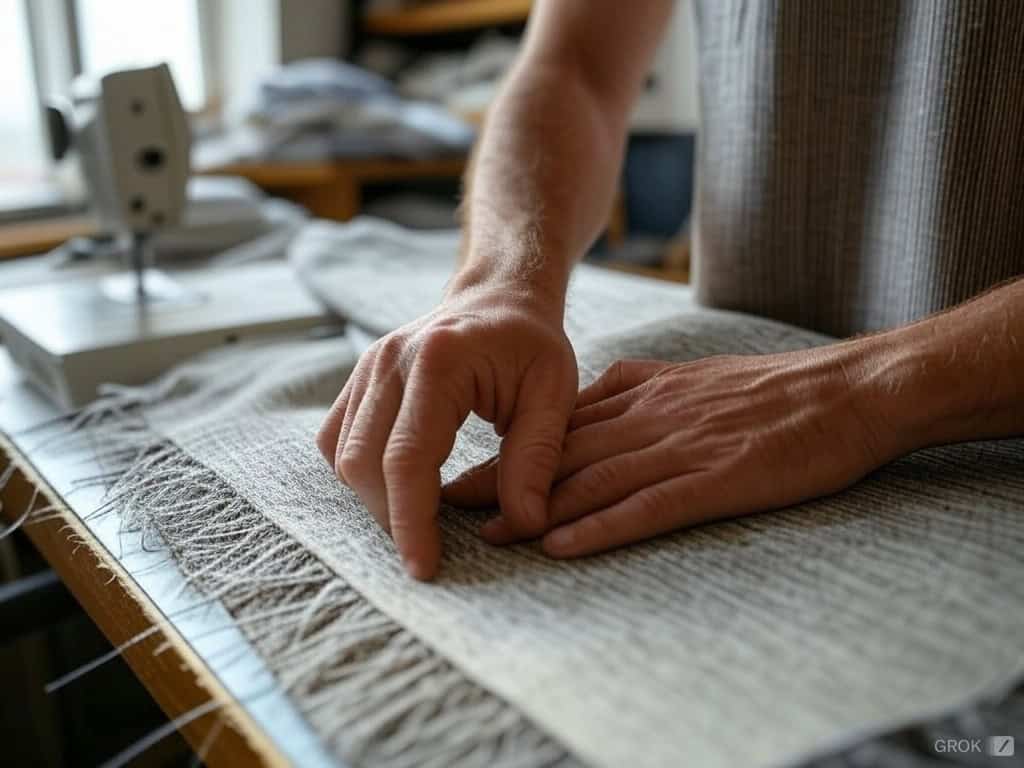
In the initial stages, selecting the correct pattern size for different body types was unpredictable at best. This all changed once I understood the importance of taking a measure.
Measurements: First step: get the measuring tape and record your measurements. For some time, I did not even consider it to be a requisite, however, this is probably the reason why I once again suffered in too-tight shirts. Well, that is, I learned to appreciate a well-fitted one after a couple of them, believe me.
Size Chart: Your only savior at such moments is the size chart on the pattern. At times, you’re in two sizes—do not panic, please! Well, I had to blend between two sizes and it works quite well.
Adjustments: The adjustments have to be made because changes in the garment are always necessary so do not be shy, use them. Once, I had to take out the middle of a skirt pattern by three inches because let us say, I am not 5’ 10’’ tall, assuming one foot more would be quite helpful. Therefore, simply locate the adjustment lines and make the required alterations to fit different body types.
4. The Essential Tools and Prep I Use for Working with Woven Fabrics
This is the part where the fun starts. With the proper tools, sewing was a much easier and more fun experience for me in my projects:
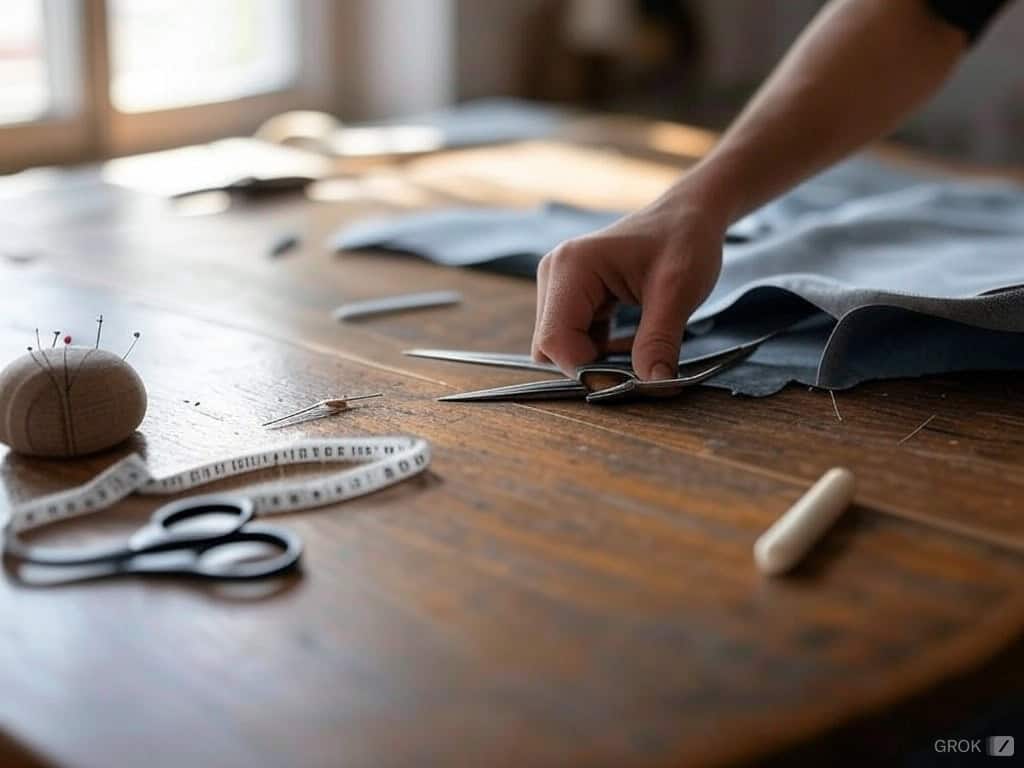
Fabric Scissors: I replaced fabric scissors with a pair of dry fabric scissors a while back at home underneath the needles, which I now do not want to repeat. So, fabric scissors are deal breakers.
Seam Ripper: Almost every person makes mistakes while cutting the cloth or sewing and because I like to use the seam rippers often, it’s safe to say most of my lies haven’t turned out to be the end of the world — when one uses seam rippers, there is always a silver lining somewhere.
Pins and Pin Cushions: Let me tell you that fine glasshead pins are best for woven fabrics since they do not leave massive holes in the fabric while penetrating it.
Measuring Tape: This is quite literally every fashion designer’s best friend when it comes to modifying the pattern or making sure that the fabric is cut to the correct size.
Tailor’s Chalk or Fabric Marker: It is very important to mark your fabric with features such as darts, snips, and grainlines. For better visibility, simply make use of a fabric marker or tailor’s chalk.
5. How I Master Layout and Cutting Techniques for Flawless Results
Now, we’ve finally arrived at the section where we can cut the fabric. But before we do that, let me tell you, I have committed more than a few mistakes during this phase.
Grainlines: Pay close attention to the run of the fabric as it applies to the pattern pieces. This is quite important because if this step is neglected the resulting garment may hang in an awkward way. This could affect the appearance of the finished garment. So, be careful.
Pinning and Cutting: Place your fabric on a rather big surface and affix your pattern to it. Because I do not want to be left with the blemish of the pin marks, I use pattern weights instead. Next, I slowly cut around the edges, the most important part is to be careful.
6. The Basic Construction Techniques I Use to Build Perfect Garments
The cutting of the fabric leads one to an interesting phase. This is where the garment comes into existence and my learning curve on how to do this has been steep.
Understanding Grainlines: This of course is vital in how the flex responds to the administration of forces. If I could begin again, I would definitely understand grainlines because if they are not aligned, unfavorable twisting or stretching of the garment can occur. Best ensure that they are in line with the self-edge of the fabric.
Seam Allowances: Very impressive remarks about these neat seam allowances. I used to have battles with seam allowances, however now, I do not battle anymore because I ensure all the seams are properly pressed and finished.
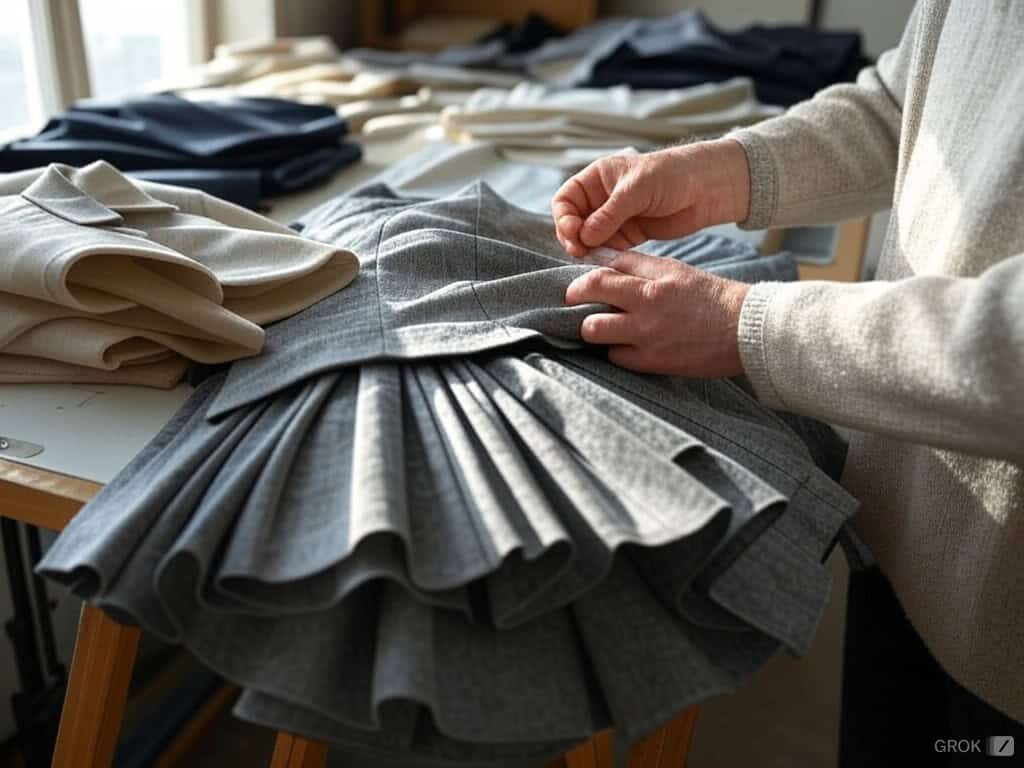
Dart Construction: Thorow and darts are all about adding shapes to the dimension of the garment, and well, they are a bit challenging to do so at first. I remember making one that was somewhat misplaced and the results were not good. These days it’s all precision for me. Pin, fold, stitch, and press– just like a professional.
These techniques are essential for anyone looking to create garments that are both stylish and well-fitted.
7. How I Tackle Complex Pattern Changes for a Perfect Fit
So as I evolved, I began to change up the patterns so that I could get the correct sizing. So this is what it boils down to:
General fitting changes including full bust or sway back: This also means don’t freak out if like me you have strong busted figures, there are ways for you to fix those features! In case you’re fully busted and wondering if there are adjustments for you, there are! Haha, I’ve done such alterations in the past and they are a significantly tremendous alteration for how the garment fits.
Changing specific elements of a garment: When altering the pattern, make sure to keep sure the whole intention of the design is maintained. I’ve gotten it wrong with a couple of garments because I was careless with the risk of making the changes in them. Always map your specific pattern pieces to be sure.
Sequencing two or more patterns: Now this is the interesting section and the most entertaining section as well. There was this time when I mixed a fitted bodice with a flared skirt pattern and Oh My God, it turned out to be an absolutely beautiful unique dress!
8. The Special Occasion Garments I Create for Unforgettable Looks
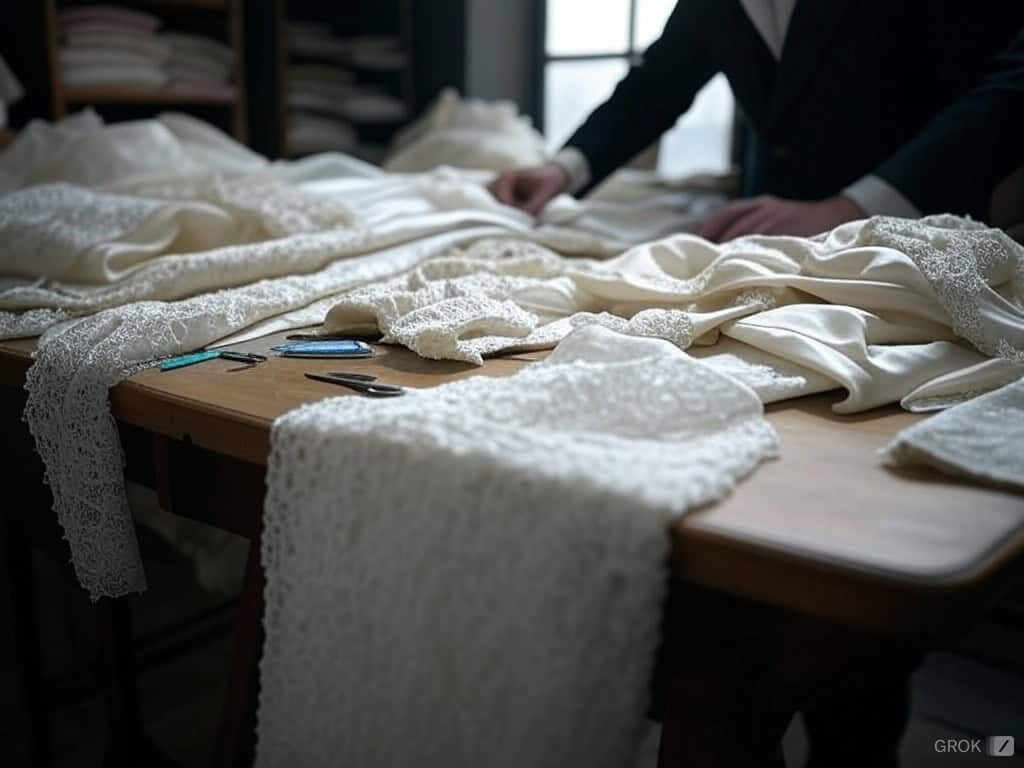
Creating special occasion garments, like wedding dresses, formal gowns, and cocktail dresses, requires extra attention to detail. These garments often need additional features like boning, corsetry, and beading, which can add complexity to the construction process. However, with the right pattern and fabric, you can achieve stunning results.
When working on special occasion garments, choose a pattern specifically designed for the event and select fabric that suits the garment’s intended use. High-quality materials are a must. I’ve designed a few evening gowns and even a wedding dress, and the key is to take your time and pay attention to detail. Use sharp tools and stitch fragile fabrics to prevent them from shifting or fraying.
Don’t be afraid to add your personal touches and embellishments to make the garment truly special. Whether it’s a bit of beading or a unique trim, these details can elevate your garment to the next level. Just remember, patience and precision are your best friends when working on special occasion garments.
9. The Final Touch-Ups I Add to Perfect My Garments
I would like to say this is the most exciting stage of the garment where sheer creativity turns out to be in full action and every garment is transformed into a piece of art.
Pressing: People often tend to ignore pressing but I may recommend paying a bit more attention to it. It is crucial if you want to achieve a more professional look in your garment as it increases the overall look by 100 times.
Heavy Embellishment: Heavy embellishments are seen on a lot of evening gowns and other tailored suits which require interlining and boning concealment which may enhance the overall look of course. Such embellishments twine or even sew (each has its place) perfectly with wide necklines which don’t have a wearing requirement of necklines and gowns or baseline which require deep necklines and skirts. So, I do prefer wearing black underskirts with black gowns and veils that are blind to midrange ones.
Final Fitting: As per my all efforts I don’t skip the final fitting and it is surprising how big of a difference it makes to have all the items custom fitted to me.
Sewing with Woven Fabrics: My Journey of Trials, Errors, and Fun!
Sewing with woven fabrics has been a matter of trial and error but I have enjoyed every second of it. Everything is in place, including the painstaking selection of the appropriate material and the perfection of sophisticated techniques when the garment is completed. This can be especially true if you are a novice or if you are trying to master a refinement so just try to learn it step by step and have fun! And if everything fails remember there is always seam ripper therapy!


