My endeavor to make a circle-pattern baby quilt was marked by a huge learning curve. It all began with unintentionally scrolling through Pinterest one late night and having the vain thought that “it wouldn’t be that hard. ” How wrong can one be? A spoiler alert: It was a messy route filled with fabrics, threads, and more cups of tea than I am willing to count.
The end result, however, made it all worthwhile. It is true that every stitch phrases are cliche for a reason. Here’s how it progressed in every small detail, with certain laughter and lessons learned along the way.
1. How I Got Started with Understanding Circle Quilts
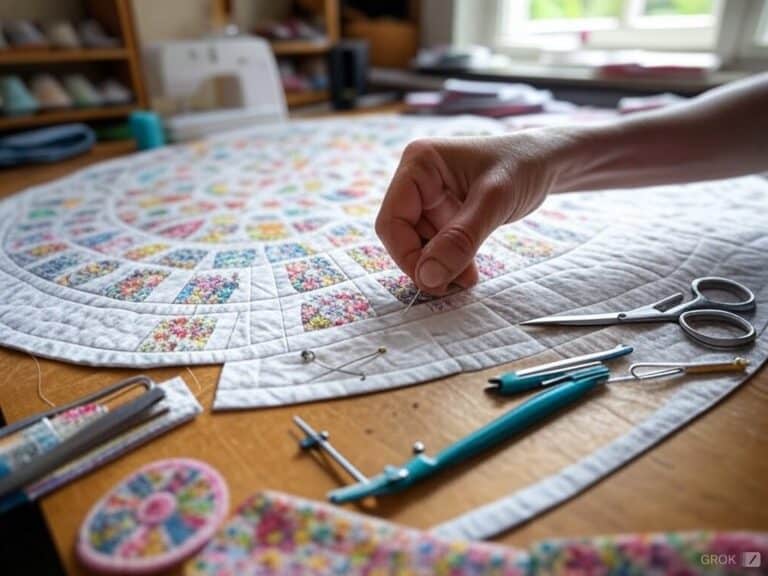
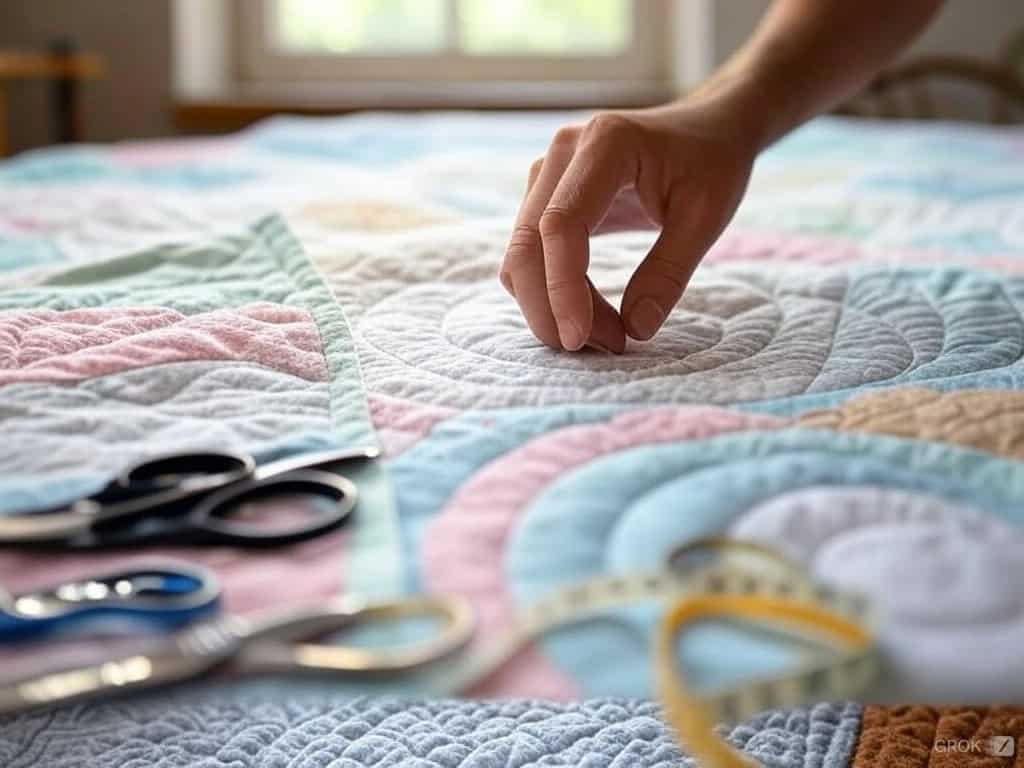
Circle quilts are a delightful and visually striking type of quilt that features circular shapes and curved seams. They can be a fun and challenging project for quilters of all skill levels, offering a unique twist on traditional quilting patterns. Understanding the basics of circle quilts can help you get started on your project with confidence.
A circle quilt typically consists of a series of circular blocks or shapes that are sewn together to create a larger design. These blocks can be made using a variety of techniques, including curved piecing, appliqué, or quilting. The curved edges of the blocks are typically sewn together using a stitching line, which can be done by hand or by machine. I remember my first attempt at curved piecing; it felt like trying to tame a wild beast, but with practice, it became a fun challenge.
One of the key elements of a circle quilt is the background fabric. This is the fabric that provides the base for the circular blocks and helps to tie the entire design together. The background fabric can be a solid color or a print, and it’s often chosen to complement the colors and patterns of the circular blocks. I once chose a light gray background fabric that made the bright prints on my circles pop beautifully.
When making a circle quilt, it’s essential to have enough fabric to complete the project. This includes not only the fabric for the circular blocks but also the background fabric and any additional fabrics needed for the binding or backing. Trust me, running out of fabric mid-project is a quilter’s nightmare. Always buy a little extra to be on the safe side.
2. My Journey Into Creating a Circle Pattern Baby Quilt: Essentials and Lessons Learned
For people who dive straight into the crafting of a circle pattern baby quilt, rest assured, you are in for a pleasant mix of patience and chaos. As a beginner, I found those curved seams intimidating but a little practice turned my fear into fun. and if you are an experienced-quilter, then circles are another delightful addition to your tasklist.
Items like bowls, plates, or even cookie tin lids can serve as great circle templates. Additionally, using a circle template from any popular template collection ensures accurate circular shapes for your quilt designs.
Gather These Essentials:
Fabrics: Choose soft pastels and fun prints and use materials that are safe for babies for your quilts such as 100% cotton fabric. Scrap bins can be a great source of material, and I remember coming across a polka-dotted print that was sitting at the bottom.
Templates: Items like bowls, plates, or even cookie tin lids can serve as great circle templates. For example, I once used my toddler’s toy tambourine and it worked wonderfully! You can also create your template for customized fabric circles, using materials like cardboard or plastic to enhance your crafting experience.
Cutting Tools: Get a good pair of cutting scissors or a rotary cutter as cutting equipment. The tools must be sharp as dull tools and machinery will lead one to have regrets.
Marking Tools: When marking tools, the best option would be fabric chalk or any other fixative designed specifically for fabrics. Try not to use pens as they might be difficult to wipe out sometimes: the first time I tried to use a ballpoint pen for a ‘guideline’ around a corner, it became the only line I ever drew.
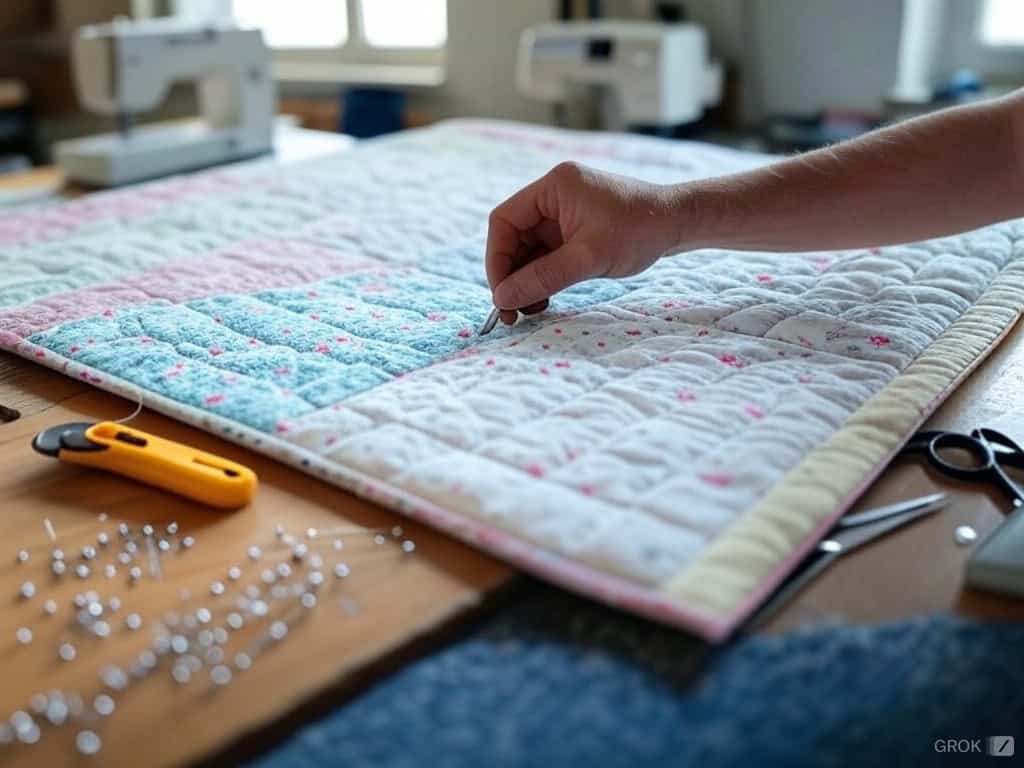
Sewing Gear: A sewing machine, matching thread, pins and a good pressing iron are the essentials one must have.
3. How I Make Fabric Fun: My Process for Picking and Planning
Preparing My Sewing Machine for Quilting
No circle quilt can be completed without a properly prepared sewing machine. There are a few things that need to be done before one starts. So let’s begin:
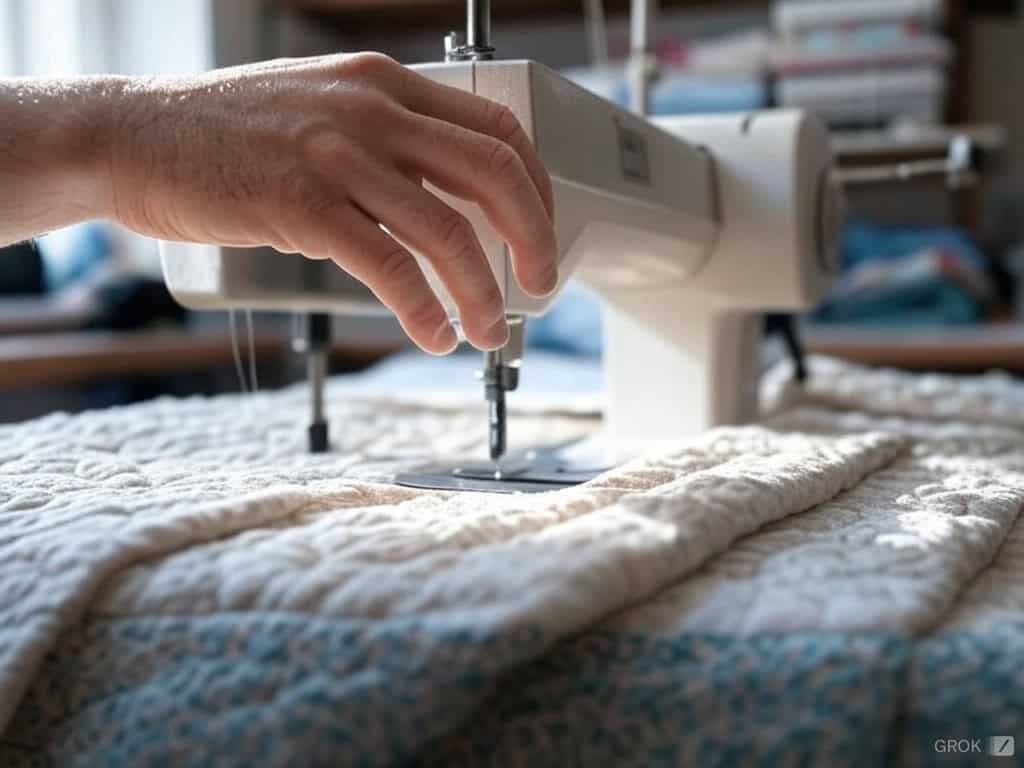
Choose the right needle: Quilting needles tend to be larger and sharper because they are designed for going through heavier fabrics and layers. I learned this lesson when I tried using my ordinary needle for the first time and it snapped on me mid-stitch. A quilting needle is ideal when it comes to sewing layers of fabric.
Select the right thread: Use a high-end thread that is suitable for the color of your fabric. No one wants a fabric whose thread keeps breaking off, right? Remember to stick with cotton or poly threads since they are optimal threads for quilts. I remember once while I was a beginner, I purchased a very cheap fabric and the thread kept breaking, it was brutal.
Change your stitch length accordingly: For even stitches on a quilt sometimes it is advisable to prefer a longer stitch length than what is regularly used. For a 3.0mm stitch length, my base is around it during a quilting session which works out nicely.
Use a walking foot or even a feed foot: These feet are efficient in keeping the drag effect at bay during a quilt. The investment into a walking foot was groundbreaking for me in terms of what I utilize to smoothen the quilting process.
Check Your Sewing Machine: It is vital to check our machines that they are functioning properly as well as checking whether or not the stitch length and tension are appropriate and comfortable. This step has prevented me from many potential disasters. This is what I call an important first step.
Implementing these suggestions guarantees that your sewing machine is prepared for an increased workload including quilting and lets you sew flawlessly for a neat circle quilt.
How I Work with Background Fabrics and Circles
You can go with a light gray tone for the entire quilt as it neutralizes the fabric and also helps accentuate different prints on the circles. Getting a whimsical tone with bright prints on the circles is required. I love to pair a combination of floral on a solid stripe that is eye-catching in a vintage way.
One day, I was lost in the fun of splashes and circles mixed together if I had used them all I’d have a rainbow jigsaw puzzle. This moment is permanently imprinted in my mind as it was nothing short of spectacular to gaze upon.
Pro Tip: When it comes to your crafting all those Uh-Oh moments are bound to happen so plan ahead making a bit more fabric available than you require. If I don’t clear my bet the specific fabric I used in my old project might get out of stock. So to be on the safe side I prefer to get more than one might think is sufficient.
4. Crafting the Perfect Circles My Way
Templates:
If you think you won’t have a problem printing circles which might not be true, use items such as Frisbee. When doing so, avoid slacking by ensuring that the fabric is ironed.
Cutting tips:
In order to have proper cuts, one must have sharp scissors. Also, avoid using those tools that are blunt otherwise the edges will not be proper. Once while trying to cut fabric using kitchen scissors, cutting fabric turned out to be a nightmare.
5. The Curve Conundrum: How I Master Circles in Sewing
Overcoming the curve problem, sewing circles round in one go. Don’t be discouraged by curved seams, they are fairly easy once you get a hang of them. Here’s how to improve:
Mark and pin it: Mark the center locations on your cut pieces by folding them and pinning them. The first time I failed to do this, the circles I tried to sew turned out to be rather uneven and wobbly.
Sew Slowly: Sew at reasonable speed for even borders.
Press Like a Pro: Pressing seams of fabric correctly with a hot iron gives it a professional outlook. This is a step that should never be skipped because its eventual result can be embarrassing.
Troubleshooting:
If puckering is visually perceptible, then there’s no other method besides being gentle with the fabric and not pulling it while sewing. After experiencing the excessive irritation of a few puckers threads I learned how to be patient because I had a tea break at the right moment.
6. How I Design the Pattern
Mending and stitching the circles makes a fun and exciting puzzle. Most of the time I try straightening them into symmetrical rows or dispersing them in some random checking for a suitable pattern problem.
Creating a fun quilt with vibrant patterns can be an enjoyable experience. I take pictures once I am satisfied with my circle disposition: it keeps me from shifting things around when I begin the sewing. I still remember how my children turned this stage into a fun activity with them moving circles and arguing about what went best. They look at simple work and resources spent for an enjoyment-filled afternoon but now they love looking for “their” positions on the quilt.
For moving the pieces out of their positions while stitching use fusible webbing. I remember all the details when I first ignored this step to fusible webbing: at the sewing, half the way, one of the circles moved dramatically loosing balance and order. It was thanks to my first misfortune that I honed up on fusible webbing which provided me with needed support in fighting against expectations while stitching.
7. Quilting and Adding My Final Touches
Quilting Suggestions:
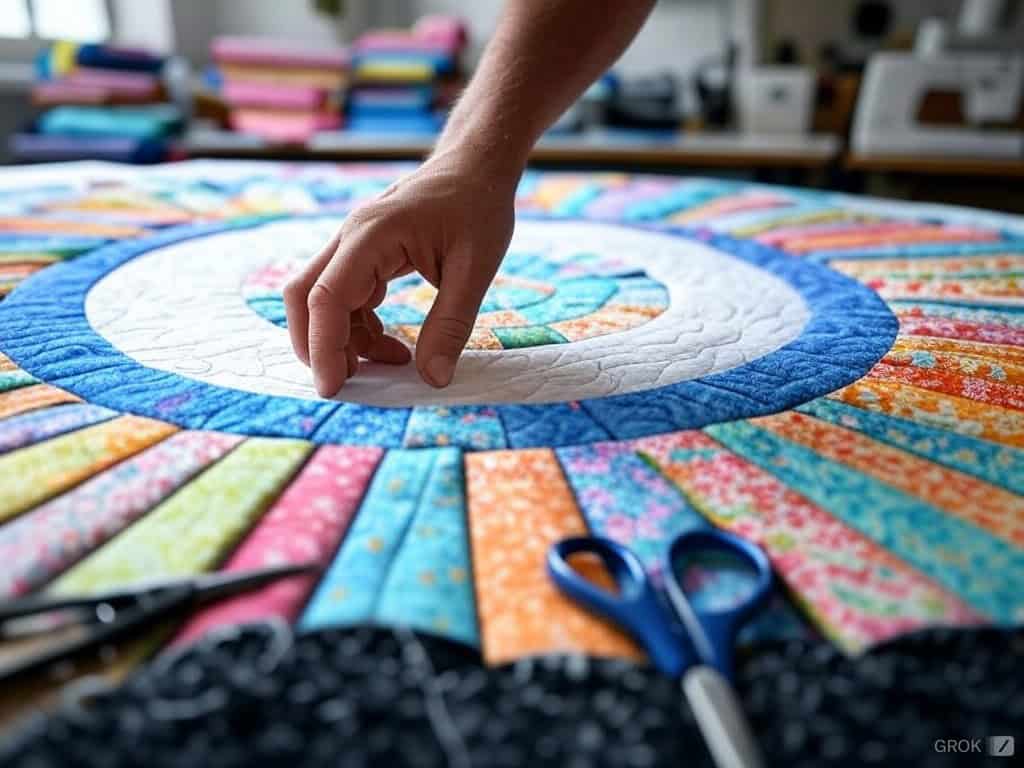
Echo Quilting: Circle around each piece by stitching rings of circles enclosing each other. Consider using a blanket stitch for attaching circle appliqués to the background fabric, as it offers versatility and creative possibilities in quilt assembly.
Straight Lines: Stitches with fused webbing when cutting the lines on fabric pieces make the patterns a little more modern.
Binding the Edges:
One of the best features of bias-cut binding is its ability to match the curve of a garment. One of the most useful things that I remember my mother telling me was to always try to make my garment’s edges neat and flat by using an iron. Based on my last experience with bias-cut binding, I would say that the tips highlighted above dramatically lessen the amount of time needed to cover the binding bias.
Infusion aside, I remember the time I did it: the binding took three or so hours for me to get right due to the difficulty of it all. Some of my craft went well and in some areas could have been better, but it could be a lot worse considering this was my first attempt.
Care Instructions:
In order to maintain vibrant colors and softness, washing should be done gently with cold water and air-drying also needs to be employed. Using a color catcher is advised. As far as fabrics are concerned, wash the fabrics on a gentle cycle setting as the spinning action can be violent. Even now, I cringe at the memory of when I thought I would never survive my first ever wash as my first quilt was getting put through the wash cycle.
The moment I became more than a little giddy was when I took out a piece that looked flawless and still retained all the colors. Any quilters out there listening to me; this is one part of the process that is an exhilarating charge yet terrifying experience and every quilter out there would agree to this one!
Final Words of Advice: This is One Quilt That Cannot Be Deconstructed
Thus, it is precise to state that as a creator of such a visually appealing quilt, efforts have been paid to attain success as construction would make it less aggressive. Each of my quilts tells a heartwarming tale of how generations have been wiped out of the family tree but the blanket still contains all the love in the world no matter how full of mistakes, sweat, and determination the making process would include.
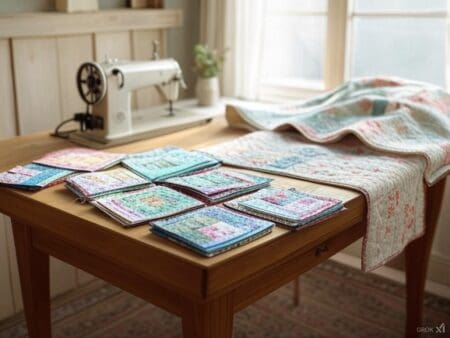
The finished quilt, with its final size and aesthetics, stands as a testament to this journey. In my case, my projects tend to be a little more dramatic and fun and the most rewarding part coming through the comfort of an infant swaddled in your works of art.
To conclude, the process is fun and should be treated as such so take out your fabrics and get creative. Nobody knows what kind of results you’ll produce and the best part is you don’t always have to create art, even a quilt that makes your mouth twitch a little will work! Have fun while quilting!


