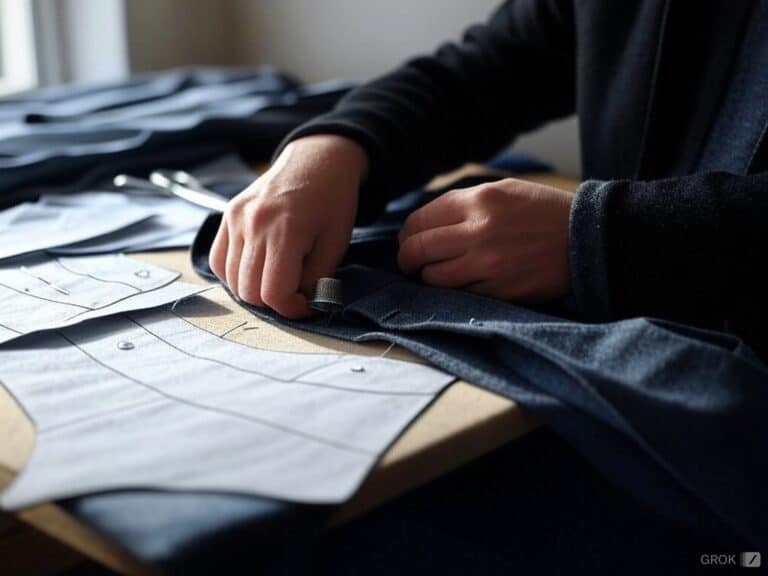
Making your beautiful jackets is like bringing your fashion fantasy to life. I still have that jacket vividly alive in my mind’s eye, after all, it is a kind of DIY that I opted for, rather than heading over to a store and simply buying one. I felt like a true style icon because not only did I get what I wanted exactly but also right to my style and body.
It is about putting your heart and soul into something and most importantly putting out a product that means something to the world. Not to forget, even I find it fascinating the idea of walking down with a unique jacket, no one owns.
1. Making My Jacket: There’s Value To It That Is Unmatched
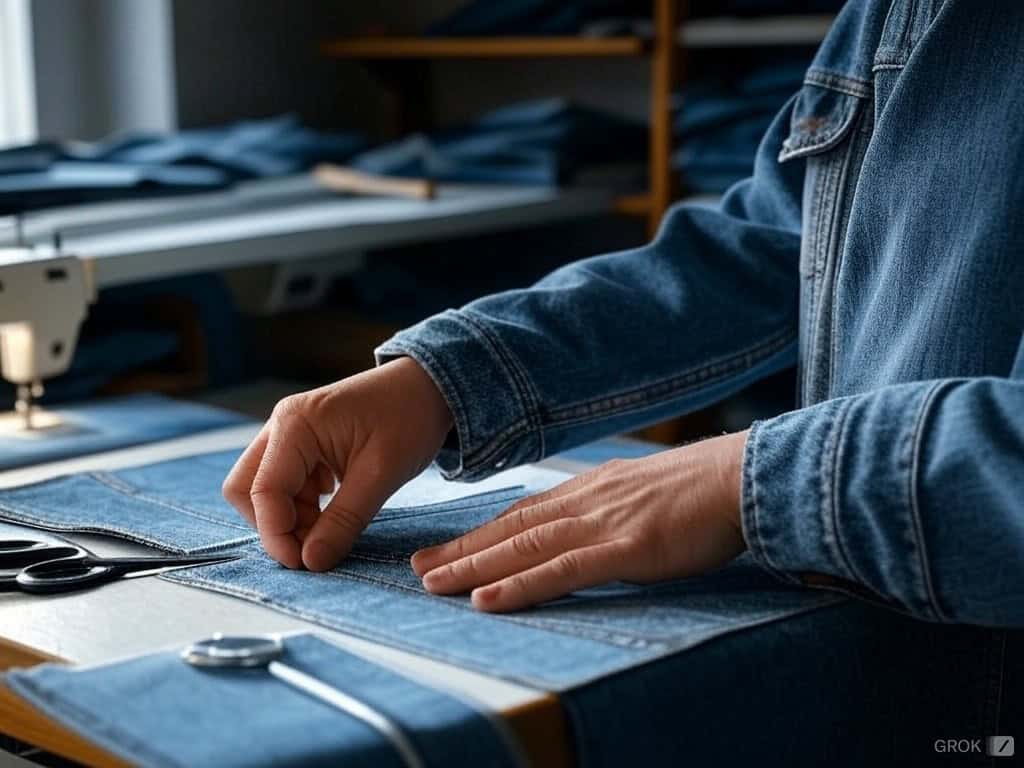
The most obvious perk is customizability. In the beginning, I did not grasp, so to speak, how much more gratifying it is to exhibit in public work that I had actively participated in. I mean, there is a big difference between using a jacket you designed versus one you simply bought or that you were given.
Sure, you could head to a store and find something that works, but can it really compare to wearing a jacket that fits you perfectly, designed exactly how you envisioned it? I think not. I love the process of creating a jacket that reflects my style and fits me perfectly.
2. Skills and Tools I Needed for the Job
Before proceeding, let’s discuss what you need for the job because I do not have to sugarcoat the truth, it is not as simple as throwing some fabric on a table and sewing. First up in the skill set is the sewing machine rapport because you will need some intermediate expertise like pattern reading, stitching, and hemming.
You don’t need to have an extensive experience in sewing, but be diligent in mastering the basics. After that is the hardware, and for this task you will need fabric scissors (preferably the sharp ones), measuring tape (you’ll find plenty of uses for it), pins to keep everything in place, and, of course, a sewing machine. Once it’s properly oiled you will be thanking your sewing machine!
Take the time to explore different techniques and tools to enhance your sewing experience.
3. Why I Believe Fashion Upcycling Is Important and Why I Do It
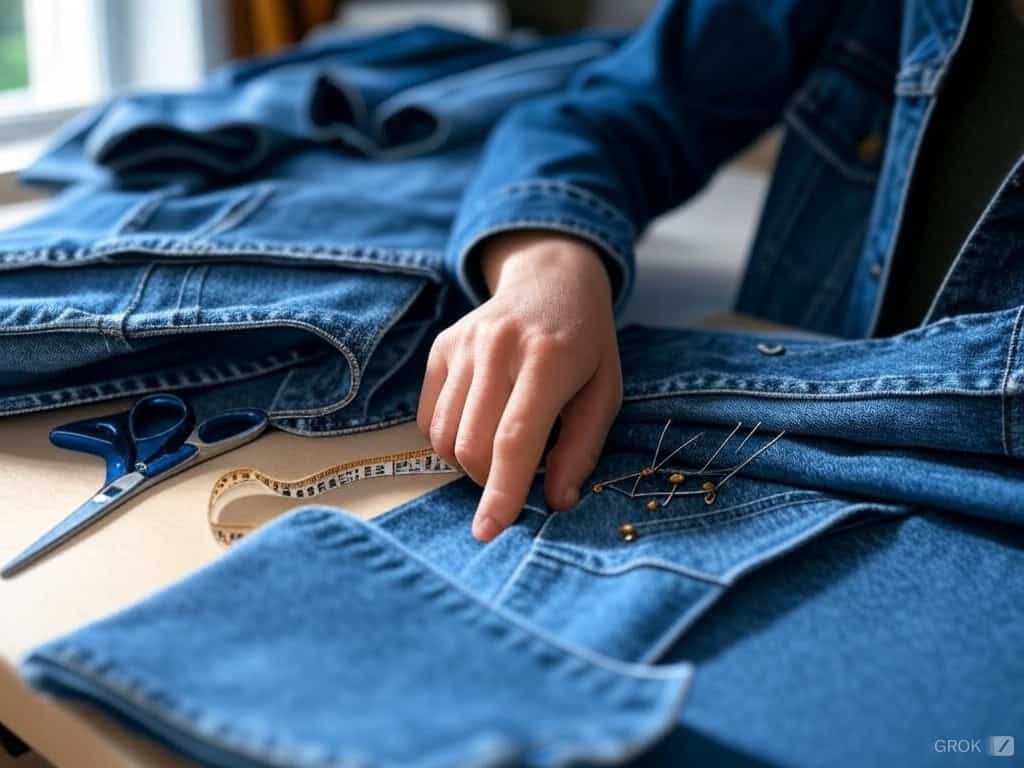
I remember the time when I first started upcycling my old clothes, and it’s all thanks to the overwhelming amount of old clothes that I had lying around. These garments were too ‘meh’ to be donated or too threadbare to wear.
These pieces could be sewn, cut, and turned into entirely new things; this is exactly where the answer came to mind. Upcycling should not be limited to being called as merely environmentally friendly, it in fact facilitates putting a personal touch on every project.
The best part? You aren’t simply crafting a jacket. You are narrating a new tale with the old fabric, right in your own house. You know the type of fabric that says “I took this crumpled old t-shirt and transformed it into something really neat.”
4. My Journey of Making a Trailer and Finding Inspiration
Acquiring Upcycled Materials and Fabric
Thrift shops were always one of my favorites, but now I’ve come to the realization that they are a treasure trove offering upcycling opportunities. I have used old denim jeans, vintage wool coats, and even some old shirts to make jackets. Giving an object that is just about to be disposed of a new encore is always so rewarding. Don’t dissociate fabric scraps either.
Small pieces can evolve into elements of great importance to the design and can elevate your jacket’s appeal or charm. Search for dependable materials including denim, wool, or cotton because the materials will guarantee your jacket maintains its look and quality.
Searching and Modifying Sewing Patterns
Searching for a pattern is like an adventure since there are many options you can go for, free or paid. If you’re a beginner, it is prudent to try and repurpose a basic design into something more spectacular. Always bear this in mind: always feel empowered to adjust the design so that it is distinctively yours.
Transformations for the sleeves and shapeshifting the collar twists have been something I’ve done on several occasions. Make it your own! It is, after all, the jacket that will showcase your true self.
Developing a Design Mood Board
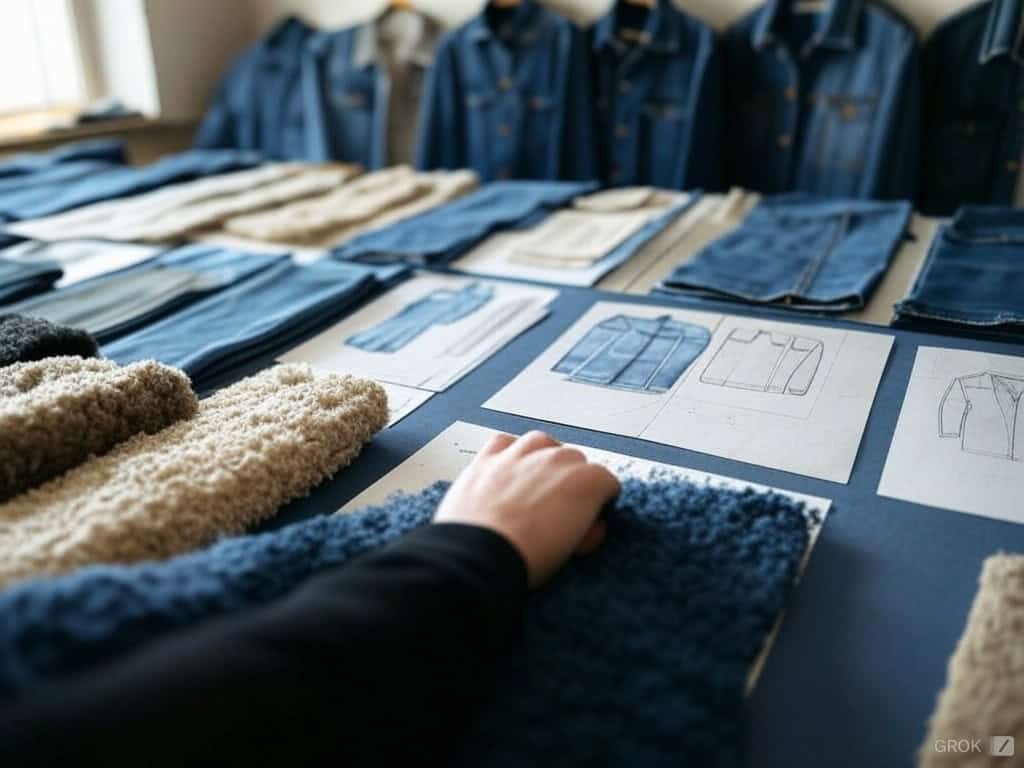
This is where the magic happens. Since I’ve always been a visual person, a mood board is one of the tools that help me convey ideas that are swimming around in my head. I collect applicable fabric swatches, sketches, photographs of jackets I like, or color palettes.
You’ll find this more helpful than you anticipate; it feels as if you have a visual outline and renders the entire process manageable instead of a free-for-all. Additionally, it is incredibly entertaining to watch your ideas come together in front of you.
5. The Key Instruments and Gear I Rely On for My Projects
Minimum Sewing Tools and Gadgets Required
This one is impossible without the basics. It’s been shown to me the hard way that having a good sewing machine is worth the money. A machine with multiple types of stitches? Amazing. Besides that, I employ fabric scissors (pretty much able to slice anything), measuring tapes (you’d be shocked how often I have to measure), pins, and seam rippers (because let’s face it—errors exist and I make quite a lot of them).
Additional Tools for Different Types of Fabric
When using heavier material such as denim one must have a walking foot in order to machine it more easily. For lighter materials, for example, silk, I suggest a needle for delicate items. And of course, a rotary cutter – this is when cutting heavy material is a breeze. It’s worth the money.
Strategies for Structuring Your Workplace
I quite literally experienced firsthand the importance of orderly space. At the start, my workspace was in total disarray, because all of my fabric, tools, and even my sewing machines were mixed together. Now I have an industrial-grade table, proper lights, and storage items which include shelves and cabinets for all tools and equipment that I use. Plus, that is no excuse to spare on a good chair. When you sew for hours, you’ll thank yourself later for this investment.
6. How I Read Sewing Patterns: Understanding Patterns and Taking Accurate Measurements
However, interpretation of the sewing patterns was one of the tasks that scared the life out of me. But once I got the hang of it, it became second nature. Since most of the patterns come with their own symbols, once you learn what they are it is like learning how to read a map.
But what’s the best part of a blueprint? It’s the ability to adapt it to your needs and ideas. I think the only thing I do not avoid is getting a bit more expansive or lengthier cuts to the collar section. And of course, left out the proper collar fit of the jacket which apparently was a crime.
Measuring Is An Essential Step To Follow
This step is the most vital to me which I have never skipped. One thing that I learned is that a good fit starts with measuring yourself accurately. Helping with this is somehow a friend of mine. Bust, waist, hips—yep, I measure all of those. I take the sleeve and back measurements as well. If I am in doubt about something, I always measure twice. It’s better to be safe than sorry.
Making A Test Garment Fitting
Before I start cutting my final fabric, I always make a cheap mock-up. This is according to me a secret weapon. It is a total game changer and I have been using it for so many years now. It means that I can check the fit, make some changes, and in the process of correcting the mock-up, I am not ruining my good fabric. I then go onto my final pattern and make some adjustments once I am satisfied with the fit. Most importantly, this step saves me a lot of time and stress down the line.
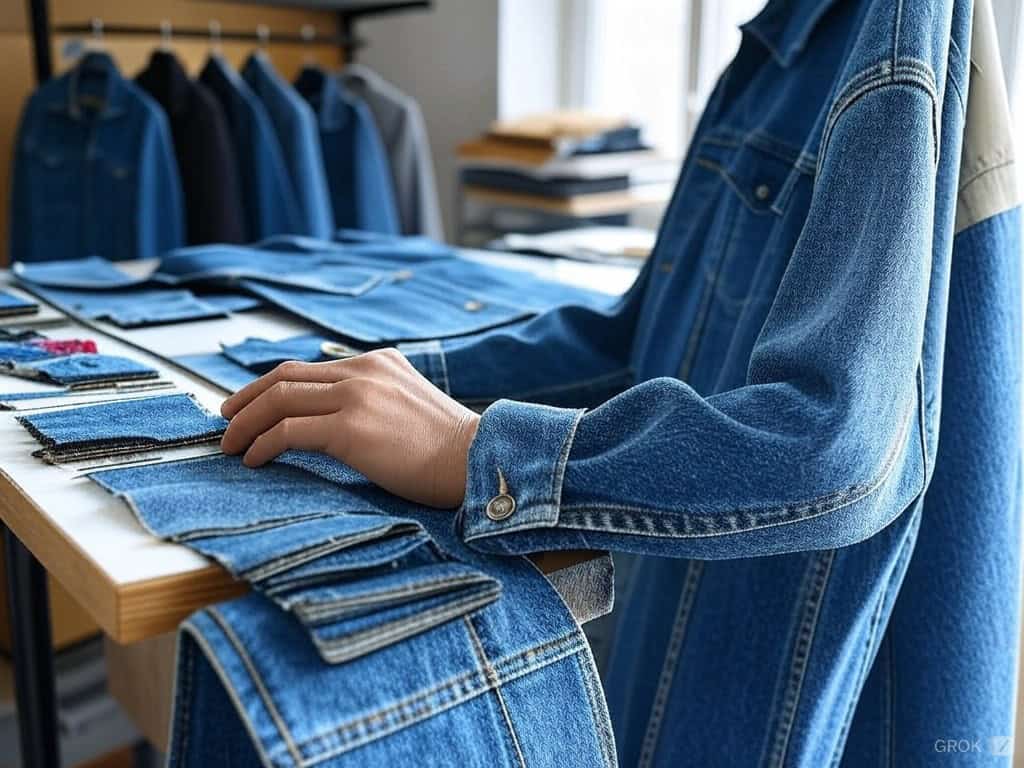
7. The Cutting and Construction Techniques I Use
Proper Fabric Cutting Techniques
I will be honest and say I know cutting fabric can be problematic, but only sometimes. Once you master it there is no need to worry because all cutting will be easy for you going forward. For me, cutting is easy because all my fabric is always first ironed and then I proceed to pin my pattern pieces down. Sharp scissors are key here, and for thick fabrics like denim, I use a rotary cutter to ensure I get clean straight cuts.
Essential Jacket Building Techniques
Jacket-making is not easy so I prefer going through it slowly starting with sewing shoulder seams To add the sleeves and side seams, I try to take it slow on the construction of the jacket. I appreciate good backstitch for ensuring the seams don’t fray. I have developed a habit of finishing them. I also make it a point to press the seams open so that the jacket looks professional Trust me, taking care of these details makes all the difference.
Finishing the Touches
This is where I really have fun – doing the little things that I feel add to the element of the jacket first. I have added zippers, snaps, and even patches onto my jackets to give them a different tone. The one thing here is accuracy – make sure you measure twice and also take your time. I’ve learned that the hard way!
Guide to Struggling Seams
Every project has its hiccups; my journey in making jackets is no different. But I have learned a couple of ways in the process. For uneven seams, I ensure I am cutting my fabric properly and proceed slowly while using the machine. For fabric that is aghast, I fix the tension of the machine that I use. Last but not least, for patterns that do not match, I use a lot of pins to secure everything correctly together.
Why Making My Own Jacket Was the Best Decision I Ever Made
When you make a DIY jacket it isn’t something that is solely a cloth piece, it is much more than that, it holds value and is built with a cause and it’s built solely for you. Trust me, the feeling you get when putting on that jacket is a sense like no other. So feel free to take that fabric, start that sewing machine and get crafting. It is the right time for you to get to work and who knows you might surprise yourself with your creativity.


