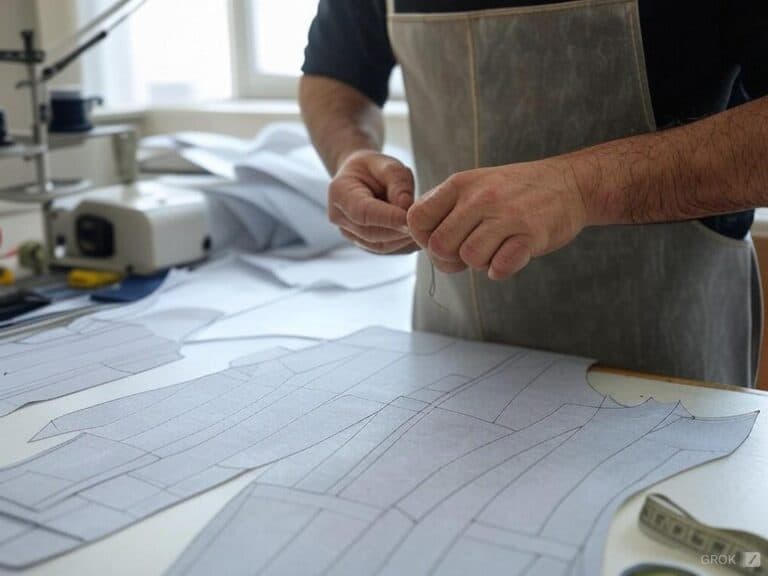
I still remember the day I resolved to sew my very first ladies’ suit. It’s not completely my idea. My sister, God bless her, tosses me a sewing pattern saying, “You are crafty; sew me a suit.” At that moment, it sounded easy; almost like making a fabric sandwich. Spoiler alert: it wasn’t. Beginners might find such sewing patterns challenging due to their complexity and lack of crucial details, such as seam allowances.
1. The Resources and Tools I Used to Get Started
Selecting Suitable Fabrics for the Suits
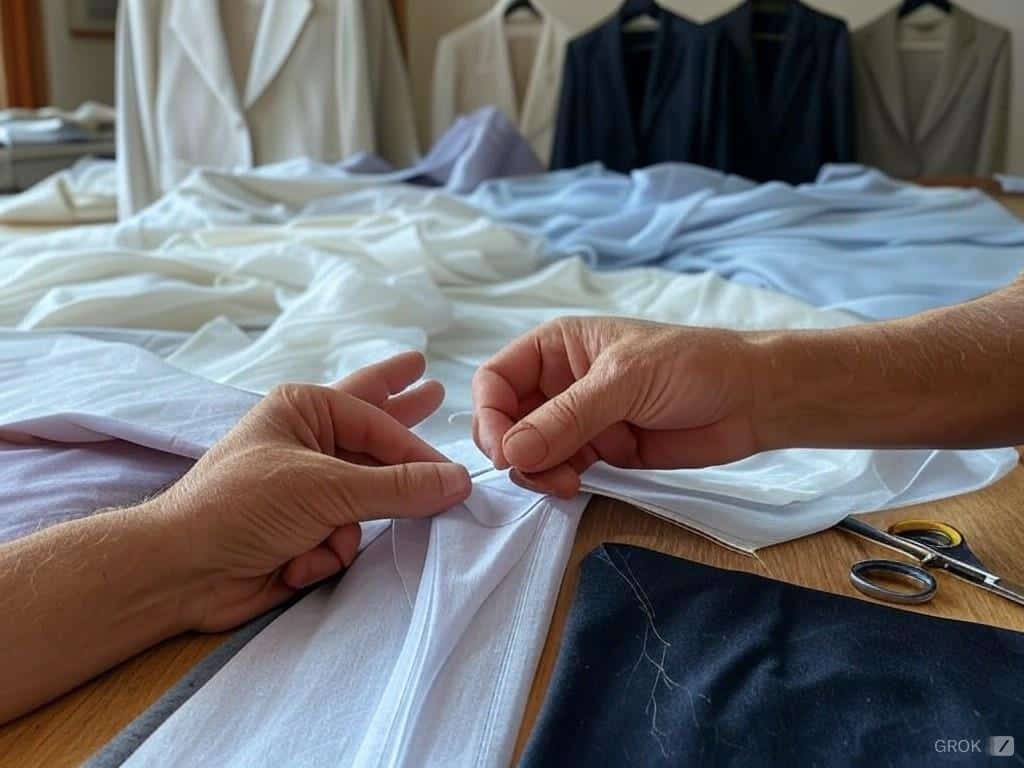
Selecting a fabric is like selecting a movie to view on Netflix: it requires a bit of suspense, a bit of comfort, and some assurance that it will end well. I opted for a wool blend, as a starter I did not want to complicate things even more. Wool blends are forgiving and drape well, even if your seams have no chance of looking well. The linen was questionable, but one look of what was required to iron and I didn’t want to touch it.
Collecting Needed Materials
With first-class scissors, tailor’s chalk, and a tape measure in my hands, I felt like a sewing superman. My sewing machine which I haven’t used since I hemmed the curtains one too many times was put to use once again. I even purchased additional pins since it is crucial– there is never enough of them. Never.
Choosing the Correct Difficulty Level and Size of the Patterns
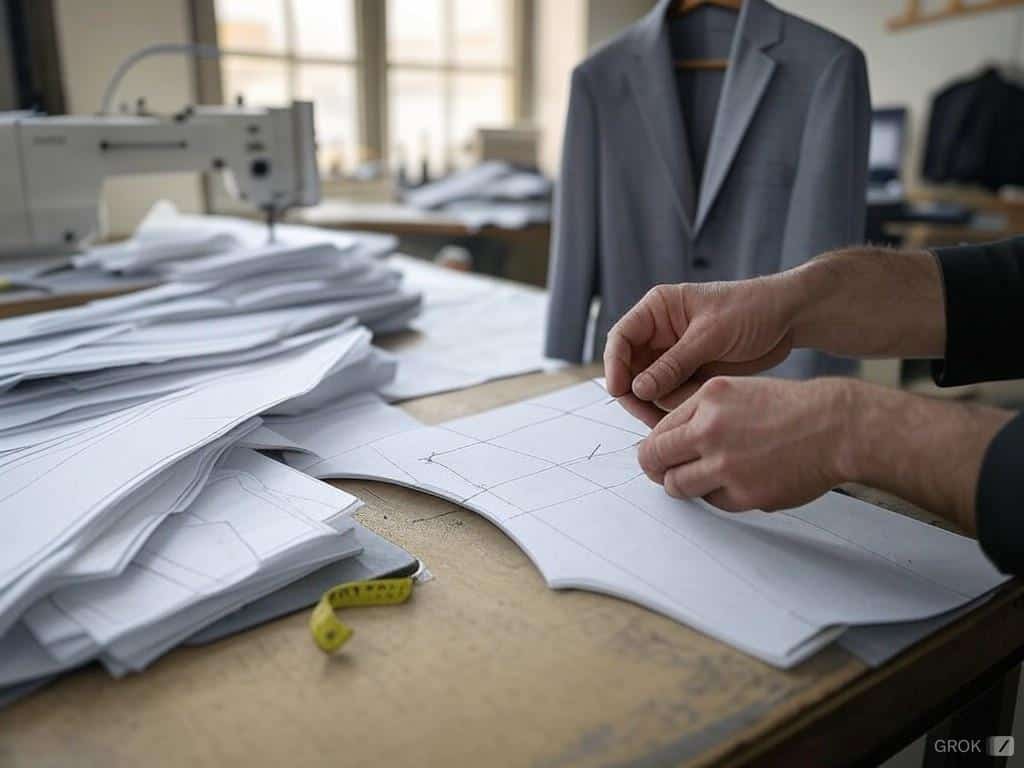
Slightly advanced sewing techniques were not appropriate for me because I didn’t want to lose my mind, so for my first suit I used a basic pattern. I even went as far as measuring my sister for her arms and her inseam twice. A great tip is to ‘snack’ your model whilst taking the picture as the model needs to remain calm. Some patterns come in different sizes and getting them right will save you from painful seam ripping in the future. These patterns are designed to ensure both aesthetic appeal and proper fit, making the sewing process smoother and more enjoyable.
2. The Sewing Patterns I Chose for The Suit
When it comes to creating a professional-looking suit, choosing the right sewing pattern is crucial. With so many options available, it can be overwhelming to decide which pattern to choose. Here are some tips to help you make the right choice:
Consider your skill level: If you’re a beginner, look for patterns labeled as “easy” or “beginner-friendly.” These patterns will have simpler designs and fewer pieces to work with. Trust me, starting with a complex pattern can turn your sewing adventure into a sewing nightmare.
Think about the style: Do you want a classic, timeless look or something more modern and trendy? Choose a pattern that fits your style and the occasion you’re sewing for. I remember spending hours browsing through patterns, only to realize I was drawn to the same classic blazer style every time.
Check the size: Make sure the pattern comes in your size or is adjustable to fit your measurements. You don’t want to spend hours sewing only to find out the garment doesn’t fit. Measure twice, cut once: it’s a mantra for a reason!
Look at the fabric requirements: Consider the type of fabric you want to use and make sure the pattern recommends it. Some patterns may require specific fabrics or weights, so it’s essential to check before buying. I once bought a pattern that called for lightweight fabrics, only to realize my chosen wool blend was too heavy.
Read reviews and check the ratings: Look for patterns with high ratings and read reviews from other sewers to get an idea of how well the pattern works and any potential issues you may encounter. It’s like checking Yelp before trying a new restaurant– invaluable!
By considering these factors, you can choose a sewing pattern that will help you create a beautiful, well-fitting suit that you’ll love wearing. Remember, the right pattern is the foundation of your sewing success.
3. My Concerns with Sewing Patterns
The Details of The Pattern and The Marks Made
This is what made me realize that patterns made for sewing should ideally be made in heaven. Without grainlines, notches, dots, and all of the proper notions, it is impossible to create well-fitting and stylish garments. I can’t tell you how many times it took me, approximately 20 minutes though, to figure out that I was holding the sleeve I assumed the right side up but was the wrong side.
Sewing With Perfection
Measurements should be taken slowly and very carefully. My sister decided to struggle a bit during the entire photo shoot and because of that, I ended up taking her measurements two times because, on my initial attempt, I had forgotten to write them down. So the lesson here is always to check twice.
Dealing With Common Issues Related To Patterns
Even after making all the necessary adjustments, the sleeves were still a bit too snug for comfort. I used a method called the slash-and-spread method. This sort of reminded me of a cooking show where they added extra ingredients to add a twist to the dish. To make precise alterations to the fit, modifying the waistband darts was very effective. Did I try first on muslin? Yes, it was worth it.
4. How I Perfected the Art of Long Sleeves
Cutting and Preparing Sleeve Pieces: A Step by Step Approach
I grabbed the fabric and put it on the dining room table which my cat was rather pleased about. So I first made sure that the grainlines were right before I went ahead and cut the pieces using what I am assuming to be surgical precision. After transferring,’ the markings are in preparation for sewing.
Smooth Method for Setting In Sleeves
When it came to setting the sleeves in, it was like trying to hurl the set into another set without being able to see. The gracious basting stitches allowed easing the fabric without the need for greasing and thus, many pins held everything straight. This might surprise many, but when I began to sow, I was able to attach the sleeves without a hitch, so kudos to me.
How to perfectly Align Sleeves Without Having Them Pucker?
It was quite a game to try and pucker, so to prevent that log book myself, I did so by pining it. I also tried using a pressing cloth, don’t go around saying magic was at work, and boom there’s the sleeve ready to be put on and looking kind of phenomenal if I do say so myself.
5. How I Made My Well-Fitting Pants
How To Cut And Mark The Pieces Of Pants Correctly
Cutting the pant pieces out was easy, however, marking the positions for the pockets was a different challenge. After all the blunders I went through I came to understand that I would never dare be using wrongly aligned pockets ever again. But the good old ‘twice measure and once cut’ mantras have never failed me after all.
It’s crucial to ensure the pants fit well around the hips. Certain patterns are designed to accommodate different body shapes, making it easier to achieve a tailored fit.
Creating Waistbands that Look Professional
Wastbands are even more important than a relationship, they are a backbone but need some stretch to them. The fusible interfacing made the waistband look quite professional in the end. After sewing it along with the pants, I pressed and rolled it as if Marie Kondo was bearing down on me, ready to unleash a lecture about cleanliness.
Perfecting the Art of Fly Front Zippers and Installing Pockets
It is very embarrassing but I found fly zippers intimidating, however, it looks completely solvable now, with the likely help of a zipper foot. There, without a prima donna, I was able to sew it up in one go. The pockets turned out to be functional and stylish which added a little bit of detail.
6. Putting It All Together: My Final Steps and Finishing Touches
Some secrets to getting the best professional crease in trousers and coats are said to take years of practice. For now, that transformation might take some effort, but the effort will be well worth it, turning the plain stitches into sharp and bold imagery. The transformation that may only appear to be subtle would look as if it changed everything completely.
By Adding Some Liners and Internal Connections
Adding the lining felt as if I was stitching a perfectly crafted pocket. It was able to conceal the blush-worthy blunders that I made early on and provided the suit with a more refined finish from the inside. By Valentine’s Day, sewing interfacing on the lapels evolved into a fast current.
Hemming and Adjustments
During the final fitting, I realized the pants were a whole inch longer. Armed with chalk and ruler in hand, I went ahead and marked the correct length and hemmed them up using a blind stitch. My sister’s thrilled reaction made every effort worth it.
7. My Solutions to Common Sewing Problems
Do sleeves fit too tight? A Seam ripper might be the answer. Are the seams crooked? Simply repress and restitch. So many mistakes made covered up the fact that I learned something new, and eventually by the end I felt like a nerdy professional or at the very least a well-motivated beginner.
My Journey to Sewing a Ladies Suit: Triumphs and Lessons Learned
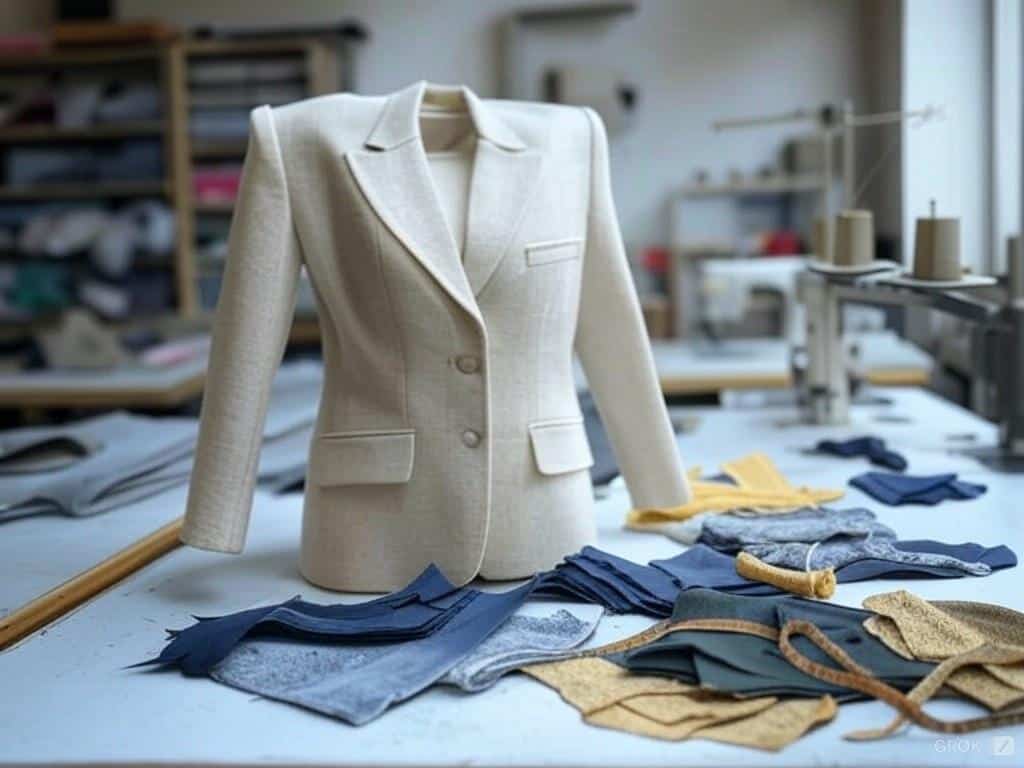
Sewing my first ladies’ suit has been quite a long process, filled with fairly amusing parts, other amusing parts, and some swearing. When my sister wore it and said that it felt “better than store” it was a high point of my life. Especially after feeling like I finally made it to Mt. Everest. To all the suit-makers that are trying it for the first time, don’t be in a hurry, don’t panic when you mess up and above all listen to me when I say this, keep smiling as everything’s going to be alright!


