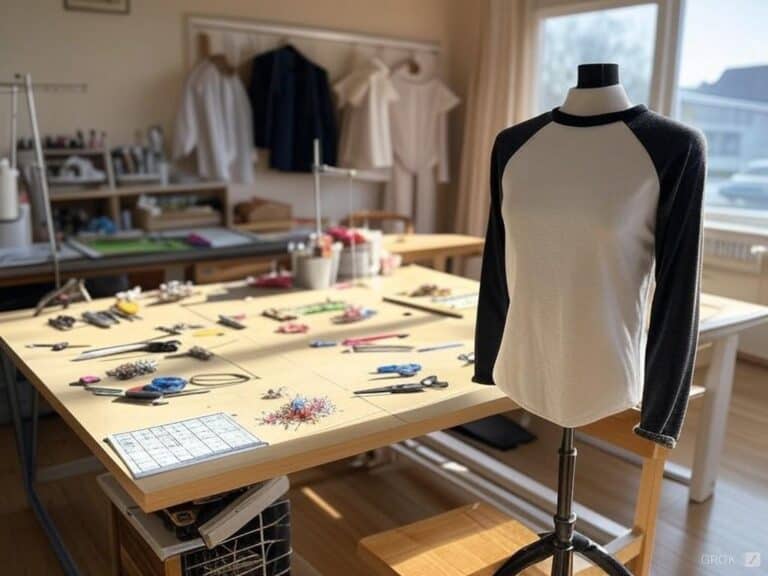
Let’s discuss Raglan sleeves, a closely related step to sewing or pattern making, that stands out as quite literally the most fashionable and cozy styles out there. The first time I probably shaped one was in a gym shirt; and let’s just say, it was not fun as the sleeves were pretty bunched up and wouldn’t let me stretch comfortably.
With optimism, I began venturing into the universe of pattern making, and now Raglan sleeves are one of the most fun and exciting design elements to shape, with the extended line running from the neck to the underarm, a seamless line indeed. The best part: it is a flawless fusion where beauty and purpose meet as it also emphasizes movement with great ease, making them ideal for costumes, activewear, and children’s clothing.
Fun fact: It is named after FitzRoy Somerset 1st Baron Raglan, who after losing an arm at the battle of waterloo needed a coat that had better movement ability for the arm. What began as a practical necessity certainly ended up being a statement.
1. How I Learned to Understand Raglan Sleeves
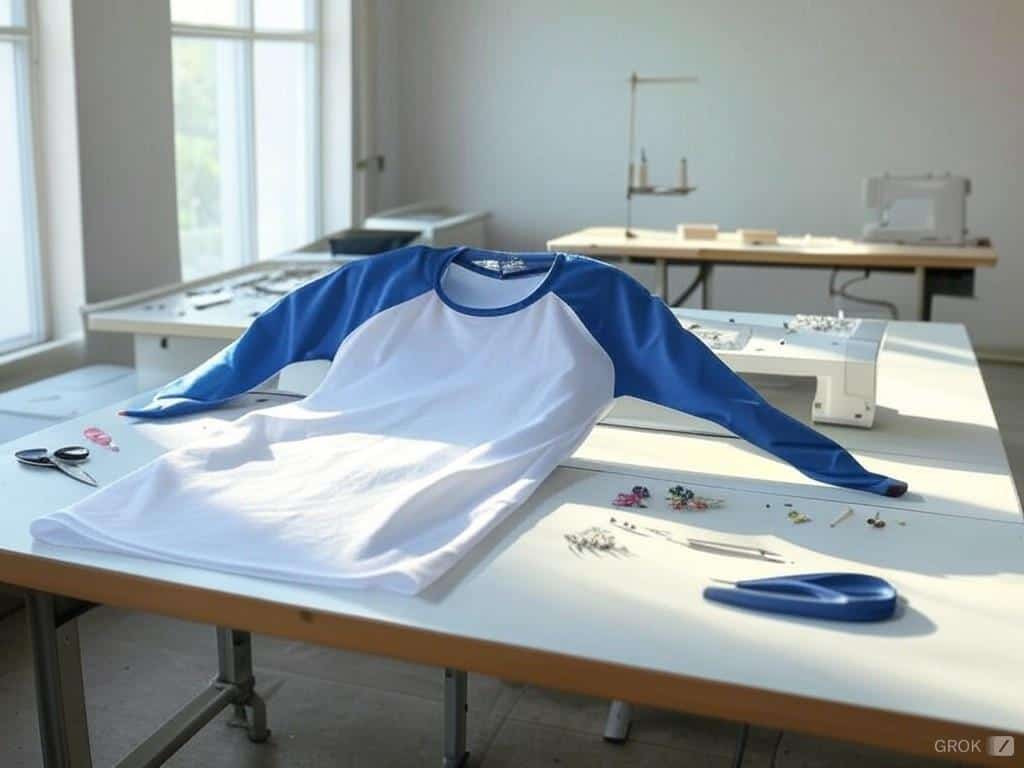
Raglan sleeves are a distinctive type of sleeve that extends in one piece fully to the collar, creating a diagonal seam from the underarm to the neckline. This design is not only stylish but also highly functional, allowing for a full range of motion. It’s no wonder that raglan sleeves are a popular choice in costume patterns, activewear, and children’s clothing.
The beauty of raglan sleeves lies in their simplicity; they eliminate the need for a separate sleeve cap and armhole, making the construction process more straightforward. When working with Raglan sleeves, it’s essential to understand how the pattern pieces fit together to create a comfortable and functional garment. Whether you’re designing a costume for Halloween or a cozy sweatshirt, mastering the raglan sleeve pattern will elevate your sewing projects.
2. Why I Choose to Use Raglan Sleeves
First, the construction makes their incorporation into activewear easy. The low seam placement across the shoulder ensures one doesn’t struggle with mobility, and that was one of the main reasons why I decided to make my first raglan sleeve sweatshirt that soon became my favorite for light morning runs.
The low seam placement across the shoulder ensures one doesn’t struggle with mobility, making it perfect for activities like dance where a full range of motion is essential. That’s not all, as long as you have a basic working knowledge about sewing a shirt, any fabric will work as long as it includes knits and wovens.
The second could be how you incorporate different types of seams or fabric into the shirt, that’s right adding some sass with basic contrasting fabrics never hurt anybody. I did that once when making a raglan sleeve tee and guess what heads turned during a casual meetup.
3. How I Prepare to Draft the Pattern
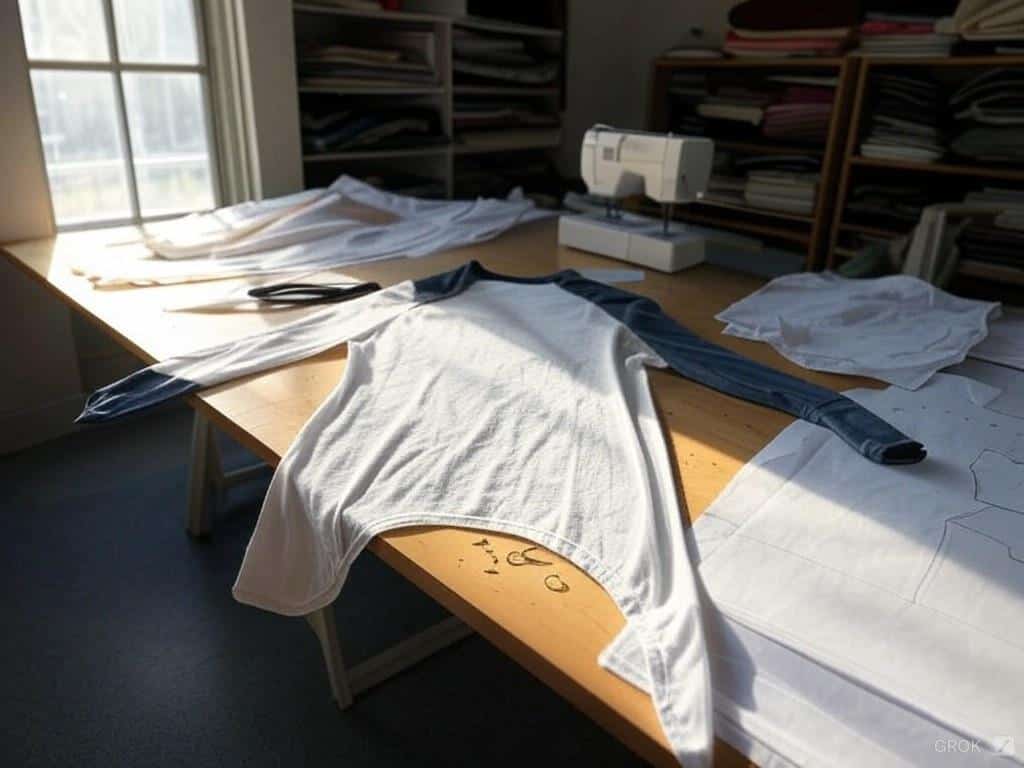
Before you dive into drafting your raglan sleeve pattern, it’s crucial to take accurate measurements and choose a size that fits your body well. Consider the type of fabric you’ll be using and the desired level of ease in the garment. Raglan sleeves can be drafted using various methods, such as the “slash and spread” technique or a specialized raglan sleeve pattern.
When drafting, pay close attention to the grain line, ensuring it runs parallel to the selvage edge of the fabric. This alignment helps prevent distortion and ensures a professional finish. By taking these preparatory steps, you’ll set a solid foundation for creating a well-fitting and stylish raglan sleeve garment.
4. My Toolkit and How I Take Measurements
Measurements Needed:
Neck Circumference: Just below your collarbones is where you will be placing the measuring tape so it is comfortably wrapped around the circumference of your neck. To be safe there is no harm in taking this measurement twice, once while standing straight and the other sitting low with normal body posture. A common tip I have encountered is to not take a deep breath while sizing up, it tends to change the outcome.
Shoulder Width: Grab a measuring tape and measure from the tip of one shoulder bone to the tip of the other shoulder bone against the back. A friend did my measurements the first time as well and I think it helps to get it correct for the first time.
Upper Arm Length: The area between the tip of the shoulder and the preferred arm sleeve length should be measured. Tip: If you are making this sleeve for someone else, guide them to lightly bend their elbow so the arm is in a more comfortable position. This provides a better measurement for that part of the bodice, as it will be less restrictive when in motion.
Bust Circumference: Measure the fullest part of your bosoms by placing the measuring tape as horizontally as possible and preferably around the breast. I’ve also discovered that taking this measurement is easier if over clothes or a fitted shirt is being worn. Accurate bust measurements are crucial, especially when designing garments with features like a front bib, which can enhance both the aesthetic and functionality of the costume.
Armhole Depth: Measure from the shoulder tip down to the armpit’s endpoint. This one’s hard, that is why I always have a ruler close by so I can double check my results with a measuring tape. I remember having difficulty with this when I first joined and I never noticed how few millimeters would determine how comfortable a person is.
Bicep Girth: Locate the biggest area (or circumference) of the upper arm and place the tape around there. For optimal results, I measure while lightly flexing my arm as I stretch the tape so that muscle does not surprise me when the fabric will be put on, giving it a slightly different stretch.
Tools Required:
• Measure tape
• Pattern paper
• French curve
• Ruler
• Pencils and erasers
• Scissors
• Pins
• Pattern weights
• Tailor’s chalk
• Buttons: Essential for designs that incorporate button closures, adding both functionality and style to the garment
5. Drafting My Raglan Sleeve Patterns
Basic Formulas:
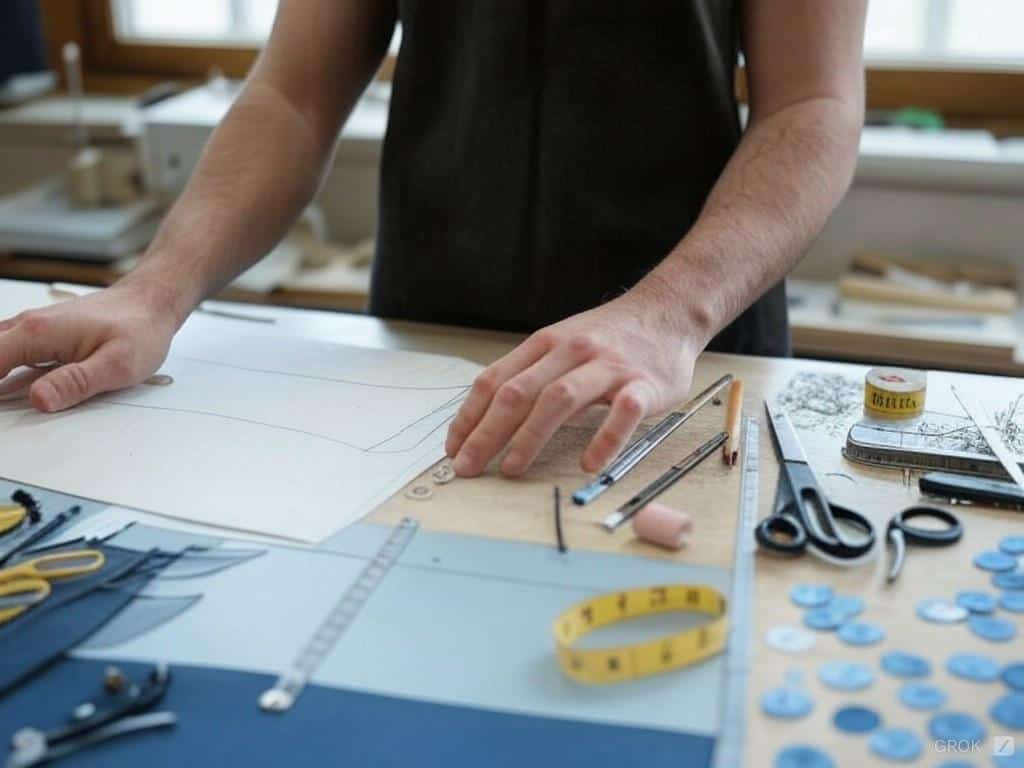
When drafting the pattern, it’s crucial to take accurate measurements into account to ensure the final garment fits well.
Neck Opening: Neck circumference T 6 + 1 centimeters. (ease)
Shoulder Seam: The neck opening’s half from the total shoulder span.
Bicep Width: Bicep circumference supplemented by five to eight centimeters. (ease)
How to Draft:
- Mark the shoulder, neck, and underarm area on the paper, remembering to be precise and accurate concerning the measurements you will use.
- For a playful touch, consider incorporating a panda-themed design into the pattern, which can add a whimsical element to the garment.
- Draw a sloping line that undoes the distance of the neck to the armpit this defines the raglan seam. I remember playing around with this quite a bit and it amuses me how simple changes can alter the way a garment falls.
- To alter fit and comfort join those lines using a degree of comfort with the help of a French curve.
When I attempted to create my first pattern, the neckline I created was very wide therefore I learned the importance of taking accurate measurements. Lesson learned!
6. How I Add the Sleeve to My Bodice Pattern
To add the sleeve to the bodice pattern, start by drawing a diagonal line from the underarm point to the neckline. This line should be parallel to the grain line and will serve as the seam line for the raglan sleeve. Next, draw a curved line from the underarm point to the sleeve cap, creating a smooth, flowing shape. The sleeve cap should be slightly curved to allow for ease of movement.
Finally, add a seam allowance to the sleeve pattern piece and cut it out, making sure to label it clearly. This step-by-step approach ensures that your raglan sleeve will fit seamlessly into the bodice, providing both comfort and style.
7. Cutting and Sewing My Raglan Sleeve
When it’s time to cut out the raglan sleeve, make sure to cut two mirror-image pieces, one for the front and one for the back. Carefully follow the grain line and seam allowance to ensure precision. To sew the raglan sleeve, start by sewing the sleeve pieces together at the seam line, from the underarm point to the sleeve cap.
Then, attach the sleeve to the bodice, beginning at the underarm point and working your way up to the neckline. Pay close attention to matching the seam allowances and press the seams as you go to create a crisp, professional finish. By following these steps, you’ll achieve a polished look that enhances the overall quality of your garment, whether it’s for a fun costume or everyday wear.
8. My Favorite Style Variations
Classic: The basic design features straight diagonal seams, great as an everyday outfit.
Sporty: Designed to be a little oversized and the seams bold, ideal for the gym or casual meetings.
Curved: A very delicate shape that is a perfect feature for a slightly rounded and softer look, especially on women’s blouses.
Gathers or Pleats: They create volume or provide more structure to the garment, making them very ideal in more fancy designs. As for a friend’s bridal shower outfit, I used pleated Raglan sleeves and they looked excellent.
9. How I Troubleshoot Fit Issues
Baggy Underarm: If there is bagginess under the arm, you can reduce the size of the armhole by either lifting or reshaping the curve. For one of my early work with a hoodie, I came across this problem as well. This was simple enough to fix, a quick armhole adjustment with a curved ruler did the job.
Tight Fit: To stand out, focus on the area under the arm and the sleeves’ breadth. I recollect once constructing a fitting raglan t-shirt for a woman who was working out regularly. All these changes created a favorite workout shirt for her.
Gaping Neckline: To improve the gaping neckline problem, it can either be brought in or lowered the curve a bit or both. This was my experience working on a summer dress with raglan sleeves. This alteration made the neckline curve quite well and made the dress comfortable to wear.
Pulling Sleeves: Consider adding more ease to the front seam, or would like to lower the shoulder angle. What I observed when making a sporty Raglan jacket is that when I stretched my arms up there was a pulling sensation on the sleeves: Adjusting the shoulder angle slightly provided a quick solution to the problem.
10. Finishing Techniques I Rely On
Seams: For elegant and long-lasting finishing, you may consider using French or flat-felled seams. Along the lines of producing activewear, there are recipes for success and I stick to flat-felled seams.
Edges: Clean and neat edges can be made using serger or binding tape.
Stretch Fabrics: To avoid damage to the fabric and make sure the garment will remain usable a ballpoint needle and a stretch stitch are key.
Why I Believe Raglan Sleeve Pattern Making Elevates Your Designs
It is the true combination of skill and art in raglan sleeve pattern making. This will be going to add value to your designs irrespective of whether you are making a normal t-shirt or a formal blouse. Use the right dimensions, try different things, and don’t hesitate to make some mistakes. The first I wore a Raglan that I made myself was a small win that made me enjoy sewing even more. I’m fairly certain Baron Raglan would appreciate the efforts you’ve put into your work!


