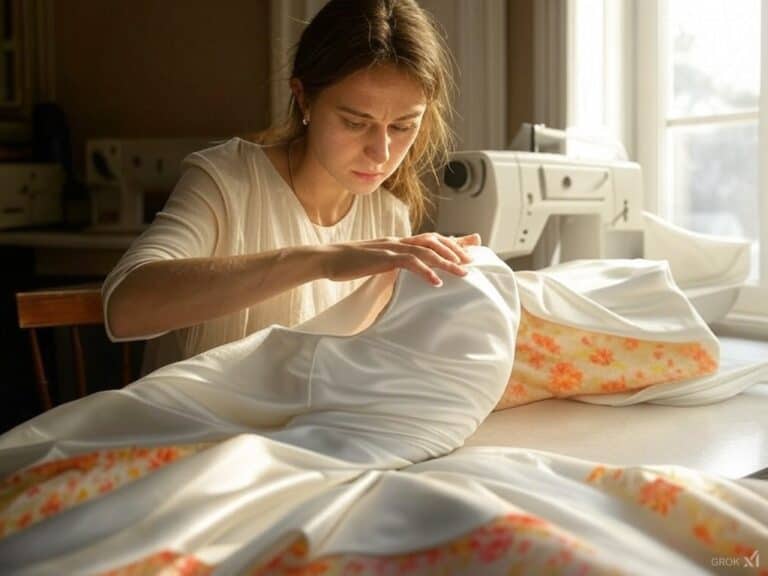
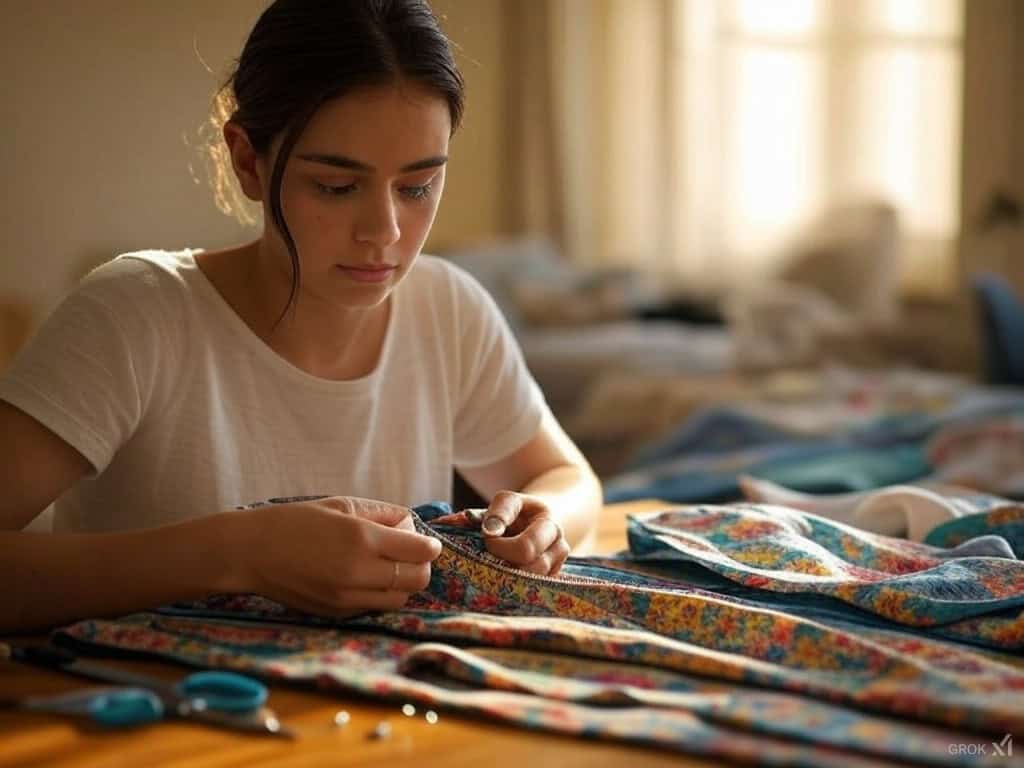
Sophia sat at her sewing table, the afternoon sun streaming in and warming the room. The only sound was the hum of her machine. Today was the day she was going to start the dress she’d been thinking about for months. A mix of excitement and nerves was dancing in her chest, knowing it would be tough but it was all worth it to create something so personal.
She laid out the fabric in front of her: silk for the main body and a bright floral print for the lining that would peek out just enough to be a surprise. Sophia knew this would take time but it would be her creation, each stitch bringing her closer to the image in her head.
As she thought of the finished dress—a beautifully fitted dress that would skim her body just so—she pictured herself at her best friend’s wedding in the upcoming season, turning heads with something entirely her own.
1. Understanding Sewing Patterns
Sewing patterns are the foundation of any sewing project, providing a blueprint for creating a garment or accessory. A sewing pattern typically consists of a set of instructions, diagrams, and templates that guide you through the construction process. Understanding sewing patterns requires basic sewing skills, including reading and interpreting pattern markings, cutting fabric accurately, and following instructions.
Sewing patterns can be categorized into different types, such as garment patterns, accessory patterns, and home decor patterns. Garment patterns can be further divided into subcategories, including dress patterns, top patterns, pant patterns, and skirt patterns. When selecting a sewing pattern, consider factors such as your skill level, fabric requirements, and the desired outcome of your project.
Many sewing patterns offer customization options, allowing you to modify the design to fit your style and preferences. Online sewing communities and tutorials can provide valuable resources for learning to read and work with sewing patterns. Whether you’re working on a simple sewing project or a more complex dress pattern, understanding the basics of sewing patterns will set you up for success.
When you start your dressmaking journey it’s always great to tap into the sewing community’s wealth of resources. For example, @officialhambly recommends Araneablack for corset-making patterns. They have free patterns from beginner to advanced and tutorials and instructions.
This kind of resource helps you learn and helps you be creative especially when making special pieces like corsets. Looking at different patterns can make your DIY projects look like designer fashion.
More free sewing patterns: but corsets only: Araneablack has an impeccable selection of corsets from beginner to advanced. She has tutorials and instructions as well that are super thorough. I have downloaded every one they’ve offered they are literally that good pic.twitter.com/CPGA5tpjET
— officialhambly she/they (@officialhambly) October 16, 2022
2. Pattern Basics and Symbols
When you start working with dressmaking patterns it’s good to know the terminology and symbols that will guide you through the process. Patterns are not just instructions they’re a map to the finished garment.
Key terms to know:
Grainline: This symbol shows where the fabric should be cut to ensure it hangs correctly. Cutting across the grainline can cause the fabric to stretch or drape poorly.
Notches: These small marks on the pattern pieces show where to align different parts of your garment—important for symmetry and correct construction.
Darts: Darts help shape the fabric, especially around the bust and waist. They’re essential for a tailored fit.
Sewing Allowances: This is the extra fabric around the edges of the pattern pieces for seams. Always check the instructions to make sure you add the right seam allowance before cutting.
Now you know the basics. Sophia took the time to read the pattern instructions carefully, to make sure she understood every mark before she started to sew her garment accurately.
3. Tools and Materials for Pattern Sewing
Before you start, make sure you have the right tools and materials to make the process easier. A well-stocked sewing station not only saves time but looks professional.
Sophia, an experienced dressmaker, always had the following in her workspace:
Fabric Scissors: A good sharp pair is a must for clean cuts.
Measuring Tape: Accurate measurements are important so always have a flexible measuring tape.
Pins and Pin Cushion: These hold the fabric in place while sewing to prevent shifting and precision.
Pattern Weights or Clips: If you don’t want to pin your fabric, these weights or clips will hold your pattern in place.
Tailor’s Chalk or Fabric Markers: These are for marking seams, darts, and other points on your fabric.
You’ll also need your fabric, patterns, and a sewing machine. Make sure your sewing machine is working properly as it will be your most used tool during the process.
4. How to Choose the Right Pattern Level for Your Skill
Choosing the right pattern for your skill level is key to a successful project. Patterns are labeled as beginner, intermediate, or advanced so you know what you’re getting into.
Sophia started her dressmaking journey with simpler patterns, like basic skirts and simple tops, which taught her the basics of pattern cutting, sewing, and fitting. As she gained confidence and skill she started to tackle more complicated patterns, like dresses with pleats, zippers, or pockets.
For this project, Sophia chose an intermediate-level dress pattern with a fitted bodice, pleats, and a zipper. The extra complexity gave her a challenge but also forced her to hone her skills. Choosing a pattern that matches your skill level helps build your confidence and skills. You should push yourself but not too far so you don’t get discouraged.
To help you on your sewing journey it’s good to know what “seam allowance” means. As Amanda (@thespianoge) explains when making a pattern you need to leave extra fabric around the edges before you cut it out. This extra fabric allows you to sew the pieces together.
Seam allowance is a basic concept in dressmaking that ensures your garment fits and has clean strong seams. By mastering this small but important detail you can make professional-looking projects and move closer to designing your designs.
It has a basic butterfly/ribcage like shape. The pattern was made and then cut out with an extra amount of fabric around the edges so you can stitch them together. That extra bit is called a “seam allowance.” + pic.twitter.com/Q2VLr65ka9
— Amanda (@thespianoge) January 12, 2025
5. Choosing and Preparing Your First Pattern
How to Take Your Body Measurements and Choose the Right Size
Measurements are key to a perfect fit. Before you start, grab a soft measuring tape and measure the following:
Bust: Wrap the tape around the fullest part of your bust, make sure it’s level across your back and comfortable but not tight.
Waist: Measure around the narrowest part of your waist, the tape should be snug but not tight.
Hips: Measure around the fullest part of your hips. The tape should be parallel to the floor and not pulling at any part of your body.
Once you have your measurements, refer to the pattern size chart. Match your measurements to the pattern’s size to ensure you choose the right fit. Remember you can always size up or down to fit your body shape.
Sophia also mentioned that most patterns come with ease, with a little extra space in the measurements for comfort. For a fitted fit she can remove some of that ease.
Fabric Requirements and Recommendations
Fabric choice is a big part of the overall look and feel of your garment. Most patterns will suggest fabric types based on the style of the garment. For example, a flowy dress will work with lighter fabrics like cotton or chiffon, and a tailored jacket will require heavier wool or linen.
Sophia spent time choosing the right fabric for her project. For her dress, she chose silk for the main body and cotton for the lining. The fabric weight and drape would affect how the garment would fit and move so she had to choose fabrics that would work with her pattern.
Also, consider fabric shrinkage. Pre-wash your fabric to avoid surprises later on. Sophia learned this early on in her dressmaking journey and makes it a habit for every project.
Pattern Layout and Cutting for Beginners
Cutting can be a scary step but with planning it becomes much easier. Follow these steps to get a precise cut:
Prewash Your Fabric: Always wash your fabric before cutting to avoid shrinkage later on.
Lay Out Your Pattern Pieces: Refer to the pattern layout guide to see how to arrange the pattern pieces on your fabric. Pay attention to the grainline markings.
Pin the Pattern Pieces: Pin your pattern pieces to the fabric or use pattern weights to prevent them from shifting.
Cut Accurately: Use sharp fabric scissors to cut along the pattern lines, don’t stretch or distort the fabric.
Take your time in this step, a clean cut makes sewing much easier.
6. Pattern Adjustments
When you start sewing garments you’ll find you’ll need to make minor adjustments to get the perfect fit. Here are a few adjustments to consider:
Simple Adjustments for Better Fit
Taking in or letting out seams: Sometimes the fit is too loose or too tight. Adjust side seams to get the perfect fit.
Adjusting darts: If darts are too high or too low for your body just move them to fit your body better.
Lengthening and Shortening Patterns
Patterns are made for an average height so if you’re taller or shorter than that you may need to adjust the length:
Lengthening: Cut along the lengthening line on the pattern, add extra paper, and make sure the new piece lines up perfectly.
Shortening: Fold the pattern to shorten or cut at the shortened line.
Adjusting for Different Body Types
If you have a unique body shape you may need to make pattern adjustments. One common adjustment is the Full Bust Adjustment (FBA) which adds extra space in the bust area.
7. Creating Dress Pattern
Creating dress patterns requires a combination of technical skills and creative vision. To start, sketch out a design concept, considering factors such as silhouette, fabric, and embellishments. Use pattern-making software or manual drafting techniques to create custom pattern pieces that bring your vision to life.
Consider the type of dress you want to create, such as a fitted bodice, A-line skirt, or flowy maxi dress. Choose a suitable fabric for your dress pattern, taking into account factors like drape, texture, and seasonality. Pay attention to details such as grain lines, seam allowances, and notches, which are crucial for accurate construction.
Test and refine your dress pattern by creating a muslin prototype and making adjustments as needed. This step allows you to perfect the fit and make any necessary changes before cutting into your final fabric. With practice and patience, creating dress patterns can become a fun and rewarding part of your sewing journey, allowing you to create unique and personalized garments.
Incorporating real-life experiences into your sewing journey can be incredibly motivating. For instance, a Reddit user shared their experience of creating a prom dress for the first time. They crafted a bodice pattern to shape the top of the dress and designed a circular skirt pattern for the bottom.
This is a perfect example of how simple patterns can be used to create stunning and personalized pieces. By combining your creativity with thoughtful pattern choices, you too can go from basic designs to unique, designer-level garments.
I made my own dress pattern! and created a very precious bedsheet dress from it
byu/ropedropdesign inoldhagfashion
8. Building Your Pattern Collection
As you get more skilled you’ll want to build a pattern collection. Start with basic designs like simple skirts or blouses and add more complex patterns as you go. Sophia built her collection slowly, each new pattern gave her the chance to try out and learn more advanced techniques.
9. Advanced Techniques
As Sophia got more confident in her dressmaking she started to explore advanced techniques. These included:
Pockets: A tricky but fun addition to any garment.
Zippers: Sewing in zippers especially for dresses became a key skill for her.
Mix and Match: Combining pieces from different patterns, like the bodice of one dress with the skirt of another, allowed her to create one-of-a-kind designs.
10. Designer Fashion
Sophia’s journey eventually took her into designer fashion. She started working with luxury fabrics like silk, wool, and cashmere, mastering advanced construction techniques. The results were dresses that were not only functional but works of art, to be looked at.
11. Sustainable Fashion and Pattern Making
Sustainable fashion is an approach to fashion that prioritizes environmental and social responsibility. Pattern-making sustainably plays a crucial role, as it allows designers to create garments that are both stylish and eco-friendly. One way to make pattern-making more sustainable is to use digital patterns, which reduce waste and minimize the need for physical prototypes.
Consider using eco-friendly fabrics, such as organic cotton, recycled polyester, or repurposed materials, when creating your patterns. Upcycling and repurposing existing garments is another way to reduce waste and create sustainable fashion. Sustainable fashion patterns can also be designed with longevity in mind, creating garments that are timeless and durable.
Online resources and communities can provide inspiration and guidance for creating sustainable fashion patterns. By incorporating sustainable practices into your pattern-making, you can contribute to a more environmentally conscious fashion industry. Embrace the challenge of creating beautiful, sustainable clothing that reflects your values and creativity.
Using real-life experiences in your sewing journey can be super motivating. For example, a Reddit user shared their first prom dress. They made a bodice pattern for the top and a circle skirt pattern for the bottom. This is a great example of how simple patterns can be used to make amazing unique pieces. By combining your creativity with thought-out pattern choices you can go from basic to designer level.
I created a prom dress for the first time ever! I made a bodice pattern to assist me with the top and then created a circular skirt pattern for the bottom.
byu/nmetoyer insewing
12. Seasonal Wardrobe
Sophia used her new skills to plan a wardrobe for each season. She chose colors and fabrics that could go from summer to winter and created a mix-and-match wardrobe for every occasion.
Sewing Your Dreams One Stitch at a Time
Sophia’s sewing journey started with simple projects and gradually got more complex. With determination, patience, and a willingness to learn she turned her hobby into a passion and an art. The dress she once saw in her head became a reality—dressmaking is possible. The journey may seem overwhelming at first but with every step you get closer to becoming a dressmaker, one stitch at a time.


