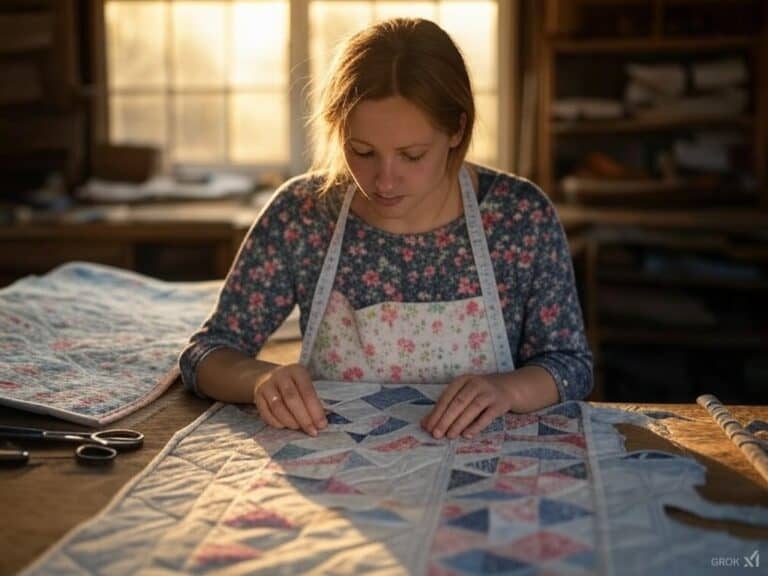
Maya sat in the quiet corner of her sewing room, the dawn light spilling in and casting long shadows on the floor. The house was still, the only sounds were the ticking of the clock on the wall and the rustle of fabric as she laid out her supplies on the table.
Today was the day—after weeks of planning and dreaming—she was finally going to start her sampler quilt. The air was full of excitement and a little bit of nervousness. Maya had been thinking about this quilt for months, imagining each block, each pattern. Now it was time to make it happen.
1. What’s So Special About a Sampler Quilt?
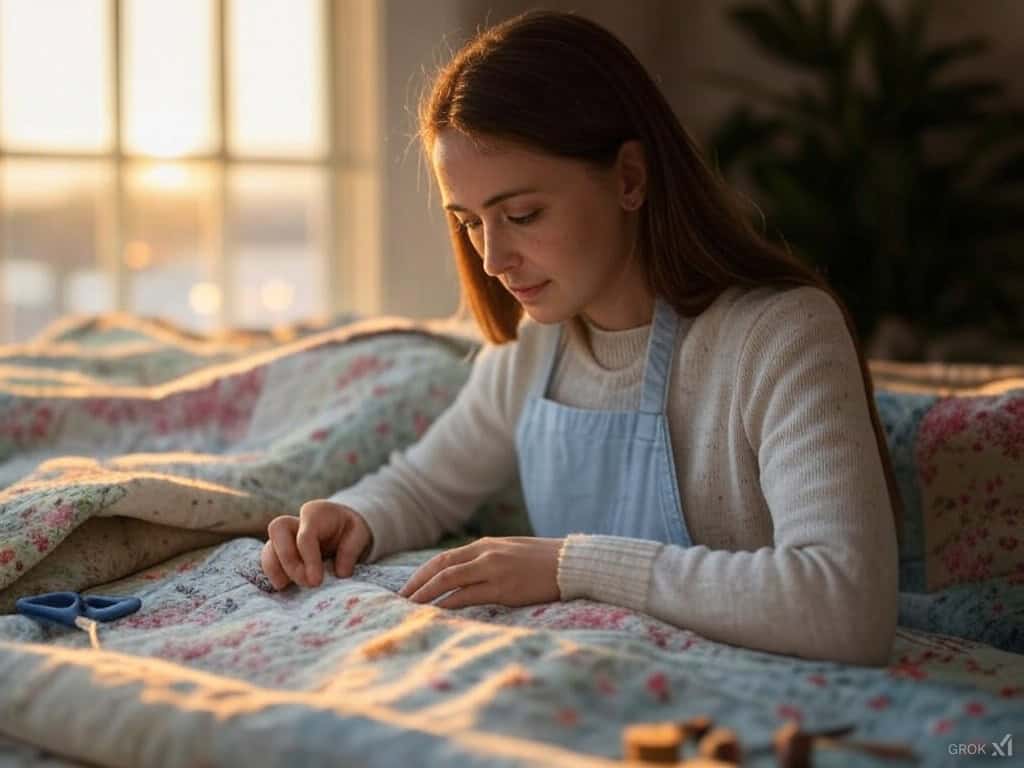
Sampler quilts are special because they have a variety of block designs, each one with a different technique or style. For Maya, this was the perfect chance to play and learn. As she looked at the pile of fabric in front of her she couldn’t wait to try classic blocks like the Nine-Patch and Log Cabin and more intricate ones like the Mariner’s Compass and Flying Geese. Each block would be different but together they would become one quilt—a celebration of quilting.
Sampler quilts allow quilters to be creative, learn new techniques, and make something unique with different blocks. For Maya, this was her chance to show off her skills from beginner blocks to more complex designs.
Quilting journeys have these moments of surprise creativity, as Caro found out when she was ahead of schedule on her sampler quilt preparing for a new quilter’s group. Her story shows how fun and fulfilling it can be and how you can make meaningful gifts in no time. Whether you’re piecing blocks for practice or making for a special occasion, quilting makes us dig deeper and do more than we thought.
I pinned my sampler lap quilt blocks to the curtains to be able to look at them all together. I have my first online novice quilter group tonight and I’ve accidentally made the whole quilt top already. Oops. Going to gift it for a birthday 3 weeks from now. Will it be done? pic.twitter.com/YO33poOrvy
— caro she/her/elle (@crafty_caro) February 5, 2023
2. Gathering Supplies: Fabric Requirements for the Quilting Adventure
Maya knew a quilt started with the right supplies. Before she could get creative she made sure she had everything she needed: the right fabric, the right tools, and plenty of time to enjoy the process. She spent the morning picking out her fabric, making sure it matched her color palette.
Fabric Needed:
Background Fabric: Maya chose a neutral color that would let the blocks shine. She needed 3-4 yards.
Block Fabrics: Each block would need 1/4 yard of different fabrics. Maya chose a mix of prints and solids for variety and interest.
Sashing and Borders: Maya figured out 1-2 yards of fabric for sashing and borders. She chose a fabric that matched the blocks but not too much.
Supplies:
Rotary Cutter and Mat: For cutting.
Quilting Ruler: For accurate cutting of the fabric.
Needles: Maya used universal or quilting needles for her fabric.
Thread: She chose high-quality cotton thread that matched her fabric.
Maya thought about the scale of the prints she was using. Large prints would be balanced with smaller ones and she would stay within her color palette—3-5 colors that went together.
3. Exploring Free Quilt Block Patterns
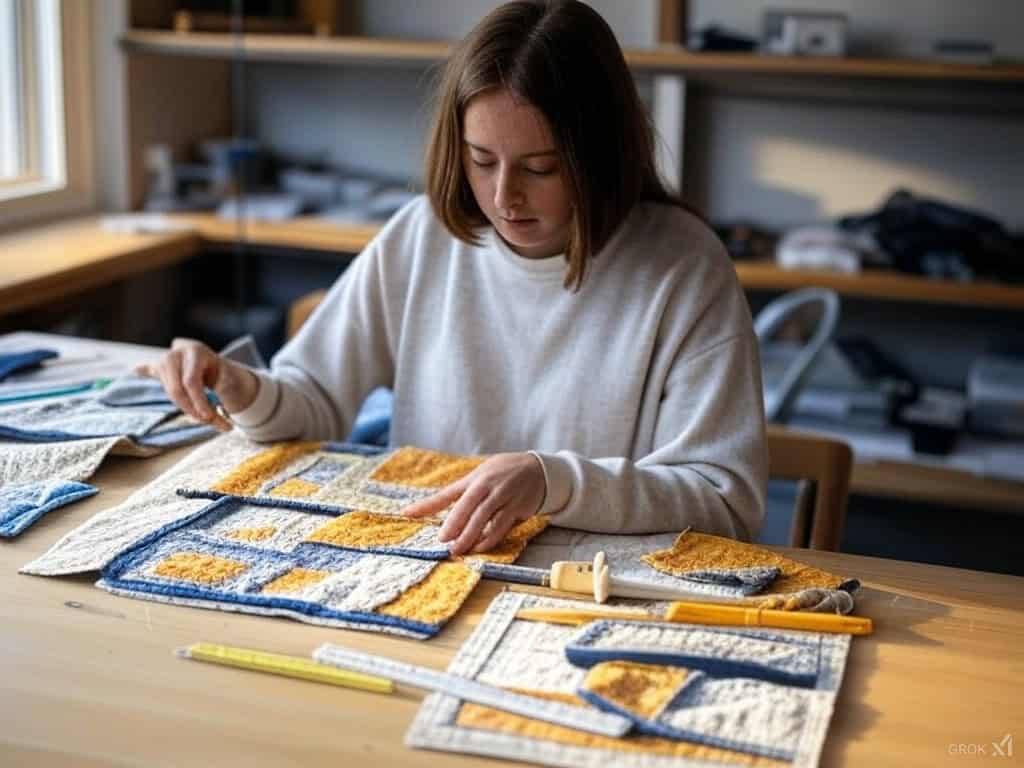
Free quilt block patterns are a treasure trove for quilters looking to expand their repertoire without committing to a full quilt pattern. For Maya, these patterns were a gateway to endless possibilities, allowing her to experiment with different designs and techniques.
She found inspiration in the Moda Blockheads Quilt Sampler and the Chatelaine BOW Sampler Quilt, both of which offered a variety of free quilt block patterns that could be mixed and matched to create a unique quilt top.
When diving into free quilt block patterns, Maya paid close attention to the fabric requirements. She knew that understanding how much fabric each block needed was crucial to avoid running out of her favorite fabrics mid-project. Whether she used her fabrics or followed the fabric suggestions provided with the pattern, careful planning ensured she had enough material to complete each block.
Exploring these patterns also gave Maya the chance to practice new skills. She tackled the Mosaic Block Pattern, a classic design that uses half-square triangle units to create a stunning and intricate block.
Each new pattern was an opportunity to learn and grow as a quilter, adding to the beauty and complexity of her sampler quilt. By incorporating free quilt block patterns, Maya’s quilt became a personalized masterpiece, reflecting her journey and creativity.
Making a sampler quilt is as much about endurance as it is about creativity. One quilter shares her journey of making a Rainbow Summer Sampler Quilt, a 5-year labor of love with lots of planning, cutting, and sewing. Her story is a testament to the artistry and patience of quilting and how the finished quilt—warts and all—becomes a part of your personal history.
Finished my Rainbow Summer Sampler Quilt – 5 years from start to finish. So much work planning, cutting, printing & sewing, but I love it, flaws and all.
byu/lechevalnoir inquilting
4. Choosing Your Blocks: Classic and Modern Free Quilt Block Patterns
Maya’s heart was racing as she pulled out her block patterns. She had always loved classic blocks but was also ready to try modern ones. Each block would be a mini adventure in itself, a chance to practice and create something beautiful. She was particularly excited about incorporating sampler blocks, which would allow her to participate in a quilt-along event and connect with the quilting community.
Beginner Blocks
Nine-Patch: Maya was looking forward to starting with the Nine-Patch. It was a simple block, great for practicing piecing and accuracy.
Rail Fence: Another simple block to get her into the swing of sewing and matching seams.
Intermediate Blocks
Half-Square Triangles: A bit more challenging block, introducing geometry into quilting. Maya was looking forward to seeing how these blocks would work together.
Flying Geese: A fun and challenging block to practice precision and accuracy.
Advanced Blocks
Mariner’s Compass: Maya was ready to tackle the Mariner’s Compass, a block notorious for being tricky. It would require careful cutting and sewing but the results would be worth it.
Y-Seams: A tricky technique Maya knew would put her sewing skills to the test. She was up for it, knowing it would add depth and elegance to her quilt.
Maya was also looking forward to trying bonus blocks or variations of the ones she had chosen. She could mix sizes or change the color placement to create a new look and make each block unique.
5. Designing Your Layout: Putting It Together
Maya spent a lot of time thinking about how the center block would go together with the other blocks. She marked a diagonal line from corner to corner on the wrong side of the background squares to guide her sewing. The layout would make a big difference in the overall look of the quilt and she wanted her sampler to be cohesive and dynamic.
She played around with different layouts and finally decided to use a grid for the main blocks. She would rotate a few of the blocks diagonally to add some movement and make the design balanced but not boring. Maya was excited to see how the final layout would come together once all the blocks were in place.
Sashing and Borders: Maya knew sashing could make a big difference in her quilt. She chose a soft fabric for the sashing to match the block colors and create a cohesive but distinct separation between the blocks. For the borders, she chose a simple design that would frame the quilt without competing with the blocks. She also planned to add an outer ring of blocks to enhance the overall structure.
Balanced Color Combinations: Maya used a color wheel to help her make harmonious combinations. She limited her palette to 3-5 colors to not overwhelm the design and used different shades and tints of her colors for depth and interest.
Quilting isn’t just about stitching fabric together; it’s about creating something that holds stories and memories. One quilter shared a beautiful journey that proves this. During her pregnancy she made a rainbow quilt, each piece carefully chosen and sewn with love, to represent the anticipation and joy of having a child. But the story didn’t end there.
A year later she went back to the same fabrics and made a dress for her daughter, weaving the quilt’s story into a new chapter of their lives. The dress made from the quilt’s remnants was more than just a garment; it was a wearable piece of history connecting mother and child through creativity and love.
This lovely project shows the sentimental value of quilting, and how fabric, color, and design can go beyond utility and become a treasured family heirloom that tells a family’s story.
I made this rainbow quilt when I was pregnant last year, and recently, I made a dress for her with some of the fabric in the quilt. [Pattern is patterns for pirates so classic sundress]
byu/sweetmamasharon insewing
6. Piecing Your Quilt: Step by Step
With her materials and layout planned, Maya was ready to start piecing her quilt blocks. She set up her machine and cut all her fabric according to the pattern measurements. She organized the pieces by block type to make the process easier and faster.
Sewing and Pressing: Maya started by piecing each block, using a quarter-inch seam allowance for consistency. She pressed each seam open or to one side as needed to keep the blocks flat and neat. Pressing was key to everything lining up perfectly.
Assembling the Blocks: Once all the blocks were done, Maya laid them out on a flat surface to make sure everything was in the right order. She started by joining the blocks into rows, matching the seams carefully, and then joined the rows together. With each stitch, she could see her quilt coming together, a true work of love.
7. Finishing: Quilting and Binding Your Sampler Quilt
With the top assembled Maya was ready to add the finishing touches. She decided to quilt her sampler with straight-line quilting and free-motion quilting. The straight lines would emphasize the geometric shapes of the blocks and the free-motion quilting would add texture and dimension.
Quilting: Maya added a personal touch with free motion quilting in the borders using loops and curves to contrast with the sharp lines of the blocks. She also did straight-line quilting on some of the larger blocks for a modern look.
Binding: Finally it was time to add the binding. Maya cut strips of fabric for the binding and sewed them together to make one long strip. She attached the binding to the front of the quilt, folded it to the back, and secured it with hand stitches for a finish.
8. Displaying and Caring for Your Sampler Quilt
With her sampler quilt finally complete, Maya wanted to ensure it remained a cherished piece for years to come. She knew that proper display and care were essential to preserving its beauty and integrity. Here are some tips she followed to keep her quilt in pristine condition:
Maya chose a wall in her home with minimal direct sunlight to prevent the vibrant colors of her fabrics from fading. She used a sturdy quilt hanger to support the weight of the quilt, ensuring it wouldn’t stretch or sag over time. To make hanging and removing the quilt easier, she added a quilt sleeve to the back.
When not on display, Maya stored her quilt in a cool, dry place, using acid-free tissue paper to protect the fabrics. She avoided folding or creasing the quilt, as this could cause permanent damage to the seams and fabric. Instead, she rolled it gently to maintain its shape.
For cleaning, Maya knew that washing or dry cleaning could harm the delicate fabrics. Instead, she spot-cleaned any stains or spills with a gentle cleaning solution, preserving the quilt’s integrity. By following these care tips, Maya ensured her sampler quilt would remain a beautiful and treasured piece, ready to be admired by friends, family, and future generations.
By taking these steps, you too can ensure your sampler quilt remains a stunning and cherished creation. Whether displayed on a wall, used as a cozy throw, or passed down as a family heirloom, your quilt will be a testament to your skill and creativity, a lasting legacy of your quilting journey.
9. The Big Reveal: A Quilt to Be Proud Of
Maya stepped back to look at her finished sampler quilt and smiled. Each block was a piece of art on its own but together they were something amazing. The quilt was a reflection of her growth as a quilter, a journey from simple blocks to complex designs.
Maya knew this quilt would always be special to her. It wasn’t just a finished project, it was proof of her creativity, patience, and skill. With the quilt done, she folded it up to show to friends and family.
Your Quilting Journey Begins Now
Creating a sampler quilt is a fun experience for quilters of all levels to try, learn, and create. By following these steps—gathering your materials, choosing your blocks, designing your layout, and piecing it all together you’ll be on your way to making your masterpiece.
Whether you’re a beginner or an experienced quilter this journey will help you improve your skills and get creative. So gather your fabric, pick your favorite blocks, and start quilting—your perfect sampler quilt is waiting!


