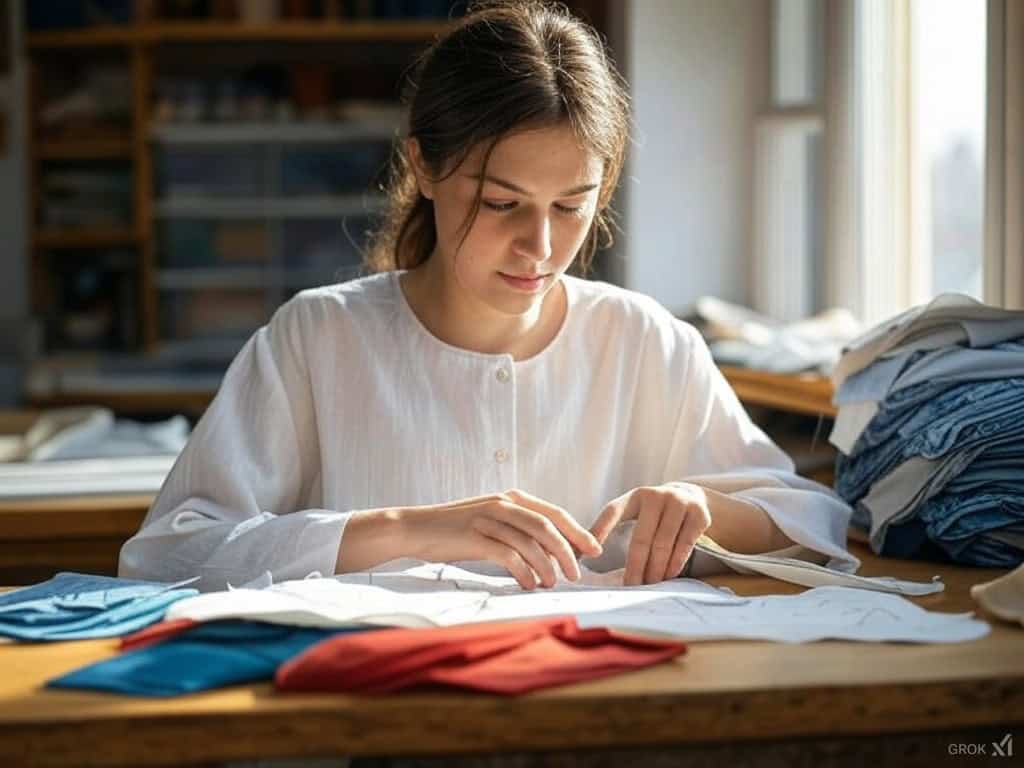
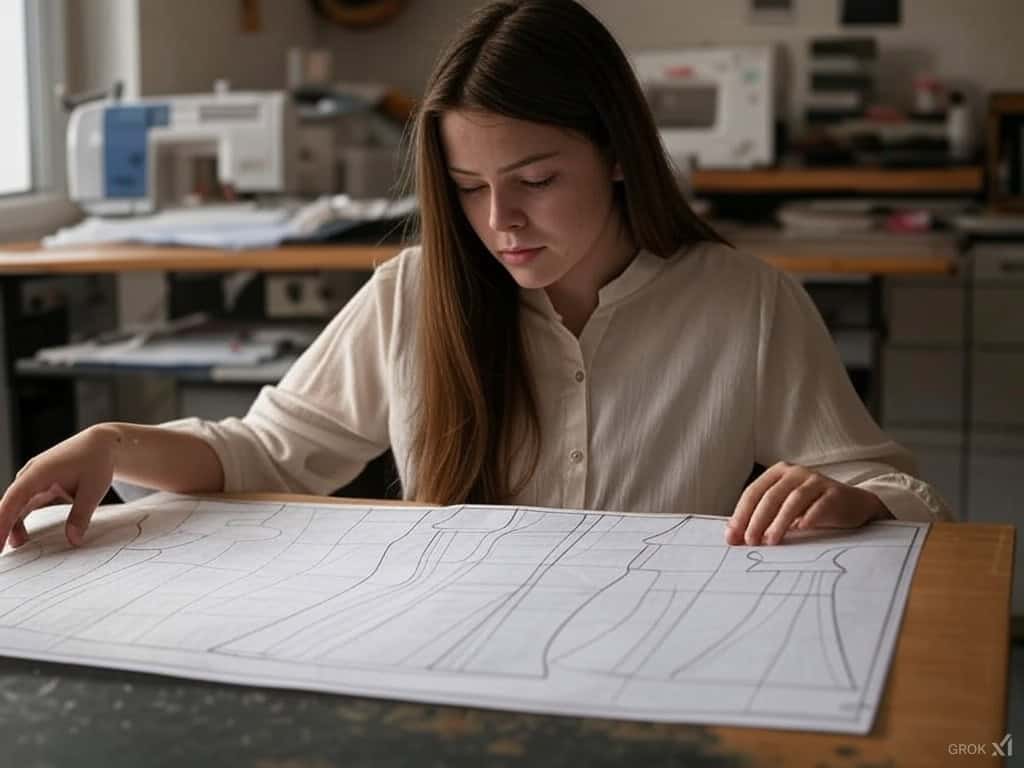
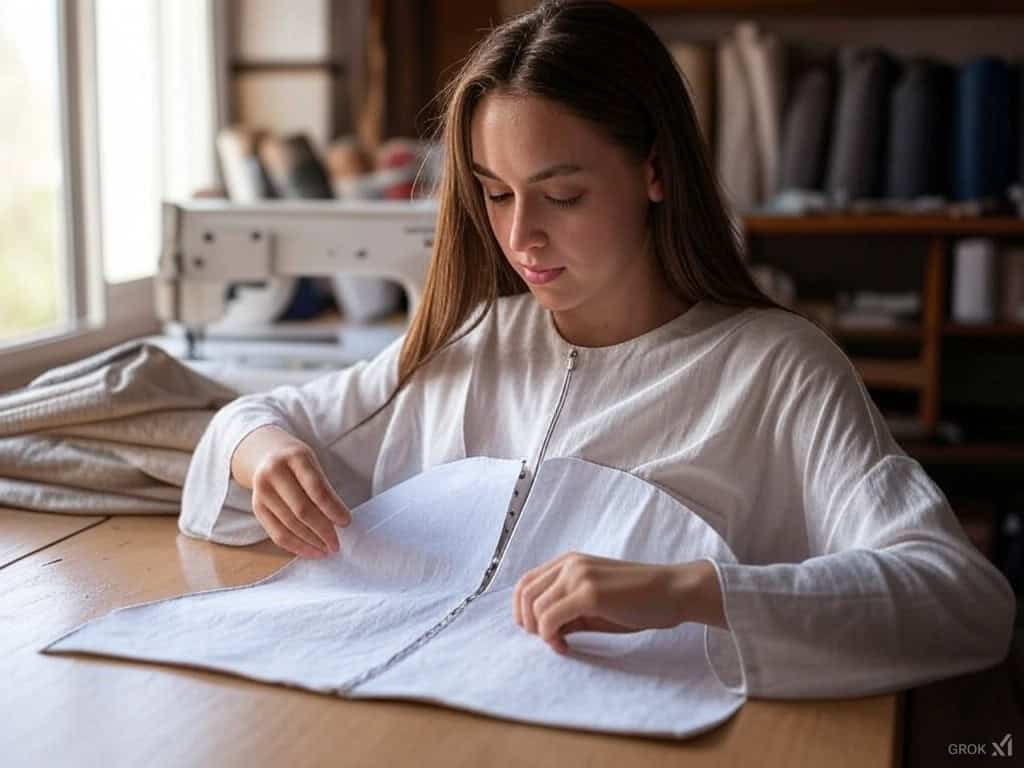
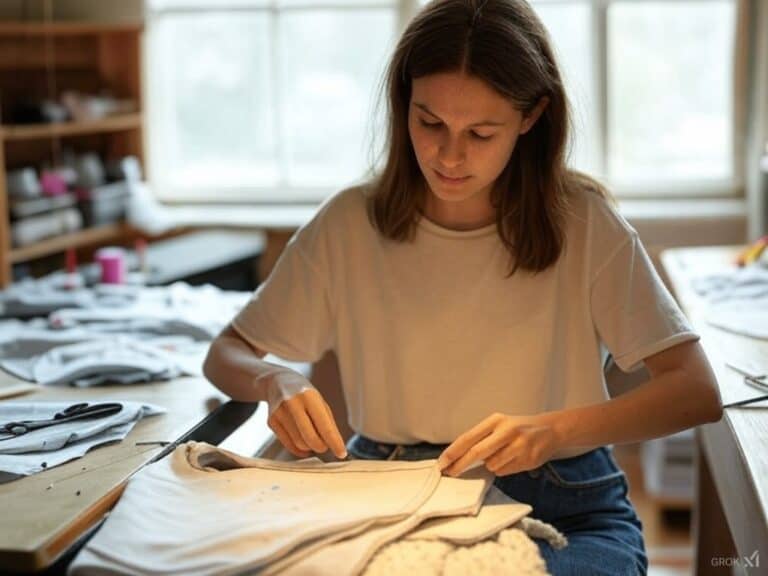
Emily’s sewing room was her happy place. The sun shone through the window and cast a warm glow on the fabric rolls on her shelves. She loved how each roll of fabric told its own story and was waiting to become something beautiful in her hands. Today she was starting a project she’d been dreaming about for months—a cut-out dress.
The kind of dress that would be bold yet elegant with those signature cut-out details that give it attitude. It wasn’t just about sewing for Emily; it was about creating something that felt like an extension of herself.
Cut-out dresses are special because they combine playfulness with a grown-up silhouette. Whether it’s a little skin peeking out at the waist or big cut-outs across the back they’re a statement piece that says confidence and creativity.
Emily knew this would be a tough but rewarding project—she’d learn new skills and get a beautiful dress at the end. Selecting the right dress patterns is crucial for this project, as it ensures the proper fit and guides the construction process. If you’re ready to make your cut-out dress, let’s get started!

1. Understanding Cut-Out Dresses and Sewing Patterns
Cut-out dresses are a popular fashion trend that can add a touch of elegance and sophistication to any outfit. When it comes to sewing a cut-out dress, having the right sewing pattern is crucial. A sewing pattern is a template or guide that helps you create a garment, in this case, a cut-out dress. Sewing patterns can be found in various forms, including paper patterns, digital PDF sewing patterns, and even online tutorials.
When choosing a sewing pattern for a cut-out dress, consider the level of difficulty, the type of fabric required, and the desired outcome. Look for patterns that include clear instructions, diagrams, and photos to help you understand the construction process.
Additionally, consider the size range and adjustability of the pattern to ensure a good fit. Emily always made sure to read through the instructions and check the pattern’s difficulty rating before starting her project. This way, she knew exactly what to expect and could prepare accordingly.
Designer stories remind us that every expert was once a beginner, facing challenges with determination and imagination. One designer shared how they made their first dress and gloves from scratch, using only self-made patterns and no help during the cutting phase.
This is the beauty of hands-on learning and the pride of mastering a new skill. It’s proof that even the most complicated projects become iconic when you approach them with dedication and willingness to go through the process.
ok for the RECORD our loved ones weren’t allowed to help construct their looks they were only allowed to help cut out our fabric from our own patterns. I did construct & sew that dress from scratch & it was the first time I had sewn gloves or a gown and that’s iconic if u ask me
— Denim (@denimjustdenim) January 6, 2024
2. Choose Your Cut-Out Dress Pattern
When it came to choosing the pattern Emily knew she wanted something that would balance design with practicality. Cut-out patterns come in many styles so choosing the right one for your body and the look you want is important. She went with a fitted pattern that had cut-outs on the sides. It would be bold enough to make a statement but still be flattering.
Patterns come in several types so let’s break them down:
PDF Patterns: Digital files you download, print, and assemble at home. They often come with instructions and are flexible with sizing. Emily liked PDF patterns because she could print them when she needed them and store them digitally.
Paper Patterns: Traditional, pre-printed patterns found at fabric stores. Emily liked paper patterns because they were easy to use and came with step-by-step instructions but had to be careful with sizing and cutting along the lines of the paper pattern.
Digital Patterns: Good for those with cutting machines. You can import the digital files and let the machine cut your fabric for you. This will save you time, especially for projects with intricate details.
Take your time choosing the right pattern for your style and skill level. Check the pattern’s difficulty rating and read through the instructions before you start.

3. Choosing the Right Fabric and Notions
Choosing the right fabric and notions is essential for creating a beautiful and functional cut-out dress. Consider the type of fabric that suits the season, occasion, and personal preference. For example, lightweight fabrics like cotton, silk, or chiffon are perfect for summer dresses, while heavier fabrics like wool or velvet are better suited for winter dresses. Emily loved working with different fabrics and often chose materials that felt good against her skin and draped well.
Notions, such as zippers, buttons, and threads, should be chosen to complement the fabric and design of the dress. Make sure to select notions that are durable and suitable for the type of fabric you are using. For example, if you are using a delicate fabric, choose a zipper or button that won’t damage the fabric. Emily always matched her thread to her fabric for a seamless look, but sometimes she opted for contrasting thread to add a fun pop of color.
After a long time off sewing can feel both exciting and intimidating, but one creator’s journey proves it’s worth every stitch. After 7 years off they chose a “Cut-Out Back Dress” pattern to ease back in, and went to their favorite Etsy shop for inspiration.
This was the perfect re-entry project, balancing creativity and skill building. It’s proof that even after years away the joy of making something beautiful with your hands can re-ignite that sewing spark.
First project following a 7-year hiatus. Pattern is “Cut out back dress” from Tacoinou Etsy shop
byu/saltlamp_1 insewing
4. Get Your Tools and Materials
Emily knew having the right tools would make the whole process easier. Accurately cutting and laying out the fabric pieces according to the pattern instructions is crucial for a proper fit and appearance of the finished dress. Here’s what you’ll need:
Sewing Machine: Whether you have a basic or advanced machine make sure it’s in working order. Emily made sure her machine was threaded and oiled before she started.
Fabric Scissors: A good pair of fabric scissors will give you clean, precise cuts which is important for accuracy. Worth investing in a good pair to avoid jagged edges that can ruin your fabric.
Measuring Tape: For body measurements always use a soft measuring tape. Emily measured her bust, waist, and hips to make sure she would choose the right size pattern for her body.
Straight Pins or Fabric Clips: These will hold your pattern pieces to your fabric. Emily liked fabric clips because they don’t damage the fabric but pins work too.
Iron and Ironing Board: Pressing seams and fabric edges as you sew is a must for a professional finish. Emily always pressed each seam flat as she sewed, it made sewing so much easier and cleaner.
Thread: Choose a thread that matches your fabric. Emily always used matching thread so the stitching would blend in but sometimes she used contrasting thread for a fun pop.
5. Preparing Your PDF Sewing Patterns
Before starting your sewing project, it’s essential to prepare your PDF sewing patterns. Here are some steps to follow:
- Download your PDF sewing pattern and save it to your computer or mobile device. Emily always made sure to save a backup copy, just in case.
- Check the pattern files to ensure they are complete and include all the necessary pieces. Emily liked to go through the pattern files and make a checklist of all the pieces she needed.
- Print the pattern at the actual size, using the correct paper size and orientation. Emily used letter-size paper and made sure her printer settings were correct to avoid any scaling issues.
- Cut out the pattern pieces carefully, using scissors or a craft knife. Emily took her time with this step to ensure precision.
- Label each pattern piece and organize them in a way that makes sense for your project. Emily often used small envelopes to keep her pattern pieces organized and easy to find.
6. Measure and Choose the Right Size
One of the most important things Emily learned early on was to get the measurements right. The fit of a cut-out dress is crucial, especially around the waist and cut-out areas. If those parts aren’t accurate the whole dress won’t look or fit the way it should.
Emily used a soft measuring tape and made sure it wasn’t too tight. She measured her bust, waist, and hips, writing each number down. It’s always a good idea to measure over your undergarments so the dress will fit well when finished.
When choosing your pattern size refer to the size chart on the back of the pattern. If you’re between two sizes go with the larger size, it’s easier to take in fabric than to add it if it’s too tight. Also, remember to consider any ease in the pattern as cut-out dresses need a bit more flexibility around the cut-out areas.

7. Cut Your Fabric and Pattern Pieces
With everything prepared Emily was ready to cut her fabric. This part requires attention, especially with the placement of your pattern pieces and ensuring the correct seam allowance is included. Emily laid her fabric flat on her cutting table, smoothing out any wrinkles. This would help the cuts be precise and the fabric lay flat.
She pinned each pattern piece to the fabric making sure the notches on the fabric lined up with the markings on the pattern. Notches are important for alignment when sewing so Emily always made sure to match them. When cutting around the pattern pieces Emily used sharp fabric scissors for clean edges. For delicate fabrics, she used fabric weights instead of pins to avoid distortion.
Emily also double-checked the fabric grainline—if the grainline isn’t followed correctly the dress will hang awkwardly or lose its shape.
8. Sew the Dress
Now she could sew! Emily loved seeing the pieces come together, she was one step closer to her perfect dress.
She started with the bodice. Matching the notches and following the seam allowances Emily sewed the pieces together with a straight stitch. When she got to the cut-out sections she went slow. These areas required precision. She used a zigzag stitch along the edges of the cut-out to prevent fraying and interfacing around the cut-out areas to prevent the fabric from stretching out.
Then Emily attached the skirt to the bodice. As she sewed she checked the alignment and fit to make sure everything was coming together smoothly. She couldn’t wait to see everyone’s finished pieces shared on social media with the designated hashtag.
The fun of starting a new sewing project is in the little moments of preparation, like cutting out patterns and planning for test runs. One creator tested their pattern on cheap fabric before committing to their dream fabric—a great tip for anyone making a cut-out dress. This not only builds confidence but ensures the final garment comes together beautifully, making the process as enjoyable as the result.
Yey I cut out the patterns for the dress. Tommorow I am gonna test them on some cheap fabric and if I succeeded next week gonna start to do the actual Palaye dress
— Valentina Fever Dream (@lvalentina_tina) January 20, 2021
9. Customizing Your Cut-Out Dress
One of the benefits of sewing your cut-out dress is the ability to customize it to your liking. Here are some ways to customize your dress:
- Add or remove design elements, such as pockets, sleeves, or a lining. Emily loved adding pockets to her dresses for extra functionality.
- Change the length or width of the dress to suit your body type or personal preference. Emily often adjusted the hemline to create a more flattering silhouette.
- Use different fabrics or textures to create a unique and eye-catching design. Mixing and matching fabrics was one of Emily’s favorite ways to make her dresses stand out.
- Add embellishments, such as beads, sequins, or appliques, to give your dress a personalized touch. Emily enjoyed adding a bit of sparkle to her dresses for special occasions.
10. Finishing Touches—Neckline, Hem, and Zipper
As the dress was taking shape, Emily moved on to the final steps: neckline, hem, and zipper. Ensuring the whole pattern was correctly assembled, she focused on the neckline, finishing it with bias tape. She placed the bias tape along the raw edge of the neckline and stitched it down, making sure it was folded in for a neat finish.
For the hem, Emily pressed the raw edge, folded it up, and pinned it in place. She sewed a straight stitch along the fold to make sure the hem was even all the way around.
For the zipper, Emily chose a concealed zipper for a clean finish. She pinned the zipper in place along the back seam and sewed it in slowly to make sure it was smooth and didn’t catch on the fabric.

11. Adding a Professional Finish
To add a professional finish to your cut-out dress, consider the following tips:
- Use a serger or overlock machine to finish the seams and prevent fraying. Emily found that this step made her dresses look much more polished.
- Press the seams and fabric carefully to create a crisp, smooth finish. Emily always pressed her seams as she went along, which made the final pressing much easier.
- Topstitch the edges of the dress to create a decorative finish. This added a nice touch to the overall look of the dress.
- Add a lining or facing to the dress to create a clean and polished finish. Emily often added a lining to her dresses for extra comfort and durability.
- Use a blind hem or invisible hem to finish the hem of the dress. This technique gave Emily’s dresses a professional and seamless look.
By following these tips and using the right sewing patterns, fabric, and notions, you can create a beautiful and professional-looking cut-out dress that you’ll love wearing. Just like Emily, you’ll find that the process is both rewarding and enjoyable, and you’ll end up with a one-of-a-kind piece that reflects your style.
12. Press and Try-On
Once all the sewing was done Emily gave the dress a final press with her iron. She steamed the seams, pressed the neckline, and made sure every edge was sharp and crisp.
Then Emily tried the dress on. She loved how the cut-out sections showed off the shape of the dress and how the fabric moved with her body. It fit perfectly and the details around the cut-out areas made all the difference. She was so happy!
Celebrate Your Creation!
Emily stepped back and looked at the dress in the mirror. She had put so much time and love into it and now it was done. The cut-out details were just the right amount of bold and the fit was perfect.
Making your cut-out dress can be a fun and rewarding experience. It’s a process that requires patience and precision but the result is always worth it. You’ll have a one-of-a-kind, custom piece just like Emily’s dress which she can’t wait to wear to her next event. So get your fabric, pick your pattern, and let your creativity shine! You got this!


