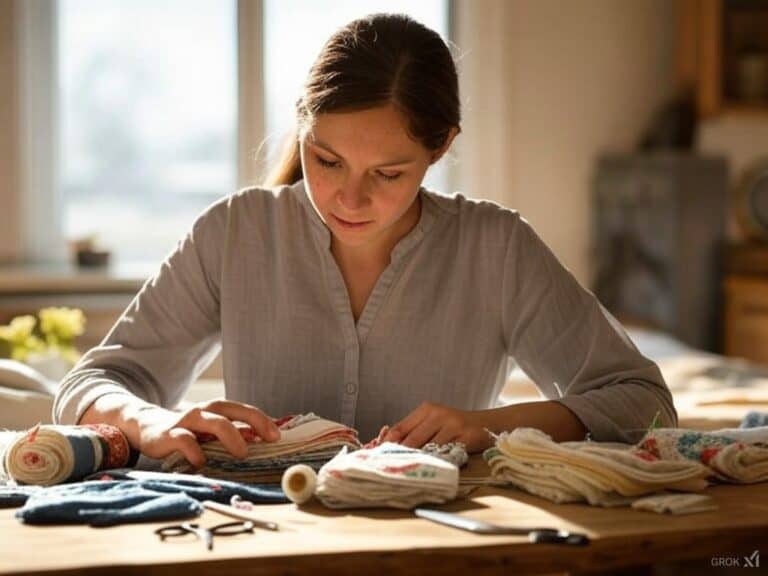
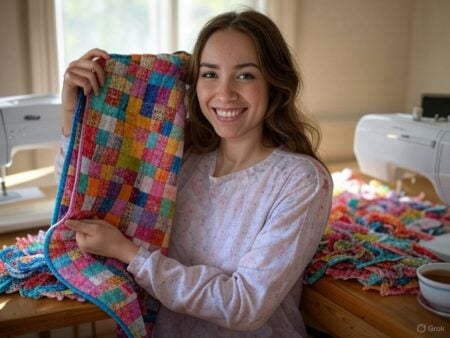
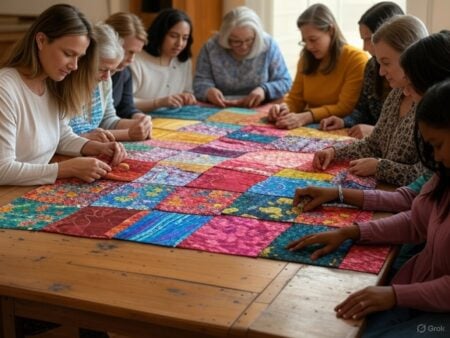
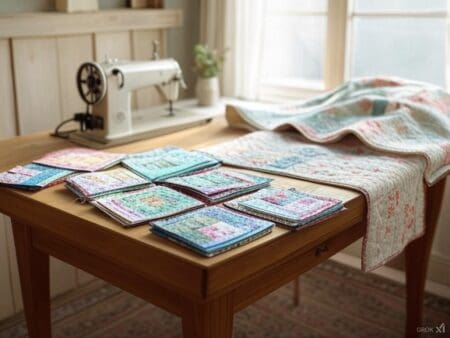
One afternoon, Olivia dug through an old trunk that had been stored in the attic for years. She wasn’t looking for anything in particular, just getting her nostalgic on. Underneath piles of yellowed letters and vintage postcards, she found a bundle of handkerchiefs tied with a worn ribbon. Each one was a story unto itself—delicate embroidery, lace edges, and soft pastel colors that whispered of another era.
These vintage hankies could be transformed into creative projects, preserving memories through unique handcrafted pieces. Olivia’s grandmother had treasured these handkerchiefs and now they were calling out for a new use.
As she held them, an idea struck: what if these memories could be preserved in a quilt? A Hanky Panky quilt wouldn’t just be a craft—it would be a way to honor the past while making something beautiful for the future. If you, like Olivia, have a stash of handkerchiefs or love vintage fabric, this guide will show you how to make your own.
1. Understanding Hanky Panky Quilts
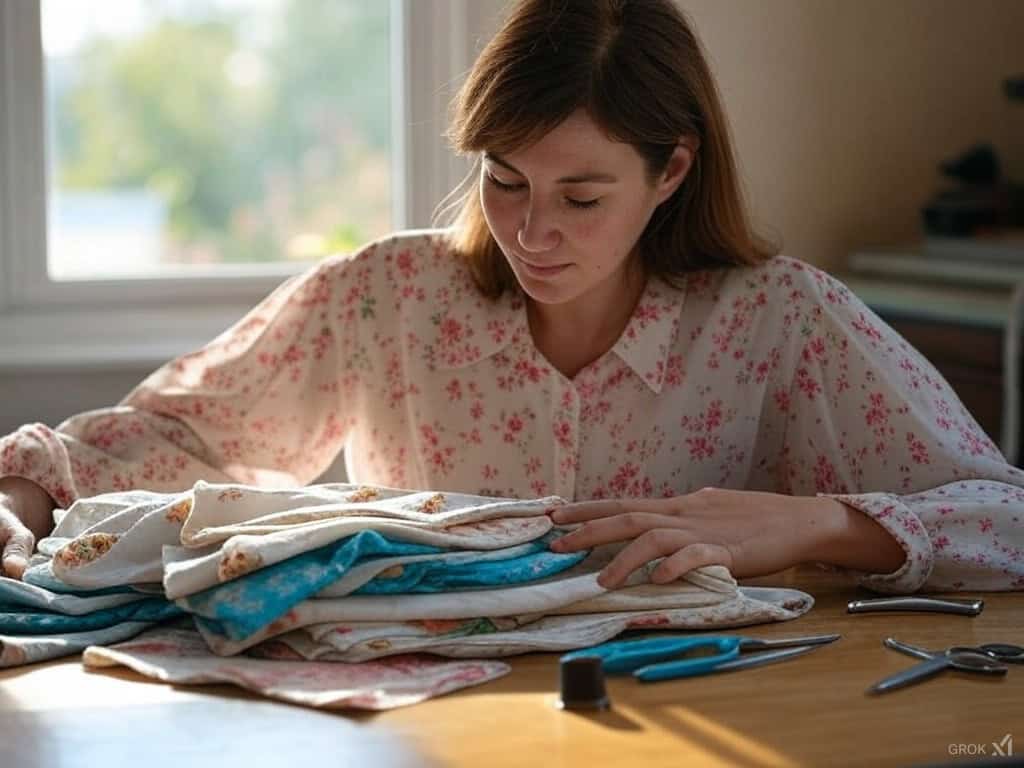
Hanky Panky quilts are a delightful way to transform vintage handkerchiefs into a cherished quilts. This quilt pattern, designed by Cindy Brick, involves layering and embellishing handkerchiefs to create a unique and personal piece.
Unlike traditional handkerchief quilts, crafted for over a century, Hanky Panky quilts are essentially a crazy quilt of hankies, with each block showcasing a collection of vintage handkerchiefs.
The beauty of a Hanky Panky quilt lies in its ability to preserve memories and stories. Each handkerchief, with its distinct pattern and history, contributes to the quilt’s overall charm.
Whether you have a stash of vintage handkerchiefs or are starting from scratch, this quilt pattern allows you to create something truly special. The process is flexible, accommodating both hand and machine sewing, and can be tailored to reflect your style.
For Olivia, making a Hanky Panky quilt was a way to honor her grandmother’s legacy while indulging in a creative and meaningful project. Whether you’re an experienced quilter or a beginner, this quilt offers a fun and rewarding way to repurpose old or new hankies into a beautiful heirloom.
Handkerchief quilting inspiration can come from anywhere. Diane Carol Roy was rummaging through a box of her grandmother’s handkerchiefs and found a way to save their sentimental value. With the help of a creative friend these delicate pieces were turned into a gorgeous quilt, each square full of family history and art.
Stories like Diane’s remind us that quilting isn’t just a craft it’s a way to honor the past and create something tangible and timeless for the future.
I had a whole box of my grandmother's handkerchiefs and didn't know what to do with them. A friend made this beautiful quilt using them. pic.twitter.com/laj5w7Y8We
— Diane Carol Roy (@DianeCarolRoy1) June 27, 2023
2. Why Handkerchief Quilting?
Handkerchief quilting isn’t just about sewing fabric together; it’s about sewing memories, history, and creativity into a physical piece of art. Born out of necessity during the Great Depression, handkerchief quilts have evolved into treasured family heirlooms that combine function with sentimentality.
What makes a Hanky Panky quilt so hanky panky is its whimsy and color. Each handkerchief with its pattern and story becomes a piece of the puzzle. The design of the Hanky Panky quilt essentially makes a crazy quilt from various handkerchiefs, highlighting the versatility of using both old and new materials to create unique quilt blocks.
Together they create a mosaic of colors, textures, and stories. For Olivia, her quilt wasn’t just a project; it was a way to connect with her grandmother’s life and legacy.
3. Gathering Materials for Your Quilt
Making a Hanky Panky quilt starts with gathering the right materials. Here’s what you’ll need:
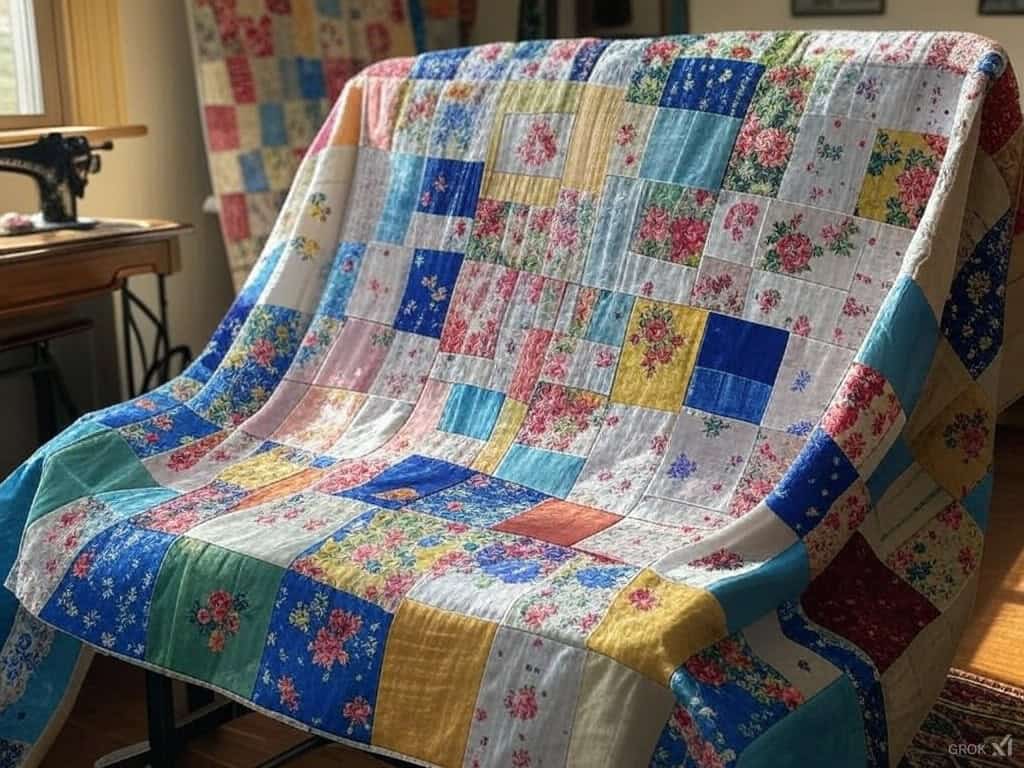
Handkerchiefs: 20 or more for a small quilt. Mix vintage handkerchiefs for a character with modern designs for a modern twist. Use vintage hankies to create unique and sentimental quilt blocks. If you don’t have enough, check local thrift stores or online marketplaces.
Backing Fabric: This will be the bottom of your quilt. Choose a fabric that matches your handkerchiefs, a solid pastel, or a subtle print.
Batting: This adds warmth and depth. Cotton batting is good for a lightweight, breathable finish, and polyester for a fuller texture.
Basic Quilting Supplies: Get a rotary cutter, cutting mat, quilting ruler, and good-quality thread. These will make your project easier and more fun.
Optional Embellishments: If you want to get fancy, you can add lace trim, buttons, or appliques to your quilt design.
Olivia gathered her supplies slowly, enjoying the process. She found vintage handkerchiefs at estate sales and even asked friends for unused ones from their family collections.
4. Preparing Your Handkerchiefs
Proper preparation is key to a beautiful quilt. Here’s how to handle your handkerchiefs:
Sort and Look: Lay out your handkerchiefs and take a good look. Group them by size, color, or pattern. Olivia found that sorting her handkerchiefs this way helped her see how they would fit together.
Clean with Care: Vintage fabric is delicate. Hand wash your handkerchiefs in cool water with a mild soap. For tough stains, soak briefly and don’t scrub hard. Special care is needed for vintage hankies to preserve their quality and history. Olivia used her grandmother’s favorite lavender-scented soap, for an extra special touch.
Press Perfectly: Once dry, iron each handkerchief on a low heat setting. Place a pressing cloth between the iron and the fabric to protect delicate embroidery or lace.
Quilting connects stories across generations and communities. Colleen Hall shared a great story of a reader who made a quilt from her Aunt Hazel’s handkerchiefs. It started with a spark of inspiration—a photo in the newspaper of a handkerchief quilt made by a woman in a nearby town.
Curiosity and creativity got the better of her and she went to visit the woman, learned the technique, and brought her vision to life. Each square lap quilted and lovingly stitched together is a testament to the shared art and connections made through this timeless craft.
A reader made this #quilt using #handkerchiefs from her Aunt Hazel. The #quilter saw a picture in the newspaper of a woman in a neighboring town who had made one. She visited and learned how to do it. It was "lap quilted"– individual squares quilted and then #sewn together. pic.twitter.com/FZSn7miB7q
— Colleen Hall (@ColleenGHall) June 29, 2020
5. Designing Your Quilt Layout
This is where your quilt starts to come together:
Try Out Arrangements: Lay your handkerchiefs on a big flat surface and play around with different combinations. Alternate bold patterns with soft ones for balance. Incorporating vintage hankies can add a unique touch to the quilt layout.
See the Big Picture: Step back and look at the layout from afar. This will help you see where it’s too busy or too plain.
Snap a Shot: Once you like it, take a picture. This will guide you as you sew.
Olivia loved this part. She spent hours rearranging the pieces, trying to tell a story with the patterns and colors.
6. Constructing the Quilt Blocks
Turning your handkerchiefs into quilt blocks is fun and easy:
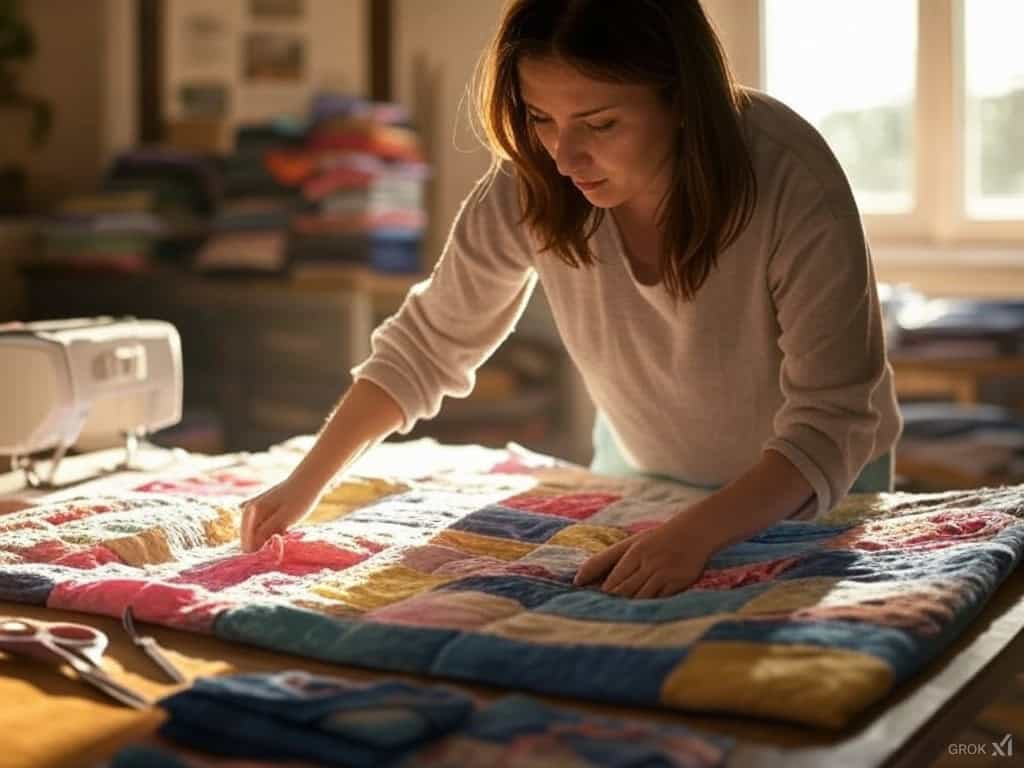
Cut to Size: Trim each handkerchief to a uniform size, 10×10 inches or so, for consistency. If some are smaller, you can frame them with coordinating fabric to match the size. Vintage hankies can be framed this way to create beautiful and unique quilt blocks.
Layer the Fabrics: Place a handkerchief on top of a square of backing fabric, and align the edges. Smooth out the wrinkles.
Pin and Sew: Pin the layers together to prevent shifting. Sew around the edges with a ¼ inch seam.
Press the Block: After sewing, press each block flat.
Quilts are more than just layers of fabric; they are tangible memories sewn with love. On Reddit, CreatewithClaudia shared a beautiful story about a memory quilt made from her dad’s handkerchiefs. The quilt is in a video and was a labor of love and reflection, each piece sewn in honor of her dad.
She said her dad would have loved the quilt and it was a way to keep him with her in a beautiful way. These kinds of projects show how quilting turns personal treasures into family heirlooms.
Yesterday I posted the video making this special quilt, but you can’t see the whole thing in it. Here is a full view of the memory quilt I made with my dad’s handkerchiefs. He would have loved it. :-)
byu/CreatewithClaudia inquilting
7. Assembling the Quilt Top
Once your blocks are done, it’s time to put them together:
Lay Out the Blocks: Lay your blocks out on a flat surface, refer to your picture. Vintage hankies can add a unique and sentimental touch to the quilt top. Adjust if needed for balance.
Sew Rows: Start by sewing blocks into rows. Align the seams carefully for a nice finish.
Sew the Rows Together: Sew the rows together, pressing seams open or to one side to reduce bulk.
8. Quilting and Binding
The final steps:
Make the Quilt Sandwich: Layer your quilt top, batting, and backing fabric. Smooth each layer out, then pin or baste together.
Quilting Techniques:
- Straight-line quilting is clean and modern.
- Free motion quilting is intricate and creative.
- Stitch in the ditch emphasizes the handkerchiefs without drawing attention away from the patterns.
Bind the Quilt: Use strips of fabric or pre-made bias tape to bind the edges. Olivia used a soft pink binding to match her quilt’s colors. These finishing touches not only enhance the quilt’s aesthetic but also make it uniquely yours. Incorporating vintage hankies can add a sentimental and unique touch to the quilt, transforming it into a cherished keepsake.
In another great example from the Reddit quilting community, omgmypony shared a story about making two handkerchief quilts that are still in use years later. She used fleece as batting for extra warmth and comfort and quilted the pieces by stitching between the handkerchiefs.
This practical approach shows how handkerchief quilts can combine sentimental value with everyday use and keep memories close to your heart.
One of two handkerchief quilts I made a few years ago, still in daily use. I used fleece as batting and quilted it by stitching between the handkerchiefs.
byu/omgmypony inquilting
9. Finishing Touches
With your Hanky Panky quilt blocks assembled, it’s time to add the finishing touches that will bring your quilt to life. Start by preparing your quilt backing. Depending on the look you want to achieve, this can be made from a variety of materials, such as coordinating fabric, ribbon, or even lace. Make sure to wash and dry the backing fabric on a low setting to prevent any shrinkage later on.
Next, create your quilt sandwich. Lay your quilt top flat, then add a layer of batting for warmth and depth, followed by your backing fabric. Smooth out each layer to ensure there are no wrinkles or air pockets. Pin or baste the layers together to keep them in place.
Now, it’s time to quilt the layers together. Depending on your preference, you can use a sewing machine or hand quilting techniques. Straight-line quilting offers a clean, modern look, while free-motion quilting allows for more intricate and creative designs. A stitch in the ditch is another technique that emphasizes the handkerchiefs without drawing attention away from their patterns.
Finally, consider adding some embellishments to your Hanky Panky quilt. Charms, buttons, or ribbon bows can be sewn onto the hanky blocks, adding an extra touch of personality and whimsy. These finishing touches not only enhance the quilt’s aesthetic but also make it uniquely yours.
With these steps complete, your Hanky Panky quilt is ready to be enjoyed. Whether draped over a couch or displayed as a wall hanging, it will serve as a beautiful reminder of the past and a testament to your creativity.
10. Caring for Your Quilt
To keep your quilt looking its best:
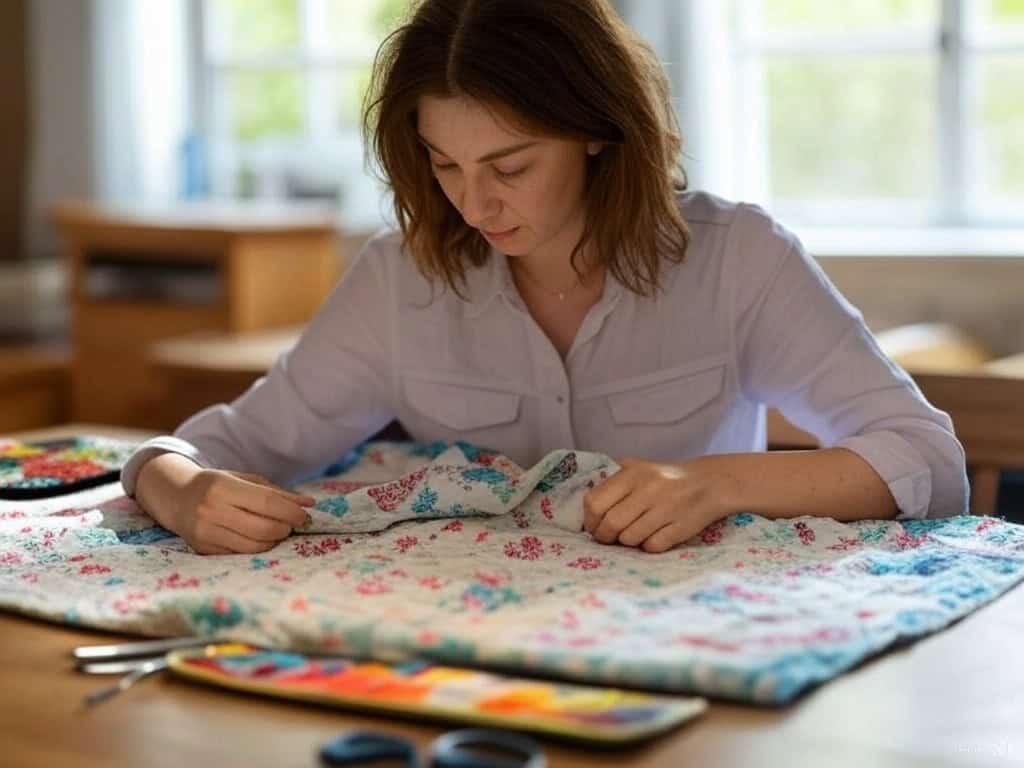
- Hand wash in cool water with a mild detergent. Vintage hankies should be treated with special care to preserve their quality and history.
- Store rolled or flat in a cool dry place, out of direct sunlight.
- Repair loose seams or frayed edges immediately.
Why Wait? Start Your Quilt Today
For Olivia, the process of making her Hanky Panky quilt was just as important as the finished quilt. Each stitch tied her to her grandmother’s past and gave her a sense of accomplishment and happiness.
Go for it. Family heirlooms or starting from scratch, this is a fun and eco-friendly way to make something beautiful. Vintage hankies can be used to create unique and sentimental quilt blocks. Get started.


