Welcome to your in-depth guide on sewing with ripstop nylon. Crafters, outdoor enthusiasts, and fashion designers love this durable, versatile fabric. But before we dive into the nitty-gritty of working with it, let’s talk about its background.
1. What is Ripstop Nylon?

Ripstop nylon is a lightweight synthetic material that is resistant to tearing and ripping. The fabric’s unique crosshatch pattern isn’t just for show – it’s designed to keep tears from spreading. This feature makes ripstop nylon fabric an excellent choice for making strong outdoor gear and apparel.
1.1. History of Ripstop Nylon in Sewing
The history of ripstop nylon in sewing goes back to World War II. Back then, the boatloads needed a lightweight fabric yet tough materials – pun intended! The military was interested in using fabrics that could stand up to war’s rigors while also being light enough not to weigh soldiers down or restrict their movements severely.
Initially created for military use, mainly within parachutes (fun trivia: a parachute made from scraps of this fabric saved Charles Lindbergh’s life during World War II), ripstop polyester nylon soon found itself in other spheres thanks to its impressive properties.
As more sectors adopted the material, they began tailoring it to different purposes — eventually leading us here today!
1.2. Today- Modern Tents
Ripstop nylon’s place at the forefront of textile innovation cannot be understated. It changed how we make adventure gear by allowing manufacturers to create products that can handle brutal conditions without adding excess weight or sacrificing flexibility.
These characteristics have made it an irreplaceable ingredient for backpacks, tents, jackets, and many other things where toughness and lightness are must-haves.
2. Can You Sew Nylon: Preparing for Sewing Ripstop Nylon Fabric

A solid start is a solid finish. Before we get sewing, let’s ensure our workspace and materials are up to snuff. First, gather everything you need. This includes the right needle, thread, and sewing machine for managing ripstop nylon’s finicky slipperiness.
2.1. Sewing Machine Requirements
You have to have a machine that can handle lightweight fabrics. You especially want one with a walking foot attachment. It’ll push and pull the slippery top layer of fabric along smoothly and evenly so it doesn’t slide or wrinkle.
2.2. Other Necessary Tools for Sewing Ripstop Nylon
Sharp scissors, a rotary cutter, and double-sided tape are also must-haves. They’ll help you cut straight lines and steady the weight of the material while you sew.
2.3. Preparing the Fabric
Before sewing or pulling threads together, ensure your fabric is flat and secure.
2.4. Cutting Ripstop Nylon
Use a sharp rotary cutter or scissors to slice through it cleanly. To keep the pieces from fraying when you’re done cutting them, try heating along their edges with some sort of tool (blowtorch if you’re crazy; lighter if you’re not).
2.5. Using Double-Sided Tape for Stability
If your ripstop nylon is slipping all over the place while you work on it, use double-sided tape to keep things in place. Stick somewhere you plan on sewing seams – it’ll hold and glue stick everything down without leaving any residue.
3. Sewing Techniques for Ripstop Nylon

Alright! Now that everything is ready, let’s sew our stuff together!
3.1. Selecting the Appropriate Needle for Ripstop Nylon
Make sure your needle isn’t too big! Smaller diameter ones (size 70/10 is ideal) will pierce straight through nicely without leaving huge holes behind.
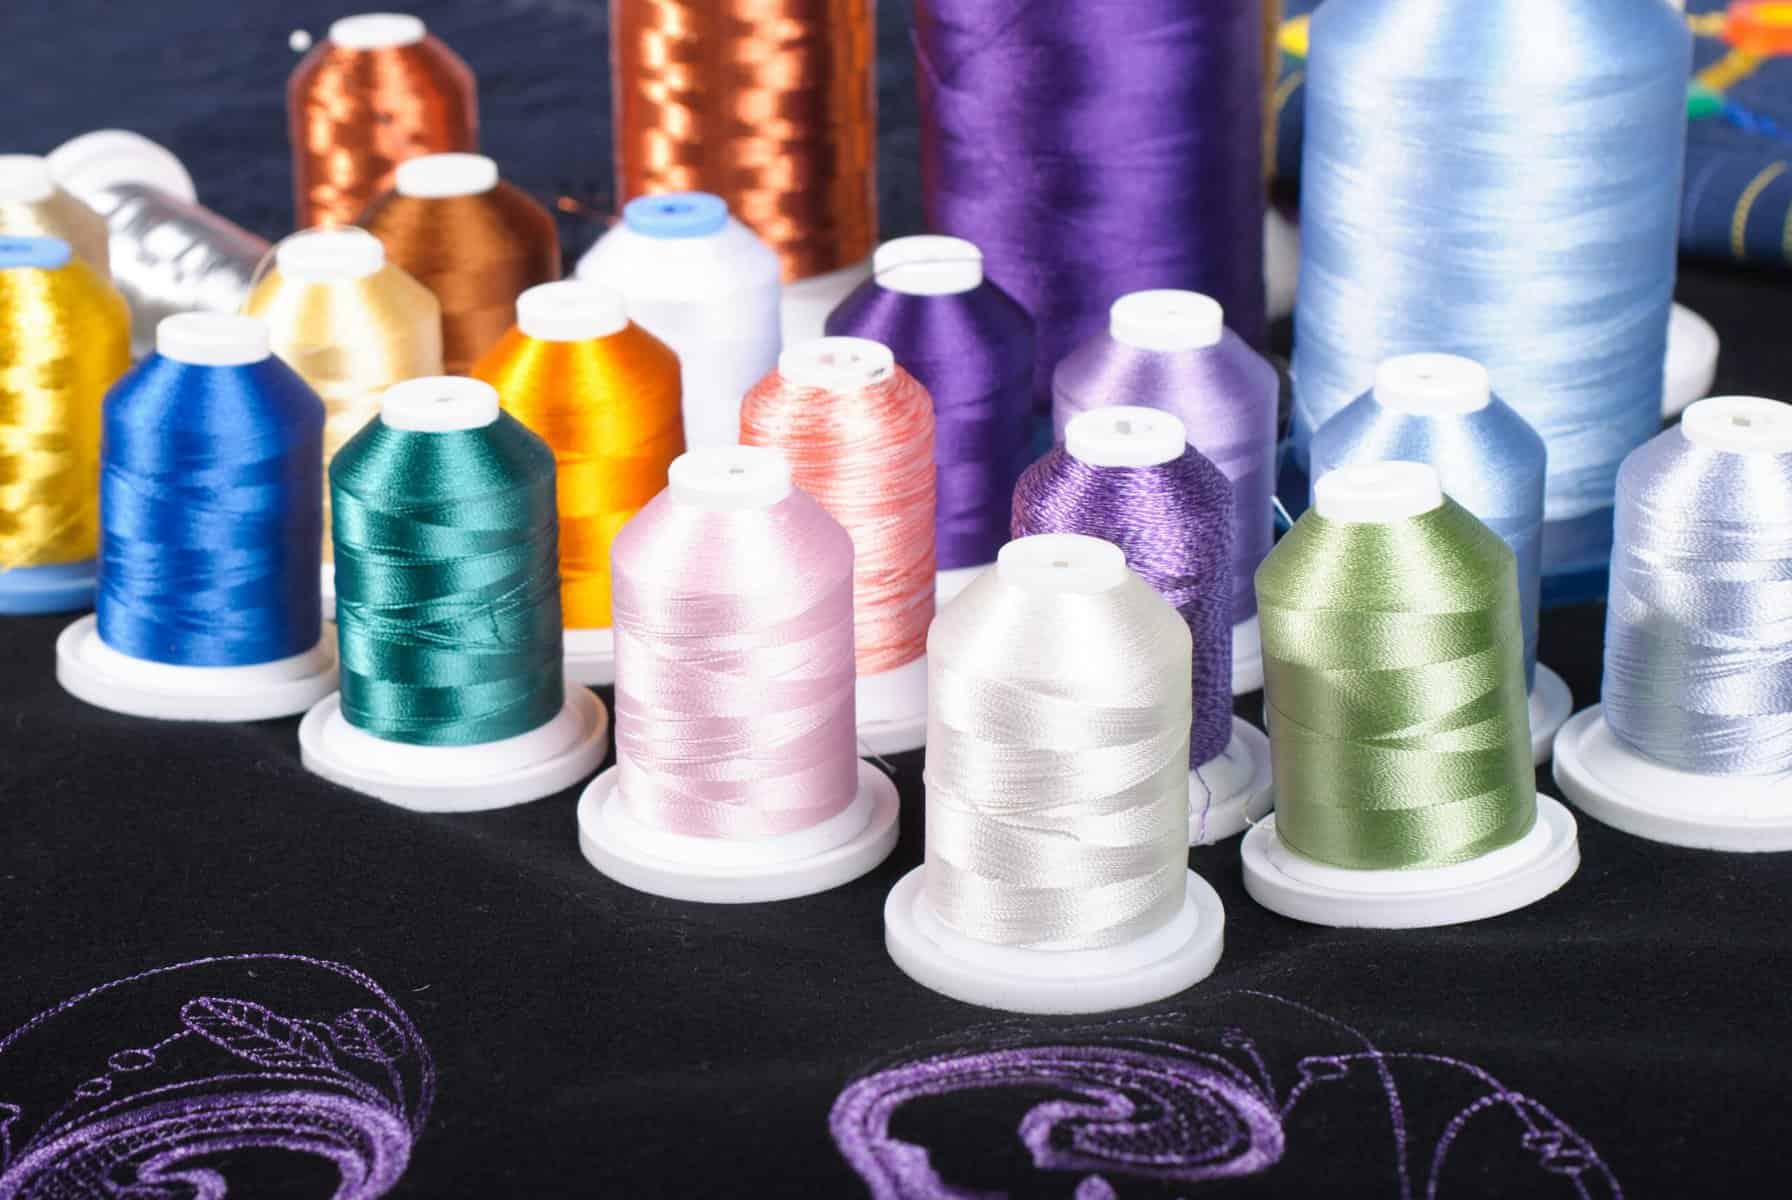
3.2. Using Cotton Thread vs. Polyester Thread
Cotton thread is commonly used on many fabrics, sewing nylon, but its softer polyester silk counterpart is stronger and more suited for ripstop nylon due to its similar stretch properties.
3.3. Setting Up Your Sewing Machine
Not setting up the machine or your sewing machine correctly will leave you feeling a bit frustrated. So, set that up first to sew ripstop nylon.
3.4. Adjusting Tension and Stitch Length
Tight stitches are great if you want to pucker and sew the fabric tight, which most people don’t. A longer stitch length (about eight stitches per inch) will reduce the chance of the needle tearing the fabric.
3.5. Using a Walking Foot for Even Feeding
A walking foot attachment will keep the fabric layers and threads from shifting or stretching unevenly as they feed through the machine.
4. Tips and Tricks for Sewing Ripstop Nylon

We’ve covered the basics; let’s dive into some helpful tips and tricks to make sewing ripstop nylon a breeze.
4.1. Using Pins and Clips Effectively
Pins can leave holes in ripstop seam nylon and sew through. Instead, use clips to pin the ripstop nylon to hold your fabric together. If you must use pins, pin within where your seam allowance will be.
4.2. Securing Seams with Zigzag Stitches
Zigzag stitches offer stretch and strength, perfect for securing seams on ripstop nylon projects. They also help prevent the thread from fraying along the edges.
4.3. Finishing Touches and Care Tips
Once your project is sewn, some tweaks can enhance durability and appearance, and tips to maintain and repair your new items made from ripstop nylon.
4.4. Trimming and Sealing Raw Edges
Trim away any extra material and seal raw edges once you’re done sewing. This process will give your project a clean look while preventing fraying.
4.5. Using Heat to Seal Ripstop Nylon Edges
When applying heat to the edges of ripstop nylon (typically with a lighter or heat-sealing tool) it’ll melt slightly causing it to seal itself without fraying.
However, doing this gently is crucial so you don’t damage the fabric or change its appearance drastically. It’s wise to test this method on some scrap fabric before doing it on your project to ensure you’ll get the desired result.
5. Washing and Maintaining Ripstop Nylon Projects

Keep these tips good advice in mind when washing and maintaining your new ripstop nylon items:
-Wash in cold water on a gentle cycle to avoid shrinking and minimize wear.
-Harsh detergents can break down the fabric’s fibers over time, so use a mild detergent instead.
-Use a mesh laundry bag to avoid snagging with other garments during the wash cycle.
-Air drying is recommended over machine drying.
-Avoid direct ironing as ripstop nylon thread can melt or warp under high heat. If you have heavy fabric and need to remove wrinkles, press the cloth between the iron and fabric while keeping the iron set at low heat.
6. Final Thoughts on Sewing with Ripstop Nylon
Sewing with ripstop nylon may initially seem confusing, but once you get your fingers used to it, it’s pretty easy! Whether repairing outdoor gear or crafting something new, these skills will help bring your ideas to life.
Always remember to practice, stay patient, and be willing to experiment. Each project is an opportunity to practice and refine your skills and maybe even spark new ideas. Have fun sewing!


