Are you into sewing? Whether you’re a pro who wants to start his sewing business or loves to stitch, there is one problem that all sewing enthusiasts face before starting the sewing process every time: setting their sewing set up.
Sewing machines are a magic tool that allows individuals to turn ordinary things into extraordinary creations. But they can be a pain, too, because they take up a lot of space. However, you can use a sewing table insert to utilize your limited space properly.
Making this table is super easy, too. In this blog, we will explain how you can easily create a sewing table insert at home.
Sounds Interesting? Let’s begin.
1. Why Do You Need a Sewing Table Insert?
The process of sewing takes a lot of time and space, and where you work also makes a huge difference in your sewing speed. Before explaining the whole process, let us first understand why the idea of sewing table inserts is beneficial for you.
1.1 Provides Comfort:
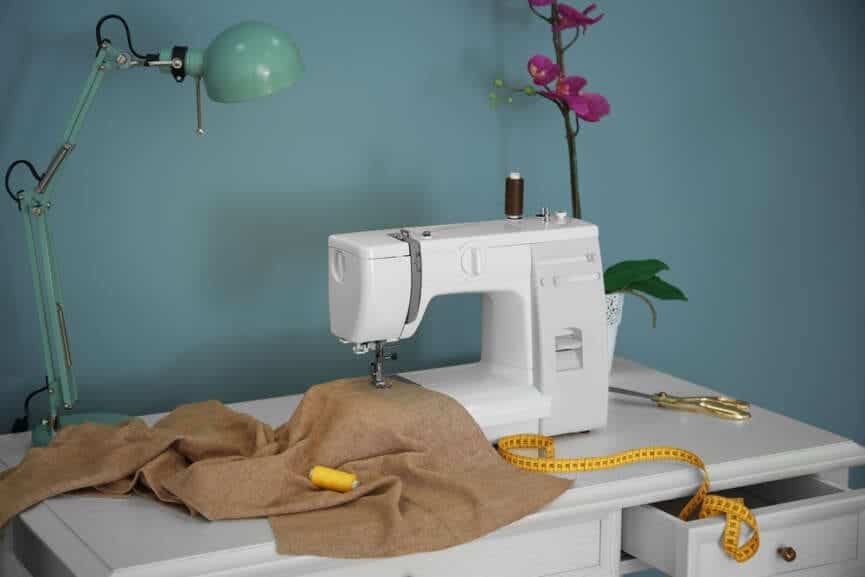
A sewing table insert provides comfort to your body; you will have a table permanently attached to it, which will ultimately result in reducing strain on your neck, shoulders, and back.
1.2 More Space:
These sewing table inserts provide extra room to work on larger projects such as quilts or any detailed work that demands accuracy.
1.3 Strong Setup:
Sewing machine inserts provide a stable platform for your work, so your machine won’t wiggle anymore. You’ll get precise stitching every time, too.
1.4 Customization:
When you are making your own sewing table insert, you have all the control. You can select the materials, dimensions, and designs you like according to your needs.
Now, let’s learn about the tools and materials you will need for this table insert.
2. Tools and Materials You’ll Need
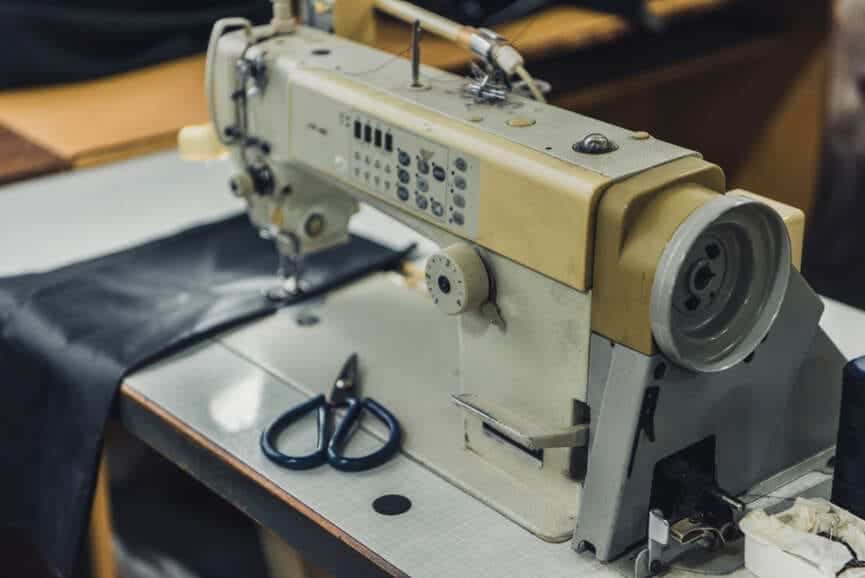
Before starting, gather these tools and materials that are mentioned below:
2.1 For a Wood Sewing Table Insert:
- A table with a support rail
- A Plywood support board
- Jigsaw hand saw
- Some Sandpapers
- A Drill Machine
- Some Clamps or pins
- Some Wood screws
- Some Bolts
- Washers and nuts
- Bolt caps
- Paints (if you want to make it fancy)
2.2 For a Foam Core Board Sewing Table Insert:
- A Foam core dry-erase board
- A pen or pencil for tracing
- A Box cutter
- Glue
- Some Screws
3. Step-by-Step Guide: Making a Sewing Table Insert from Wood
3.1 Step 1: Placement and Tracing
First of all, you need to find a comfortable spot at your home to start the process. After that, you need to trace along your machine, leaving some extra space for cords. In other words, you have to create an outline; this outline will serve as your cutting guide.
3.2 Step 2: Cutting It
Now, you have to use a jigsaw handsaw to cut the lines you have traced. This step will be much easier if someone is there to help you; they can help by holding the table steady. Carefully cut the corners of the tables, and then use sandpaper to smooth the edges.
3.3 Step 3: Filling
If your cutting leaves any rough spots, like splinters, then use wood filler to patch them up. Once it’s dry, use sandpaper again to make it smooth.
3.4 Step 4: Making the Support
To make your sewing table insert sturdy, you need to make a support system. Flip your table over and measure the distance between the front and back of your table. After that, cut a piece of plywood to match the length and attach these pieces to the ends to create a support system.
3.5 Step 5: Drilling
Now, by drill machine, create four pocket holes and attach the plywood to the front of the table. Unscrew the tabletop, keeping the legs up. Put countersunk bolts into the plywood to secure it.

3.6 Step 6: Assembling
In this step, you need to assemble the parts you have created. After you are done with assemble screws to secure it. Now, put your sewing machine on the table and secure the support rail with the machine bed. Don’t forget to cover the bolts adequately to stay safe.
3.7 Step 7: Use Paint
This step is entirely optional; if you want to give your table a polished look, then paint it.
Now, you have a robust and sturdy sewing table insert ready to use.
4. Step-by-Step Guide: Making a Sewing Table Insert from Foam Core Board
4.1 Step 1: Trace the Outline
First of all, you need to trace the outline by putting your sewing machine where you want it on the table, allowing for cord space.
4.2 Step 2: Cutting It
Now, use a box cutter to cut along your traced lines. You can take someone’s help; it will be better for you if someone is keeping the table steady.
4.3 Step 3: Filling the Corners
In this step, you need to fill the rough spots that have been created during the cutting process. After that, when it’s dry, use sandpaper to smooth the edges.
4.4 Step 4: Creating a Support System
To make your foam core sewing table strong, you need to attach a support system to it. To make this support system, measure the space and then cut foam core board pieces to match the length of the table. Now, use glue to attach support pieces with glue, letting it dry completely before drilling.

4.5 Step 5: Use Screws
Make four pocket holes with a jig kit, and attach the foam board to the table’s front with screws. After that, assemble all the parts, put the sewing machine on the table and secure the support rail with the machine bed.
4.6 Step 6: Paint
If you want a polished look, paint the table you created. This step is entirely optional.
5. Which method to choose?
Both wood and foam core sewing table inserts have advantages as well as disadvantages. If you need a lightweight, budget-friendly, and easy-to-handle table insert, then choose a foam core board sewing table insert.
However, it might not be as sturdy as wood, so pick wood if you need a strong and sturdy table. The choice entirely depends upon your needs and objectives.
6. Closing Thoughts
To summarize, making a sewing table insert can transform your sewing experience. Whether you go with wood or foam core board, you’ll enjoy better ergonomics and more workspace, all tailored to your needs.
Taking the time to craft your sewing table insert is a rewarding DIY project that pays off with comfy and productive sewing sessions.
If you’re looking to enhance your IKEA table, other table or just adding, dimensions of your table top so you can accommodate specialized accessories like a knee lift and Sew Steady, while enhancing your quilting and sewing capabilities.
Once you added a sewing table insert it will become a new machine while adding offering a stable surface for effortless presser foot control.
So, gather your supplies, follow these steps, and start crafting your sewing table insert today. Your sewing will always be different!


2 Comments
I found this article on creating a sewing table insert truly captivating. It provides a comprehensive guide for both sewing pros and enthusiasts. The practical insights on overcoming space constraints and the step-by-step instructions for making a sewing table insert at home make it an invaluable resource. As someone who enjoys stitching, I appreciate the helpful tips and DIY approach presented in this guide.
It brilliantly covers the process of creating a sewing table insert, offering a comprehensive guide for crafters seeking to optimize their workspace. Its detailed instructions provide valuable insights for a comfortable and tailored sewing setup.