A quilted wall hanging pattern requires creativity and practicality. This type of project is satisfying for some of us since the outcome is worthwhile. However, the work that goes into it is not always as straightforward as lacing together some motifs. After years of trial and error, I’ve acquired enough practical experience and insights to share with you.
1. How I Mastered Quilt Pattern Design
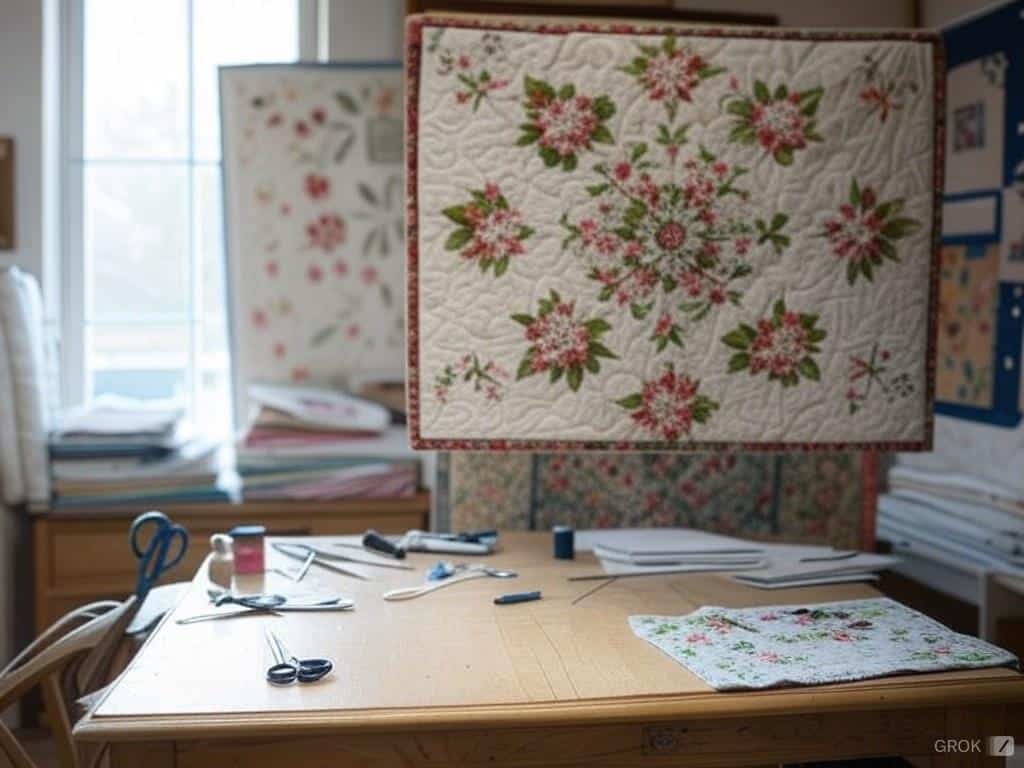
Quilting patterns are designed to impress, consider this as the starting point, and then let us focus on originality. You can find a variety of free patterns and free quilt patterns that cater to different aesthetics and skill levels. Remember, originality plays a prime role here; old pre-made patterns or copy-paste designs are not the way to go.
There’s nothing wrong with modifying a traditional design pattern, however, for your custom block, it is preferable to make it your own. For instance, I once updated my favorite piece by blending the Log Cabin design with geometric modern design elements into a wall hanging. How about that!
Saying you need to coordinate colors is almost responsible for placing two closely related things together, which is like designing clothes. Designers take fashion coordination to the next level with their quilts. If the end goal of your quilt is to offer comfort and warmth then using flannel or deep earthy tones is the way to go. For something more vibrant that makes a statement, try using shades of the opposite colors.
Fabric selection is without a doubt another major consideration. If my remark on choosing the appropriate fabric makes you sweat, don’t. Just as colors, textures, and weights are important. When your fabric consists of different pieces, think about how it feels.
2. My Journey with Quilt Pattern Types
Quilt patterns come in a delightful array of styles, designs, and complexity levels, making it essential to choose the right one for your project and skill level. Here are some common types of quilt patterns to consider:
- Traditional Quilt Patterns: These timeless designs, such as patchwork and appliqué, have been cherished and passed down through generations. They often feature classic motifs and techniques that evoke a sense of nostalgia and heritage.
- Modern Quilt Patterns: For those who love contemporary aesthetics, modern quilt patterns are a perfect choice. These designs often incorporate bold colors, geometric shapes, and innovative techniques that push the boundaries of traditional quilting.
- Appliqué Quilt Patterns: If you enjoy intricate and detailed designs, appliqué quilt patterns are a fantastic option. This technique involves sewing smaller pieces of fabric onto a larger background to create beautiful, layered designs.
- Paper Piecing Quilt Patterns: Precision is the hallmark of paper piecing quilt patterns. This technique uses paper templates to achieve intricate and exact designs, making it ideal for quilters who enjoy meticulous work.
- Free-Motion Quilt Patterns: For those who love to express their creativity, free-motion quilt patterns offer a unique and artistic approach. This technique allows you to create fluid, expressive designs by moving the fabric freely under the needle.
Understanding these different quilt patterns can help you select the perfect one for your next project, whether you’re aiming for a traditional look or a modern masterpiece.
3. Why Balance and Proportion Matter in My Designs
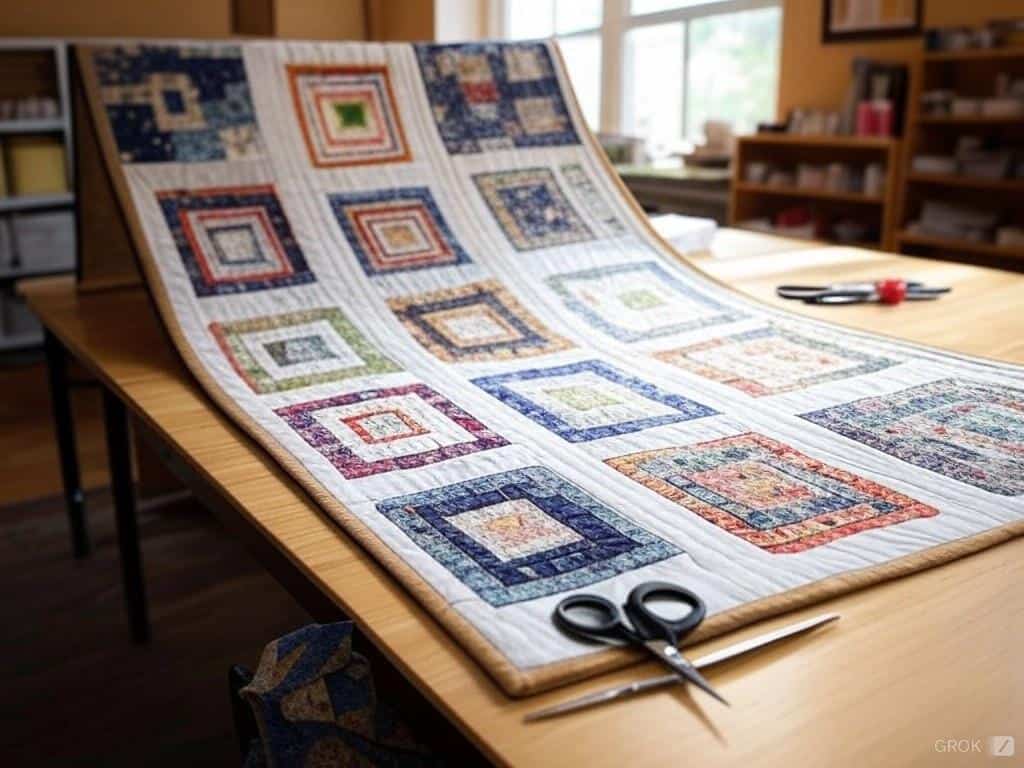
There are two basic ingredients that are required in order to make an effective quilt and they are balance and proportion. This rhythm is achieved by creating a visual rhythm in a quilt so that viewers of the quilt can look around the quilt without any interruption. Sensibility is imbued in whatever approach one decides to take, be it symmetry or asymmetry.
I remember vividly struggling to grasp the power of proportion. If you find yourself unsure of how to set the pieces, then you could apply the simple design rules such as the rule of thirds or even apply golden ratio concepts. Quilting with these two tips made sure that it looked just right.
There’s also the aspect of having made the star quilt that was imbalanced yet due to proportion techniques looked balanced. Speaking of good proportions, they prevent a quilt from appearing too heavy to one side than the other.
4. Basic Terminologies and Concepts about Quilting
I understand that some of these terminologies might come off as too advanced for a beginner to understand in normal English but trust me it’s quite simple. Let me explain to you some of the basics before we proceed any further:
Patchwork: This part of quilting is the fun part, the sewing of all smaller bits of fabrics to create a larger design. Now this is where you can be as creative as you want to and blend the different textures and prints.
Blocks: These are the components of your quilt, which can be uniform or diverse. While I’ve achieved great results with random designs that still look good, I’ve also tried block mixing.
Batting: They are the fiber layer which adds cold resistance and heat retention to any quilt. For a wall hanging, a little lower volume may be required to allow for fall.
Backing: This is used to cover the back of a quilt. There is no need to ignore beauty here too! Occasionally, I opt for a fabric that I feel will blend well with the other side.
Binding: This fabric strip is applied to conceal the quilt’s seam. It’s the last accessory that can enhance your quilt or provide a secondary color or pattern.
Appliqué: This is when a smaller piece of fabric is sewn onto a larger piece of cloth to form a particular pattern. Great means of embedding detailed pieces.
For additional guidance, video tutorials can be very helpful for quilters of all skill levels to learn various techniques and patterns.
5. My Take on Quilting with the Golden Ratio
I understand that you might think of the use of the golden ratio in quilting more from a math perspective than a quilter perspective, but bear with me. It’s not just statistics— it is a design that helps you reach balance and symmetry.
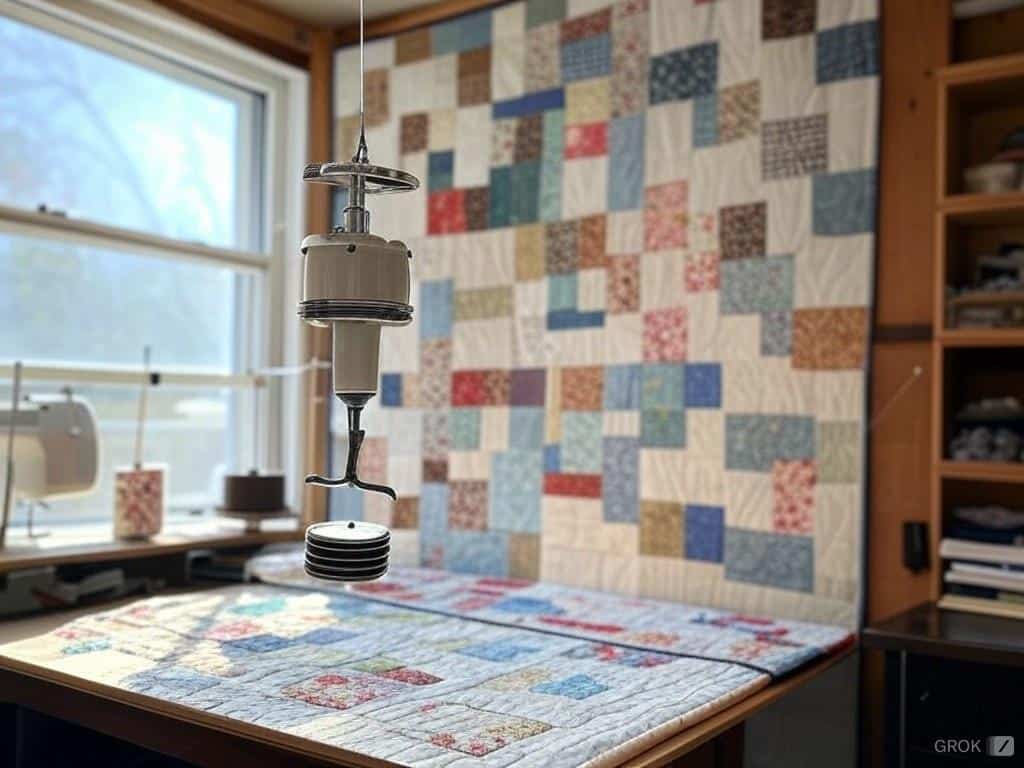
The way it works is as follows: quotients equivalent to 1:1.618 help in carving out a quilt in ways that look ‘naturally’ balanced, for example, if the width of your quilt is 60 inches then it should be around 37 inches. Which essentially is the place where your major concept for instance a pattern or a focal block might be designed.
There was a quilt in the past that had a floral block in the middle as the central block, and so by using the golden ratio, I was careful not to place it at the center, rather, it was placed to an offset to one side l, thereby ensuring this design looked a bit more dynamic and not so muddled. This technique of asymmetrical balance is one of my favorite tips and one I use all the time.
6. How I Choose the Right Fabric for My Quilts
A fabric is not just a choice, it is the heart of your quilt. Let’s discuss some of the “quilt” materials I am fond of in various colors:
Flannel: The warm, smooth fabric works perfectly for a quilt that’s ideal to cuddle in. One problem to be mindful of though, is when combining flannel with heavy-duty fabric, it can become too heavyweight for a hanging quilt. I remember making a winter tag flannel for a quilt and it came out quite nice although slightly hefty.
Felt: This fabric is fantastic to go with for cutout designs as it does not fray easily. The downside? It isn’t very drapey which can make it hard for quilts that require more flexibility.
Cotton: This is my uncovering fabric for numerous quilts. It is a multi-purpose material, comfortable, and comes in an infinite variety of patterns and shades. If you do not know where to begin, cotton is a safe bet.
7. Selecting the Perfect Size for My Quilts
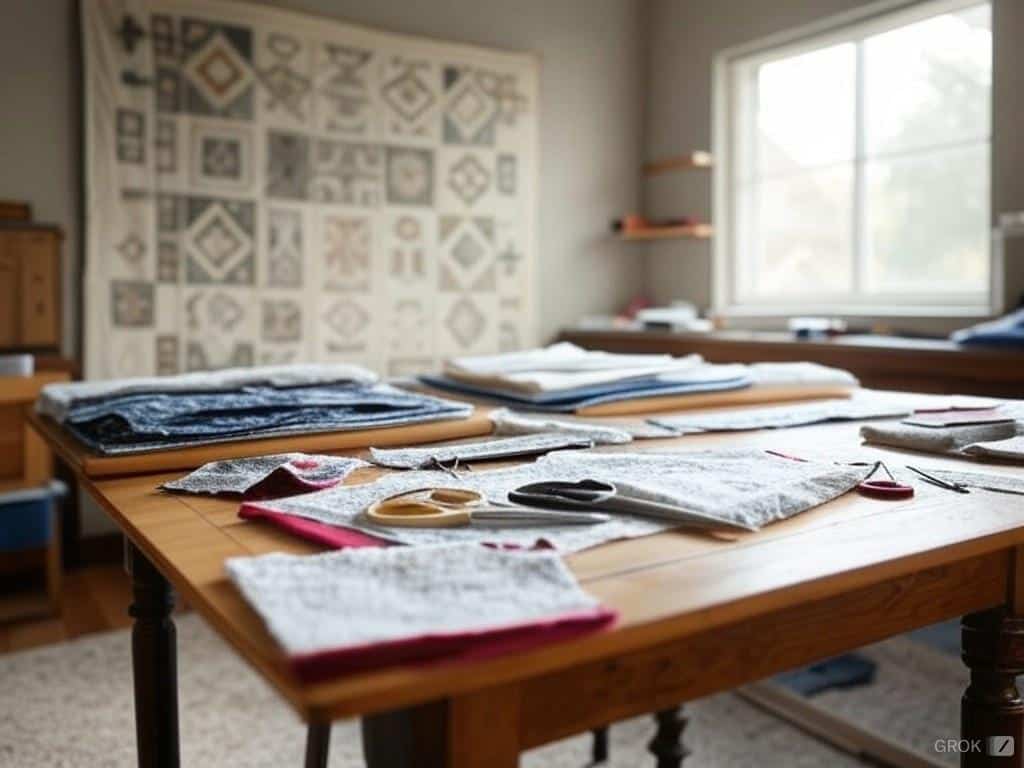
Matching the size of your quilt with a pattern is important in this regard. Consider the size of the wall space, while doing so shrink the measured size by a few inches, because a quilt should not be configured with too much-layered thickness. In this case, I prefer to stick to the size of 40” by 40” in the case of medium quilts for a standard living room wall because it is practical and complements most spaces.
If you have smaller walls or crammed corners, then you should not shy away from getting a quilt of a smaller size. I once created a quilt of the size of 20” by 20” for a small reading corner and it suited the room beautifully. In case of bigger rooms, go ahead and make it bigger but make sure not to make it overly bulky.
8. Creating Fresh Design Features in My Quilts
Well to begin with, there should be no shyness in adding a touch of fashion that represents you, Kustaa’s wall-hanging quilt patterns are the ideal pieces to showcase your fashion sense. It’s as if one’s giving life to their quilt with a voice.
Free wall-hanging quilt patterns are available for those looking for creative and accessible options. Whether you decide to incorporate family heirloom fabrics, paintings with your desired color scheme, or cheerful embellishments, ensure that what you make is a true representation of you.
Decorative accents, such as beads, embroidery, and ribbons can make a quilt ”pop”. For example, when I made a quilt for my family reunion, I embroidered a quote into one of the patches. In this case, I not only worked with the design but also aimed to convey a message.
9. My Top Tips for Quilting Beginners
If you’re new to quilting, embarking on this creative journey can be both exciting and a bit daunting. Here are some tips to help you get started on the right foot:
- Start with a Simple Pattern: Choose a pattern designed for beginners that features straightforward techniques and designs. This will help you build confidence and skills without feeling overwhelmed.
- Use High-Quality Fabric: Investing in good-quality fabric is crucial. It not only makes the quilting process smoother but also ensures that your finished quilt will be durable and long-lasting.
- Follow Instructions Carefully: Take the time to read and follow the pattern instructions meticulously. Understanding each step of the process will help you avoid mistakes and achieve better results.
- Practice, Practice, Practice: Don’t be discouraged if your first attempts aren’t perfect. Quilting is a skill that improves with practice. Each project will teach you something new and help you refine your techniques.
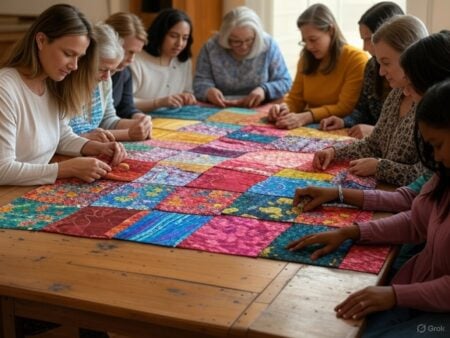
- Join a Quilting Community: Connecting with other quilters, whether in person or online, can be incredibly beneficial. You can share tips, get advice, and learn new techniques from more experienced quilters. Plus, it’s a great way to stay motivated and inspired.
Remember, every quilter started as a beginner. With patience and practice, you’ll soon be creating beautiful quilts that you can be proud of.
10. The Final Details and Backing in My Quilts
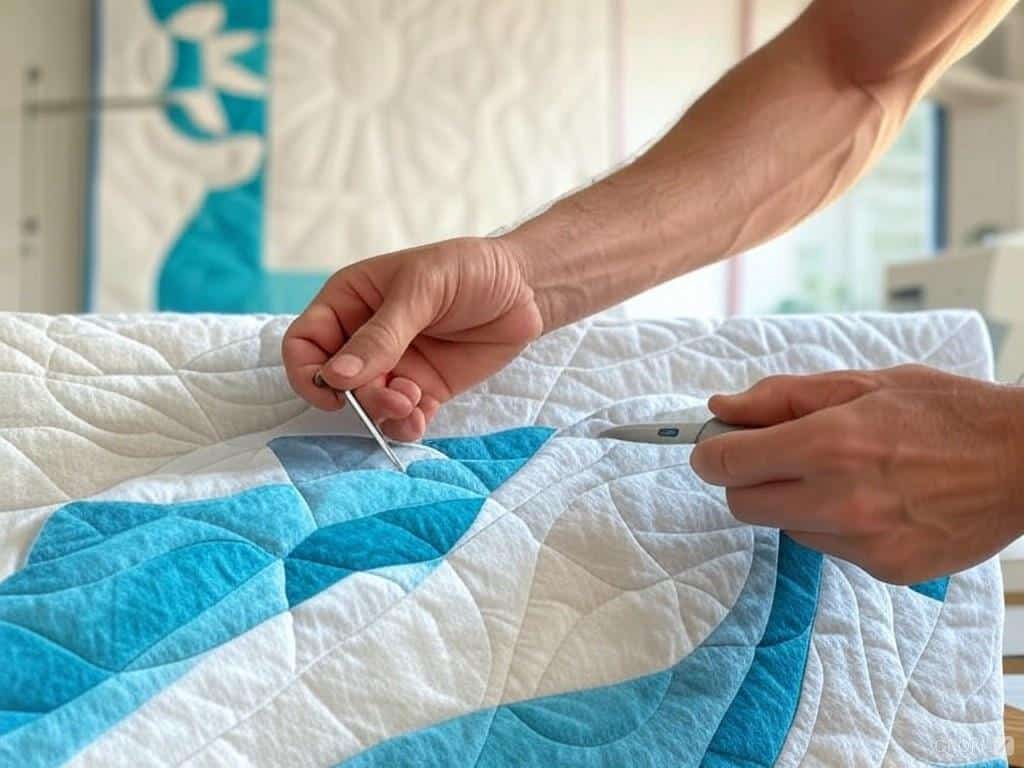
The last details and embellishments are added after you have sewn your quilt top and quilted the layers together. Simple or detailed borders can be added depending on how they feel. I tend to lean towards pieced borders when looking for something a bit more involved, but there are times when a single fabric border is just what is needed.
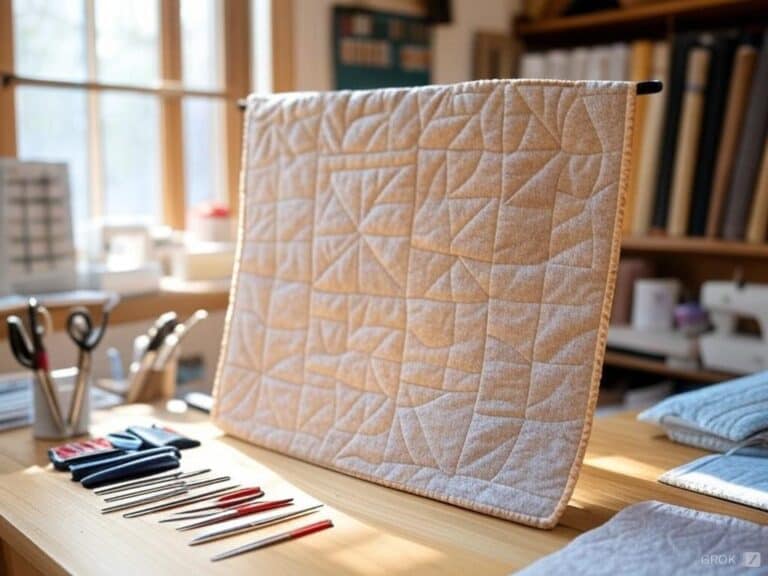
And when you want to support the quilt on a wall, it can be easily shaped using a rod and sleeve for hanging it on a wall. It is effortless but good and your quilt won’t lose form.
To sum it up, while creating wall-hanging quilts, one can never dismiss the importance of being creative. The process entails brilliant artisanship such as picking out the correct fabrics and addressing even small intricate details such as proportion for the design and even though it might be difficult at times, the end result is still worth it.
When you finally witness that one-of-a-kind quilt displayed decorously on your wall, every inch of effort put inside will feel justified. Therefore, it is fair to say that every technique can be measured to create the best wall-hanging quilt to meet your requirements. So don’t hesitate a moment to start sewing your artistic creation together, and all you need are a few stylish designs to get pieces of fabric.


