While turning five one-yard fabrics into a quilt, called the Five Yard Quilt, seemed like a simple over-the-weekend task, I was confused in thinking that as soon as I decided to attempt it. Spoiler Alert: it was anything but that. I went from that to a simple DIY and it began to turn deeply into a maze of logic around design choices, math, and existential thinking about whether or not florals and stripes would be able to work in the same space. But in the end, I realized that I was not just clutching a quilt, rather, a proof of achievement.
1. Things That Helped Me Pick Out The Right Five Yard Quilt
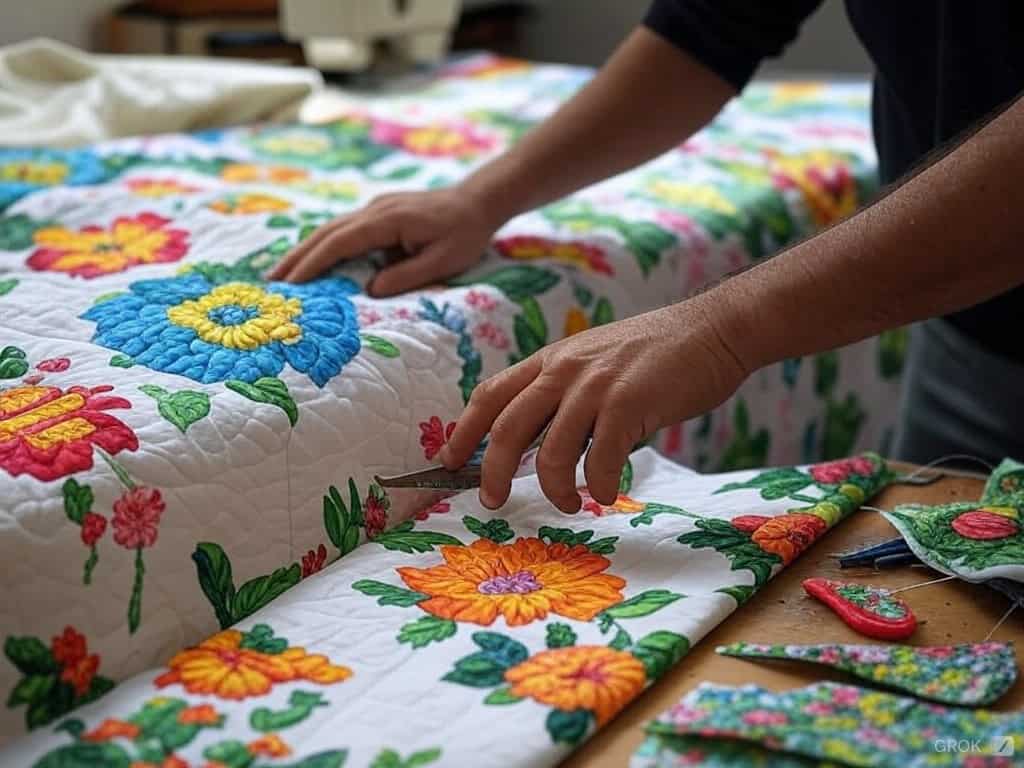
Dramatic as it might sound, fabric selection at the quilt shop was my first challenge. Imagine me at a fabric store standing in the center with swatches in my hands and the goal to integrate them all while managing to look through them as they were SAT questions.
More often than not, I held up a bold floral print and muttered to myself, “Do you think this is a bold visionary or a fashion disaster?” It was a toss-up. It Got so worse that at one point I found myself texting a picture of the fabrics to my sister alongside a text inquiring for a second perspective. And her answer was, “Go big or go home.” Bolding Floral was the answer.
2. How I Choose Complementary Colors and Patterns
After considering all the aspects, I started with a focal fabric that was designed to be unique, for me, it was a bright floral print that screeched that it was the center of attention. From here, I proceeded to seek further motivation from the reliable color wheel. What about blue and orange? A good combination. With blue and green? Quietly elegant.
I should not have taken a polka-dot fabric because it was the worst I had but hey, one should learn. “Trust the process” became my mantra. Bright floral print fabric always facilitated the best projects, at least in my case, in combination with a solid scale.
Balancing Bold and Subtle Prints
Here’s what I figured out: balance is key and it’s easy to achieve: I said after several unsuccessful attempts. My floral was screaming for attention, so the first step was to incorporate understated geometrics and non-prints into the mix. It’s like putting together a group project– one outspoken person and several quiet ones who do all the work. I found it hilariously accurate to office dynamics.
Factors to take into account for Scale and Proportion
As I said, mixing scales was another primary task for my yard quilt. My floral was rather big so I had to incorporate a mix of smaller patterns in order to make it more visually appealing. Consider it this way: a picture has large and small elements, both are important, the big grabs attention, and the small provides the focus. I believe I spent about an hour placing and replacing swatches on the floor in my living room as an artist does their work in progress.
3. Preparing My Fabrics for the Project
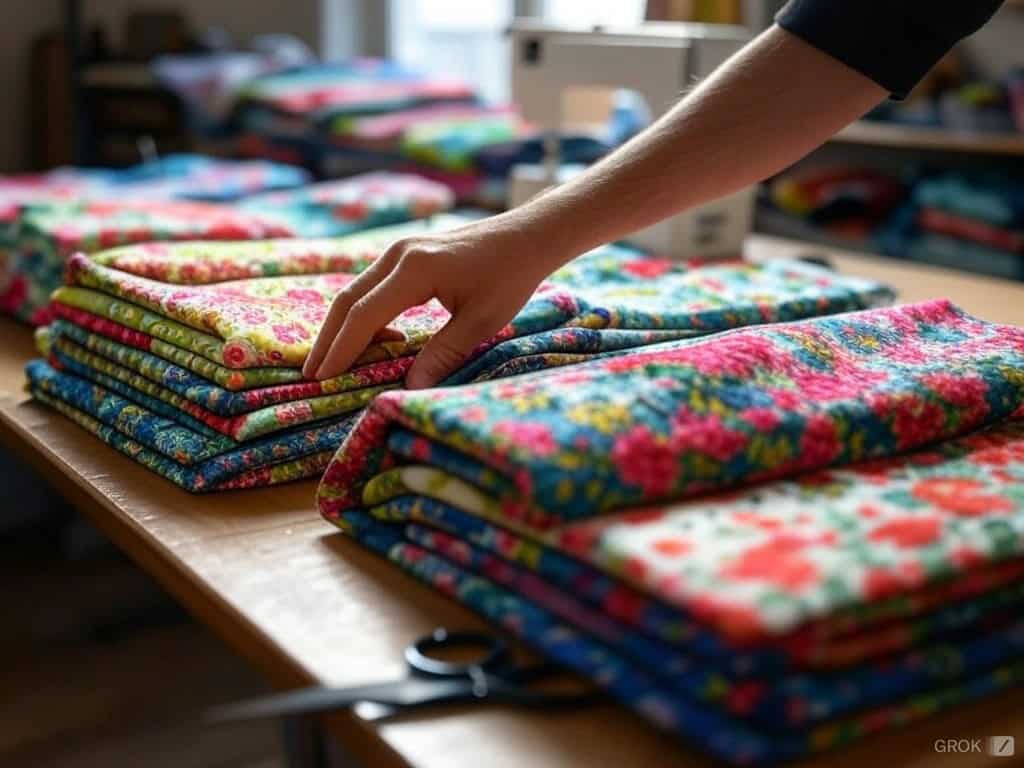
Following the fabric selection drama, I went straight to work on the quilt pattern.
Using the Golden Ratio
To do this, I made use of the golden ratio in determining the layout. It’s practically the special ingredient for set designs that appear perfectly balanced. I was pretending to be an architect as I made sketches of blocks and proportions; I must say I felt quite elegant even if I did not appear so. The pages on my sketch pad were littered with doodles and coffee splashes which is a good representation of my progress.
Sketching the Cutting Layout
Graphing paper instantly became my favorite tool. I drafted every element as though I was designing my empire. I had dos and don’ts for the project and I ensured I was working to the checklist because wasting fabric is a rookie mistake. To tell you the truth, I didn’t exactly cut one or two pieces in panic the way I should have but then it dawned on me.
Preparing the Required Tools and Materials
I recall that while making my plan, I also collected the tools: a rotary cutter, self-healing mat, rulers, pins, scissors, and, of course, a seam ripper because things may easily go south. I felt empowered because I had assembled a tool kit for quilting, and I was ready to go. My dog stood, watching in a corner as if confused about why I transformed our dining table into a crafting battlefield.
4. The Cutting Techniques I Use to Achieve Precision and Perfection
Essential Cutting Techniques
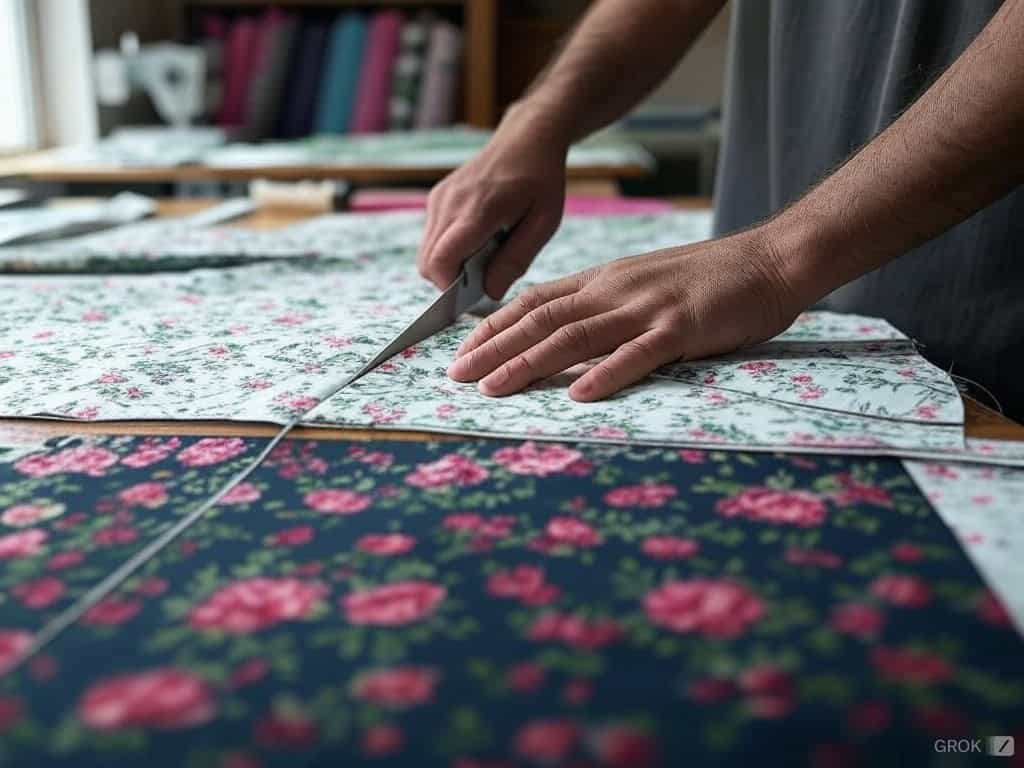
The rotary cutter was a game changer: it cuts neatly, and straight without any jagged edges. Pro tip: cut always along the grain in order not to have pieces with distorted shapes. Moreover, I did measure twice and cut once but still bungled up a couple of times. There was “no one’s sketch” that almost got cut— a beginner’s error.
Organizing Cut Pieces
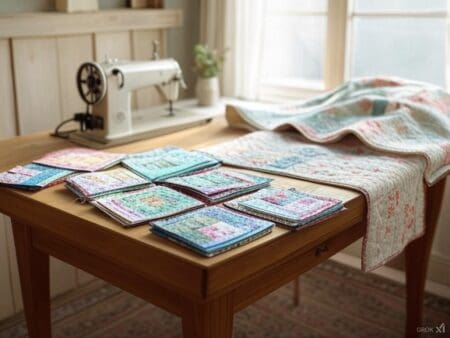
My dining table transformed into a command center with proper stacks of sets of fabrics having labels. Some of the pieces were put in Ziploc bags for order— kudos to the organization. My friend came in teasing: “Is there a quilt factory you’re running now?”
Tips for Accuracy
Spray starch was my weapon of choice. It gave a certain rigidity to the fabric that made cutting simpler. And keeping the rotary blade acknowledging sharpen? Yes. I learned this after trying to slice fabric with a blunt blade— don’t do that!
5. My Assembly Strategy for a Flawless Result
Block Arrangement
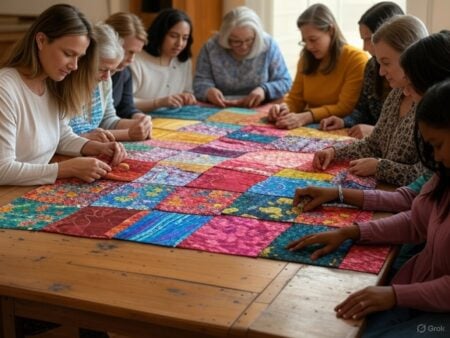
Putting the blocks in position resembled solving a jigsaw puzzle. I placed the bolder featured florals alone as focal points and scattered the muted designs in between. It’s a bit like putting some of the furniture in position, rather strategic and rather pleasant to do. I even took a picture for future reference in case the dog moves something around when I am not watching.
Piecing Techniques
Chain piecing me saved a lot of time. It allowed me to maintain seam allowances to be in ¼ inch uniform and ironing of seams made everything splendid as well. I do recall having a bit of a “What was I thinking?” when I sewed one sewn piece upside down but a seam ripper came to my aid. My son was amused at my words as I said “Not today fabric” while working.
Building the Quilt in Sections
I found it more helpful to divide the patchwork into smaller units which made the task less formidable. All of us were able to attend to it in-house several strides at a time until all the components were joined even during the coffee pauses. Once, I had draped the quilt over our bed to assess the development and recall my wife saying “It’s beginning to look like something which you would actually buy.”
6. The Final Touches I Add to Complete My Work
Adding Borders and Binding
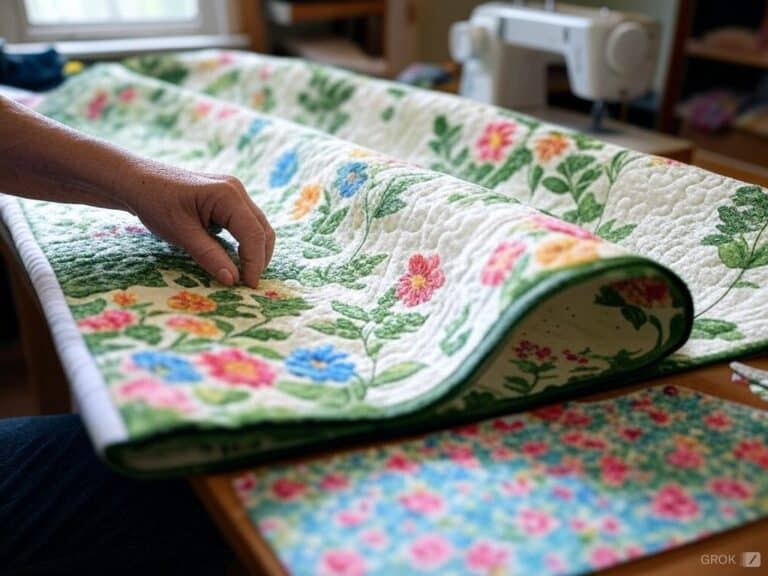
I added a solid navy border fabric to all of the triangles to bring the entire quilt together. Binding proved to be enthusiastically monotonous, like unwrapping a present that had taken me weeks to create, but it was immensely gratifying. I spent one of my evenings with a mug of coffee wrapped in felt fabric while stitching the last edge. It truly felt as though I had conquered the world.
Quilting Quilt Patterns
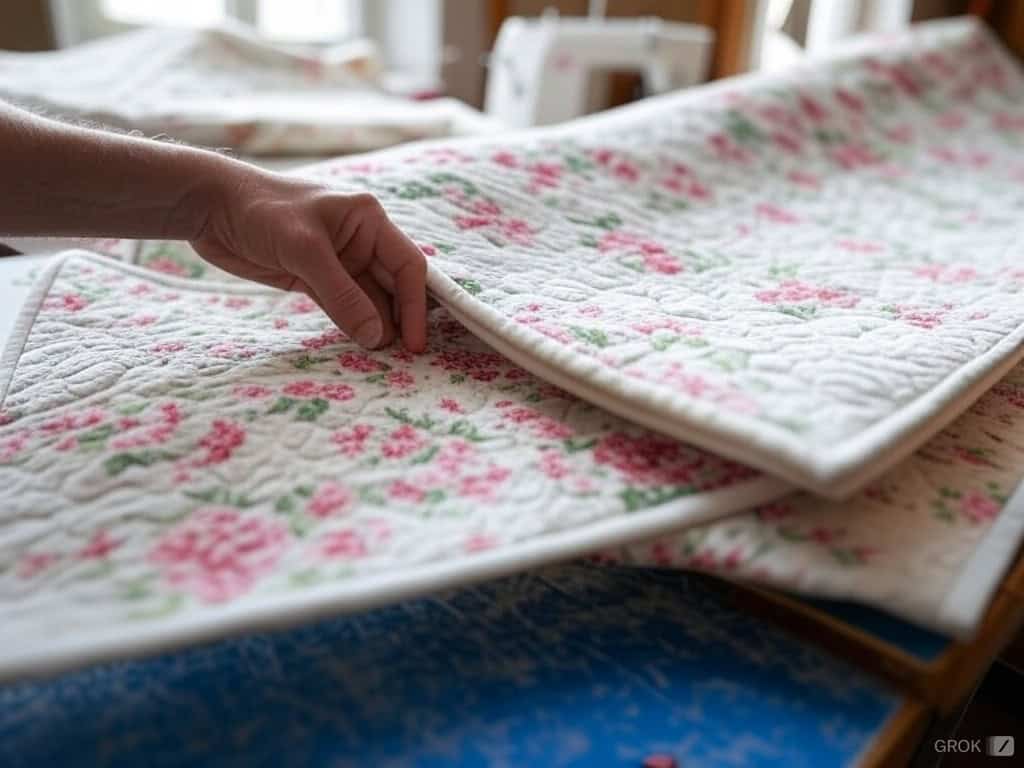
I used echo stitching to outline the florals which added a touch of character but did not overdo it on the overall pattern. Using a walking foot suited the motor perfectly, as the process was effortless. I made a quip to my children that the lines on the quilting looked like the paths on the treasure map.
Blocking and Finishing
All in all, blocking was the last step. After applying some light spray to the quilt, I shaped it and left it to dry. A final press puts the professional touch on it or well some level of. Before even touching it, my daughter declared it ‘hers’ to be used in her room.
My Five-Yard Quilt Journey: Embracing the Flaws and Celebrating the Achievement
The transformation of five one-yard cuts into one five-yard quilt was not a task that I just did for fun but rather a hobby of mine that I enjoyed. Every part tested my stress limits, my creativity side, and sometimes my sanity. But after that first time I unfolded it, and saw the sheer craftsmanship and all the hard work that was put in, there was a sense of achievement that I felt.
It definitely was not perfect, but it was mine, every flaw and all. So if you got five yards of fabric and are prepared to have little faith in yourself, then go for it. But make sure to have coffee with you for the rough patches.


