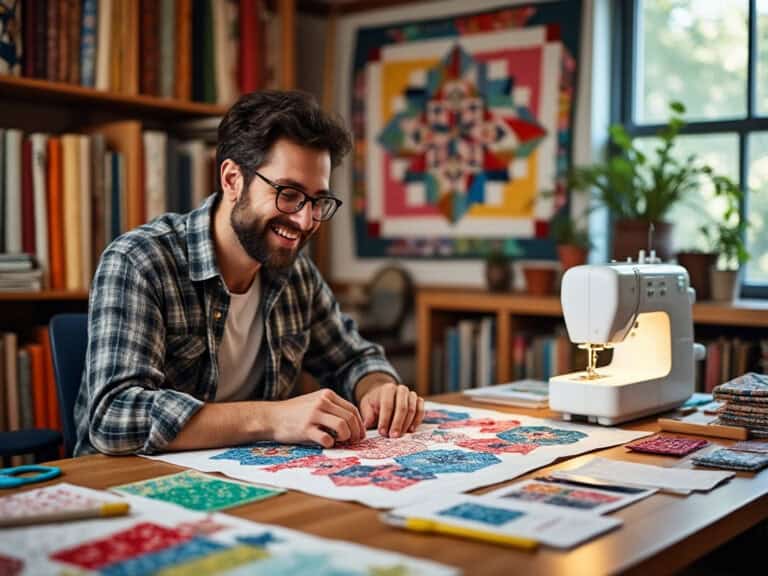
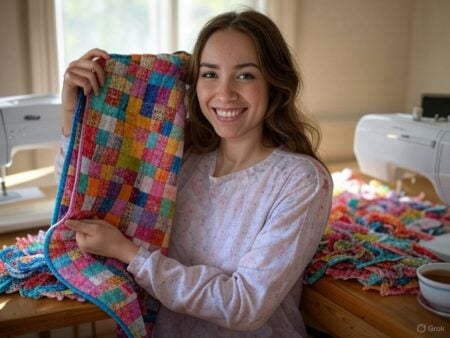
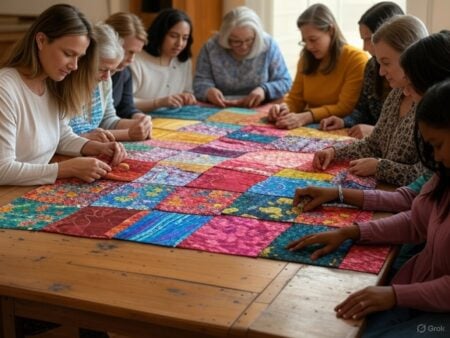
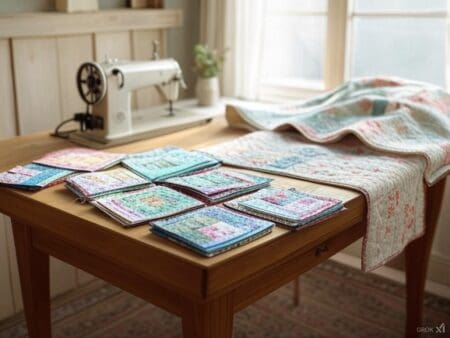
Let’s talk about foundation paper piecing, or FPP for short, given that crafting sounds a little bit fancy, or a little more technical than I am used to. When I was first introduced to the term, I had a picture of a wall full of scientists doing some heavy fabric stitching. Well, it is not that complicated. FPP is paper piecing. It is where you employ a paper-thin pattern, and sew the fabric onto it, allowing for sewing the most complex patterns that would make a geometry teacher proud. This technique is beneficial when creating a foundation paper pieced block.
I know many of you are likely thinking why go through all the hassle of paper piecing at all, and I completely understand the skepticism, trust me. The good news is that not only can it aid you pour your edgy designs, but even influence your sewing entirely because it radically changes the way you piece your work or form.
Foundation paper piecing (FPP) acts like GPS for your fabric, never having to deal with the challenges or issues geometric angles create as there is more of a physical making than hypothetic abstract sewing. For those of you quilters that have sewn some “interesting” pieces of work, the FPP is going to overshadow that work and bring best of your sewing skills out.

1. Why Did I Fall in Love with Foundation Paper Piecing?
Foundation paper piecing is a quilting technique that might sound a bit fancy, but it’s quite straightforward. Imagine having a paper foundation with a printed outline of your block design. This paper acts as your guide, helping you sew fabric pieces together with precision. It’s like having a roadmap for your quilt, ensuring you don’t get lost in the maze of fabric pieces.
The beauty of foundation paper piecing, or paper piecing as it’s often called, lies in its accuracy. Even the tiniest fabric pieces can be sewn together perfectly, making it ideal for creating intricate designs and shapes. You start by sewing your fabric pieces onto the paper foundation, following the printed lines. Once your block is complete, you simply remove the paper, revealing a beautifully pieced block. It’s a technique that combines creativity with precision, allowing you to bring your most complex quilting visions to life.
2. Everything I Needed to Get Started with Foundation Paper Piecing
For starters, I was hoping to get a mask as I thought I needed an enormous array of tools to get started but you don’t. All you will require is Paper templates. Remember these as your fabric printing plan. Use papers that don’t have any wax to get a better pattern cut. I’m sure any one of you who has done quilting knows the importance of precise cutting, so try employing rotary cutters so that you can get razor-sharp edges on your pieces unless of course that is not your style.
Another material you need is fabric, cotton specifically to make sure you both have a stable pattern cut which allows one to have a relatively easy time sewing the designs so that we get the best results out of them. Additionally, adjusting the stitch length on your sewing machine is crucial for foundation paper piecing. A smaller stitch length, typically set between 1.5 to 1.3, creates more perforations in the paper, making it easier to tear the paper away after sewing.
3. My Go-To Tools and Materials for Foundation Paper Piecing, Sewing Machine Included
Sewing Machine: There will be almost no need for extras however any machine that stitches straight lines will suffice.
Thread: A more thin thread would be better.
Iron: There is no arguing that well pressed seem gives a great outcome.
Add-A-Quarter Ruler: This is like cheating, but the seam allowances come out perfect.
X-Scissors: This is useful for creating patterns free hand and sewing with the hope that everything you prayed for would go as planned. The traditional method of quilting feels more and has more trust to it. This does not imply that when using a coloring to template around a drawing does not have its appeal to some. The bottom line here is that a quilt block neither ends up looking like a Picasso nor a Monet.

4. Basic Techniques: My Go-To Steps for Foundation Paper Piecing Success
Creating your first block and working with paper piecing is similar to making IKEA furniture except you will probably not have extra pieces so here is how it works.
Pick a Pattern: Keep it easy, either start with a star or a square.
Make the Template: Print on delicate paper and I believe you would score if that goes directly into your printer without jamming it.
Cut the Material: Go generous here, cut your pieces into slightly larger sizes than each section.
Sew: Take two pieces of fabric and place them with the right sides facing each other and sew them along the printed line.
Fold: Cutting the fabric at a seam allowance of a quarter inch, would allow you to fold it open on the other side.
Repeat: Simply follow the numbers on the template until all the blocks are finished.
Pro tip: If you double-check how you are placing fabric before sewing, life will be easier trust me! I can testify to how annoying it is to pull away the stitches and form them in the first place.
5. How I Design and Create Foundation Paper Pieced Blocks
Designing and creating foundation paper pieced blocks is like being an architect for your quilt. It all starts with choosing a photo or image that you want to transform into a block. Just remember to respect copyright laws—using personal photos is a great way to avoid any issues.
Next, draw a square or rectangular outline for your block. This outline can be easily resized later, giving you flexibility in your design. Now, it’s time to get creative. Divide your block into sections using primary lines along the edges of your design. Then, add more lines to subdivide these sections, creating detailed and complex designs.
The order of piecing is crucial. Consider which sections will join to seamed pieces and label each foundation with a letter. Mark lines with seams protruding from both sides as split foundations, creating separate foundations. Don’t forget to add a seam allowance to each foundation—larger allowances can give you some wiggle room.
Finally, make a test block. Select your fabrics and start joining the foundations along the blue seams, then work on the red seams. This step ensures that your design comes together as planned, allowing you to make any necessary adjustments before diving into your final project.

6. Bringing My Own Perspective to Traditional Fabrics
Sketching templates sounds time-consuming, which is why it is coherent for people to come up with the concept of apps where designing such templates can be done through mobile devices, which takes me to the topic of art and tech meetings through “Quiltography”.
People can now easily focus on adjusting colors and patterns for their blocks which can later be sewn together to create a masterpiece, and all of this can be done in the pocket of your jeans as America would say. However, doing so takes away the fun of sewing them together to create a gentle piece that people can admire.
There is also another aspect, and that is social media. Plenty of quilters present their templates digitally which allows them to gain, constructive feedback, or tips that enable them to grow and improve.
7. How I Mastered Working with Foundation Paper
Working with foundation paper is a breeze once you have the right supplies and techniques. First, you’ll need a sewing machine—any machine that stitches straight lines will do the trick. A glue stick can be handy for securing your fabric pieces in place before sewing.
Using a paper pieced pattern or template is essential for accurate piecing. Follow the cutting instructions carefully to avoid any errors. When it comes to seam allowances, an add-a-quarter ruler is your best friend. It ensures that your seam allowances are precise, making your blocks come together perfectly.
Paper pieces can be used to create a variety of quilts and projects, from simple blocks to intricate designs. By following these steps and techniques, you’ll be able to create beautiful and detailed quilts using foundation paper piecing. So, gather your supplies, fire up your sewing machine, and let your creativity flow!
8. Mastering Fabric Construction and Advanced Block Composition My Way
Since we have talked about the basics, it would be fair to talk about the advanced ones as well. Ensuring that each piece of fabric adequately covers all the foundations during the construction process is crucial. Why not start as slowly as simply combining a few sharp angles and in the end you will find yourself heading towards a masterpiece? You can also try starching fabric, which yes may seem that only your grandma would use to try to probably construct a quilt, however, it is rigorously effective.
If only you let yourself go down this route of curiosity and boredom you will be able to even design your own cubes, I once made a cubic pieced template, and trust me it might seem abstract but it certainly is pretty fun.

9. How I Simplify the Journey with Help and Support
Going on social media might not always be the ideal solution since you end up getting countless suggestions whereas the only aim is to complete the project using FPP which does always solve the trimming aspect, a few words of advice pin your fabrics accordingly, and trim the layers as needed.
Paper Tearing: When removing templates, please be careful. It doesn’t take long before I lose my cool, paper tears easily.
Misalignment: It is best to inspect your work once again. Crooked seams are like those ugly selfies; once you see them, they stick in your mind.
Timing: Cut your fabric and chain stitch the blocks in one go. Now that is efficiency for quilting.
10. Finishing Touches and More Ideas to Complete My Project
Moving on to the next step, after your block is completed, it’s time to take away the paper. First, peel off the paper that’s on the edges. Next, use a pair of tweezers for the difficult pieces. Now grab your block and start pressing it. Finally, get rid of any wrinkles and make the block smooth. A smooth and flat-shaped up block is just like tying a bow on a wonderful masterpiece.
So, what do you plan on doing with your blocks? Here are a few ideas:
- Dig out blocks that will impress you once stitched into a quilt.
- Enjoy making instant gratification offers by fashioning the stand-alone block into the form of a decorative pillow.
- Sew them skillfully into a flashy table runner.
11. Why Foundation Paper Piecing Is My Favorite Quilting Adventure?
My experience using the foundation paper piecing has been quite unique. This is because it has been more than just a hobby for me but a fusion of creativity, patience, and the satisfaction of when things come together. It’s a perfect mixture of arts and maths. And all the mistakes I commit just come off as ‘design choices’ at least in my mind.
I experience this feeling of achieving something big whenever I complete a block as if I am conquering a little fabric mountain. So, whether it is stitching a simple star or doing a huge and deep architectural design, FPP holds my heart for all the right reasons for why I started quilting in the first place.
So for those like me if you are up for a challenge big reward, go get some fabrics, and your sewing machine and give it a proper shoot. Who knows, your next block might just be your love of your life or you have a perfect excuse to indulge yourself in some more fabric!


