These days puff sleeves have made a stylish comeback in the fashion world. Everyone wants to add a touch of drama and flair to various outfits with puff sleeves.
However, many believe that it’s just a trend so not everyone is a fan of the exaggerated puffiness that these sleeves can bring. Now, if you find yourself wanting to tone down your puff sleeves in your garments project without the hassle of sewing?
You’re in luck. In this piece, let’s go over the simple yet effective methods to deflate these puff sleeves without a single stitch.
1. Understanding Puff Sleeves
Let’s begin by covering the basics so everyone can start on the same page.
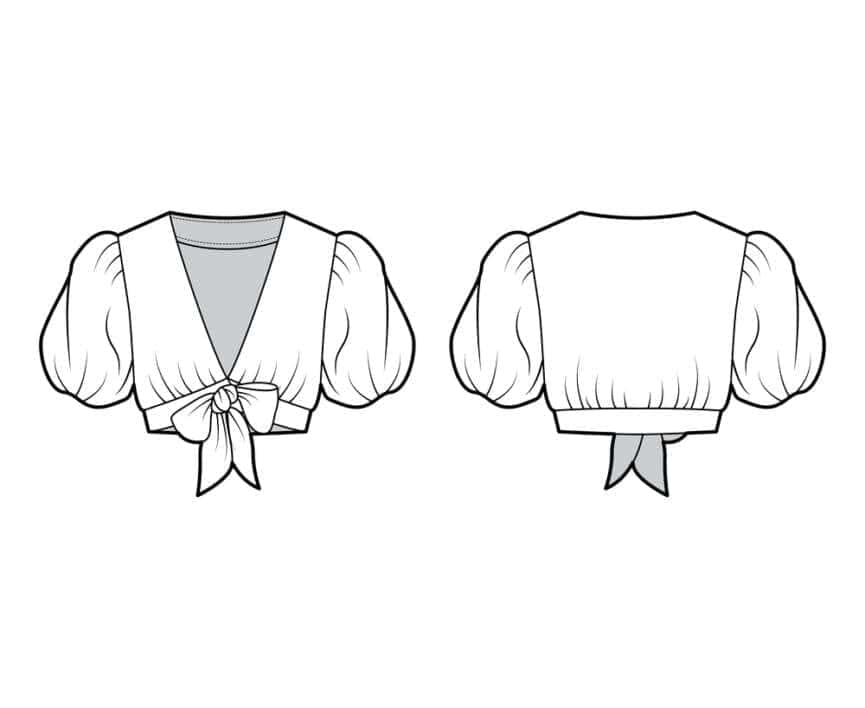
It is very essential to grasp the anatomy of these puff sleeves beforehand as otherwise you won’t be able to properly deflate the sleeves. Characterized by their excess fabric which is known for creating a voluminous and dramatic look in the garment.
These extra fabrics can be strategically placed at different points like; top of the shoulder, mid-arm, or even covering the entire arm, depending on the project. Also, sometimes elastic material is included to give these puff sleeves their distinct shape.
2. Methods to Shrink Puff Sleeves without Sewing
Alright, now let’s go over the technique you are here for. Here’s are the top 3 methods for deflating puff sleeves without any trouble with proper finish.
2.1 Snipping Away Excess Fabric
First of all the primary method that everyone like to use is just snipping away excess fabric. In this method you begin by flipping your outfit inside out and mark the extra fabric that is causing the puffiness in your sleeves.
Once it is done, carefully cut the seams attaching the puff sleeves. Remember to be cautious and not to damage the fabric. Afterward, all you have to do is to just flatten out the excess fabric, which will hopefully result in your sleeves appearing less voluminous.
2.2 Ditching the Elastic
The second method that everyone likes is the method of ditching the elastic. In this method to reduce puffiness caused by elastic bands you begin by identifying these elastic sections within your puff sleeves in your garment.
Now, it is time to get into the actual technique first you begin by using a seam ripper or a razor. Next, you cut the proper seams that secure the elastic within the sleeve fabric. Alright, now carefully and gently pull out the elastic to finish. It should effectively reduce the puffiness effortlessly.
Protip: Don’t forget to tidy up any loose threads after your done these also includes fabric remnants for a polished finish
2.3 Heat and Adhesive Magic
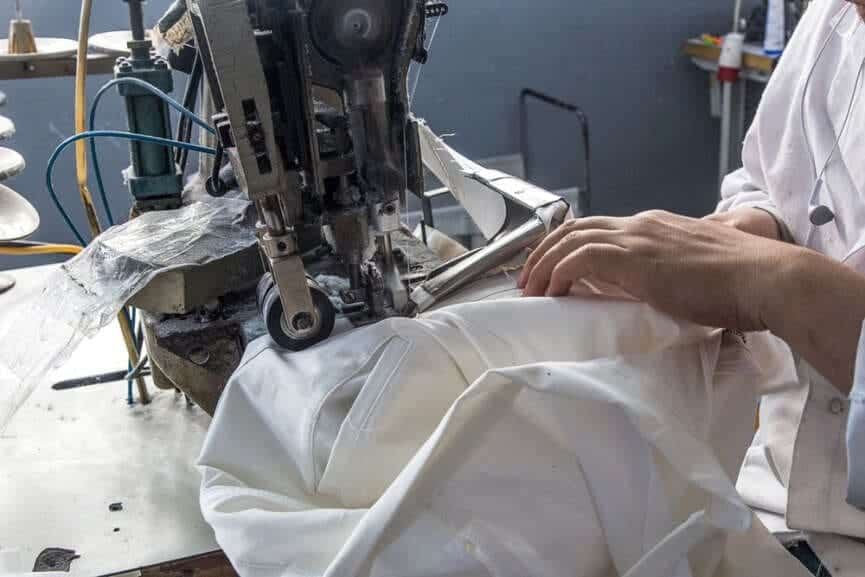
The third and final method is the heat and adhesive method. This is particularly preferred by those who don’t want not to cut their outfit in any way. This method particularly involves turning the garment inside out to reveal the excess fabric causing the puffiness.
First begin by creating a fold on the inner side of the sleeves. Make sure you are leaving a small margin for the next step. Now, just apply hem tape along this fold. Here you wanna make sure to leave a slight gap between the tape and the fabric edge.
Next, using an iron on medium to medium-heat (avoid direct fabric contact), you gently press the tape to ensure it adheres properly. Remember if opting for fabric glue even then you have to follow a similar process. Here you just create a fold and apply glue, then allow it to dry for up to 24 hours for a secure and proper bond.
Also, these adhesive tricks allow for personalization on the garment without the need for a sewing machine.
3. Troubleshooting: Reattaching Puff Sleeves (if needed)
For whatever reason, for example you made a mistake or created puff sleeves with your own personalization. Here’s a step by step for reattaching puff sleeves for restoring or changing your style.
3.1 Dampen Your Outfit
Let’s begin with proper preparation. You want to begin by dampening the fabric with cold water. This step helps to make the fabric more pliable and thus, easier to work with.
Now, gently dampen the areas where the sleeves will be reattached. You want to ensure that the fabric is evenly moistened.
3.2 Remove Fabric Glue (If Used)
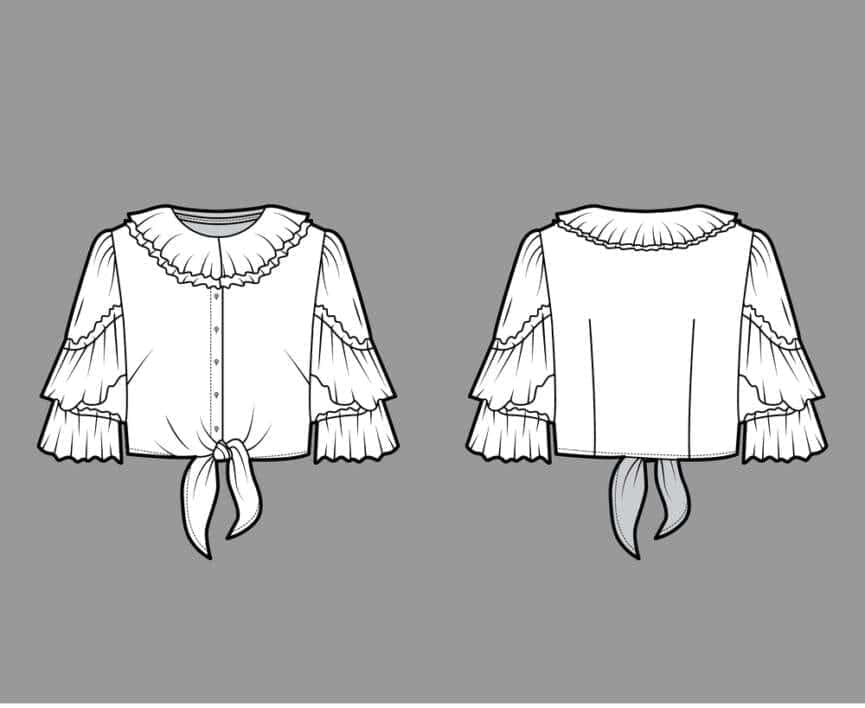
If you previously used fabric adhesive to deflate then you will need a wet sponge or a cotton swab and a bowl of water. Just gently rub the cotton swab over the areas where fabric glue was applied and then allow the fabric to air properly dry.
3.3 Stitch It Again (If Needed)
First of all remember to get a thread that matches the color of your fabric. Alright, now use tailor’s chalk or a washable fabric marker to mark for a new seam line.
Begin by sewing the sleeves back in place properly following the seam line. Here you wanna make sure to secure the stitches at the beginning and end. And to finish just repeat the stitching process for both sleeves properly ensuring they are attached securely.
3.4 Create Puffy (If Desired)
Okay, now only the puffiness left. First of all here you gather the fabric of the sleeves together with an aim of creating small pleats along the attachment line.
Now, carefully align the puff sleeves with the attachment points on the main parts of your chosen garments.
Remember to ensure that the sleeves are evenly aligned and symmetrical on both sides Also, If opting for fabric glue, apply a thin, even layer and press it onto the outfit. Then all is let is the final inspection for any needed adjustments.
And you’re ready to rock your newly customized puff sleeves.
Conclusion
Just remember details as you restore your puffy sleeves.
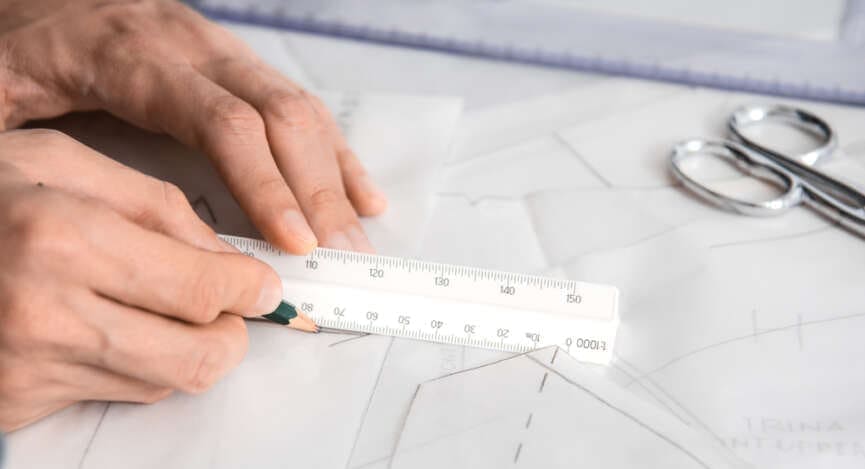
As you restore the puffiness to your puffy sleeves, or perhaps you might decide to tone down a little too much puff for a subtler look. So, when adjusting the shoulder seam and sleeve size, make sure to ensuring that dress sleeves complement your style.
Don’t forget to replicate the same process for the other sleeve, ensuring your garment’s readiness, ready for the new fashion season.
With careful attention to the top of the sleeve and the bottom seam, you’ll achieved your goal of creating or restoring these amazing garments without the need for sewing.


4 Comments
The detailed steps and creative solutions you’ve provided offer a practical approach for those seeking to alter their clothing without the need for sewing skills.
I love having puff sleeves in my dresses, especially midis or western tops. This complete guide on puff sleeves can be added without the use of sewing is so creative. With the use of adhesive glue and heat, it can be deflated. This was interesting to know.
This thorough and non-sewing guide for puff sleeves is quite creative. Applying heat and sticky adhesive might deflate it. It was interesting to know this.
A while back, I was a fan of puff sleeves. So, I have several tops with this style. However, my taste seems to have changed and I am glad I can easily deflate the puff sleeves. I don’t even have to sew to do it which makes it even better. Thanks for this incredible blog.