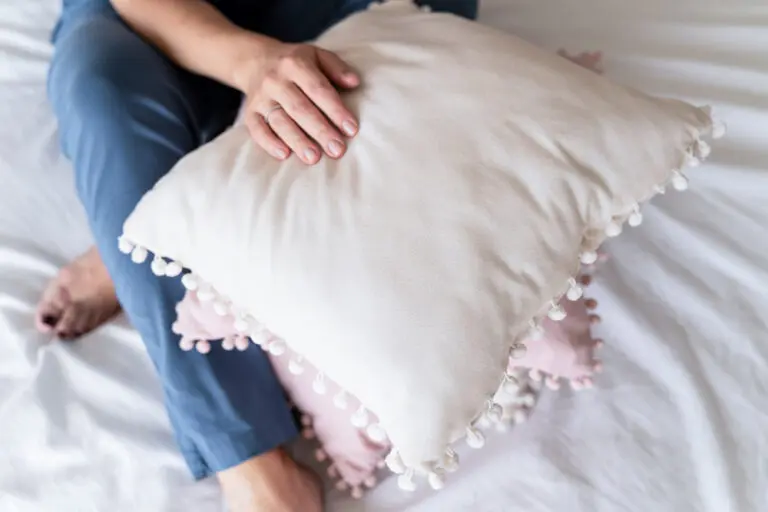
Are you thinking of sewing your own home pillows? Don’t know where to start? Don’t worry, we have a blog that explains the process.
But before we do that, lets go over the benefits of hand sewn pillows. They’re a great addition to your room and you can choose from a variety of designs that match your home.
Sound interesting right? Let’s get into the process!
1. How to Hand Sew a Pillow?
Before diving into the hand sewing process, ladies, you need to gather the following material:
1.1. Fabric
When choosing fabric make sure it matches your room decor. For an 18″ x 18″ pillow 3/4 yard of fabric should be enough.

1.2. Pillow Form
Choose any shape desired in any size.
1.3. Needle and Thread
For sewing.
And make sure to choose thread that matches the fabric.
1.4. Pins
You will need some straight pins too.
2. Step by Step Process
Alright ladies, now that you have gathered the tools, it’s time to met the story; How to hand sew pillows?

2.1. Fabric Cutting
The 1st step is all about fabric cutting. You need to cut out the front and back sides of the pillow. Before starting the cutting process, make sure that it matches the size of your pillow form.
Example, for an 18″ x 18″ pillow form you need to cut fabric to the same dimensions.
2.2. Using Straight Pins
In the 2nd step, you need to use some straight pins at the bottom edge of both the front and back of your chosen fabric. Here is how you can do it:
First of all, place your fabric pieces together with the right sides facing each other. You have to make sure that the wrong sides are facing out.
After that, start pinning from one bottom corner to the end of the other bottom corner. Also, make sure to leave bottom edges to insert the pillows form later.
2.3. Start Sewing
Let’s move onto the 3rd step now. In this step, you need to start the hand sewing process. Here is how you can do it:
First of all, thread your needle and start the sewing process at the bottom edge of the pillow. After that, start the sewing process on the bottom side of your fabric and bring the needle up through both layers.
Secondly, Repeat the sewing process onto the top side. You need to sew all the way around the pillow until you reach the last corner.
2.4. Securing by Knotting
In the 4th step, you need to secure the stitches you have made by knotting the thread on the fabric. Here is how you can do it:
Start by pulling the needle and thread, you need to leave a small loop of thread. After that, just put your needle through the loop and pull through. Again repeat this process.
2.5. Finishing Touches
In the 5th step, you need to clip the corner of the fabric to give it a professional look. Once you’re done with this, just turn the fabric inside out. You can use the Purple Thang tool too. This tool helps to push out the corners for a neat finish.
After that, just insert the pillow form into the fabric cover you have made.
2.6.Sewing Pillow Closed
The last step is all about sewing the pillow closed. You can use ladder stitches to close it, these stitches will give a professional look to your pillows.
Congratulations! With this, you’ve successfully hand sewed pillows for your home on your own.
3. Additional Tips
Here are some tips that will help you out:
3.1. Practice Stitches
For a seamless closure, you need to use ladder stitches on your pillow cover. That’s why making sure to practice on a scrap fabric before attempting it on your cover.
3.2 Selecting Right Fabric
The fabric plays a crucial role in the overall look of your pillow. That’s why make sure to choose the one that matches the color scheme and texture of your room.
3.3 Use Different Patterns
For a more professional and neat look, consider experimenting with different patterns.
Closing Thoughts
In conclusion, some think it’s impossible and only professionals can do this type of thing. That isn’t true at all, follow these steps and let me know how it goes in the comments below!


1 Comment
Pillow sewing sounds like an amazing way to spend my free time. This guide is incredibly descriptive and straight to the point, which makes it easy to understand each step and carry it out with precision. Equipped with this, I have a solid foundation to work from and I’m confident that with continued practice, I will be sewing some beautiful pillows.