Introduction
Hello, crafters! In this guide, we will show you how to make a pom pom for your hat. These fluffy fun balls are trendy and playful additions that can be added to any item, especially hats.
So whether you’re knitting your own hat or just looking to add some flare to a store-bought one, use this tutorial.
Making your own pom-poms for your hats is an interesting project if you like getting hands-on with the things you wear. However, what even is a ‘pompom’?
A pompom is literally just a pom to a hat or ball of fluff used as decoration commonly seen on hats and other accessories. But beyond looks, there’s always meaning behind such small trinkets—specifically when it comes to culture.

Definition of “Pom Pom”
A pompom is made out wool or yarn which come in various colors and sizes. It’s a versatile accessory that can enhance the quality of baby hat and turn even the simplest hat into something completely new.
To make a pom pom, we wind wool or yarn around something circular like pieces of cardboard or even buy tools called Pom-Pom Maker then cut through the loops so it spreads out into its round shape.
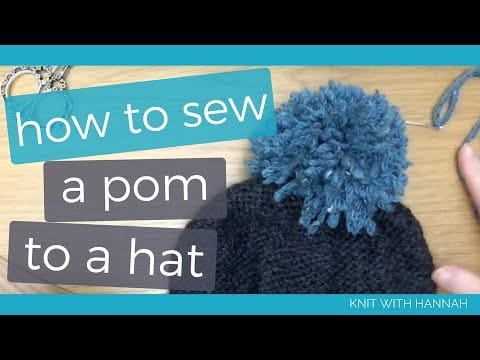
Apart from attaching them onto hats, you can use them to create personalized products, bags and also decorate home items. But, for that you should know about how to sew a pom pom on a hat. It is the basic
Apart from being visually attractive, pom-poms also provide a pleasing or comforting tactile side experience to be age. Running your fingers across the smooth fluffy surface of a ball is just delightful. They are hence popular among all ages for their sensory impact that combines both the visual perception and touch sense at the same time.
So, let’s begin with the creation!

Why You Need Pom-Poms in Hat Making?
Pom-poms serve as focal points on winter hats, giving them an air of character and style apart from being simple add-ons to spice up their look. When it comes to hat making this has always been an integral part for generations across all ages.
Materials Needed for Making a Pom-Pom to a hat
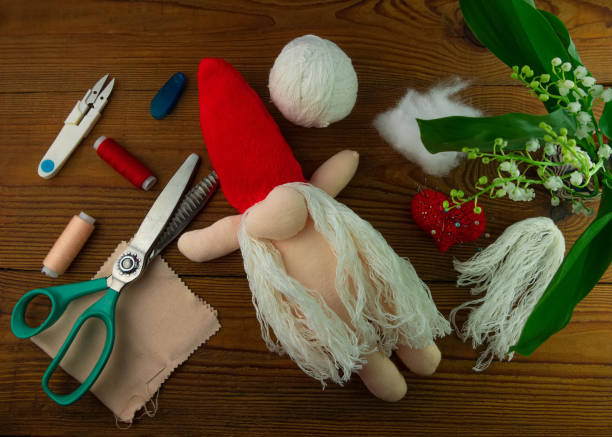
Materials are necessary for your pom-pom design for a hat. That’s our starting point in how to make a pom pom. We will be using our tapestry needle, which is pretty much what we use in a while ago either. This can be done by winding yarn onto a pom-pom maker or cardboard to form a ball shape easily. To make the pom-pom, you simply need to wind the yarn into a ball with the help of pom-pom maker or card-board. Lastly, scissors are used to cut through the yarn and remove the pom-pom form.
Assembling materials before starting with making your own pompom is important. You’ll need soft yarn of same length and different colors that will create the body; sharp scissors used during cutting process; finally strong piece of cardboard or custom made pompom maker which helps you achieve various shapes easily.
I have seen many methods of how to sew a pom pom on a hat but this one is my favorite because it gives such a solid finish which will never come off with time! And this is what matters here!
Yarn
Choose yarn that feels good and fluffs nicely afterwards so you’re left with a pleasurable outcome—it may be matching your hat or contrasting it to add some pop of color. Yarn is used to build it up and provide texture.
Scissors
A pointed pair of scissors is essential for cutting the strings and making pompoms that are always on point. This will make it easier to create and attach a pom to a develop and improve new hat a good looking one!
Pom Pom Maker or Cardboard
For a frame, you can use a homemade cardboard template or a store-bought pom pom’s i-pom maker. Both options have pros and cons depending measure the effectiveness and on your settings, but at the end of the day, they both get the job done.
Step-by-Step Guide on How to Make a Pom Pom
Follow these steps to create a plushy pom pom for your hat.
Step 1: Yarn Selection and Material Preparation
- Pick yarns that will make great pompoms. The weight and type of yarn will affect how big your finished product is.
- Choosing the color and weight of yarns
- Choose colors that look good with your hat’s colors. The thickness of the yarn also affects how big or small you pompom will be.
- Preparing cardboard or pom-pom maker
If you went with cardboard, cut two doughnut shaped templates. If you chose a pom-pom maker, open it up so it’s ready to wrap.
Step 2: Wrapping the Yarn
- The fullness of your pompoms depends on how tightly wrapped they are around their frames. Push down hard when wrapping.
- Wrap wool string around cardboard or pom-pom maker
- You want each one equally wrapped in circles until there isn’t any left. For those who want fuller balls, wrap more times than usual.
- Ensure even coverage
Make sure every part is covered evenly when wrapping thread over tool. This way patches won’t appear randomly within each pompoms.
Step 3: Tying and Cutting the Yarn
After tying together threads, these steps turn them into actual flats-like objects.
- Tie tightly in middle with thread/yarn
- Slide another piece between starting piece and tool.
- Then tie remaining string in center while still leaving enough slack for fluffy ball shape.
- Cut loops and shape pom-pom
- Snip through yarn loops to fluff them up creating that fluffy look.
After all, we all love about our hats’ puffs.
Remove anything irregular from shape and trim till you’re left with a perfect circle shape.
Step 4: Attaching the Pom Pom to the Hat
Finally, sew it into the hat.
Sew on securely with needle and thread
Use a needle and some thread to add this final touch and attach directly onto your hat.
Be sure that it’s centered before poking holes in hat inside the topmost part of cap for more stability.
Tips for How to Make a Pom Pom that is Fluffy and Uniform
To make sure you are doing right to get your desired results, consider these tips for how to sew a pom pom on a hat:
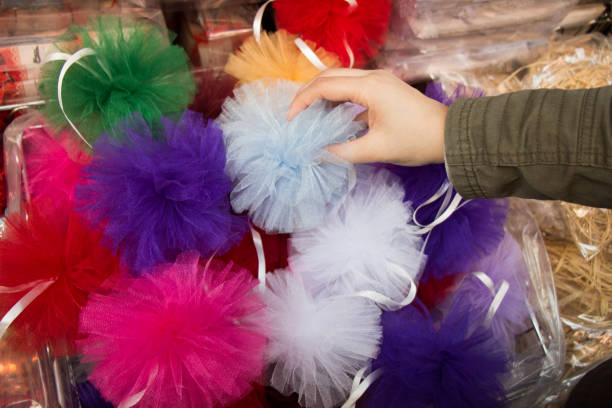
- Yarn with high wool content tends to work the best. It fluffs up nicely and creates a fluffy pom pom.
- Wrap the yarn tightly around whichever tool you’re using, whether it’s cardboard or a pom pom maker.
- The fuller you want it, the more wraps you need to do.
- When wrapping the yarn, make sure to cover all of it evenly. There shouldn’t be any bare spots in your creation.
- Tie your yarn tightly around the middle then make sure that it’s secured well enough for it to keep its shape.
- Trim away any uneven pieces that can take away from that ball shape.
- With a needle and some thread, sew on the pom pom to your hat securely so it doesn’t fall off anywhere.
Be very careful when cutting off loose ends from the loops of yarn because we don’t want to lose too much of it so soon in the process of how to make a pom pom.
Also, you can add multiple if just one sounds boring! A few different sizes and colors will definitely bring out some visual interest.
Lastly, you’ll have time once you’re done securing everything to position how and where you want to attach it.
Still, when sewing on that first attachment, make sure it looks good where it is.

Conclusion
Congratulations! Now that you know how to make a pom pom and how to sew a pom pom on a hat, you have the pleasure of personalizing some winter accessories.
Things to Try
Whether you would rather have a single soft pompom or try different colors and sizes, your cap is unique and displays your artistic hat skills.
These lovely trimmings really lift any cap’s style thus having it become uniquely yours. Enjoy every step of crafting as well as showing off yourself in what you produce. Happy Making Pompoms!!


