")


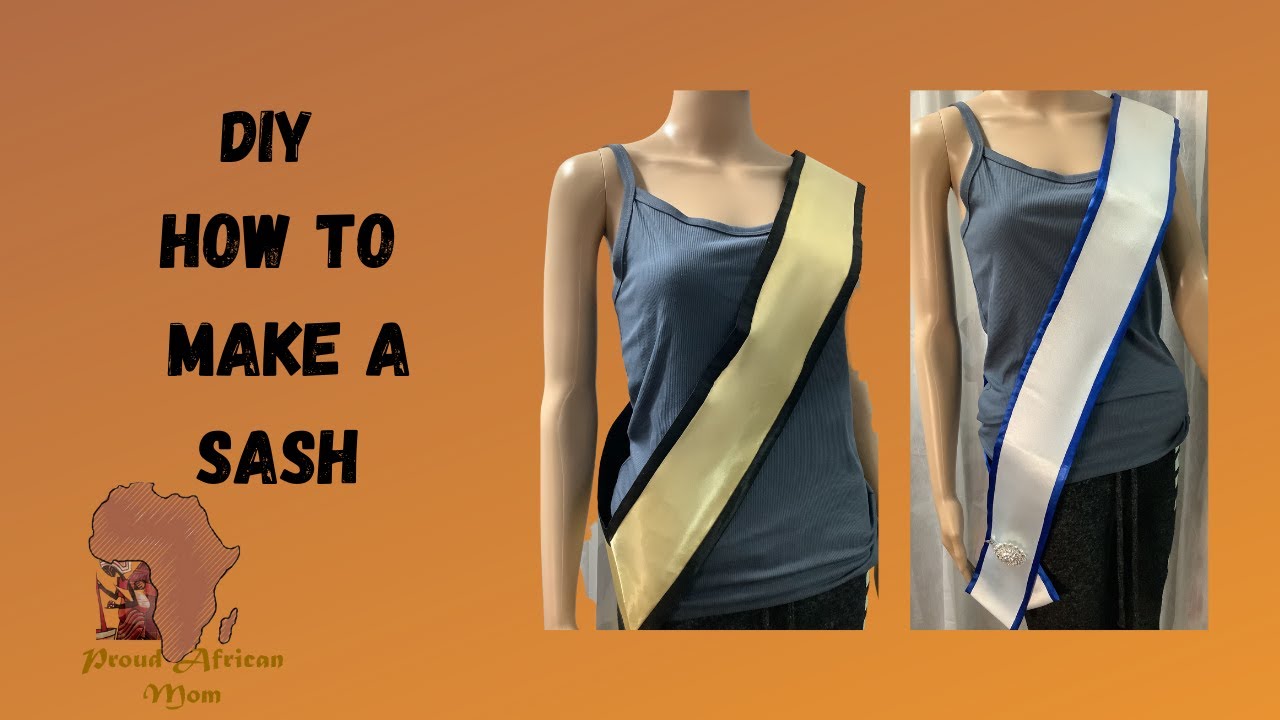
When it comes to adding a touch of elegance and distinction to the winning wardrobe of various events, whether homecoming, pageants, parties, and even fundraisers, one thing you can always rely on are the fantastic sashes.
Simple to make and time tested, they are incredible for pickup as a DIY Sewing method. However, what if you don’t have any great sewing skills and you don’t want to invest in sash that can only be worn once.
Will you be able to make one without sewing? The Answer is Big Yes!
In this simple to follow guide, I’ll walk you through all the readily available materials and simple techniques you need to make your very own sash.
Shall we begin?
Step by Step Method To Creating A Sash
1. Cutting the Ribbon
First and foremost you need a ribbon. To get started, cut that satin ribbon to your desired length. The length of need for this is approximately 90 inches, This is most suitable for a standard sash.
Then bring out your measuring tape. Now, use your tape to make precise marks on the ribbon. Here you have to consider what sash end you need.
If you need an angled sash end instead, then you want to create an angled end by cutting each end of the ribbon at a 45-degree angle to prevent fraying.
2. Marking the Sash
Moving on the second step!
First, lay the ribbon flat on your work surface. Make sure to smooth out any wrinkles. Now, measure and mark a point approximately 45 inches from one end of the ribbon. this will be just past the center point of the sash.
Alright, then from that mark, measure another 33 inches and mark it again. We are doing to indicate the area where you’ll add your own text and decorations for your sash.
Now, you might consider going a little more than the standard 33 inches but it is a rule that is followed at all the prestigious establishments so, I highly recommend it.

3. Designing Your Sash
On to step three of designing.
Why now? It’s essential to plan the text and decorations for your sash beforehand. You don’t want the last letters to look weird.
Now, here where typically, tech comes in handy.
You can use a computer text editor to experiment with fonts, text sizes, and designs. Keep in mind that block letters (UPPERCASE LETTERS) are the easiest to read, so consider using them for clarity.
The standard way to do this is to ensure your text is between 2 inches and 2 1/2 inches tall for proper visibility.
For whatever reason If your text is too large to fit on a single page. I would suggest you print it across multiple letter-sized pages instead. That way you can assemble them later when creating the stencil.
4. Creating a Stencil
Speaking of which, step 4 is all about creating that perfect stencil. Once you’re truly satisfied with your design you need to begin cutting process,
Simplest way to do this is to cut the printer paper into strips that are 4-5 inches tall. Remember to trim off any extra white space on the ends of the words.
Then, arrange these paper pieces to sash to visualize how your text will look. From personal experience, let me tell you, don’t consider the overall design much. What you really should consider is, what’s the vibe the sash will give if you look at it from a distance.
It looks as good as its look from the close up, You’re Golden!
Now, only securing them is left. First of all go get yourself a quality white glue. Once you have it, use a thin layer of white glue to mount the paper with your text onto cardstock or poster board.
We are doing this to give a little bit more stability and a proper structure that won’t blend with pressure. Also, The yardstick will help ensure straight and evenly spaced letters.
Allow the glue to dry thoroughly.
Moving on to the final thing, just use a knife to cut out the letters, and congrats your perfect stencil is ready.
Protip;- Remember to leave thin connecting strips to hold together letters with enclosed spaces, such as ‘O’ and ‘A.’ It will help you letter

5. Applying Fabric Paint
On to the final step of applying fabric paint.
First, position your stencil over the ribbon carefully. Here you wanna ensure that the text is centered vertically on the ribbon and horizontally within the marked section.
Once done, now, it’s time to apply fabric paint through the stencil. It can be a bit tricky.
Begin by using stippling, which is a gentle way to do this technique. In it you repeated pats with the paintbrush mainly to avoid smudging the paint while you were working on the sash.
Moving on, now, simply allow the paint to be dry. The time required might vary though depending on the brand quality and manufacturer you go with.
Lastly, double check the finish quality and consider applying multiple coats to give it a vibrant finish.
Protip: You can use fabric markers in a contrasting color to outline the letters for a more defined look. But first, don’t forget to test the marker on a scrap piece of ribbon first to ensure it doesn’t bleed and properly match.
6. Final Adjustments
Okay, Your sash is almost ready to wear and the only thing left is to look for the final adjustments.
For examples; If the sash’s length needs to be adjusted to fit the wearer, you can trim the ends carefully and other things like that.
Personally, I feel that once you are actually done creating a sash you wanna always double sure to check the text alignment. It should be centered over the chest and torso when worn if its not you have adjustment in it.

Closing Thoughts
Hopefully, you enjoy the process of crafting your sash without methods and wearing it proudly to make a memorable statement on your special day.
Whether for bridal showers, a DIY bride or bachelorette sash, or any other occasion like a baby shower, create your sash on a flat surface and be the star bride to be.


")
2 Comments
Anna Smith’s guide on making a sash without sewing is a game-changer! The step-by-step instructions, from cutting the ribbon to applying fabric paint, make it easy for anyone to create an elegant sash for various occasions. The inclusion of design tips, such as experimenting with fonts and text sizes, adds a personalized touch to the process. The use of a stencil and fabric paint ensures a professional-looking result without the need for sewing skills. This guide is a fantastic resource for those seeking a DIY solution for a stylish sash.
From cutting the ribbon to applying fabric paint, each step is explained with clarity and precision. The inclusion of practical tips and personal experiences, such as considering the overall design and checking text alignment, adds a touch of authenticity to the guide. The pro tips, like using fabric markers for outlining and checking the finish quality, demonstrate a thoughtful consideration for potential challenges. Overall, this article serves as an excellent guide for anyone looking to create a sash without sewing.