Mastery of the art of turning a picture into woven patterns is no small feat; however, it’s not impossible either. All you need is proper guidance. On that note, are you looking for more info on this subject? Here’s everything you need to know.
Many people want to turn regular ordinary fabric into extraordinary creations filled with love and care; therefore, it makes sense why the art of sewing a pattern from a picture is so popular.
In fact, in the world of sewing, if there is a challenge that every seasoned seamstress or novice with a burning passion for creativity wants to accomplish, It is turning an inspiring picture into a sewing pattern.
However, recreating the outfit and designs you may see in the magazine into your own unique version requires not only a steady hand but a lot of insights. As it not only allows you to show your creativity but your mastery over the art.
This is where this blog comes into the picture. To help you achieve your mastery over this fantastic art, we will properly guide you through the process of making a sewing pattern from a picture in this blog.
Sound Interesting? Good! Let’s Begin…
How To Turn A Picture Into A Sewing Pattern?
Here is the step-by-step process that you need to follow to turn a picture into a sewing pattern:
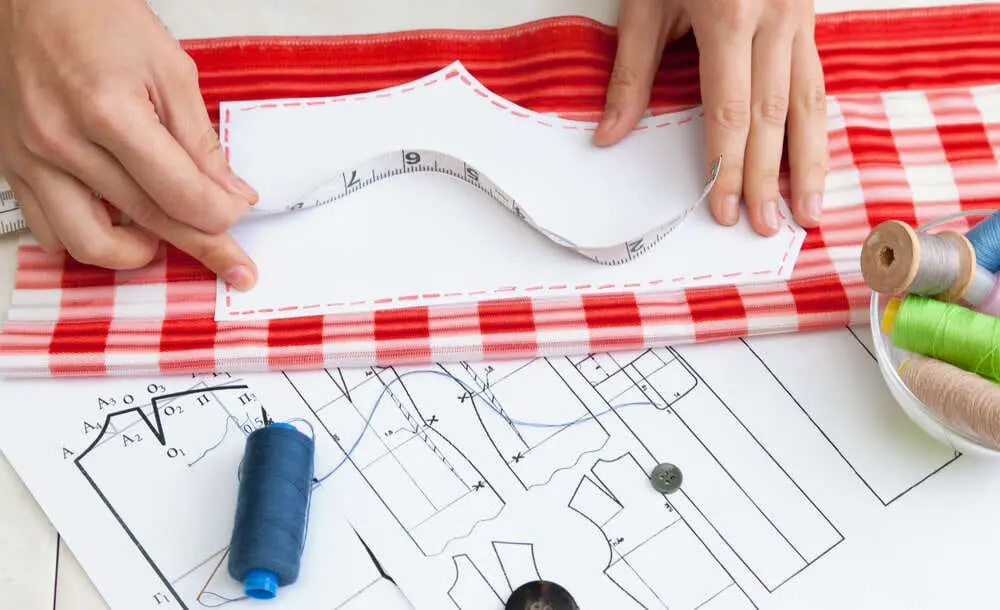
1. Select picture
First of all, you need to choose a picture that you want to turn into a sewing pattern. While choosing this picture, other than simple stuff like making sure its clear also keep in the overall complexity of the design. if you are starting out you want to go from a simple design and never should with something difficult.
The reason behind this is simple, this is a time consuming challenge, thus, if you are challenging yourself, you want to keep the momentum going for as long as you can.
2. Study picture
After you have chosen a picture, you need to pay attention to the outfit’s structure, such as looking into the neckline and hemline.
Make sure to understand the details before starting the sewing process. You need to carefully look for darts and pleats that are present in the outfit. Understanding these details will help you in creating an accurate sewing pattern.
3. Collect Tools
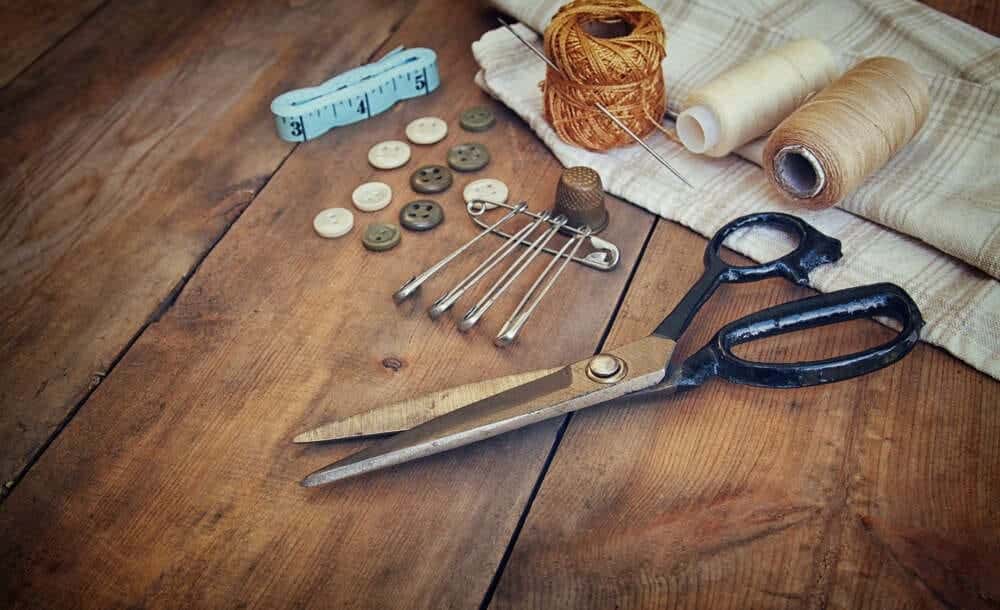
Before we start explaining the sewing process, you need to collect some tools and materials that are mentioned below:
- Some Pattern paper or Tracing paper
- Collect some Stationery items such as a Pencil, eraser, and also a ruler
- Measuring tape for taking measurements.
- Collect Fabric scissors and some pins
- A sewing machine
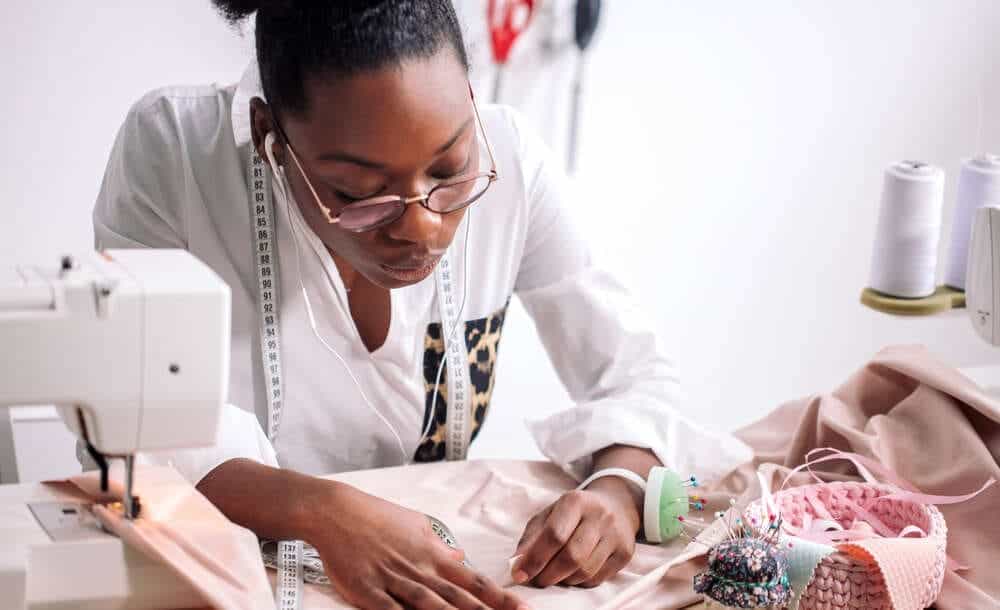
4. Creating a Grid
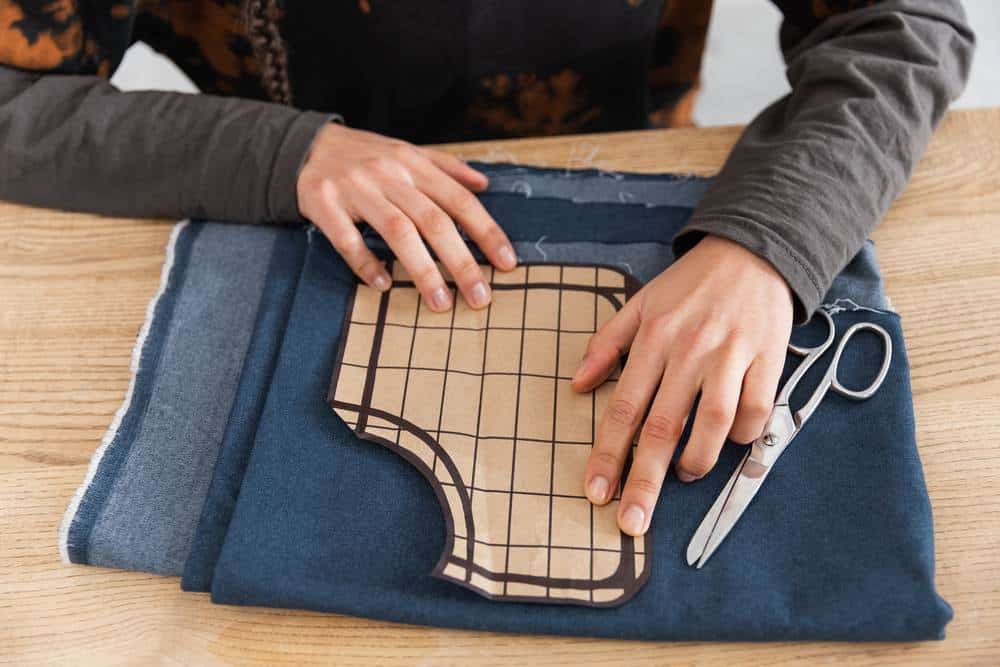
To start the pattern sewing process, you need to create a grid on your tracing paper or on pattern paper.
Just use a ruler to draw the pattern lines evenly; by doing this, you can recreate a perfect image of the pattern. In other words, this grid will serve as a reference image for you.
5. Scaling picture
In this step, you have to scale the chosen picture properly to create an accurate sewing pattern. For scaling, measure the width of a button or the length of a seam.
Then, use the exact measurements to finalize your pattern design. This step ensures that your pattern stays proportionate to the original outfit.
6. Creating Outlines
Before sewing:
- Coutline the main pieces of the outfit, such as sleeves and skirts.
- Use a ruler to make straight lines and curves, following the shape of the outfit in the picture.
- Remember to capture all details as precisely as possible.
7. identify structure
Carefully note down all the details of your image to identify seams and darts. Where they are used and how, or any other structural elements. Understanding these structural details is vital for shaping the outfit correctly.
You can use different colors (other than the color of your outfit) to indicate where these elements should be sewn on your outfit.
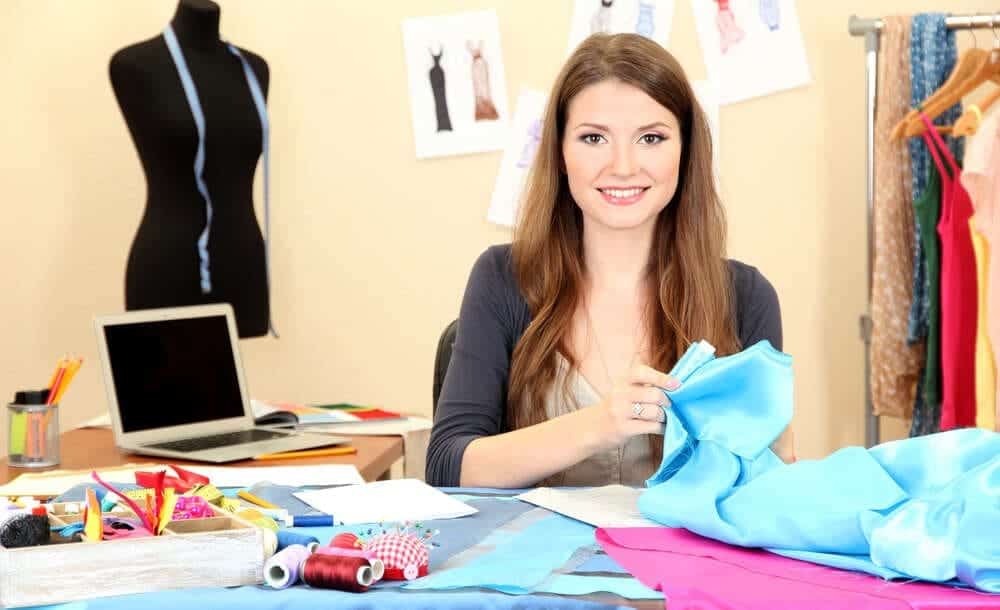
8. Labeling Pattern
To avoid confusion, make sure to attach labels on your pattern, such as front bodice, back bodice, and sleeve etc. This move will make the assembling process of the outfit much easier than before.
9. Test Pattern
Before finalizing your decision, always make a test pattern on inexpensive fabric or muslin. This will give you an idea about necessary readjustments and will also help you save your money.
Repeat the tests until you finalize a sewing pattern.
10. Refine and readjust
Refine and readjust your pattern until you are satisfied with the results. It is pretty common for patterns to go through several readjustments before achieving the final look.
11. Cutting fabric
Now that you are satisfied with the test pattern. It is time for you to cut the fabric you have chosen. For cutting fabric properly, follow these steps:
- Place the pattern pieces on your chosen fabric
- After that, secure them with pins and cut around the edges.
Remember to keep being patient throughout the whole cutting process because it can affect your fabric shape and fit, too.
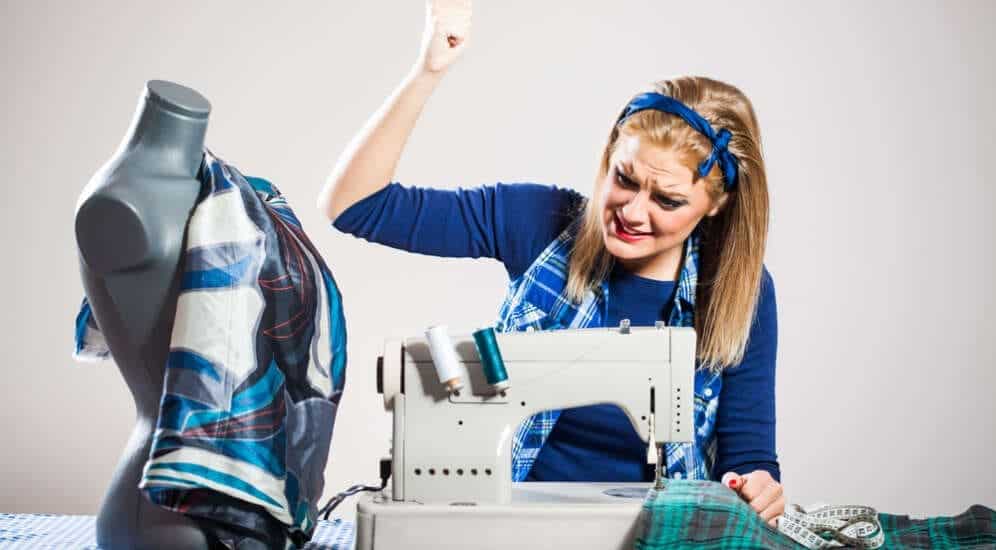
12. Assemble and Sew
You have to sew the picture pattern you have created on your outfit; here is how you can do it:
- Assemble and pin your pattern on your outfit.
- After that, just sew the pattern pieces and outfit together.
But make sure to follow the markings you’ve made on your pattern to sew it perfectly.
13. Finishing Touches
To give your outfit a perfect professional look, don’t forget to add finishing touches like buttons and zippers. These details might be small but can elevate the look of your outfit to a whole new level.
Closing Thoughts
To sum up, digital sewing patterns have revolutionized the way we create our own patterns. Also digital resources give us with a vast array of pattern pieces and basic shapes to transform our own measurements into a custom pattern tailored to our unique style.
Similarly creating custom clothing by converting images into sewing patterns not only allows us to express one’s own creativity but even helps us save money by letting us crafts our own clothes without branding fees.
Just remember, it’s all in the details, from the perfect seam allowance to the intricate design choices, so, a little bit of patience and creativity, can go a long for you.


9 Comments
Your guide on how to make a sewing pattern from a picture was a lifesaver! I’ve always struggled with creating patterns, but your step-by-step instructions made it so much easier.
I found this article on creating sewing patterns from pictures truly insightful. The mastery involved in transforming an image into woven patterns seemed daunting, but the clear guidance provided here makes it feel achievable. Whether you’re a seasoned seamstress or a creative novice, the article offers valuable insights to turn ordinary fabric into extraordinary creations. Exploring the process of translating inspiration into a sewing pattern is a delightful journey guided by this well-written blog.
I loved the step-by-step guide on how to make a sewing pattern from a picture! It made a seemingly complex task so easy to understand and follow. Thanks for breaking it down and making it accessible for all skill levels.
Still struggling with the patterns? I suggest everyone to come and read through this article. This is a life changing article for the people like me who are always struggling about the patterns. how to make it, how to arrange it? this article just uplifted my confidence.
As a regular seamstress, I always sew my own clothes. However, I usually rely on someone in my family to handle the cutting part. Your method of beginning pattern sewing and creating a grid on tracing paper sounds very logical to me. I think I will give it a try to see if this technique can ensure that the pattern stays proportionate to the original outfit. To be honest, I was too scared to attempt this part before. Thank you for giving me a unique way of doing things that I have never read or heard of before.
Making sewing patterns from pictures is simply explained in this article. It shows Anna’s expertise in the field, as everything is explained in an easy, understandable way. A guide for those who are interested in sewing.
I love how the article breaks down the process into clear and manageable steps, from creating a grid to adding finishing touches, making it accessible for beginners. The article’s encouragement to embrace readjustments and refinements in the pattern creation process is a reassuring reminder that perfection often comes through iteration. This is a valuable resource for sewing enthusiasts.
The information is well articulated in the article and this article is a guide for the new Taylor’s who are learning the tilting or we can say sewing Here it is told that how to practice sewing patterns from a picture or a image good article .
It is interesting how one can transform a piece of art from one form to another. easily The next time I see a picture I like, I won’t struggle to make a similar sewing patterns. I definitely can’t thank you enough for this guide.