")


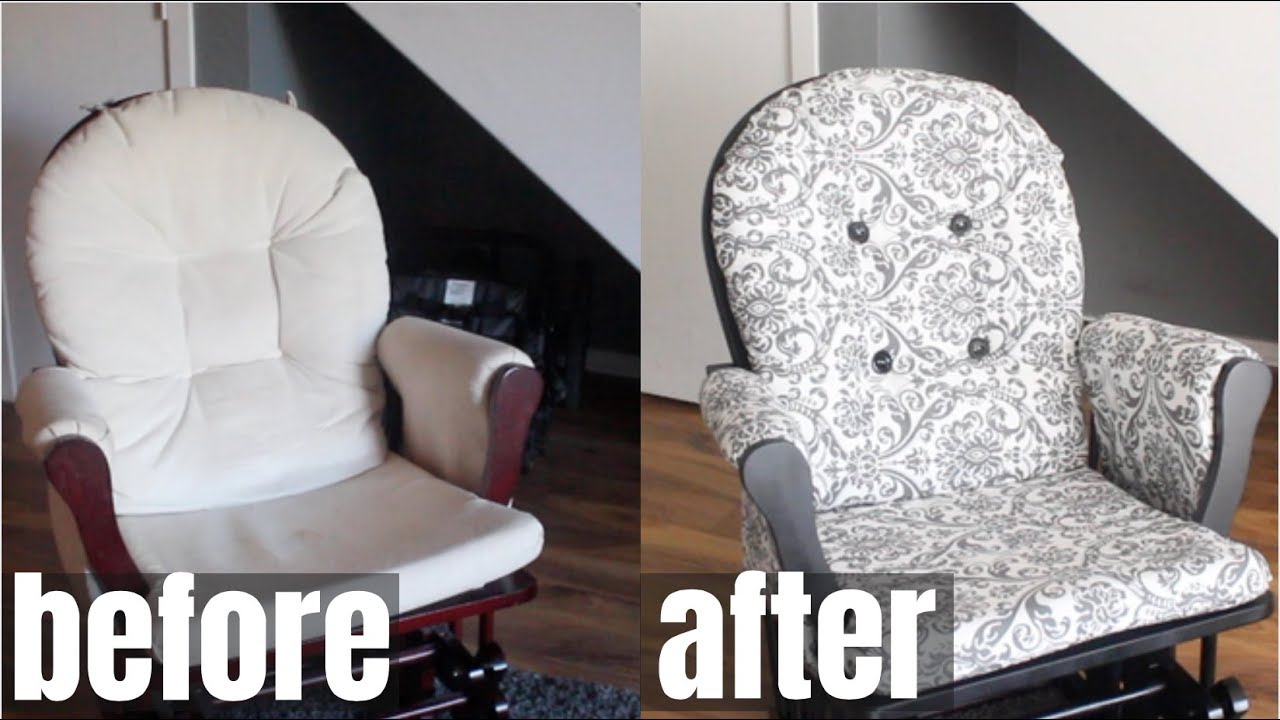
Have you just bought a glider rocket from a thrift store or your one has gotten very outdated? Well, whatever the case, right now you must be wondering how to revamp it. To put it simply, whether to replace the entire rocker or give it a fresh look. But here is the solution, don’t replace it , just give it a new look and you don’t even need any sewing knowledge for all this.
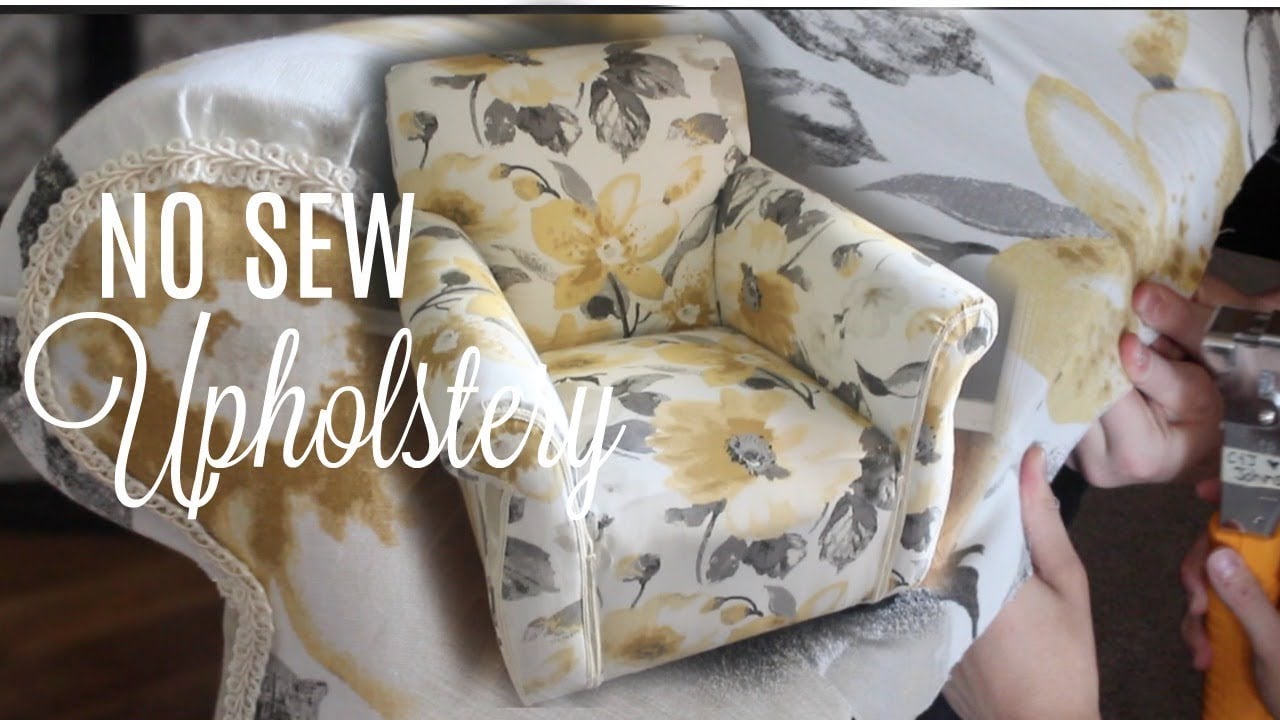
Not all of us are good at sewing, which is why we have brought some hacks for you through which you recover your glider rocker without sewing.
So, let’s begin!
1. Why Recover Your Glider Rocker?
Before we explain the solutions, let’s first understand what a glider rocker is and why recovering is a great idea. Glider rockers are furniture pieces found in nurseries and living rooms, these rockers have soothing rocking motion, making them perfect for snuggling with your newborn or for relaxing after a long day. Here are some reasons to recover it:
1.1 Cost-Effective
First of all, it’s a cost effective option because buying a new glider rocker can be quite costly for you, especially if you’re looking to save money for your newborn. Recovering your existing glider rocker also helps you customize the way you want it.
1.2 Customization
Recovering your existing glider rocker also helps you customize the way you want it to be.
Also, you can choose the fabric and design that best suits your style. So, you can easily level up by match your home decor even more perfectly.
1.3 Eco-Friendly
By revamping your glider rocker instead of replacing it, you’re contributing to a more sustainable lifestyle. You will be reducing waste and conserving resources.
Now, let’s get back to the main issue, how to revamp glide rocker without sewing. Here are some best methods for it:
2. Velcro Magic Method
This method is perfect if you are looking for an easy solution to recover your glider rocker. Here’s how you can do it:
2.1 Tools and Material Needed
- Take fabric of your choice to recover your glider (measure your cushions to get enough fabric)
- Buy Velcro Fabric Fusion Tape (get at least 5 meters in the same color you have chosen before)
- Additional upholstery fabric in same for cushion pillows

2.2 Steps To Take:
- Preparation: First of all, remove all the cushions from your glider rocker and after that thoroughly clean it.
- Cutting Fabric: Now, you have to cut the fabric you have chosen and place each cushion on top of it. You need to leave enough fabric to wrap the cushions with a little extra for folding. So, cut the fabric accordingly.
- Cushions Wrapping: In this step, you need to wrap your cushions like a birthday gift. Cover yours with the fabric you have bought and also make sure that the seams are on the back of cushions and pull the fabric tightly.
- Use Velcro Tape: Cut sections of Velcro Fabric Fusion Tape after that ensure that these sections are long enough to form a seam.
- Use Iron to secure: Lay your Velcro-sealed seam on the floor and after that use an iron to secure it. Use it with a thin cloth and hold the iron on the tape for about 90 seconds. You need to iron each individual piece and secure them properly.
After you have completed the above mentioned steps just wrap your cushion once the Velcro tape is secured.
This method allows you to easily remove and wash your cushion covers whenever you want.
3. Non-Velcro Method
If you prefer a more durable solution without any sewing then you can create removable zip-off covers. Here’s how you can do it:
3.1 Tools and Material Needed
- Fabric glue
- Hem tape
- Canvas fabric
- Muslin fabric
- Zipper
- Iron
- Hot glue gun
- Scissor

3.2 Steps To Take:-
- Hem the Edges: First of all begin by hemming the canvas and muslin fabric by using the hem tape.
- Assemble Fabric: Assemble your cushion cover with the zipper in place.
- Attaching Muslin Cloth: Now, you have to use fabric glue to attach the muslin cloth to the top of the zipper. Make sure that fabric glue does not touch the zipper itself.
- Attaching Canvas Fabric: secure it by attaching the canvas fabric to the other side of your zipper.
- Use Glue to Secure: Now, use fabric glue to seal the other three sides of your cushion cover. Make sure to do it properly to avoid any creases later now.
- Place Zipper: Apply a thin line of glue on one side of the zipper. Make sure to do it properly.
- Cushion Cover Attaching: Place your cushion cover on the top of the glued side of the zipper. Hold it down for some seconds and after that wipe away the excess glue that is oozing out.
- Repeat the Process: To make your zipper work, you need to repeat the same process on the other side of the zipper Too.
- Dry it: For a polished look, you have to dry the glue properly from your cushion covers.
This method is best for a nursery where spills and messes are common.
Closing Thoughts
To sum up, how to recover a glider rocker without sewing may seem daunting, but it’s a very achievable task. Just follow the steps to give your rocking chairs a fresh and stylish makeover.
So, whether you choose the Velcro method or the non-Velcro approach for recovering your glider cushions with nursery glider slipcovers.
Don’t forget to pay attention to the excess fabric and ensure a snug fit. Particularly if you are working on the bottom seat cushion and back cushion and don’t have to sewing machine. Also, use your seam ripper to carefully remove the seams from all of the fabric pieces you plan to reupholster.
With the right choice of quilting cotton or other suitable new fabric. it will be as good as new, and you can even add a touch of comfort and style with the arm rest covers and cushions.
")


3 Comments
It’s impressive how this guide offers an alternative method for giving furniture a new lease on life, making it accessible to a wider audience regardless of sewing skills. It’s great to see resourceful ways to revitalize and customize furniture, catering to various preferences and skill sets.
I found this guide on recovering a glider rocker without sewing to be incredibly helpful. Whether you’ve just bought one from a thrift store or want to update an outdated piece, the no-sew approach makes it accessible for those of us not skilled in sewing. The tips for revamping without replacing the entire rocker are practical and easy to follow, making it a great resource for anyone looking to give their furniture a fresh look.
The reasons outlined for recovering a glider rocker provide a compelling argument to consider the proposed methods. The breakdown of two different recovery methods, adds clarity and variety to the article, catering to different preferences and skill levels. The use of tools and materials, along with step-by-step instructions for each method, enhances the practicality and guides through the recovery process.