Most critical component of any sewing machine is the needle. Its quality directly correlates to the project’s end look. It’s the backbone of the entire machine. Without it even attempting any kind of shaping designs is impossible and its quality ensures the overall durability of the sewing project.
However, over time, sewing machine needles wear out. Eventually, they become dull or may even break, ultimately necessitating their replacement. If this happened to you too, don’t worry we got you covered.
In this piece, we’ll explore the essential steps and provide you step by step so you can replace a needle in your sewing machine properly.
How to Replace a Needle in a Singer Sewing Machine – Step by Step
Now that you understand why needle replacement is essential.
Let’s go over to the step-by-step guide on how to replace a needle in a Singer sewing machine.
1. Preparation
First and foremost comes the preparations. Before you start the needle replacement process steps, it is essential to gather the necessary tools and materials.
You will need:
- First, the obvious, a replacement machine needle. Make sure its suitable for your project. One tip here is to ensure it matches the fabric and thread you intend to use, it will come handy later.
- Second are the tools, A small screwdriver or the included needle clamp screwdriver or any other tool. It all depends on your singer machine model.
- Finally, a clearance plate or a needle inserter and threader.
Note: these are easy optional but helpful tools for easy needle.
2. Power Off and Presser Foot Up
the second step is about dealing with power supply for safety reasons. It all depend on which type of Singer sewing machine you have.
This prevents any accidental activation during the needle replacement process.
Additionally, you also wanna ensure that the presser foot is in the raised position. Ultimately, a raised presser foot will help you get a better access to the needle area.
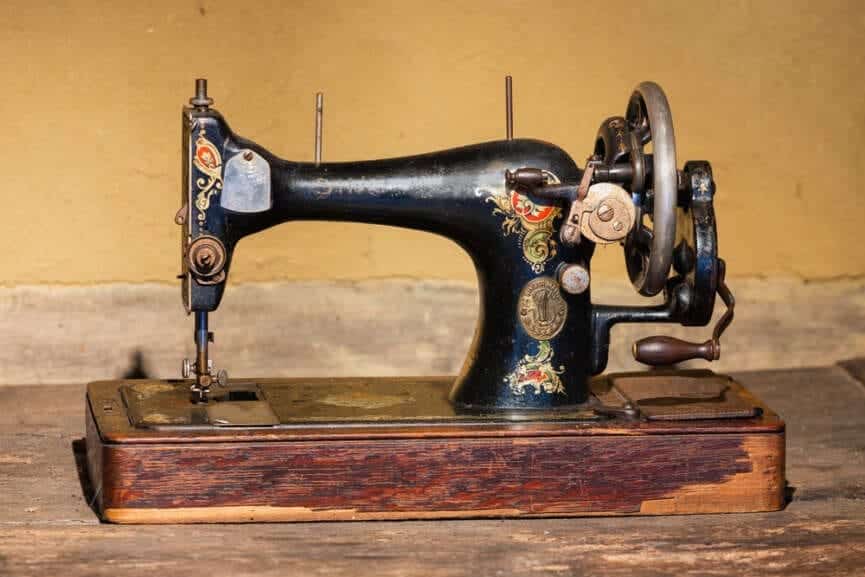
How you do it is: In most Singer machines you will find a lever to the right of the needle for this purpose.
3. Loosen the Needle Clamp Screw
Okay, onto the third step.
It’s all about loosening the needle.
First of all, The needle is held in place by a clamp screw located just above it. You need to remove it. To remove this old needle, you begin by considering the type of machine you have.
Depending on your Singer machine model you are using, the method of loosening the screw may vary, however there is one basic rule you can follow to save time.
This tip is simply.. On some Singer machines, the needle clamp screw can be easily turned by hand counter clockwise (towards you) to loosen it on other hand and models, you may need to use a small screwdriver to actually turn the screw counter clockwise.
Just be gentle but firm to avoid damaging the screw or the needle clamp. Otherwise you have to start over.
4. Remove the Old Needle
On to the fourth step.
Once the needle clamp screw is sufficiently loosened, you can remove the old needle. Just remember to properly hold the needle firmly between your thumb and forefinger, ensuring it does not drop.
Otherwise it can ruin your machine or your workspace down the line. Always ensure that you pull the needle out at a slight angle as it help you take care not to damage the surrounding components.
5. Prepare the New Needle
Fifth step is where you begin the actual changing process.
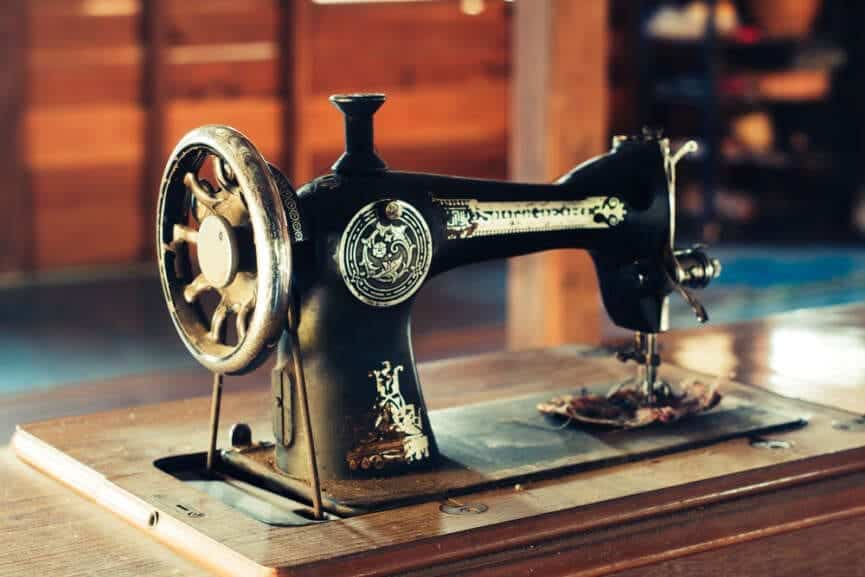
First of all, begin by inspecting the old needle. Just compare it to the new needle to ensure you get the size and width right. Trust me it will save a lot of pain down the line.
Additionally, you also wanna inspect the needle for any defects, such as bent or damaged tips.
6. Insert the New Needle
Alright, now it is finally time to insert the new needle.
Here are three common methods for properly inserting a new needle in your Singer sewing machine:
6.1 Fingers Only
First method is of course using it by hand.
Assuming you have a steady hand and a good eyesight to properly view of the needle clamp. You can insert the new needle directly by aligning it with the clamp. Just ensure the flat side of the needle faces the back of the machine properly.
Now, push the needle upward until it reaches the needle stopper.
6.2 Using a Clearance Platel
The second method is using a clearance.
Once again it depends on the type of sewing machine you have. Some Singer machines come with a clearance plate that simplifies the needle insertion process.
Just insert the needle into the clearance plate, while ensuring it fits snugly. Then, slide the clearance plate with the needle into the machine. Positioning the needle into the clamp.
Now, just push the needle upward until it reaches the needle stopper.
6.3 Needle Inserter and Threader
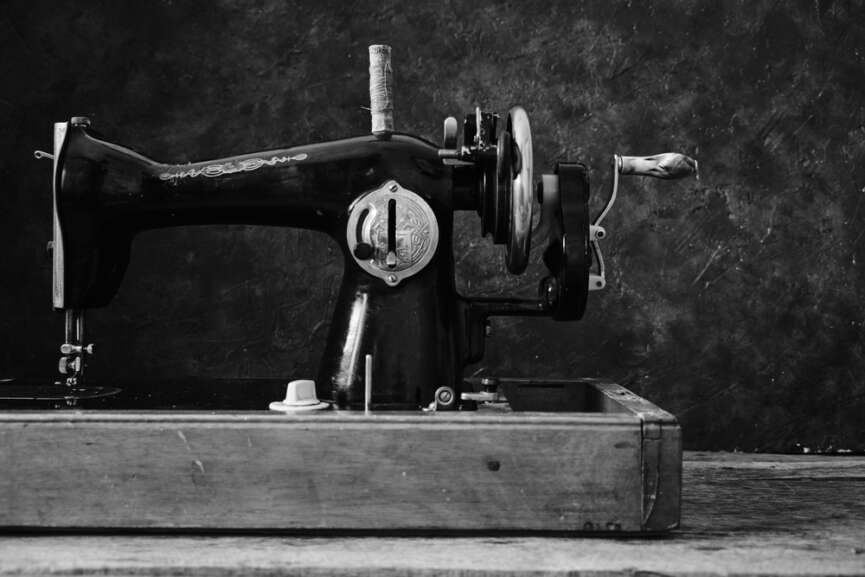
Third and final method is the needle inserter and threader. It is an alternative method is to use a needle inserter and threader.
Here you Insert the needle into the inserter and align it with the clamp just like others.
Now just slide the inserter into the machine, properly guiding the needle into the clamp.
To finish push the needle upward until it reaches the needle stopper.
7. Secure the New Needle
Okay, once the new needle is correctly inserted into the needle clamp.
It is time to secure it in place. To do this, tighten the needle clamp screw clockwise (if you’re confused it just means away from you). Now just use a screwdriver or other tools depending on your Singer machine model and ensure the needle is held firmly in position.
Here you wanna be extra cautious as not to overtighten. Any mistake can cause difficulties when replacing the needle in the future in your machine.
Closing Thoughts
The condition of the needle directly impacts the quality and success of any sewing projects, regardless of your level of experience. Hopefully, by following the guide provided in this essay, you can confidently and safely replace needles in their machines.
Ultimately ensuring a smoother and more enjoyable sewing experience.


6 Comments
Time to dust off the sewing machine and embark on a DIY outdoor adventure with a custom-made tent. Happy stitching!
Impressive article! It emphasized the needle’s crucial role in the sewing project durability and provided a clear, step-by-step guide on replacement, emphasizing safety measures. Highlighting the importance of a safe process it ensured injury prevention and machine preservation. Thanks to this, I can confidently and safely replace the needle on my Singer sewing machine.
I appreciate your efforts to even assist me with something as simple as the needle replacement, which is the most vital part of the sewing machine. I know exactly how to insert a needle into a machine, but your ways are unique, and I intend to employ them in the future. Let’s see which approach takes longer, my conventional method with my fingers or your skilled ones.
I always felt frustrated when it came to change the needle and let someone else handle that problem but after I searched and found this article my thoughts were changed. I never felt so light about the process of changing needle and with the help of this article I was able to do it on my own. The details were just so smooth.
Dear Anna! Thank you for teaching me what it takes to be a professional article writer. Your dedication to topics such as the need for needle replacement is truly impressive. This website constantly surprises me with its simple yet unique ways of teaching. I can only imagine the amount of research that goes into producing such amazing content. Best wishes to you, and I look forward to reading your future articles.
This comprehensive guide on replacing sewing machine needles provides clear, step-by-step instructions, ensuring a smooth and safe process for users. The author emphasizes the importance of handling the needle with care to prevent damage to the machine or workspace.The inclusion of multiple methods for inserting the new needle caters to various preferences and machine types, offering practical options for readers. The article also stresses the significance of inspecting the old needle and choosing the right size and width for the new one, promoting precision in the replacement process