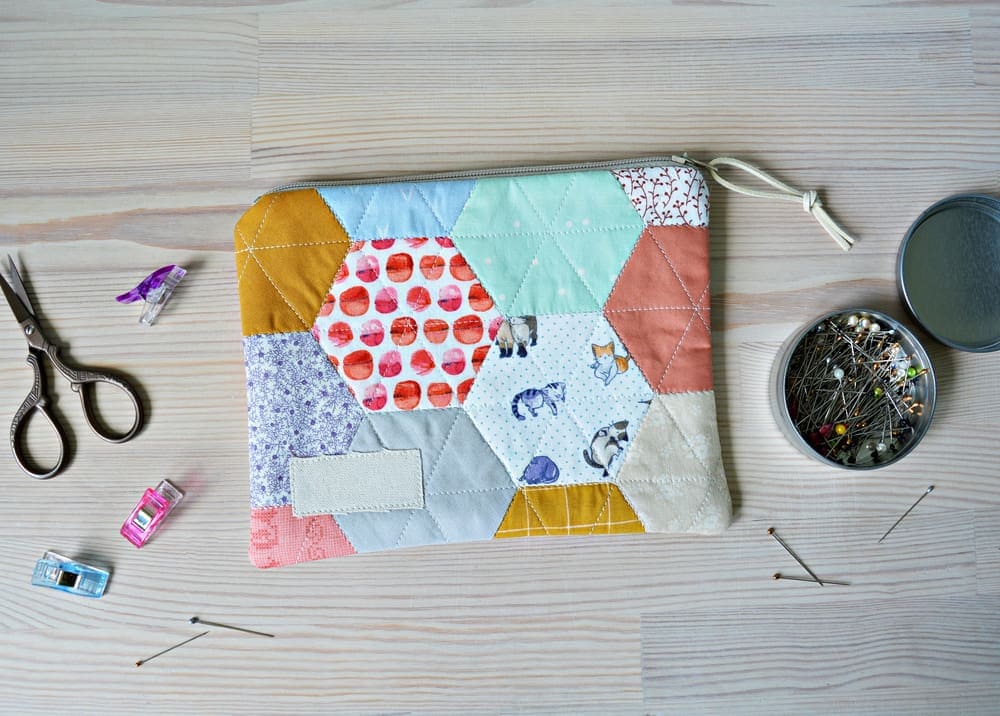
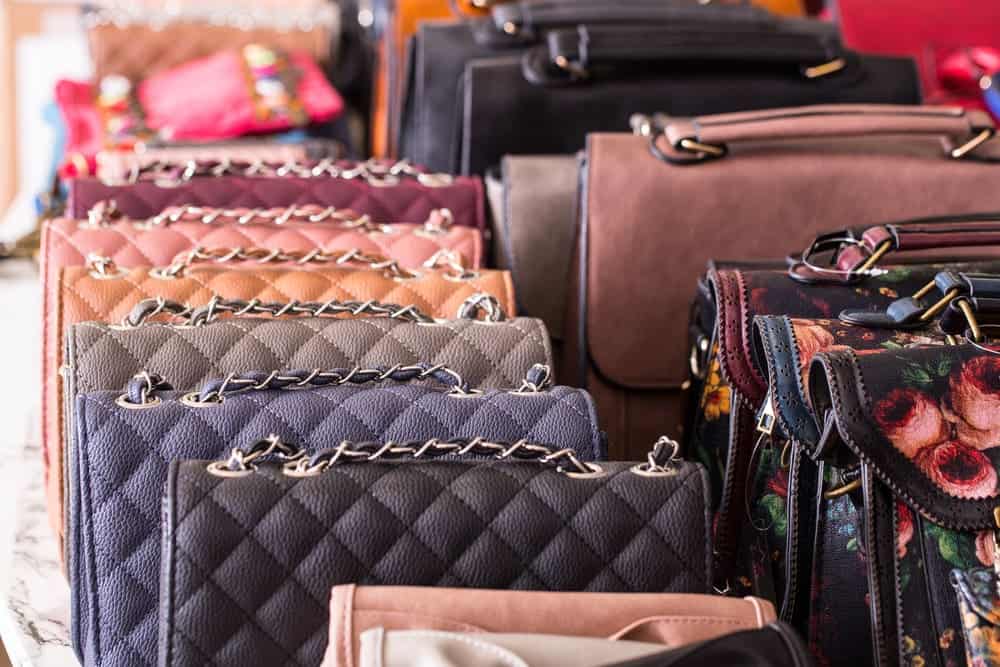
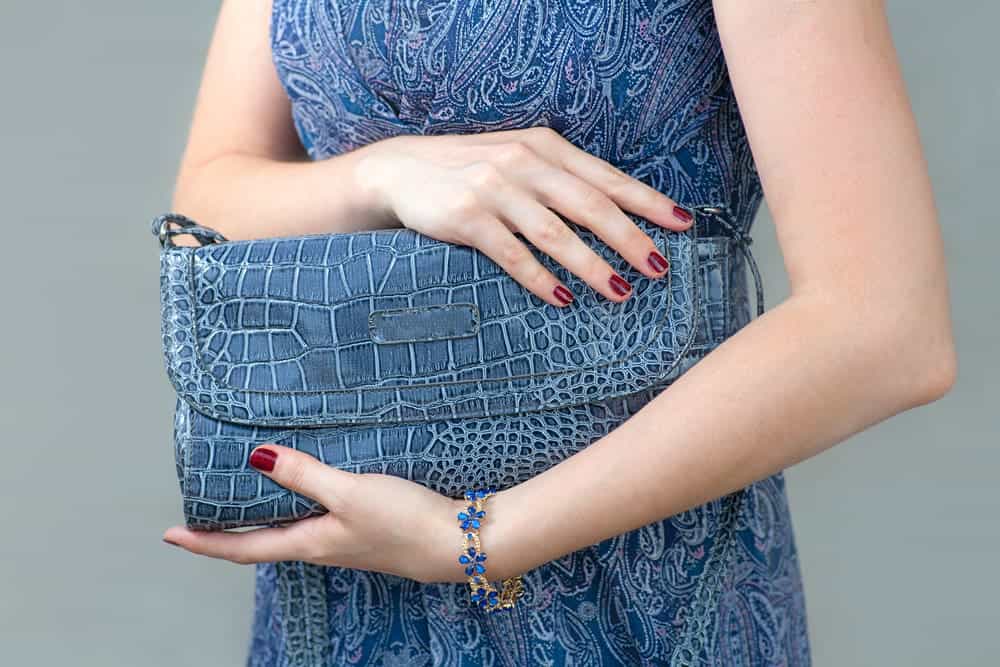
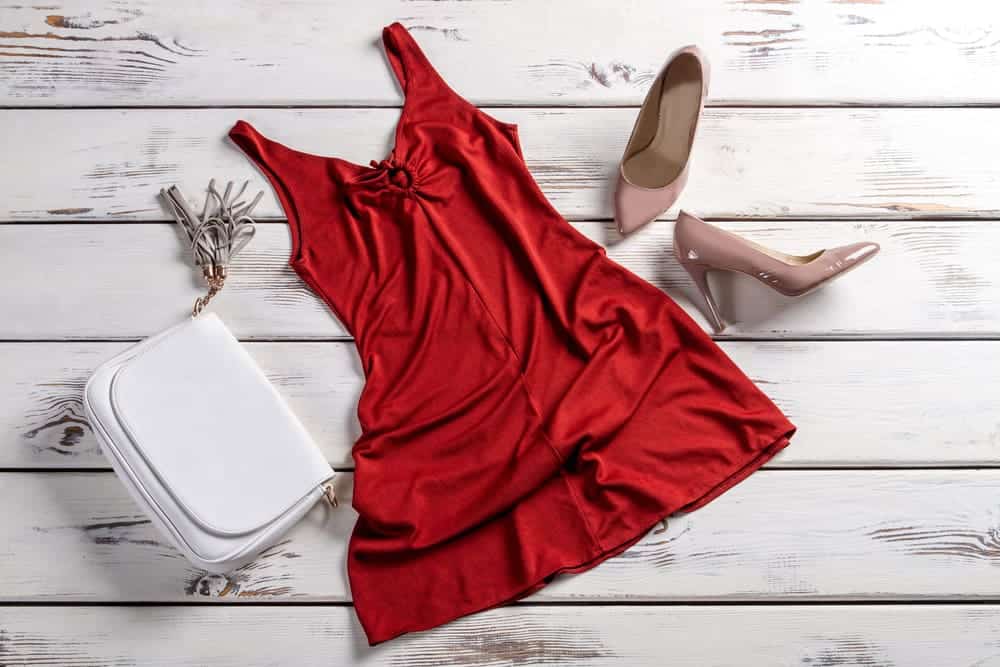
Want to give your loved one a beautiful handmade gift then why don’t you try making a clutch purse. They are super useful and trendy nowadays.
You can carry them to every occasion whether it is dinner or a special event. Don’t worry, if you don’t know how to sew them because I’ll be explaining my time tested method with you.
In just 6 easy steps, you will be able to sew your clutch purse.
Sounds Interesting right? Let’s begin!
1.How can you sew a clutch on your own?
Alright ladies, now you have your tools ready, let’s get into the main thing you hear for:
Let’s us start by covering the basics first but ladies you need to gather the following materials and tools:

- Two fabric pieces (main and lining fabric)
- Fusible fleece for structure (optional step)
- A sewing machine or needle
- Iron
- Scissor or rotary cutter
- Pinking shears for a decorative edge (optional)
- One set of KAM snaps
- snap pliers
2. Clutch Pattern
First of all, you need to finalize the pattern of your clutch purse. If you haven’t found a design of your choice then you take help from the internet, there are plenty of designs available there. You will find something you will love.
After that, just print your finalized clutch design onto cardboard. This will serve as a roadmap for your creation.
3. Preparation
Preparation is the 2nd step, you need to prepare all fabric pieces of your clutch design. According to your design, cut two fabric pieces, one is for front and other one for lining.
Also, If you are thinking of adding fusible fleece in the clutch for proper structure then don’t forget to cut it too.

4. Attach Pull Tab and Fusible Fleece
Now let’s move on to the 3rd step. In this step, you need to add a pull tab in your clutch purse. Pull tab is actually a wrist strap, it helps you hold your purse well.
To add a pull tab, just fold and stitch the top layer of the fabric piece you have created.
5. Assemble Pieces
In the 4th step, you need to assemble the clutch fabric pieces together, it is easy to do and doesn’t take much time.
You just need to attach the fusible fleece you’ve cut with the fabric pieces and after that add a pull tab in it too.

6. Start Sewing
In the 5th step, you need to start the sewing process, stitch the bottom first. A sewed bottom will create a strong base for your clutch.
After you’re done, move on to other parts. You need to topstitch your entire clutch purse to secure the layers you’ve created. This will give a professional look to your purse.
While stitching, don’t forget to leave a seam allowance and an opening for turning the fabric.
7. Final Touches
In the final step, you need to add the finishing touches like KAM snap. They are super trendy right now and make purses look stunning.
Though this step is actually optional, you can add anything you want to make it look more part of your style and vibe.
Well done Ladies! you have successfully sewn your own clutch purse without anyone’s help.

Closing Thoughts
Many ladies believe that sewing a clutch on your own is a very hard task. However, it is not that difficult as long as you have a proper guide. Even with a little sewing knowledge you can do this as long as you follow the tips we’ve mentioned above.
Have you sewn your own clutch? Let me know in the comments if I’ve missed something.


