Want to elevate the look for your old dress by adding a collar? But don’t know how? Don’t worry, In this blog, we will explain the step by step process of sewing a dress collar, from choosing the right fabric to attaching it seamlessly.
Sounds Interesting right? Let’s begin!
1. Materials You’ll Need
Before we start explaining the sewing process, you need to collect the tools and materials mentioned below for this project:
- Dress pattern with a collar option
- Fabric to sew a collar
- Interfacing fabric to sew in
- Sewing thread
- Some Pins
- Scissors
- Tailoring chalk
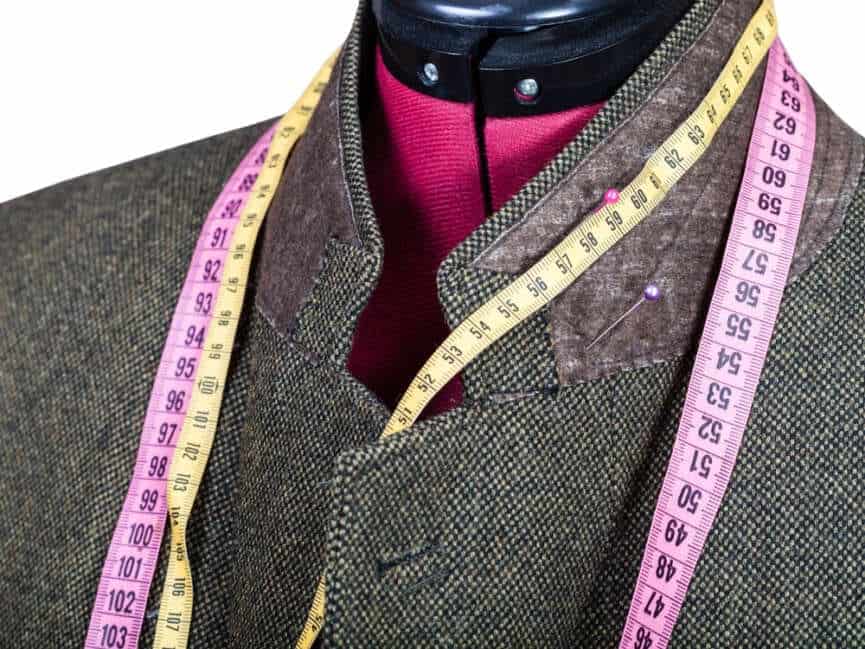
- Measuring tape
- Sewing machine
- Iron and ironing board
2. Step By Step Guide
2.1 Select Your Dress Pattern
First of all, you need to select a dress pattern that includes a collar option. Many sewing pattern catalog offers a variety of dress designs with different collar styles to choose from.
You can finalize a collar of your choice among them.
2.2 Choose Fabric
Now, you need to choose a fabric that complements the overall design of your dress. what you wanna remember, that fabric quality will plays a very big role in how your dress collar will look in the end.
If you are looking for comfortable fabric then you can go for lightweight fabrics such as cotton or linen. They are best for sewing a collar on a dress.
2.3 Cutting Collar Pattern
Once you have finalized the fabric of your choice, it’s time to cut the collar pattern.
Lay your fabric down on a flat surface. After that, cut along the markings you have made. Remember to be careful during the whole collar piece cutting process.
2.4 Add Interfacing
Now you have to add interfacing to your collar pattern on the right sides, it will help provide stability to your collar.
To add an interface onto your collar, you have two option; By ironing or by sewing.
2.5 Sew the Collar Pieces Together
After you have interfaced your collar piece, it’s time to assemble all the pieces together.
Lay your collar piece on a flat surface after that make sure that it aligns with all edges. Now pin the collar pieces together and start sewing along the markings you have made.

2.6 Turn the Collar Right Side Out
In this step, you need to turn the collar right side out through the open bottom edge. This part is actually tricky, so make sure to do it carefully.
Use a point turner to shape your collar, this tool can help your collar achieve a professional look. Now you have a beautiful collar.
2.7: Attaching Collar onto Your Dress
After you are done with the above mentioned step now, it’s time to attach it to your dress.
Place your dress on a flat surface after that pin the collar you’ve made to the dress neckline, right sides facing each other.
Make sure that your collar is centered and evenly distributed along the neckline. Now, carefully stitch the collar in your dress, following the seam allowance specified in your pattern. Trim out the extra seam allowance to make your collar turn smooth.
Once you’re done with the sewing process, just iron it to give it a professional finish.
2.8: Finish the Collar
To give your collar a more polished look, you can hand sew the raw edges of your collar under. If desired, you can also add embellishments to further enhance the collar’s appearance.
Congratulations! Now you’ve successfully sewn a collar onto your dress. You can add buttons and embellishments to give a personalized touch to your garment. With practice, you can create your own unique dresses, with different collar styles.

3. Tips and Considerations:
3.1. Measuring for Proper Fit
Collar sizes can vary between patterns. That is why it is important for you to measure the neckline of your dress pattern properly before cutting out the collar pieces. This will help you avoid any unforeseen trouble in future.
3.2. Using Fusible Interfacing
There are many types of interfacing available in the market, but we recommend using fusible interfacing. This interfacing is excellent for adding stability to the collar. Also, it is very easy to apply.
3.3. Cleaning and Maintenance
If you want your collar to last long, you need to maintain it properly. Check the care instructions for the fabric used in the collar. Most collars can be hand-washed to keep them looking their best.
3.4. Professional Finish
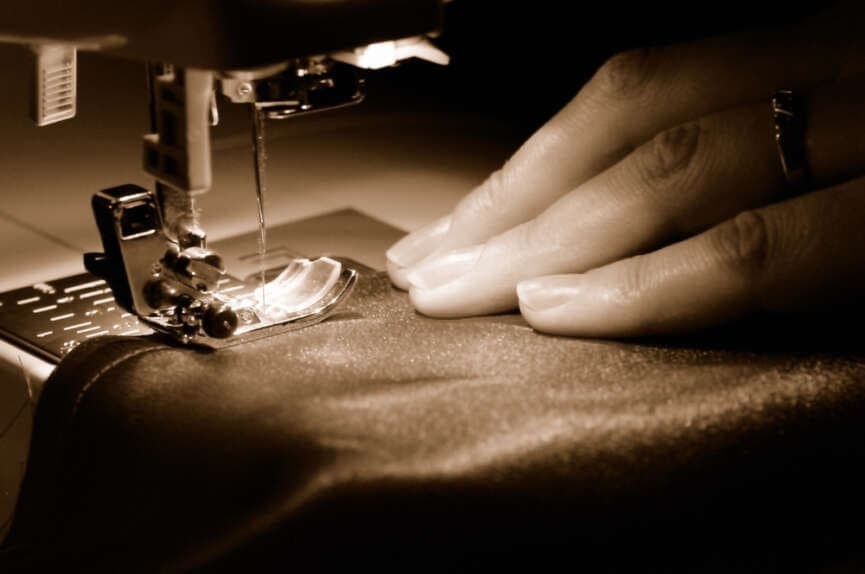
For a professional finish, don’t forget to iron the collar before attaching it to your dress. Ironing can help pressing the ham to shape the collar correctly.
3.5. Different Styles
After you’ve learnt the basics of sewing a collar, you can now experiment with different collar styles. From mandarin to Peter Pan collars, there are many different styles available. This allows you to create a unique and stylish dress on your own.
Closing Thoughts
To achieve a professional-looking result, make sure to carefully align the collar stand pieces with the upper collar and ensure proper seam allowances to maintain a clean finish along the stitching line.
When attaching the shirt collar to your dress, pay close attention to the placement at the shoulder seams to ensure a symmetrical and well-balanced look.
Whether you’re going for a classic shirt collar or a charming peter pan collar, precision in sewing shirt collars is key, especially when reaching the edge of the collar and securing the collar tip.
By mastering the art of sewing shirt collars and incorporating your own unique touch in collar stand piece, you can elevate your dressmaking shoulder seam skills and create stunning garments that reflect your personal style.




3 Comments
Adding a collar to a dress was a project I was hesitant to tackle, but your step-by-step guide gave me the confidence to try. The dress looks stunning with the new collar. Thanks
I found this guide on sewing a collar for a dress incredibly helpful! The step-by-step process, from choosing the right fabric to seamlessly attaching it, is well-explained. The list of materials and tools needed, including a dress pattern with a collar option and tailoring essentials, makes it beginner-friendly. As someone new to dressmaking, I appreciate the clear instructions and the comprehensive approach to the project. Excited to try it out!
The tutorial on adding a collar to a dress was a lifesaver for my latest DIY project. Your step-by-step instructions made the process enjoyable and stress-free. I’m so pleased with the results, and I owe it all to your guidance!