When it comes to fun projects you can undertake as a sewing enthusiast, there is no better starting a collection of handmade cosmetic bags.
Not only is it a very fun creative endeavor but it’s also very practical, as it lets you store and organize your makeup essentials.
Yes, it can be a very daunting task for many! However, as long as you have the right know-how and the right approach method that lets you combine both functionality and style without much effort, you can easily achieve this goal.
And that’s exactly what I will bring to you in this blog! So, if you want to make your very own cosmetic bag? Here is Everything you need to know, in a simple to follow 5 step method.
Let’s begin!
1. How To Sew A Cosmetic Bag; The essentials
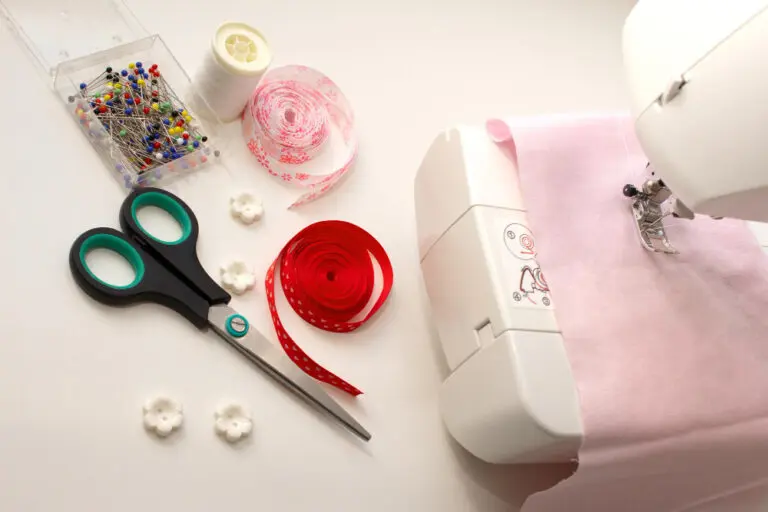
But before diving into the process, there are some essentials you need to gather. Here are the primary materials and tools required:
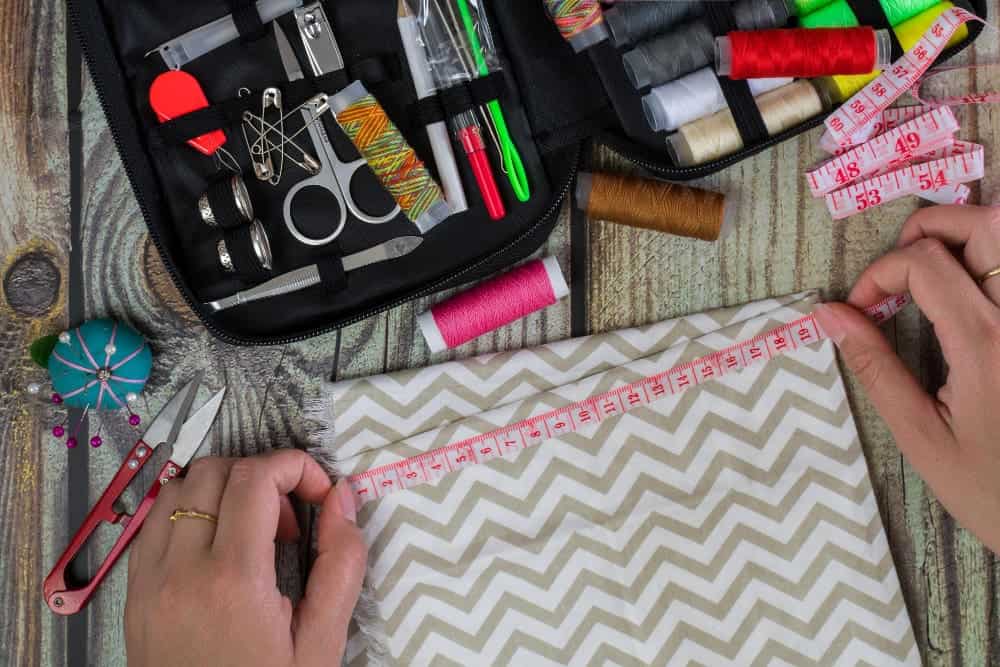
In no particular order:
- The first thing you’re gonna need to gather is two types of fabric. One for the outer layer and one for the insides. For the outer fabric, if you are just starting out we recommend cotton, silk, or upholstery. For the latter its lining fabric should be a thin cotton or a material. Ultimately that complement
- The next curial thing is the main zipper! You wanna begin by selecting a zipper of around 30cm for a cosmetic bag if you are a beginner.
- The final thing are the basic essentials: your sewing kit, iron, getting you sewing ready and of course quality threads.
2. Simple Steps To Sew A Cosmetic Bag
Okay, now it is time to get into the bread and butter of this blog, here how you sew a cosmetic bag in five simple steps.
2.1 Design and Measurements
First and foremost, the step is all about finishing your design and taking proper measurements.
To begin this step you wanna start by first deciding on the size of your cosmetic bag.
Now, even if you are unsure, it is actually not difficult. Ultimately, the size of your bag will largely depend on the zipper you’ve ended up going with.
For example, let’s say that you are going with a 20cm zipper at the center, then the width of the fabric should match the width of the zipper for a proper look.
Though the height can be adjusted, depending on your preferences. Once again for example, if your selected zipper is 30cm, you wanna cut the patterned fabric to a width of 30cm.
Moving on, you are going to divide this fabric into two equal pieces. Together These two pieces will be the outer layers of your cosmetic bag’s body.
Protip: One thing you wanna remember is that you always wanna cut the lining fabric to the same dimensions as your patterned fabric. The reason behind this is that, by having the lining fabric the same size, you get a proper, neat finish on the inside of the cosmetic bag.

2.2 Assembling the Outer Layers
Alright, moving on to step two, this is where you are going to begin assembling the outer layers together.
First and foremost, bring the pin and get your sew kit ready. Now, carefully lay one piece of your patterned fabric on your table, here remember to go face up with the fabric..
Nextup, you wanna place the zipper face down on the top edge of the fabric carefully. Then, without moving much lay the lining fabric on top of the zipper. If done properly all these items should be aligned at the top.
Here you are gonna need to use straight pins to secure these layers together. Remember you wanna keep them in line at the top edge.
Now, we begin the sewing process! Here you are going to use the zipper foot. First you can sew halfway properly, then move the zipper foot out of the way and continue sewing.
Also, you should pin the fabric vertically as you go, this will help sew while keeping the fabric in place.
At this point, the zipper should be sandwiched between the two pieces of fabric. If there is no issue, just repeat the same process on the other side of the zipper.
2.3 Seaming the Bottom
Alright, now that we have the core components ready with the zipper properly in place, it’s time to create the bottom seam.
It is relatively straightforward, just begin by folding the fabric so that both lining fabrics are on the outside. Which in turn means the main patterned fabric should be inside and The zipper should be at the top.
You wanna start pinning along the bottom edge. Then simply sew all four pieces of fabric together. And your base is complete.
2.4 Centering the Seam
Okay, now that we have our base ready, next we want to center the seam.
First you are going to move the seam you’ve just created to the middle. It should be on top of the zipper. Then you wanna pin the layers together properly.
Alright, sew both edges together while ensuring that the zipper is open halfway. The reason it should be like this is simply It will ensure that the zipper remains functional and doesn’t get stuck going forward.
Okay. by now your zipper should be secure and neatly aligned. Also, make sure that your seam allowances are facing towards the lining fabric.
2.5 Final Touches
Almost done! On to the fifth and final step, its time to give it some final touches.
First thing you need to do to complete the cosmetic bag is making sure that you square off the edges. Okay, now just pinch the corners while keeping the seam in the middle and pin these corners equally too.
If everything is done properly, It’s time for the big reveal. Turn the cosmetic bag inside out.
And congratulations on your first hand crafted cosmetic bag.
Closing Thoughts
Hopefully, with our guide above you were able to create your first ever cosmetic bag with ease. but remember, don’t be afraid to experiment with your cosmetic bag.
What do you think about our guide? Is there something we miss? Let us know in the comment below.


