Welcome to the world of sewing! In this blog, we’ll jump into one of the more colorful projects: how to sew a flag.
If you’ve ever wanted to create an emblem for your nation or an event, this is where you can learn how. We’ll go through everything from picking materials to the final touches on assembling your flag.
1. Overview of How Flags Are Sewn
There’s more than just cutting strips and sizing fabric when making a flag. It’s an inward look at what you want your piece to represent while combining technical knowledge with artistry. A good flag symbolizes pride and identity, so let’s ensure yours stands out!
2. Gathering Materials and Setup
2.1. Picking Fabric
The first part of working on any project is finding the right materials. Flags require durable and weather-resistant cloth, like nylon or heavyweight polyester. Depending on why you’re making it (indoor decoration vs. outdoor hang-up), cotton might be better because it is easier to handle.
2.2. Thread and Needles
Next up are thread and needles that match your fabric in length, weight, and strength. Polyester thread is perfect for most fabrics since it’s strong and versatile. Regarding needles, universal ones work great with medium-weight options, while heavy-duty ones should handle heavier materials.
2.3. Setting Up Your Sewing Machine
Before diving in, set up your machine to prepare for the workflow ahead. Attach the presser foot onto the end to hold the fabric in place while you sew. Thread your machine with whatever thread matches your project best – all machines have tension adjustments available somewhere on them, too!
3. Preparing Your Flag
3.1. Cutting Fabric to Size
When selecting the fabric is complete, it is time to cut it up into appropriate sizes! Lay the piece flat onto a table or floor before using a ruler or measuring tape to determine dimensions; national and organizational flags may have specific proportions you need to work with.
Take a fabric marker or tailor’s chalk and make clear marks along the cloth based on your measurements. Leave extra space around the edges for seams; adding an inch on the seam allowance on each side should be plenty. Once marked, carefully cut the fabric with fabric scissors to keep things neat.
3.2. Assembling Pieces
Lay them out in their planned design after all your fabric pieces are cut to size. If your finished flag has different colors and elements, ensure they line up accurately here so you can sew things together properly later. From here, pin down the pieces at points where they connect so that alignment stays perfect during sewing. For complex designs or appliqué details, consider basting pieces together with a loose stitch before the final assembly.
3.3. Hemming Edges
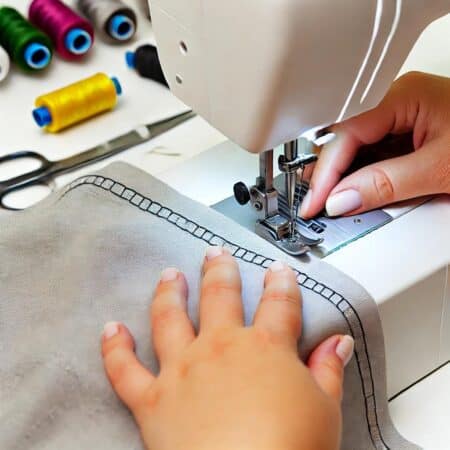
Set your machine to a straight stitch for the hemstitch with settings depending on your fabric’s weight. Start at one corner and sew close to the fold, removing pins or clips as you go. Keep yourself consistent by staying even with the distance between stitches and edges all the way around. To turn corners, lift the presser foot with your needle still down, turn the fabric, and continue sewing.
3.4. Adding Stripes or Patterns
If your flag has stripes or patterns mixed in, attach them next. You can do this by pinning them where they will be placed and using a straight stitch. If they are more intricate, consider using fabric paint or embroidery!
4. How to Sew a Flag with the Right Techniques
4.1. Straight Stitch for Seams
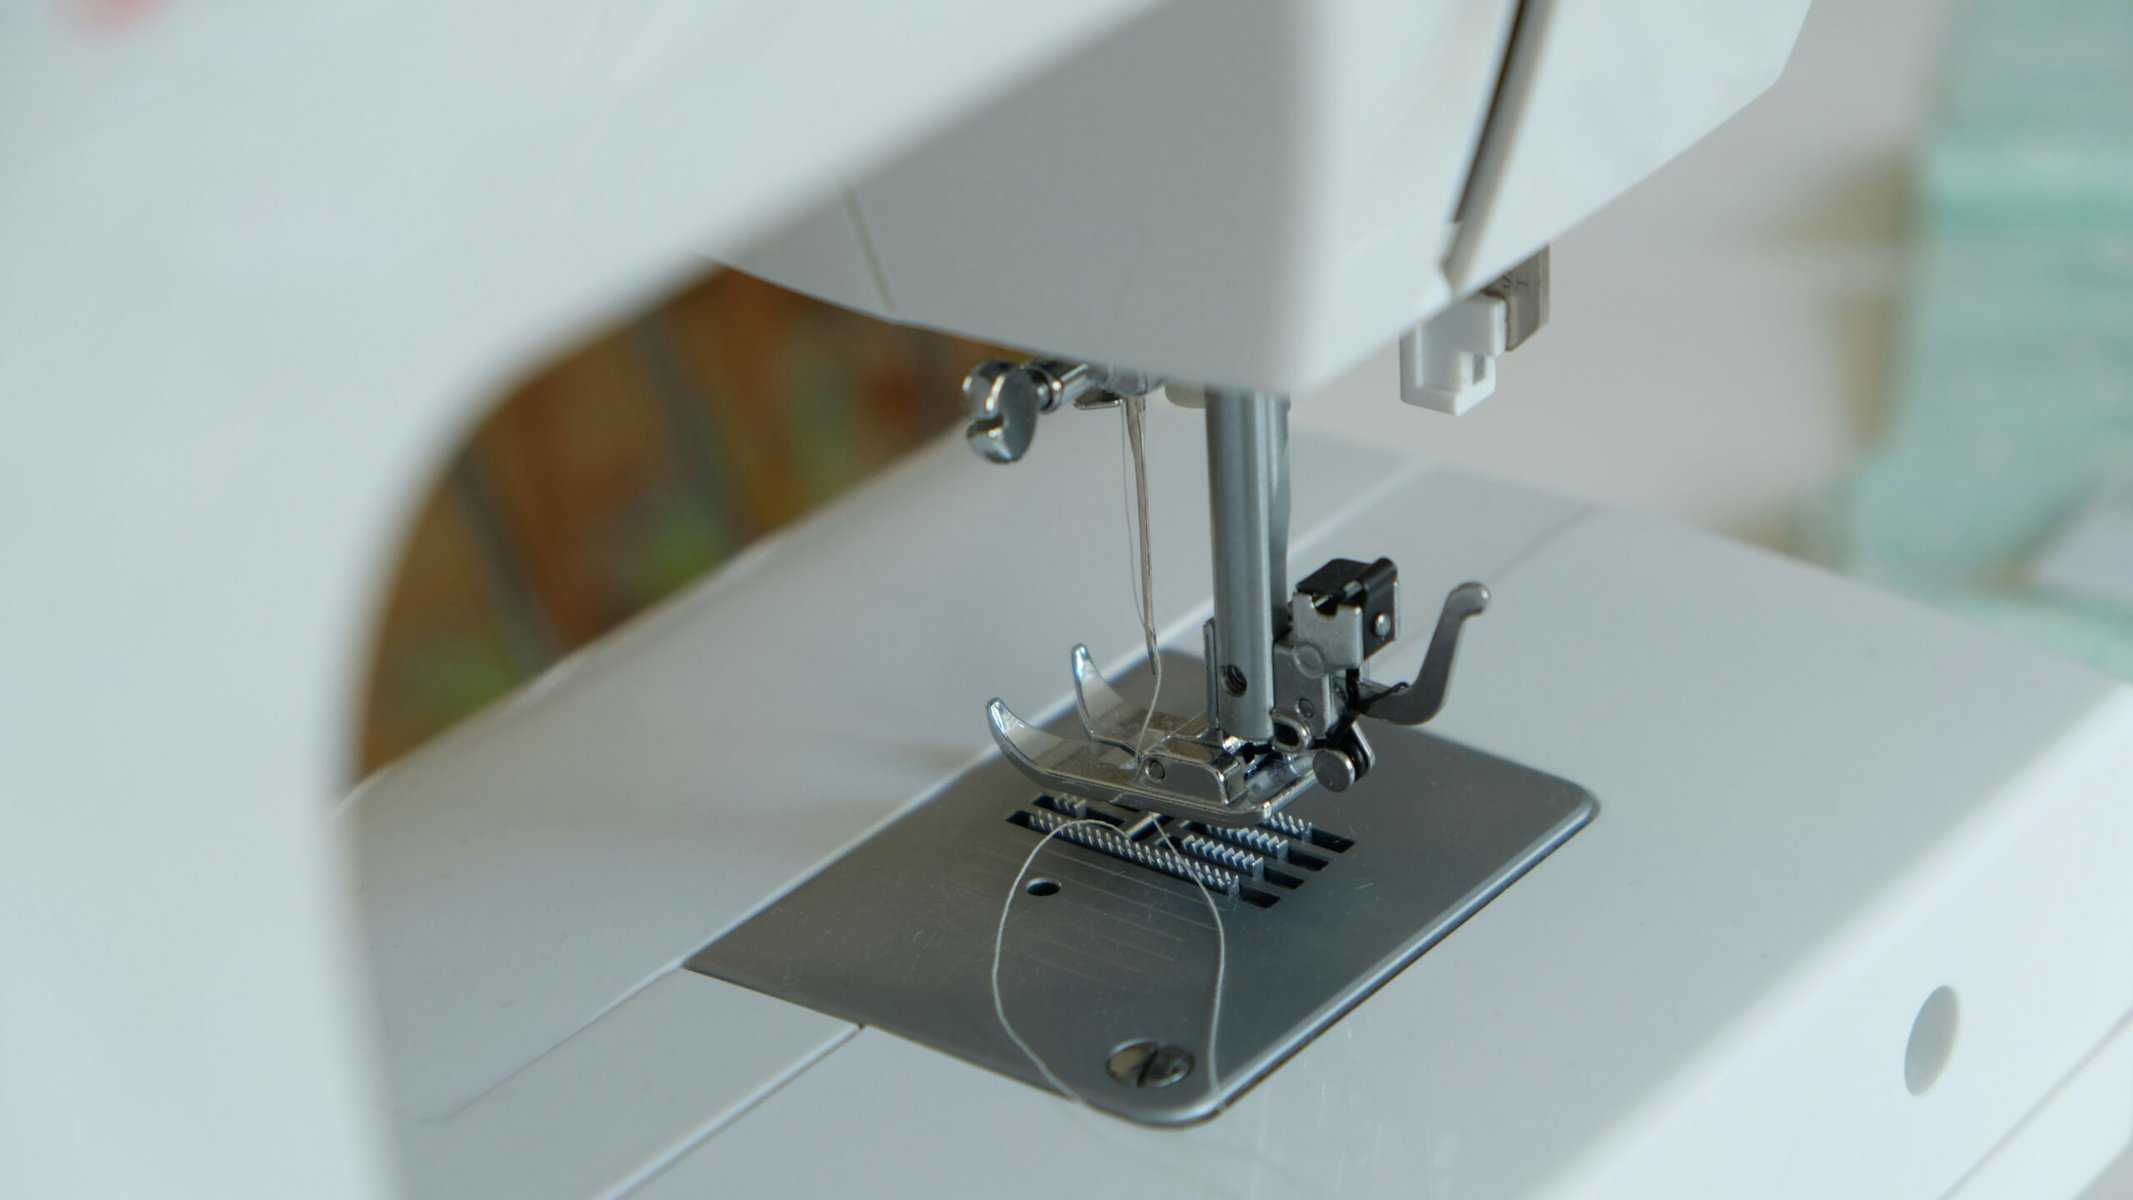
The straight stitch is most commonly used when joining two pieces because it’s simple but strong! Before starting, ensure that both pieces are pinned securely so they don’t move when sewing. Begin from one end of the seam, backstitching at both ends to lock it all in place.
Be sure you’re going slow when sewing through thick areas so your needle doesn’t break. You should also reinforce anything that will bear tension (like where it’ll attach to a pole) with a zigzag stitch or another line of reinforcement stitching!
4.2. Zigzag Stitch for Edge Finishing
Zigzagging is great for finishing edges that could fray since it has some elasticity to slippy fabric edges, while straight stitches don’t. This will keep your fabric intact throughout time!
To do this, just set up your machine on the zigzag setting and test it on scrap pieces before using the fabric. Make sure you use steady pressure against an edge while sewing down so it stretches as much as possible while passing through.
4.3. Embroidery/Fabric Paint
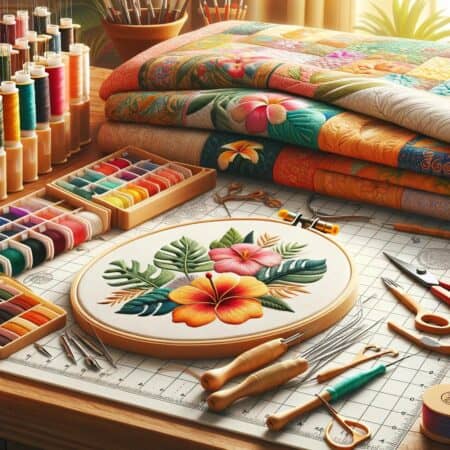
Including embroidery/fabric paint in your flag design can add serious detail! They’re especially good for small emblems or symbols that can’t be sewn on. The type of embroidery you choose should be based on the weight and texture of your fabric. As for paint, just make sure it’s suitable for your material!
Before doing either of these methods, you should have a guide in mind. Then sketch/transfer that guide onto your fabric so you have something to follow while embroidering or painting. If you are embroidering, use an embroidery hoop to keep tension on your fabric.
5. Putting the Flag Components Together
5.1. Attach Parts
To put your flag together after all the individual components have been made, lay them all out as per your design. Take the time and effort to measure and align each piece to match up according to their design specifications. This step tends to take most of the measurement and adjusting, but it’s what’s needed to make sure that you can make a flag that is accurate in size.
Once you’re confident with how everything has been laid out, you can start sewing the pieces together individually. You should typically start from the center and then work your way out when doing this step. Doing so will help manage the tension on the fabric and keep everything flat and even. Depending on how heavy or light your fabric is, choose which type of stitching would best suit it and where it needs reinforcement.
5.2. Adding Finishing Touches
Adding finishing and trim touches is another important part of putting your flag together. One popular method that usually does a great job of providing a clean edge is hemming the perimeter.
This technique involves folding over the fabric and then sewing it down for a neat look and added strength in areas where fraying may occur. The width of this hem depends on preference, but just remember that it should stay consistent throughout to maintain uniformity.
If necessary, also add any hardware or attachments needed for display purposes. For instance, if you plan on hanging the flag somewhere special, then sew grommets or eyelets along one edge so you can do so later on. Just make sure that they are spaced evenly and attached securely enough to support the weight of your flag while still withstanding strong winds if necessary.
5.3. Ensuring Durability and Longevity
Making sure that your flag will last long is probably something we all want to achieve — especially if we plan on using these flags outdoors, where they’ll be exposed to countless weather conditions, including wind, rain, and sunlight. It starts by choosing the right materials like nylon, polyester, or heavy-duty cotton, all fabrics with built-in resistance to these weather conditions. In addition to durability and strength, they can also maintain their color and integrity over time.
Another way to ensure longevity is by being mindful of which thread you use for sewing. If you know that your flag will be constantly exposed to the sun, finding a UV-resistant thread might be a good idea, as this will help prevent future sun damage. Furthermore, consider double-stitching seam lines or even backstitching at the beginning and end of seams because doing so will further reinforce the structure of your flag.
Lastly, treating your flag with a weather-resistant coating or fabric protector will help extend its life expectancy. There are plenty of options in terms of products like these, but in general, they can repel water and stains while slowing down the fading process caused by UV rays.
Read how each one should be applied, and remember that they may also need periodic reapplication to work well.
6. Final Steps
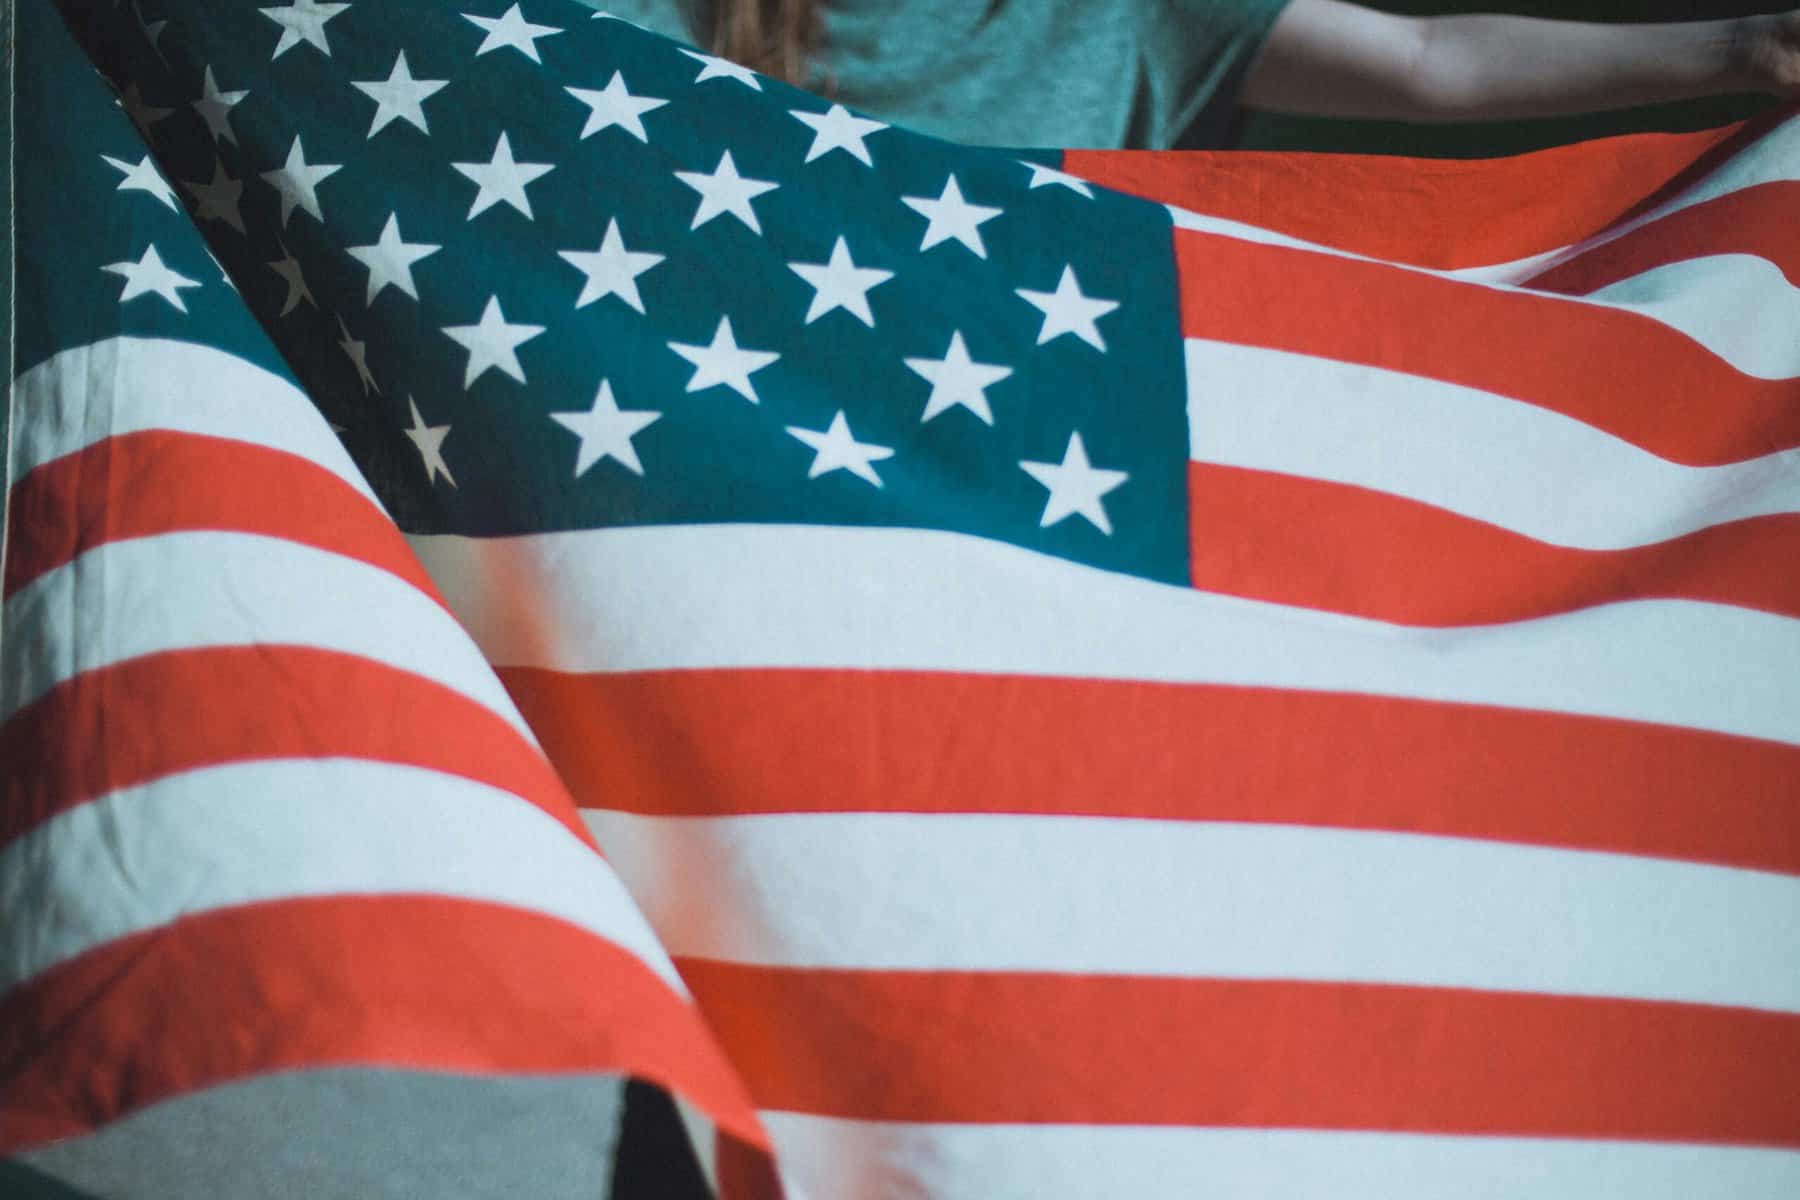
6.1. Flatten and Fold the Flag
We want to ensure that your flag is nice and crisp. So, get an iron ready. Ensure that the iron’s temperature is right for the fabric type. And don’t forget to use a pressing cloth. That way, if any painted or embroidered designs are on the other side of it, they won’t be ruined! Then, fold up your flag along its intended creases.
7. Summary of Flag Sewing Process
You’ve mastered flag sewing! Great Job! From picking out the right materials to adding finishing touches with an iron—you’ve got what it takes to design your sewing flags into something beautiful.
Pay close attention to detail when you sew anything by hand in life because this will also come in handy for other projects. With enough practice, your flags will be perfect every time! Happy sewing!


