Are you thinking of sewing a flag on your own but don’t know how? Then worry not, we will explain the sewing process in this blog.
But, before explaining the sewing process let’s uncover the basics first. A customized flag is a perfect housewarming gift and can be used to decorate your outdoor space.
This idea might sound difficult but it is not. With the right knowledge and approach, you can easily sew a flag and can give it to your loved ones.
So, let’s begin!
1. How to sew a flag?
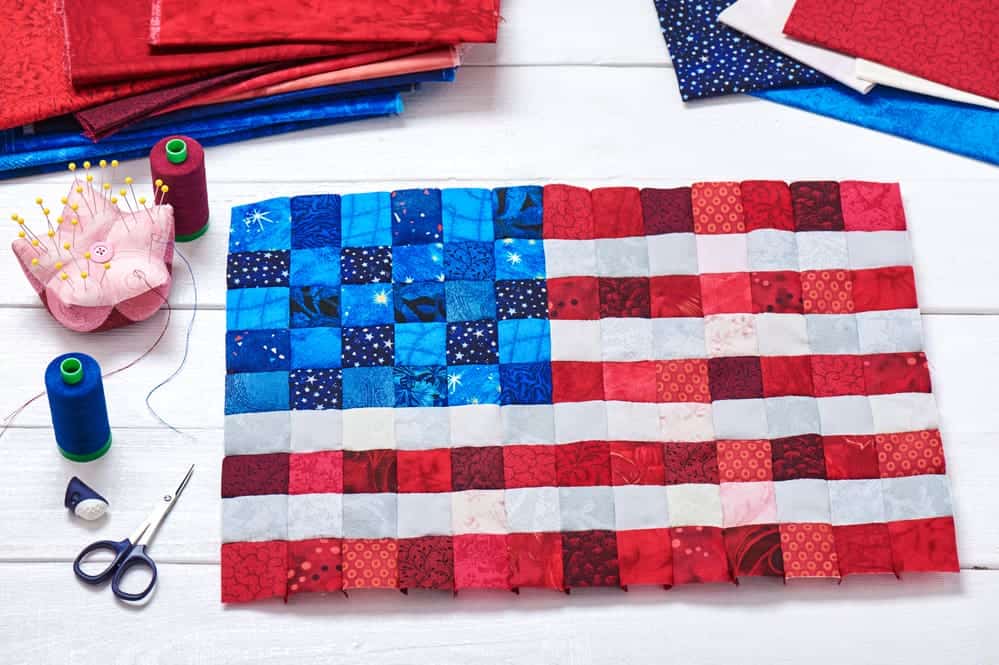
Ladies, before we explain the sewing process you need to gather the tools and materials mentioned below:
- Different Fabric paint
- Some Paint brushes
- Painter’s tape
- Some Stamps
- A Cotton canvas or duck cloth
- A Sewing machine
- Some Thread
- A Scissors
- A Ruler
- A Iron and ironing board
- Waterproofing spray ( Optional)
- Fabric glue
2. Step By Step Method
Alright ladies, now that you have gathered the tools, it’s time to met the story; How to sew a flag?
2.1. Measure and Cutting Canvas
Let’s begin with the measure and cutting of the canvas to make your flag. Here is how you can do it:
First of all, measure the length of the flag pole and make sure to add an extra inch of seam allowance.
Secondly, start the cutting process, you need to cut out your canvas carefully. Make sure that it properly aligns to your envisioned flag size.
Also, use a straight edge to stylize the bottom of your flag.
2.2 Fold and Pining Edges
The 2nd step is all about folding and pinning the edges. This will give your flag a professional and clean look. Here is how to do it:
First of all, fold the half inch seams and side edges of the flag properly. After that, pin them to secure. You need to create a tunnel at the top edge to allow flagpole to pass through.
Secondly, again pin the bottom edge of the fold to maintain seama during sewing.
2.3 Start Sewing Edges
Let’s move onto 3rd step. In this step, you need to start the sewing process along the edges.
Here is how you can do it:
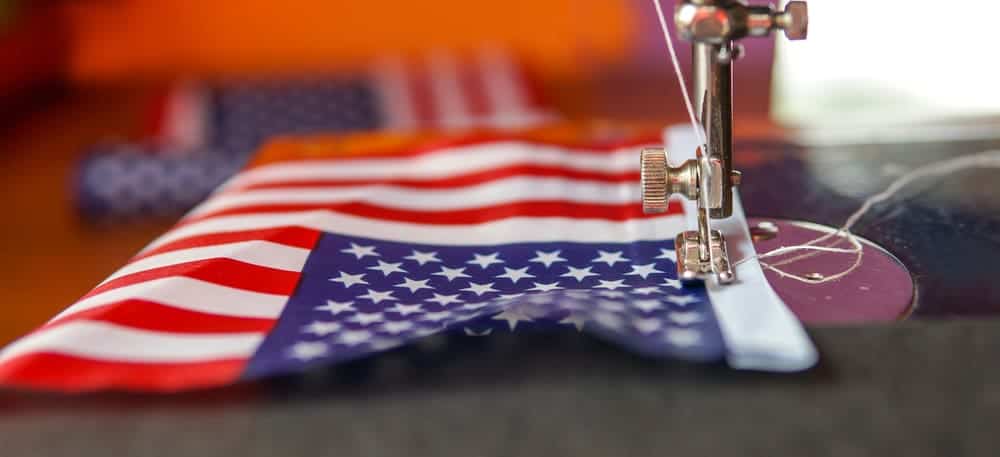
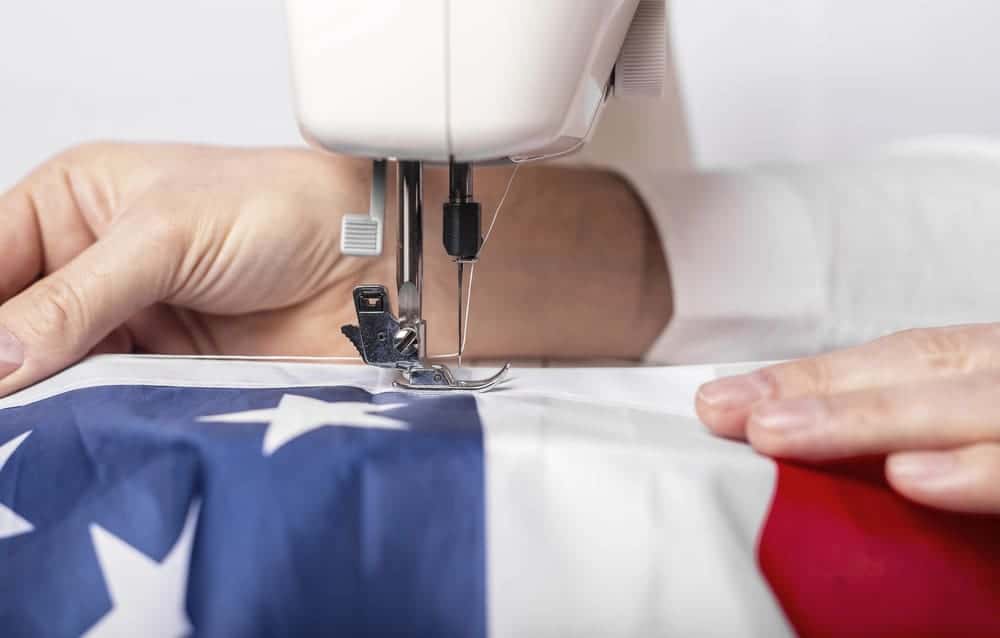
Start the sewing process from the bottom corner of the channel created for the flagpole. You will have to ensure that the pressure foot is aligned to fabric fold properly. Once you’re done with this, just continue sewing ( use straight stitching) around all edges of the flags.
Warning
During the sewing process, avoid accidentally sealing off the opening of the flagpole. In case, it happens to reopen the tunnel delicately with a seam ripper but make sure to do so carefully.
2.4. Paint Flag Design
In the 4th step, you need to design the flag. Make a sketch on your canvas using a pencil. After that, use fabric paint to add life in your creations.Also, don’t forget to use painters tape or stamps to add borders and background in your flag.
If you’re making this flag for outdoor use then consider applying a layer of waterproofing spray to secure it from dust. After that, just leave it to air dry itself. You also have to make sure that it is properly dry before hanging outdoors.
2.5 Finishing Touch
Last step is all about adding decorative pieces to your place. Choosing any items you want to add on your flags.
Congratulations, ladies! With this, you’ve successfully sewn a flag on your own without anyone’s help.
2.6 No Sewing Machine?
In case you don’t have a sewing machine then you can fabric glue or fusible tape. Just don’t forget to iron it after placing it. This will help in setting it down.
Closing Thoughts
To sum up, many people believe that sewing a flag on your own without anyone’s help is a difficult task. However, by following the mentioned above. It is a perfect housewarming gift, you can use it to add a decorative touch on your home too.
Have you tried this method? Share your experience with us in the comment section.


