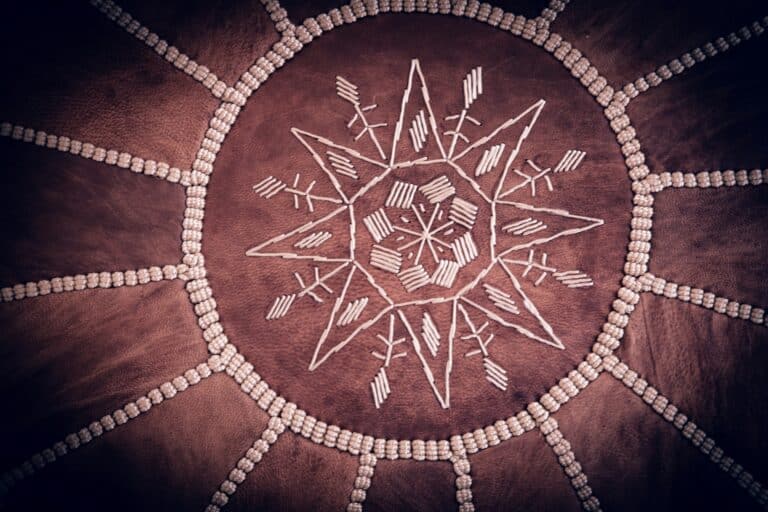
Want to know how to embroider stars or sew a star? Star embroidery is not as complicated as you might think. The art of embroidery lets you personalize your clothing, accessories, and home décor. One popular design that beginners and seasoned crafters alike love is the star embroidery design. Stars have aesthetic beauty but also hold symbolic significance in many different cultures.
In this stitch tutorial blog or tutorial post, discover the steps to creating beautiful star stitches, from basic straight stitches of stars and patterns.
1. Sewing techniques for stars
1.1. Understanding the Star Stitch
Looking like an asterisk shape, the star stitch is formed by making multiple straight stitches in converging angles that all point to meet at the next point in one central point. Because it is quite simple, it’s a first-stitch tutorial and the perfect starting point if you’re new to sewing stars.
Make sure your fabric is pulled tight into an embroidery hoop before beginning. Choose a needle according to your thread and fabric type and cut approximately 18 inches of thread lengthwise.
1.1.1. Making Small Stars with Straight Stitches
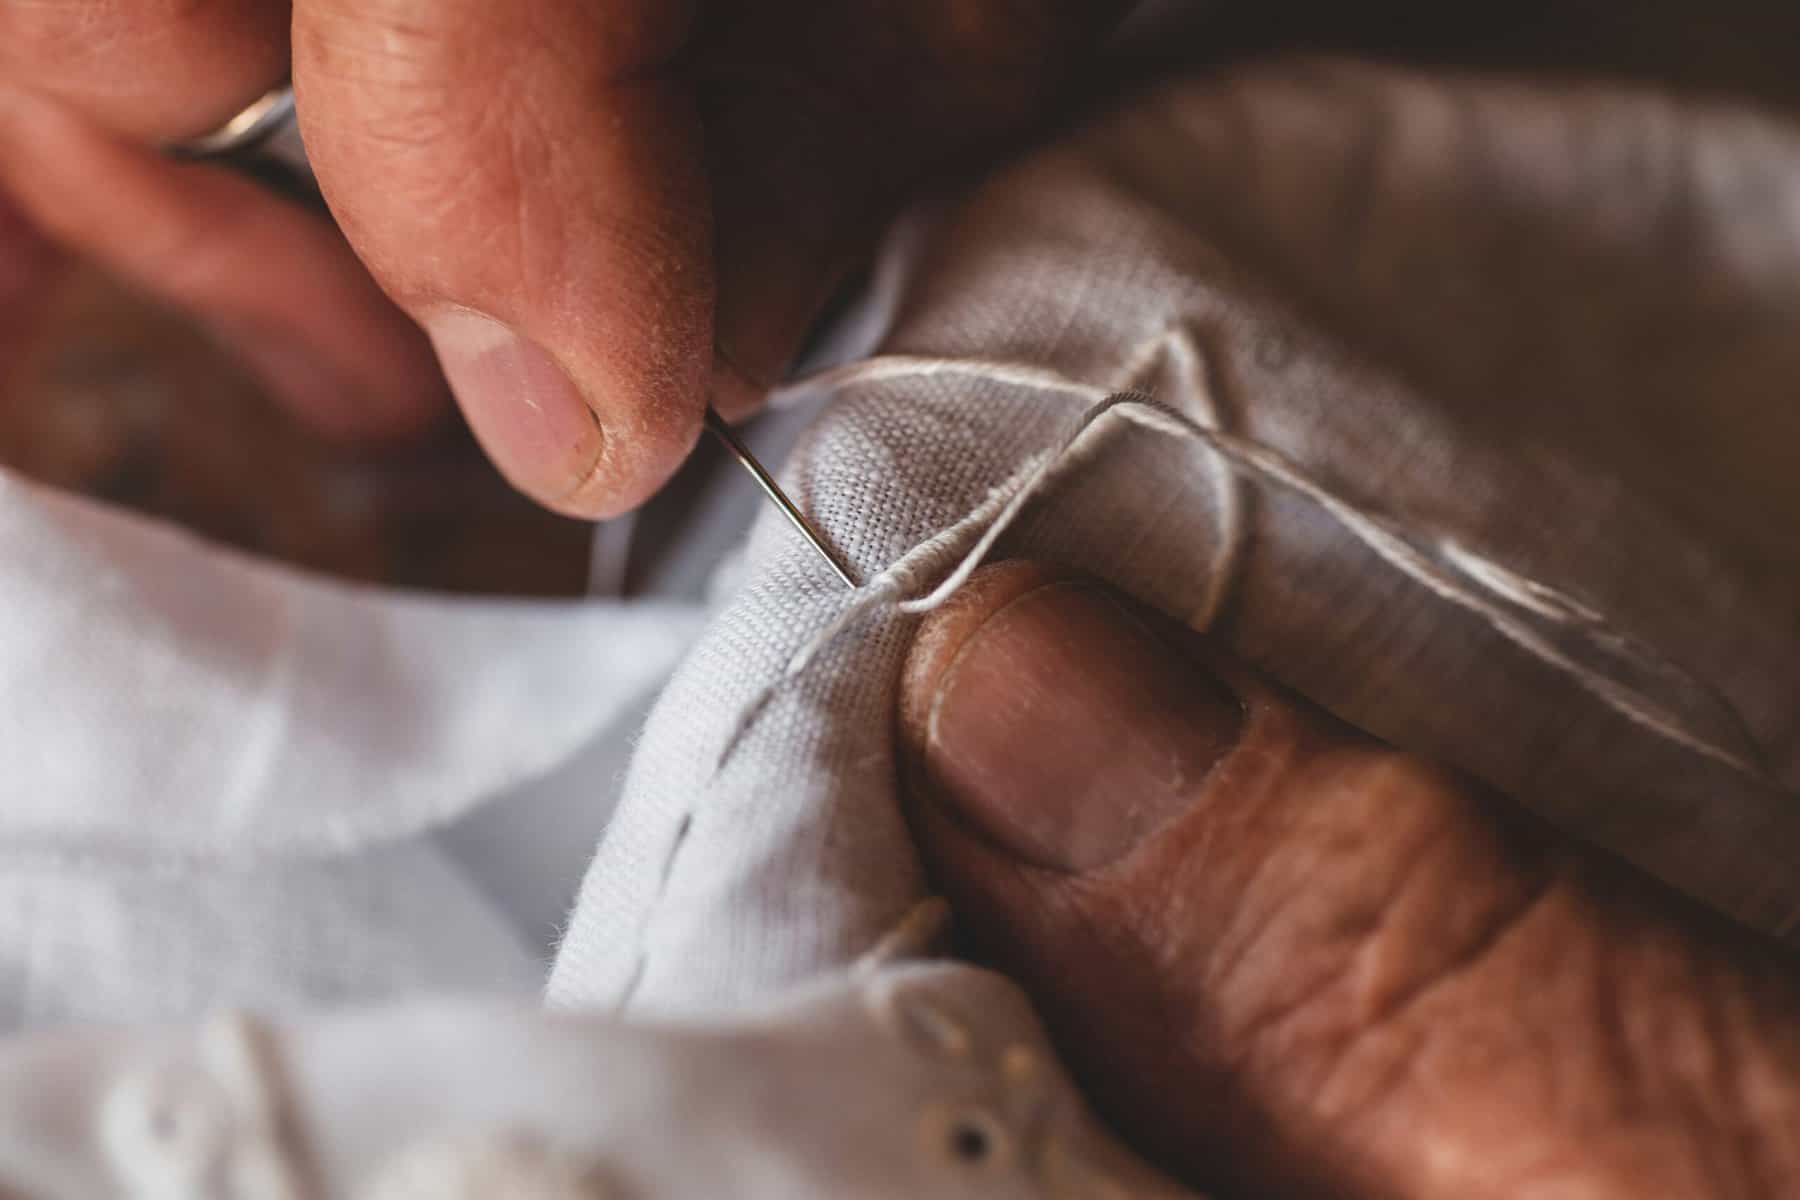
To create a small star stitch pattern, poke your needle up through the second layer of the material right in the centre of where you would like the star’s centre point to be. Move on by pushing back down through the material just above where you brought your needle up before the previous stitch.
Lengthen this second star stitch so that it reaches outwards away from your centre point – adjust its length range according to how big or small you want your star stitch spacer pattern to be. Repeat this process evenly around with an even number of straight stitches – 5 or 6, for instance, should do — extending outwards from the center of your little pattern until they form into what looks like a small asterisk/ star shape.
1.1.2. Mixing Up Different Stitches To Give Your Stitch A Unique Touch
If you’ve learned how to make a basic straight stitch, then there are only endless possibilities when it comes down to making different variations for the details of your embroidery.
Try changing the length or angle of the straight stitches you make, experiment with using differently coloured or textured threads, and combine other basic types of stitching like French knots and lazy daisies into your own little star pattern project as well for a little extra detail and complexity that is sure to make people think twice about how you made that little piece of art.
1.1.3. Advanced Hand Embroidery For Detailed Stars
If the stitch tutorial we have shown you so far isn’t enough regarding the amount of detail you want your star stitches to have, then maybe hand embroidery is what you’re looking for. With hand embroidery, every point and stitch you make has intention behind it, so if you decide to go down this route, there’s no doubt that every point and star on your product will look very precise.
The great thing about this way of sewing is that it allows you to add any kind of texture or pattern that excites your creative spirit because there are no limits except time — But we all know it’s worth spending if the result turns out as beautiful as expected.
2. Embroidery and Stitch Tutorial
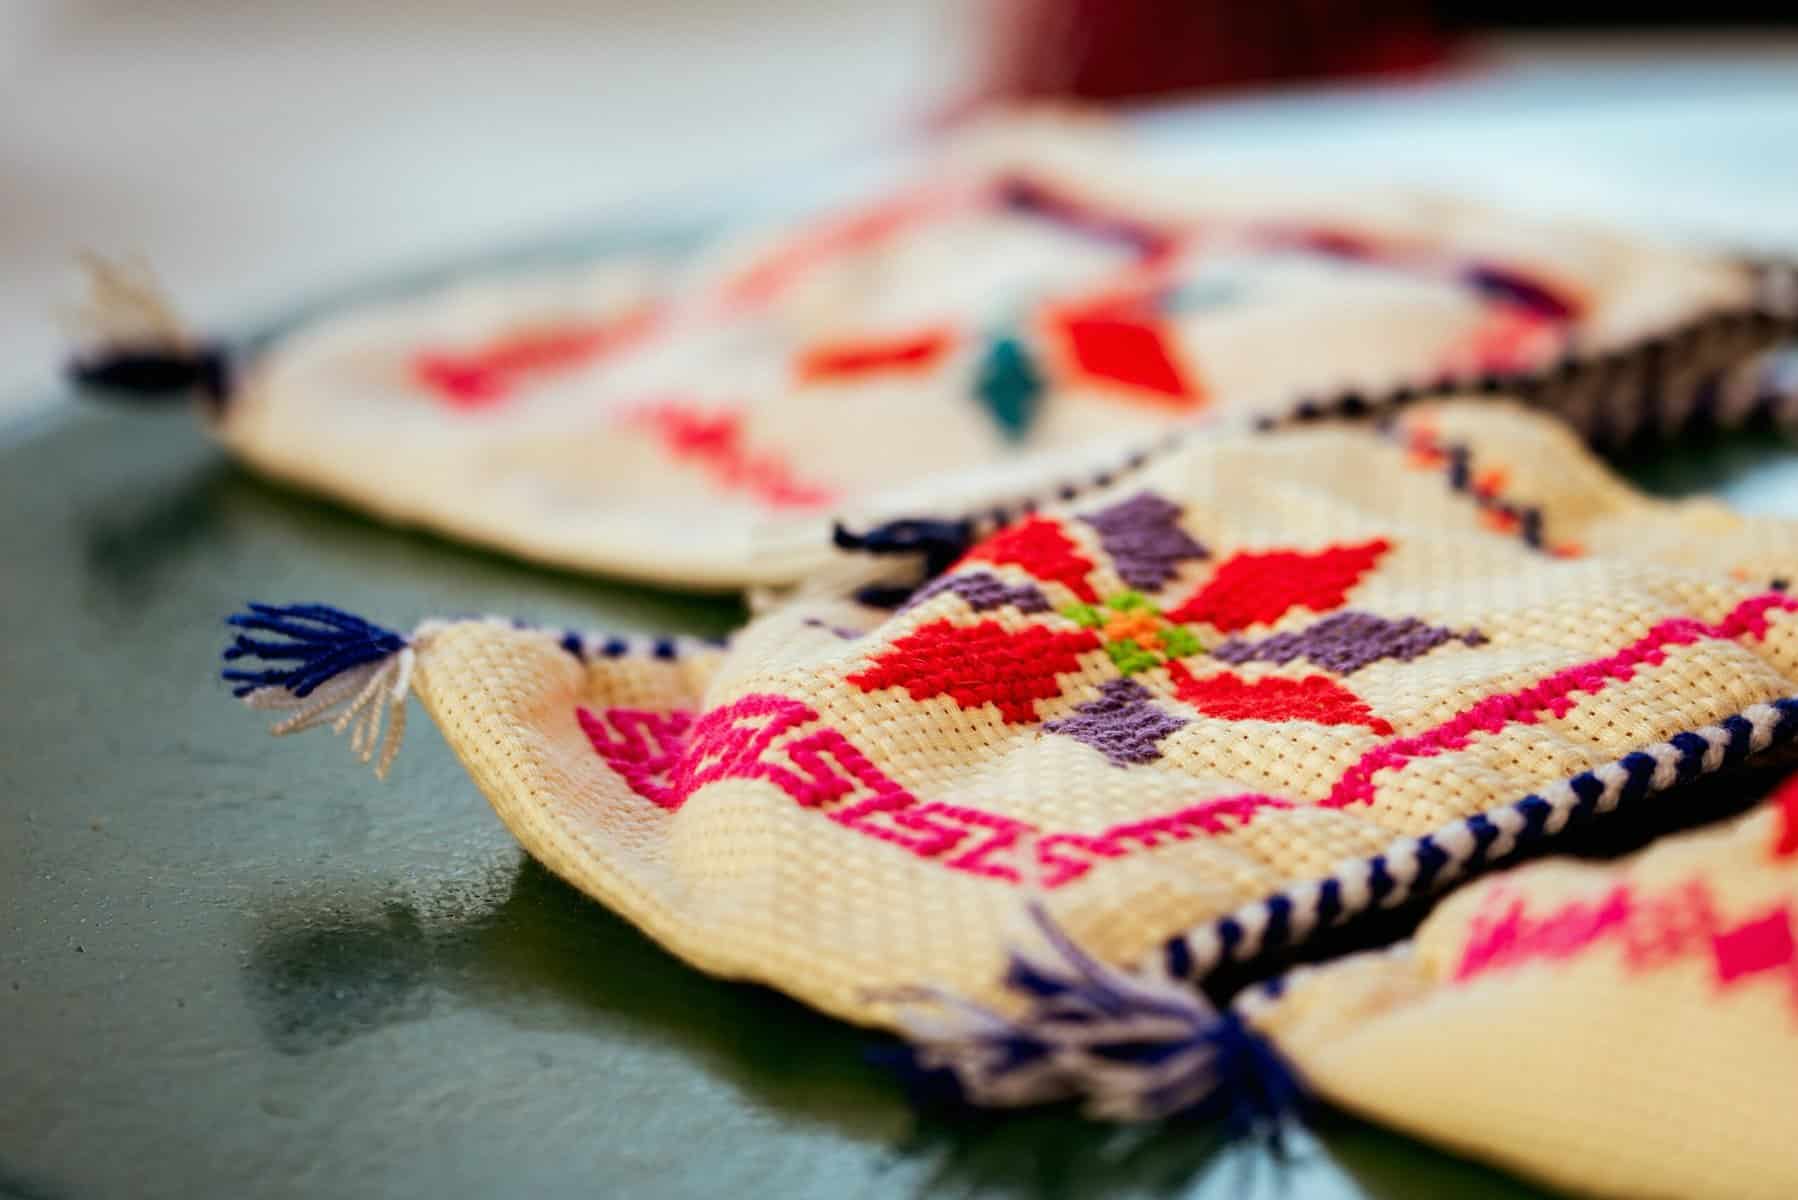
2.1. Exploring Different Techniques
Embroidery is a versatile skill with different techniques for different results depending on your settings. Learning these methods will expand your embroidery repertoire from basic stitches like the running stitch to more complex ones like the feather stitch or herringbone stitch.
2.1.1. Learning How to Do a Star Stitch
The first step in embroidering stars is understanding the layout and transferring it onto the fabric. You can trace it using tracing paper water-soluble markers or iron-on transfer pens for an easier option. Once your design is in its place, secure one point of your fabric in an embroidery hoop, thread your needle with embroidery floss and start stitching following the lines of your star design.
2.1.2. Using Video Tutorials as Guidance
Star stitch tutorial video is especially useful for beginners because it gives visual guidance through each step. You can search on YouTube and find embroidery tutorials that teach you how to stitch stars. Look for and watch videos that have high audience engagement and sites with good feedback since the quality of those services usually signifies good instruction quality.
2.1.3. Improving Your Skills with Different Patterns
Once you get comfortable with the star stitch, try challenging yourself with other patterns. Mixing different stitches can create texture and layering in your work. Try incorporating backstitch outlines, filled centers using satin stitches, or adding beads and small stars for some sparkle.
3. Improving Your Embroidery Skills
3.1. From Basic Stitches to Advanced Stitches
As we said before, there’s no rush when it comes to developing any skill. Embroidery included! Start slow with foundational stitches, and then gradually incorporate more advanced techniques into your work so you can eventually create intricate designs confidently and beautifully. Practice regularly, make mistakes, and learn from them! Mistakes are natural in the learning process.
3.2. Experimenting with Different Threads and Fabrics
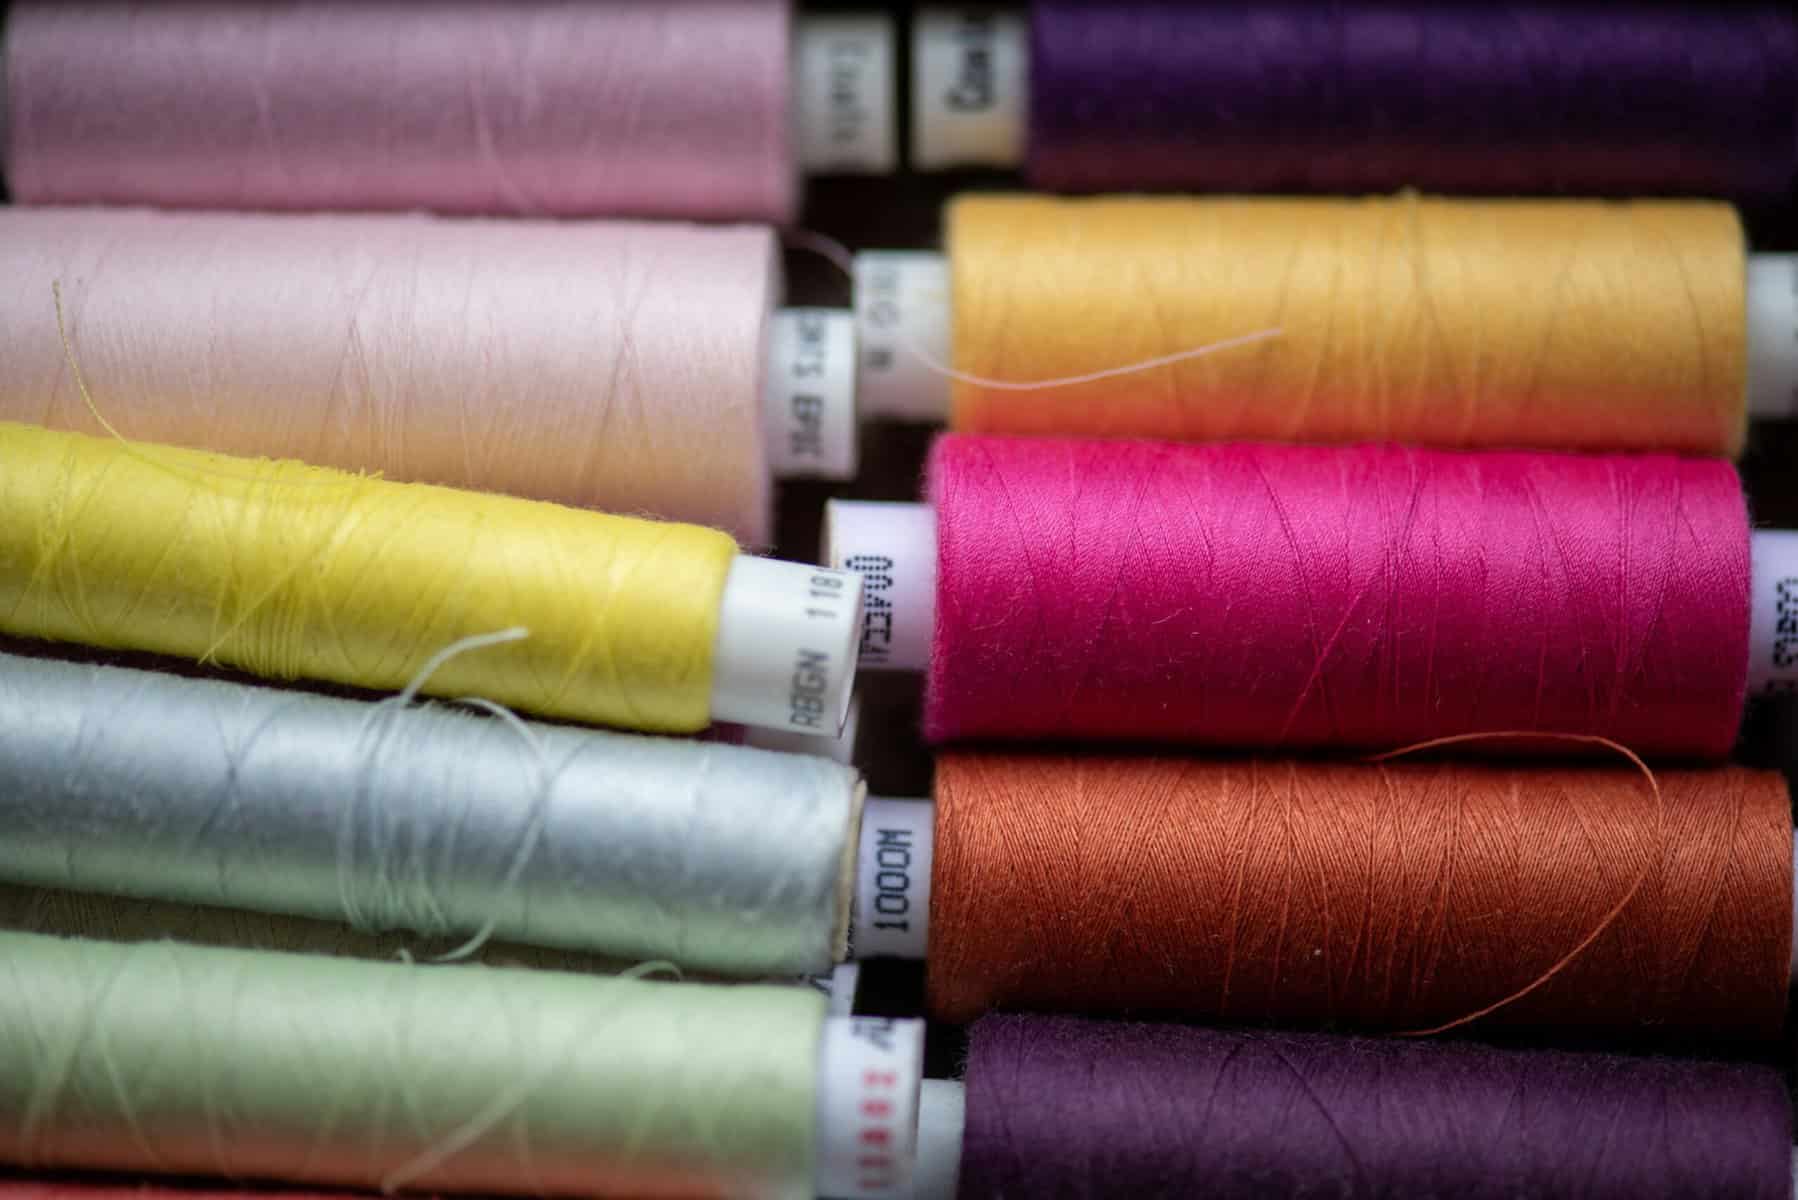
Another way to elevate your embroidery projects is by trying different thread and fabric options. The thread you choose will make a significant difference to enhance the quality and appearance of your work. While cotton floss can be used for most projects due to its versatility and wide colour range, silk, wool, and metallic threads offer unique finishes that make your embroidery stars come alive.
Fabric choice also affects the final look of your embroidery. Cotton and linen are popular for their ease of use, durability, and texture. However, try experimenting with less conventional materials like denim, canvas, or even transparent fabrics like organza for some exciting results.
3.3. Managing Thread Tension and Stitch Density
Getting thread tension and stitch density right is crucial for professional-looking results. If tensions are too tight, it’ll cause puckering in the fabric, while if it is too loose, it may leave stitches looking uneven as well. Practice maintaining consistency in tension throughout your work.
Also, remember that adjusting stitch density according to your desired effect is also important. Closer stitches fill in more area, creating a solid appearance, while straight stitches or spacing them apart make them look delicate and airy.
3.4. Adding Patterns and Designs for More Creative Ideas
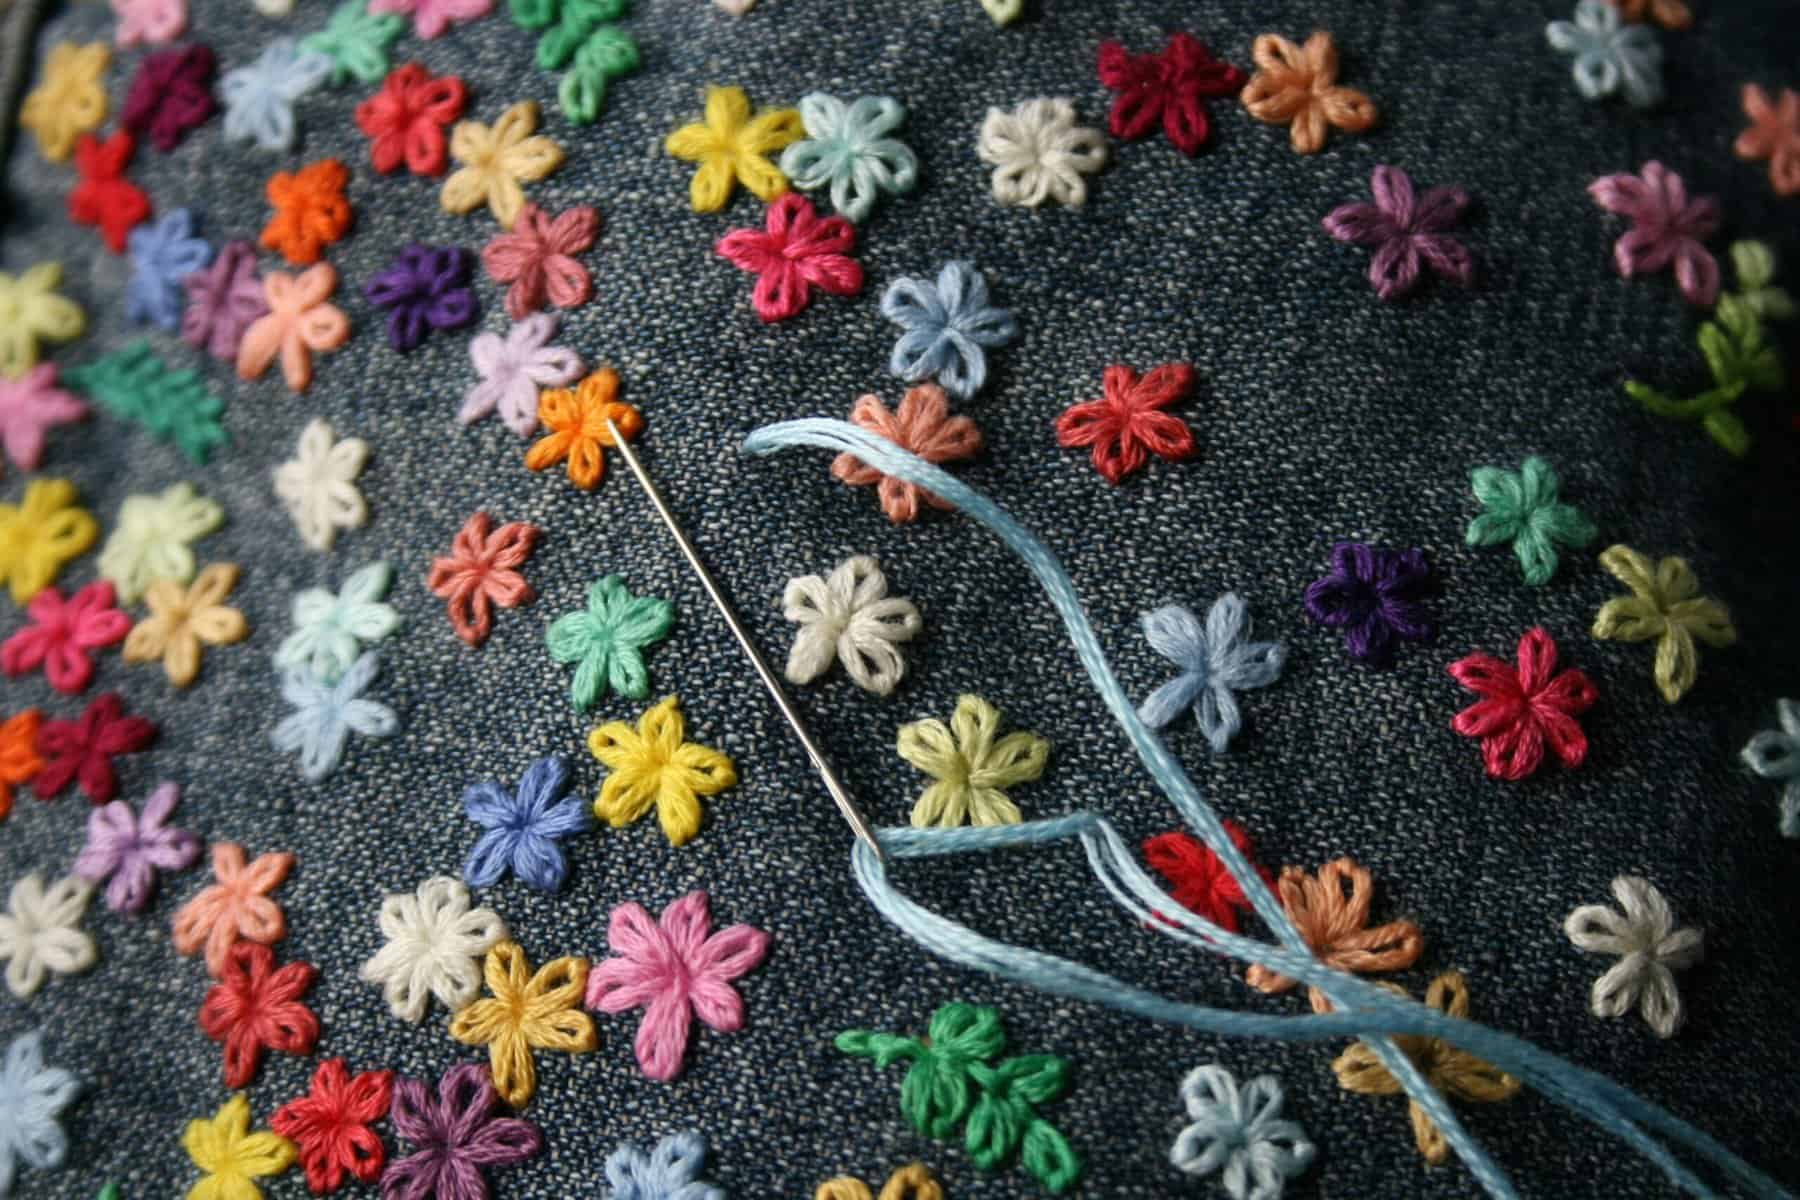
Embedding patterns and designs in your embroidery tutorial projects enhances their attributes and gives them a professional touch. You can turn your simple works into sophisticated ones by focusing on basic stitches, complex patterns, and other motifs. This will also improve your skills and expand your creativity.
Many patterns exist, such as nature-inspired, abstract designs or even geometric ones. You can also take inspiration from traditional embroideries of different cultures to add a historical and cultural dimension to your embroidery tutorial work.
3.5. Collaboration and Sharing
Broadening your skill set is one thing, but finding inspiration is a whole new level. That’s why sharing ideas within the embroidery community is an important aspect of learning this art form.
You can ask for feedback or participate in challenges with others to grow together in the creative field through platforms like online forums, social media groups, or local craft clubs. Plus, it’s always good to have someone who knows more about something than you do – that’s where mentorship comes in.
4. Final Thoughts on Mastering How to sew a star and Embroidery Techniques
When it all boils down…star stitch and embroidery are just two peas in a pod; they go hand-in-hand! They open doors we never thought possible with just some thread and fabric. With enough patience, anything is possible, so don’t be so hard on yourself if it takes months…or years…to master this skill!
Take time out of each day to practice different techniques, too – this will come very handy when taking on intricate projects later to develop and improve the new one. Lastly – remember to enjoy yourself! If this isn’t giving off positive vibes and excites you, then maybe it’s not the best art form for you!


