Scout badges are a big deal, and you might want to learn how to sew badges in your uniform. They’re symbols of accomplishment, education, and commitment. For members of organizations like the Boy Scouts and Girl Scouts, every badge they earn represents a learned skill, an exciting adventure, or a completed service. So it’s no wonder these patches hold such significance in their minds.
And on top of all that emotional weight, they’re an important component of any uniform! It might seem like no big deal to stitch one on — but it can be if you don’t know what you’re doing. And depending on how you attach it (or whether you even do), that badge could fall off during a meeting or come undone after just one wash.
So, we’ve collected everything there is to know about sewing badges here in this guide. How should they be attached? With what tools to sew with? And where should they go? Find out below!
1. Necessary Tools for Sewing Scout Badges

1.1. Thread and Needle
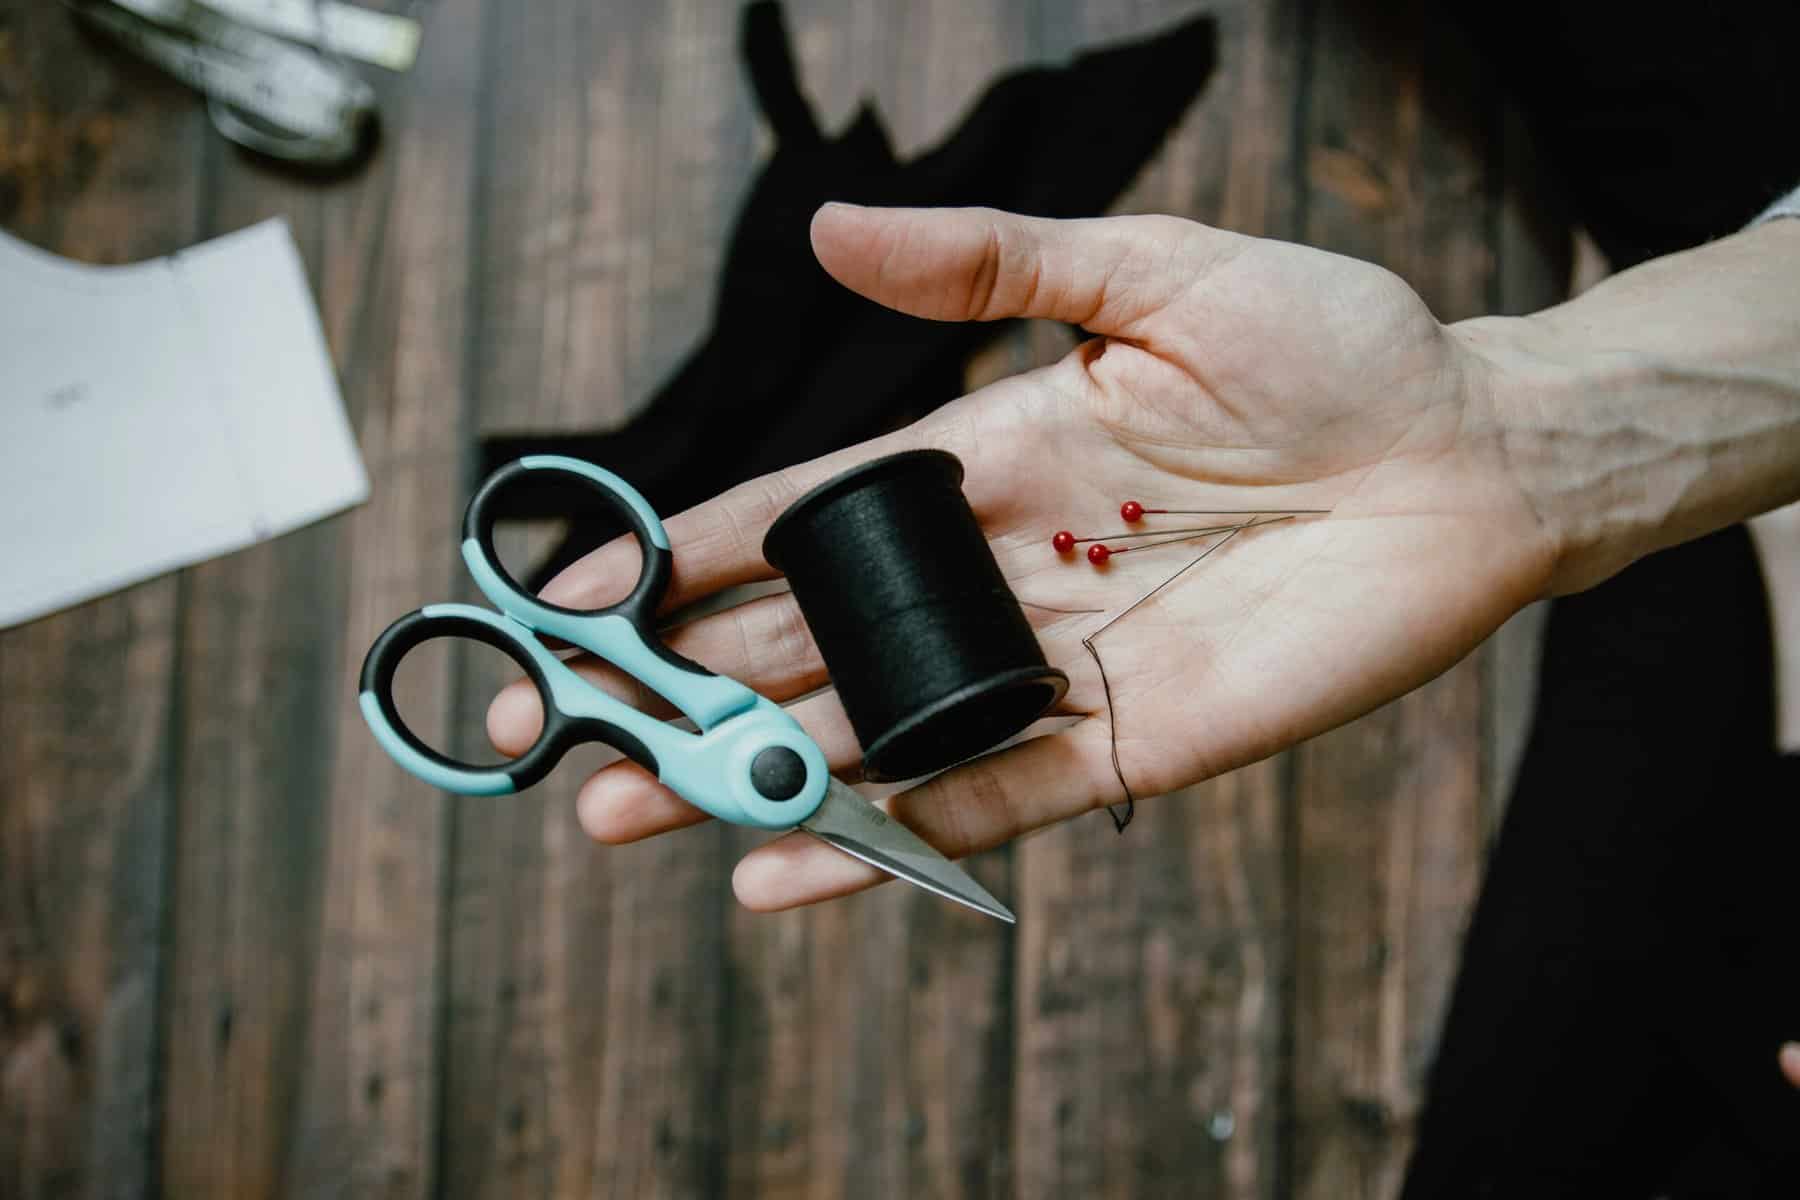
At their core, badges are stitched on the patch and pieces of fabric. So you’ll need some thread and needle to sew patches and get them onto your uniform! Choose a thin needle that’s sharp enough to penetrate both the patch and garment without destroying either, and grab some embroidery floss for the thread.
1.2. Scissors
A good pair of scissors will help things run smoothly as you thread. You want ones with sharp blades to make clean cuts through threads without fraying them or damaging the fabric.
1.3. Planning Badge Placement
Before getting started, look up where each badge goes! Scouting organizations set guidelines dictating which placement is correct for each one. Following these rules will save time (so you don’t have to sew it again later) and keep your uniform looking pristine.
2. How to Hand-Sew Scout Badges

2.1. Prepping Your Uniform
First things first: Make sure your uniform shirt is clean and pressed. Then, stick a few straight pins into the bottom thread to hold the badge in place while you sew. This will stop it from moving over the shirt and place as you work.
2.2. The Sewing Technique
A simple straight stitch is all you need here! Start from the top thread inside the garment, so your knot doesn’t show, then slip your needle through the patch’s edge. Continue making small stitches that wrap around the thick edge of the badge’s border. If you’re attaching a thick patch, use a whip or blanket stitch for extra support!
2.3. Securing Your Work
Once you’ve gone around your badge and returned to where you started stitching, tie off your top thread with a small knot on the inside of the garment. Ensure it’s taut enough to pull and keep everything in place but not so tight that it buckles or damages fabric.
3. Alternative Methods for Attaching Badges on Scouts Uniforms
3.1. Iron-On Method
For those who sew on patches but aren’t confident with their sewing machine and skills (or for times when an adhesive option suits better), some patches come with iron-on backings! There’s still room for error here — if you don’t heat them long enough or at high enough temperatures, they might peel right off later — but overall, they’re convenient alternatives to needles and thread.
First, to attach a badge using the iron-on method, line it up with the spot you want on your uniform. Then, grab either a thin cloth or parchment paper and put it over both the fabric of the uniform and the inside edge of the patch or badge — This will protect them both as you iron. Next, preheat your iron to the recommended temperature (medium to high setting without steam).
Gently press down on top of the cloth where the badge is located for around 30 seconds to a minute; this time range just depends on how thick your badge is and how heavy your uniform feels! Once pressed, let both items cool before testing if they’re truly attached. If they’re not sticking properly, you may need to add more heat or sew it in place for permanent attachment.
3.2. Badge Magic or Glue Residue

Badge Magic is an adhesive specifically designed for fabric applications, including putting badges on uniforms. It’s double-sided, so all you have to do is remove one side from being sticky/backing and then patch that side in place of the badge. After that step, simply remove the other non-sticky side and position your badge wherever it needs to go!
Finally, apply pressure after positioning to secure everything in place. But be cautious because while this option doesn’t require your sewing skills like many others tend to… Badge Magic has been known to leave residue when pulling off or reposition badges.
Fabric glue works similarly except instead of being sticky right away like Badge Magic… You must add a thin layer onto one side before attaching or stitching anything together. Once again, just like with Badge Magic, apply pressure after positioning everything in place!
3.3. Other Non-Sewing Options
Velcro can offer easy removal and repositioning of scout patches and badges when sewn or adhered correctly! Add Velcro strips to both sides of the patch when sewn on to what needs connecting, and boom! Badges are now easily removable & attachable without damaging your uniform fabric.
Safety pins are also a temporary solution for badge attachment. Ensure they’re securely fastened and check them regularly to prevent accidents (This tip is very important; don’t be careless). They might not work for every activity, though – Physical activities could easily cause these to be undone.
Magnetic badges are newer & less used, but they employ small magnets that hold the badge and patch in place now. One magnet goes behind the uniform’s fabric, and another attaches to the back of the badge. While magnetic badges offer quick attachment and removal, keep in mind that if your badge is too heavy or your magnets aren’t strong enough… It won’t work properly.
4. Tips and Tricks for Sewing Scout Badges

4.1. Matching Thread Colors
This is an important consideration when sewing scout badges onto a uniform. Using a thread color that closely matches the color of the badge or the uniform fabric helps the stitch to create a more seamless and professional appearance. This sort of color match is significant for visible stitches that may be seen at a distance.
4.2. Utilizing a Strong Needle
The needle you use for your sewing project can play a big part in how easy it is to sew and the overall quality of your work. When sewing badges on heavy or dense fabrics, like on Boy Scout badges, patches, or uniforms, using a stronger, thicker needle – such as a denim needle – can make things smoother. Needles like these are less likely to bend or break when used on tough materials.
4.3. Stitches
You can use different stitches depending on the badge material and personal preference. For example, A straight stitch zigzag stitch on a machine can mimic a commercially made patch edge, while a running stitch will be quick and sufficient for less bulky badges.
4.4. Thick Patches
Thick patches present their own challenge. Adjusting your sewing machine’s tension or using a thicker needle for hand-sewing patches might help. And consider adding a stabilizer behind the edge of the patch to give it extra support.
5. Placements for badges

5.1. Hierarchy and Placement
Where each badge goes is important when attaching them to scout uniforms. Different scouting organizations have different guidelines that reflect an achievement’s level or type with its position on the boy or girl scout or uniform (e.g., merit and rank badges). Ensure you consult these guidelines before attaching anything so everything is placed correctly according to standards.
5.2. Guidelines
Positioning guidelines are set by each specific scouting organization not only to ensure each type of badge has enough space but also for uniformity across members, which reinforces both community and achievement. With diagrams or detailed instructions from their respective organizations, members and caregivers should have no trouble sticking to standards.
5.3. Durability
When attaching your badges, it’s important to ensure they’re secure enough to protect against wearing, washing. If you are sewing them onto your garment, fastening off at both ends of your row with backstitching will keep your thread from unraveling nicely.
If they’re iron-on badges, applying even pressure with heat according to instructions from the manufacturer should bond them well. Regardless of how you attach your badges, it’s always a good idea to check them occasionally and reinforce any that have become loose.
5.4. Care
Treating care of uniforms with attached badges correctly will help maintain their appearance and last longer. Cold water washes and air drying when possible will keep them from shrinking or getting ruined by the dryer and protect the thread color and quality of the badges.
6. So, How To Sew Badges: Final Thoughts
Properly attaching your scout patches and badges is essential for looking professional and showing off your hard work. Follow all techniques and guidelines carefully so that scouts and those supporting them can proudly wear their badges and achievements!


