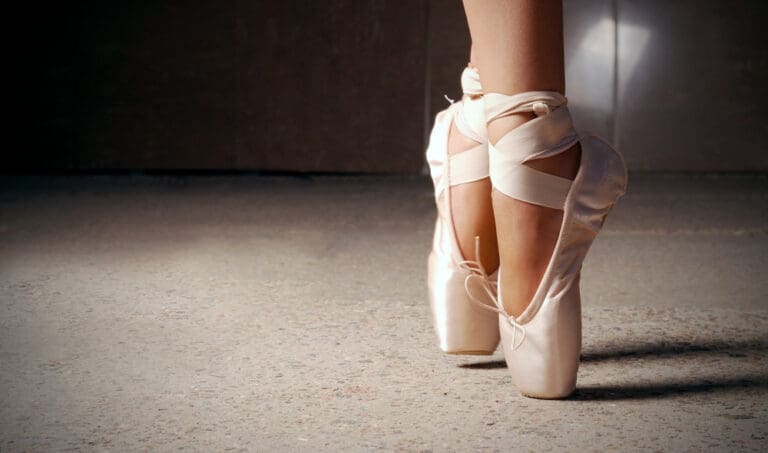
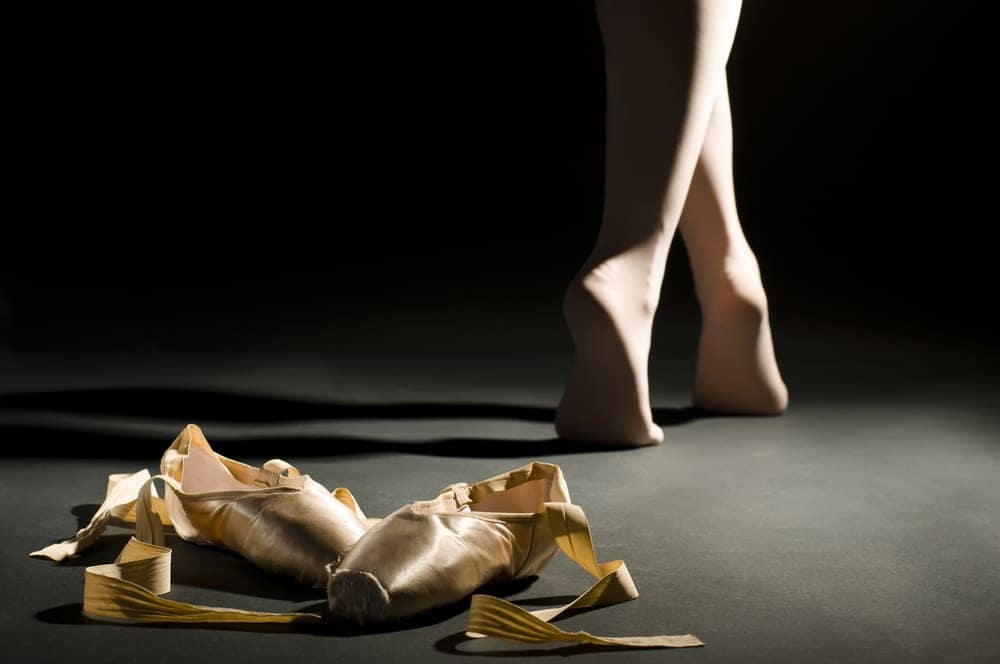
One thing without which a ballerina can’t perform is “Ballet shoes”. But, these ballet shoes are quite expensive and not all of us can afford them.
If you are one of those people who can’t afford then why don’t you make it your own. You can use your old ballet shoes to make a new pair. It is a budget friendly option and don’t worry, if you don’t know the process.
In this blog, we will explain the process of sewing ballet shoes on your own.
Sounds Interesting right? Let’s begin!
Why Sew Your Ballet Shoes?
Ladies, before we answer your question you need to understand why it’s important to sew ballet shoes yourself? How it can be beneficial for you:
1.1. Customization
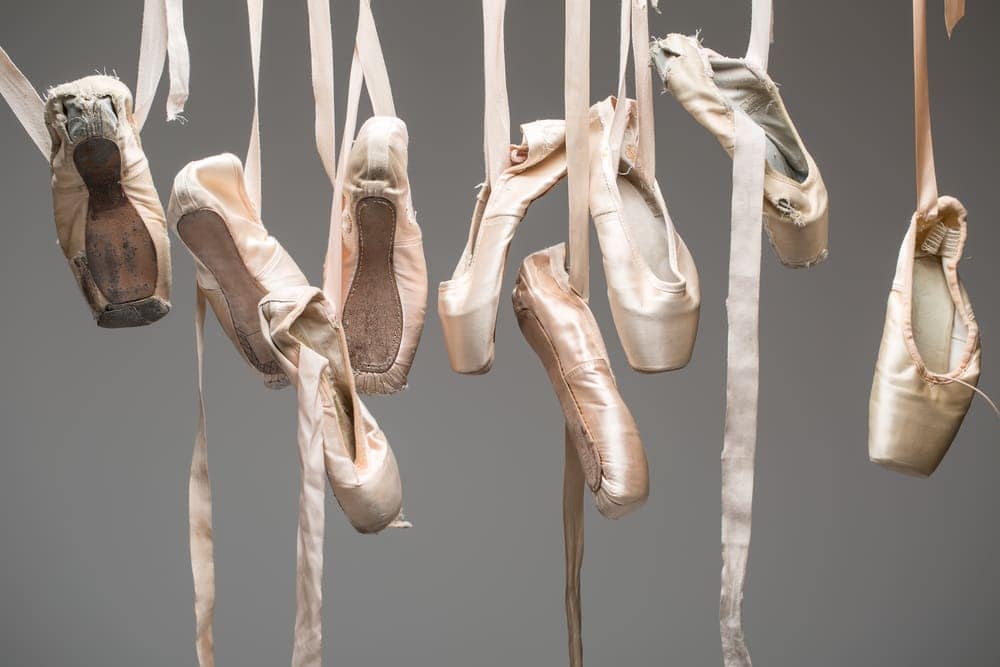
Sewing your own ballet shoes allows you to customize the fit and comfort of your shoes. You can add any color and ribbon of your choice to the shoes for style and your vibe.
1.2. Cost-Efficient
Ballet shoes are quite expensive. That’s why sewing your own can be more beneficial for you. You can just purchase ballet shoes without the ribbons and elastic, it will be more budget friendly.
1.3 Self-Sufficiency
If you know how to sew your ballet shoes then you don’t have to rely on a professional for any last minute adjustments.
1.4 Personal Touch
You can add a personal touch to your ballet shoes. By doing this, you can make your shoes unique.
2. Sewing Your Own Ballet Shoes
Alright ladies, now that you have understood the benefits of sewing your own ballet shoes, it’s time to met the story; How to sew ballet shoes?
But, before explaining the sewing process, you need to collect the necessary material listed below:
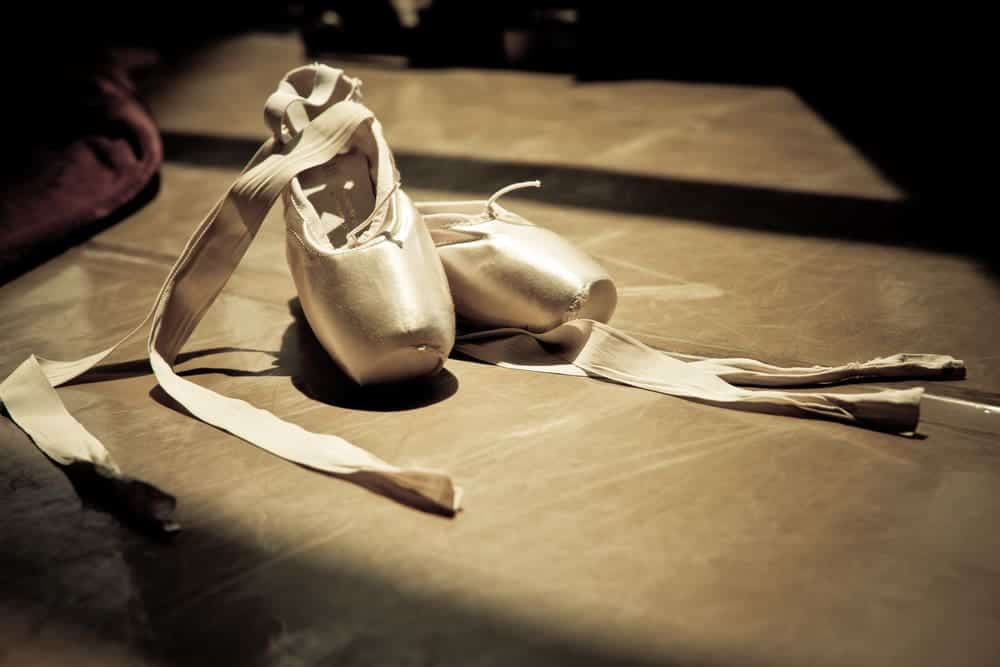
2.1 Ballet Shoes: You need a well fitted pair of ballet shoes. It would be better to choose one made of leather or canvas.
2.2 Elastic Bands: You will need some elastic bands for heel and instep. These should be around 1.27 cm wide and about 91 cm in length.
2.3 Ribbons: For personal touch, Infact you can argue ribbons is that gives identity to ballet shoes.
2.4 Thread: You will need a thread that matches the color of your ballet shoes too.
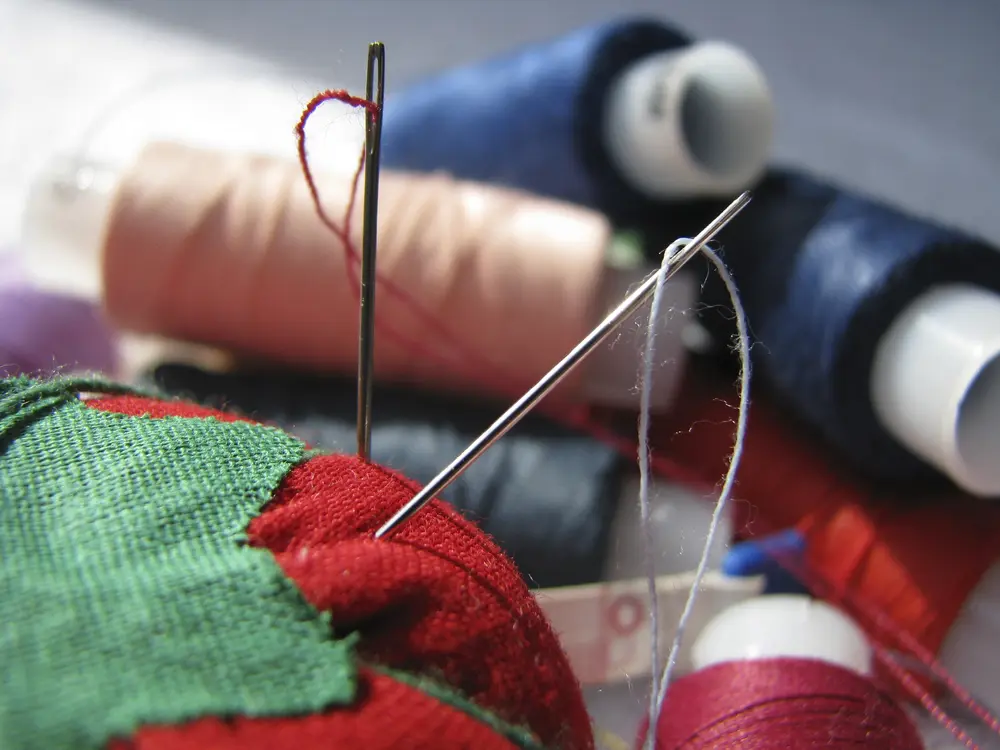
2.5 Sewing Needle: Make sure you have a sharp and strong sewing needle. it will make your task easier.
2.6 Scissors: Buy a quality scissors too, if you don’t have one. It will be needed to cut elastic bands and ribbons.
3. The Sewing Process
Now, let’s get into the sewing process.
3.1 Preparation
Alright, let’s begin with the preparation step. First thing you wanna do, is to cut the elastic bands to the appropriate length. Here is how you can do it:
Firstly, measure from the center of your heel to the center of your instep. It is important for the proper fitting of heel elastic and the instep elastic.
Secondly, make sure the fitting of elastic bands are not too tight.
3.2 Attaching Heel Elastic
In the 2nd step, you need to attach Heel elastic. Here is how you can do it:
Starting with the threading your needle with a quality thread. Make sure it matches your fabric and after that tie a knot at the end.
Secondly, Hold your shoe with the heel facing you. Now, you need to Insert the needle inside of the shoe. It will help secure the elastic in place.
Thirdly, Sew the elastic band in place but make sure that it’s not too tight. Now, extend the elastic to the other side and sew it. It will help secure the loop you’ve created.
Repeat the entire sewing process to the other shoe.
3.3 Sewing the Instep Elastic
Let’s move on to the 3rd step, you need to sew instep elastic now.
Firstly, Thread a needle with a matching thread and after that, insert the needle from the inside to the outside of the shoe.
Secondly, To secure the elastic, sew it. This will help gently spread across the instep. Once you’re done with one side repeat the sewing process to the other side of the shoe.
Thirdly, Repeat the entire sewing process to the other shoe.
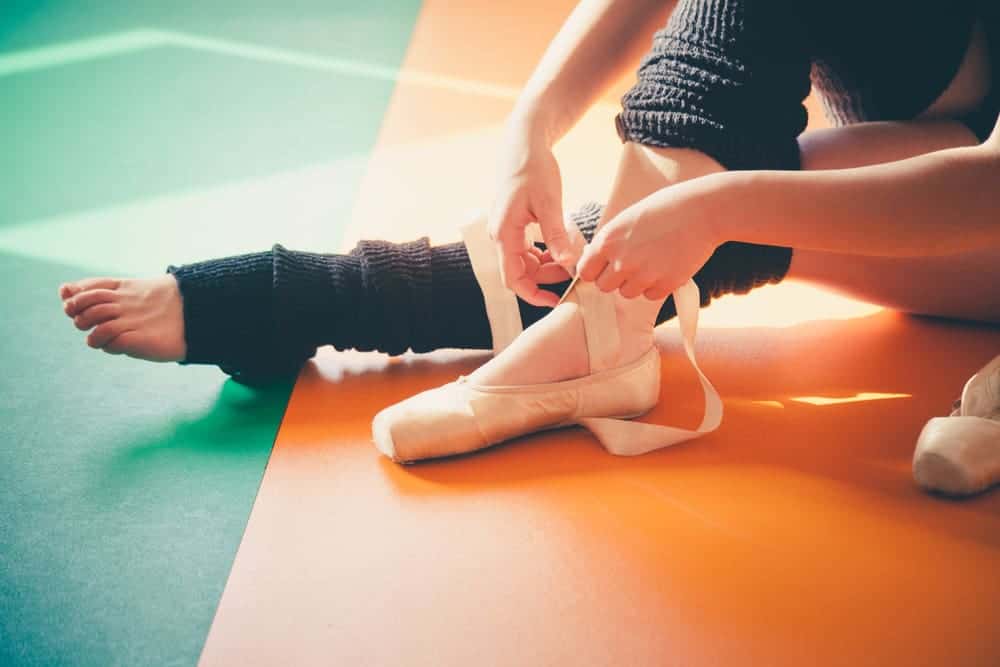
3.4 Attaching Ribbons
In this 4th step, you have to add personal touches like ribbons to the shoes. Here’s how you can attach them:
Firstly, Take your needle (matching thread) and tie at the end. You will need two ribbons.
Secondly, Fold the ribbons in half to find the center then mark it with a pin. After that, insert the needle from inside to the outside of the shoe. Also, don’t forget to leave a small tail of the ribbon inside.
Thirdly, Start sewing through the ribbon center. You’ve to create a loop to secure it. Once you’re done with one shoe, repeat the process to the other shoe.
3.5 Secure Ribbons
In the last step, you need to secure the ribbons by sewing them. Here is how you can do it:
Firstly, Take insert from the needle from the inside to the outside near the back seam. You have to sew through the center of the ribbon.
Secondly, You to sew through the ribbon to make it secure. Once you’re done, repeat the entire process on the other shoe also.
Congratulations Ladies! You’ve successfully sewn your ballet shoes without anyone’s help.
4. Things to keep in mind
If you’ve doubts about the ribbons placement then consult your dance instructor, they will help you out. If you’re unsure about your skill then practice sewing on another fabric first. You will gain experience this way.
Closing Thoughts
Ballet shoes for a ballerina are the most important thing but they can be quite expensive. That’s why buying them frequently is not possible for many aspirants.
However, you can turn your old shoes to a new pair by following the steps mentioned above. It is a budget friendly option and you will be able to add your personal touches too.


