Want to sew buttons for suspenders? But don’t know how then don’t worry, we will explain the sewing process to you in this blog.
But, before explaining the sewing process let’s first understand the basis of suspenders and why you need to add buttons on this.
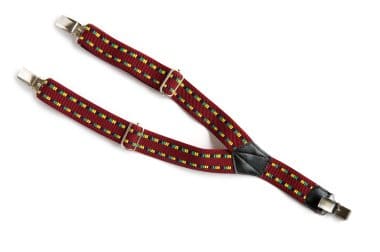
Suspenders are also known as braces in some regions, and are not just a functional accessory but they can also add a touch of style and vibe to your outfit. But, in pants buttons do not come attached to suspenders. That’s why you need to sew it yourself.
Sounds Interesting right? Let’s start!
1. Why Sew Buttons for Suspenders?
Alright, before we answer your question you need to understand its importance? How it can be beneficial for you:

1.1 Fitting
Sewing your buttons yourselves ensures perfect fitting.
1.2 Fashionable
You can make your outfit fashionable by adding suspenders in it.
1.3 Comfort
It distributes the weight of your Suspenders evenly, which results in reducing the pressure on your waist. You will be comfortable for extended wear.
1.4 Practicality
If you don’t prefer a belt then suspenders are the best choice for you.
2. How to Sew Buttons for Suspenders?
Okay, now that you have understood the importance of suspenders, it’s time to met the story; How to sew them?
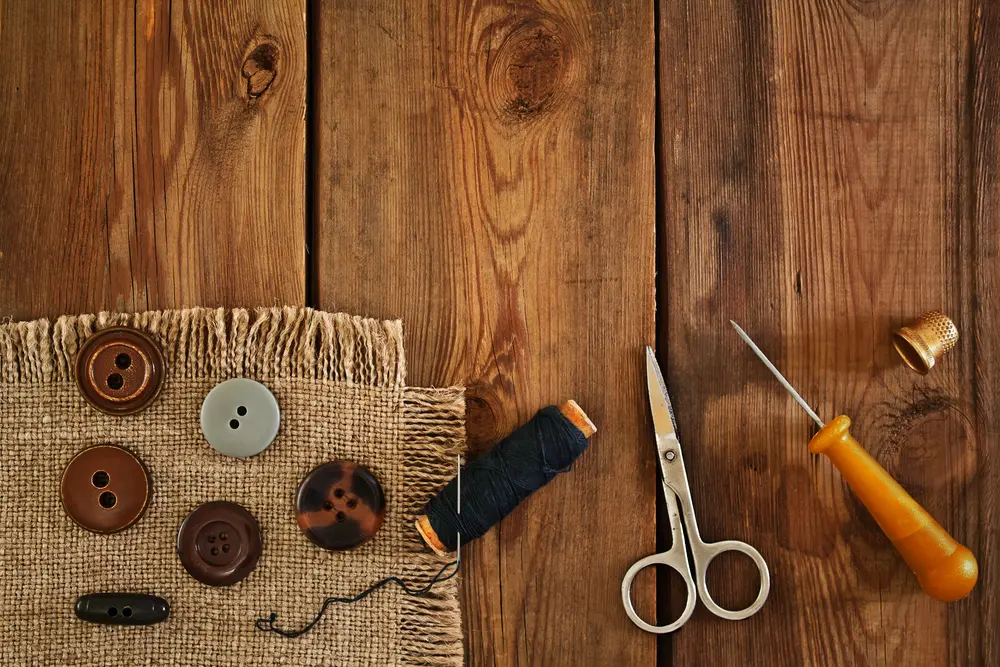
But, before explaining the sewing process, you need to collect the necessary material listed below:
- Suspenders Button
- Measuring Tape
- Fabric Marker
- Thread
- Needle
- Scissors

3. The Sewing Process
Now, let’s get into the sewing suspenders process.
3.1 Button Placement
In the 1st step, you need to determine the ideal placement for your suspenders buttons. Here is how you can do it:
Examine
Alright, the process begin with the examination step.
To begin, you need to examine the suspenders you need to use because different suspenders come with varying button configurations. Once you’re done with this, you need to measure it. Here is how you can do it:
For standard ones, just measure one inch from the center of the back of your pants. Remember, this is where the buttons on the back straps are going to be placed. Now, Repeat this entire process to the other side.
Marking
Okay moving on to the marking part.
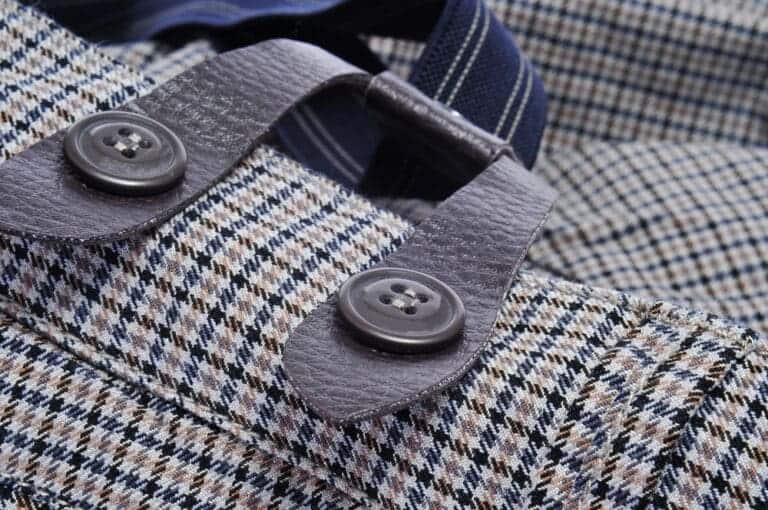
You wanna begin by positioning the buttons on your pants. Usually, two buttons on the back and two on the front are placed. However, you can add more suspenders.
You can also place the buttons on the inside or outside of your pants. Both options are available for you. For eg:
Inside Placement is often used for formal wear like dress pants whereas outside placement is used in jeans. It gives a more casual look.
3.2. Selecting Buttons
In the 2nd step, you need to select appropriate buttons for your suspenders. Know you wanna keep in mind there are many types of buttons available in the market but, we recommend using flat and round buttons. They are easy to work with.
Also, while choosing the buttons make sure sizes are slightly larger than the buttonholes on your suspenders.
3.3 Sewing Process
Let’s move onto the 3rd step, you need to start the sewing process. Here’s how you can do it:
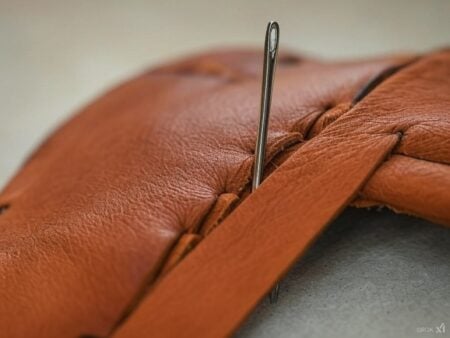
First of all, you need to thread your needle with a heavyweight matching. Once you’re done with it, you can start the sewing process.
After that, you need to Insert the needle through the fabric where you have marked it.
If you don’t want to keep your buttons hidden inside your pants then sew the top layer on your fabric. But, without penetrating to the other side.
In the case of external button placement, you need to sew it through both layers of fabric.
3.4 Securing Thread
In the 4th step, you need to secure the stitches you’ve made. Here’s how you can secure your buttons:
First of all, wrap the thread twice around the base of your button. After that, you need to insert the needle twice through the loop you’ve created to form a knot around the base. It will create a solid foundation.
If you wish to secure your knot further then insert the needle through the fibers on the surface of your fabric. This will help in securing the knot from coming undone. Don’t forget to trim excess thread after sewing.
Congratulations! With this, you have successfully sewn suspenders on your own without anyone’s help.

4. Additional Tips
Here are some tip that will help you out:
4.1 Keep extra: Always keep extra buttons and thread for quick replacements.
4.2 Sewing Machine: Although suspenders are often sewn by hand, you can use a sewing machine too. It is entirely your choice.
4.3 Not Overtighten: In order to avoid discomfort make sure not to sew it too tightly. Over Tightness can cause problems for you.
4.4 Proper Placement: Don’t overlook the need, if you are sewing on formal clothes then choose inside placement. Whereas outside placement is more often used for casual clothing.
4.5 Ideal Buttons: Select buttons that suit your fabric. Don’t forget that over ornate designs can distract from your suspenders.
Closing Thoughts
Many people believe that sewing buttons for suspenders is a very hard task and requires technician help. However, this is not true.
You can sew straps on your own by using the steps mentioned above. Just remember to be patient throughout the whole process. It’s an easy and rewarding task.
Have you tried it? Let me know your experience in the comment section.


