Are you seeking way to use cording to add a personalize touch to your projects but don’t know how? Don’t worry, we got you.
Cording is a very great way to add sense of professional polished. Veterans of the art loves to use it in their finishing touches to your projects.
but, for many it can a little difficult as using cording without a lip is difficult to deal with. particularly for individuals who just got into sewing and don’t know the tips and tricks.
But don’t fret, I’m here to help your sewing project without a lip to achieve a professional look. In this blog, I’ll be sharing with you all my time tested techniques and tips to help you achieve this effortlessly.
Sounds Interesting right? Let’s begin!
1. What is Cording?
Before we begin explaining the sewing process, first you need to understand what cording is and why it’s used so, we all can be on same page.
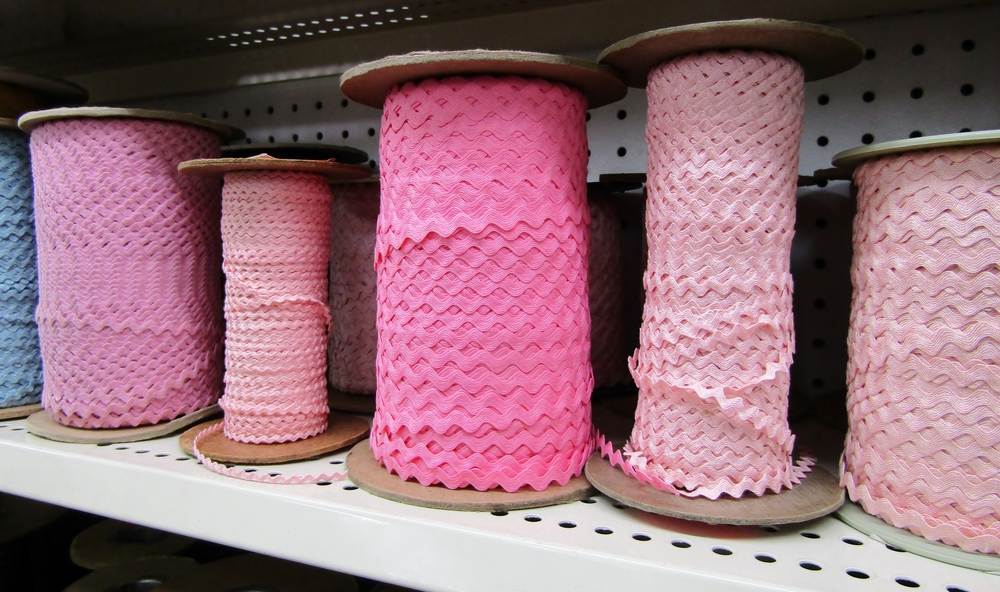
Very popular among individuals and allows you to create intricate patterns and add texture, cording is actually just technique that involves attaching a thin and flexible cord to fabric to create a decorative effect in the garment
2. The Difference Between Cording and Piping
Many individuals are confused between cording and piping. That’s why, I’ll be telling you the difference between them.
Both of these techniques use cords but they are used for different purposes and have distinct characteristics too. Here are some of the basic difference between them:
2.1 Cordin
- It can add texture and dimension to your fabric.
- Cords can vary in thickness
- It also requires a cording foot on a sewing machine.
- It is used to raise seams and for quilting.
2.2 Piping
- It is different from coding and is used to provide a finished edge and decorative detail.
- This technique is used to add edges or seams on garments and home decor.
- Piping cord doesn’t vary in thickness.
- It can be sewn onto fabric by both sewing machine and hand sewing method.
- It is used for finishing edges on cushions and clothing.
Now, you know the difference between these two techniques, knowing these differences will help you select the right technique for your project.
3.Thing You Need to Start
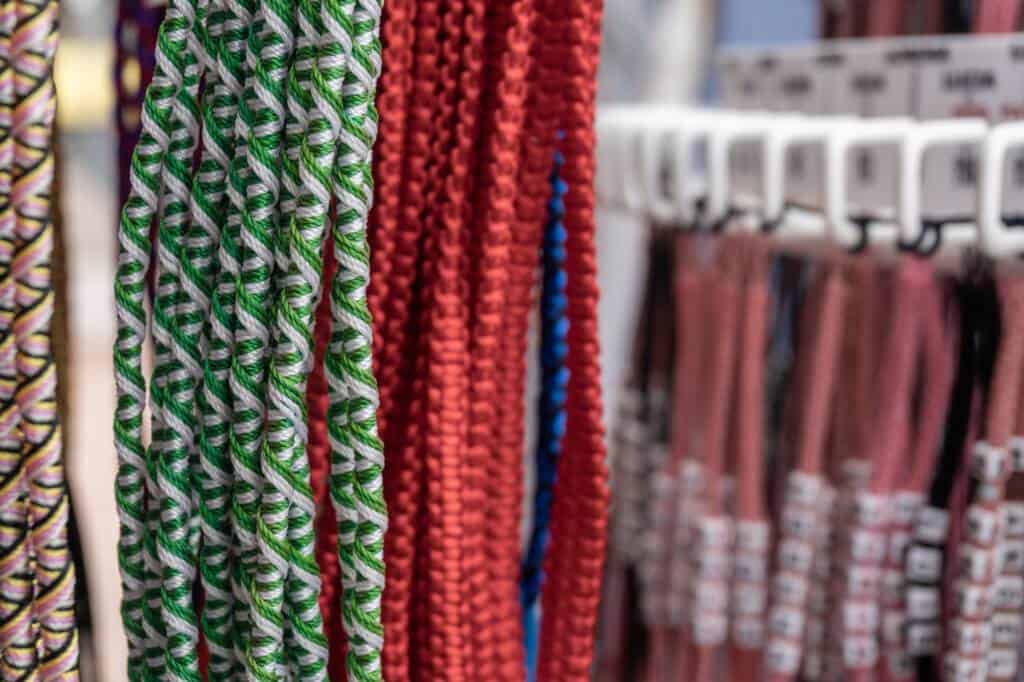
Before I begin explaining the process of sewing cording without a lip, you need to collect the tools and materials I’ve listed below for this project:
- Fabric
- Cording
- Chalk or fabric pen
- Thread
- Fabric scissor
- Needle
- Zipper foot or piping foot (for sewing machine)
Once you have these materials ready at your hand, you’re ready to embark on your cording sewing journey.
4. Seven Easy Steps to Sewing Cording Without a Lip
Now, I’ll get into the heart of the matter: sewing cord without a lip. I’ll be sharing my techniques and tips to help you out. Just follow the steps mentioned below:
4.1 Cut Fabric Strips
First of all, you need to cut fabric strips. Remember piping is cut diagonally for flexibility. However, if your project doesn’t require precise curves then cut straight strips. These work well and save fabric too.
4.2 Determine Width of Your Strip
You need to calculate the strip width by adding the width of your cording and the seam allowance. After that, multiply it by 2. Leave a few inches extra to avoid any unforeseen trouble.
For eg, If your cording is 1/8 inches and your seam allowance is 1/2-inches then your strips width should be 1 and 1/4 inches wide.
4.3 Prepare Multiple Fabric Pieces
Once you’re done with measurements now, you need to sew multiple fabric pieces together diagonally for smoother transitions.
4.4 Sew the Cording
Now, it’s time to Insert the cord into the folded fabric strip. After that, you need to attach a zipper foot to your sewing machine.
Lay the piping to the left of the foot and start the sewing process. Use a long stitch and don’t take it close to the cording. This will help secure your piping in one place.
4.5 Sew to Your Project
Once you’re done with sewing cording, now it’s time to sew it to your project. You need to sew. The piping to your other fabric pieces, make sure to attach it to the right side of your fabric.
You need to match the fabric and piping edges to maintain a long stitch. Also, don’t forget to leave a few inches for making any necessary adjustments later on.
4.6 Finishing
After that, just cut the piping slightly long and open the cover for a couple of inches. Now, fold the extra fabric diagonally over the other end of the cording. You need to wrap it around.
Once you’re finished with wrapping just sew it to the fabric. .
4.7 Complete Your Project
In this final step, you need to place the other piece of your fabric on top of the piping. After that, secure it with some pins. Don’t forget to leave a seam allowance for a neat finish.
Now, all that is left for you to do is to backstitch at the beginning and end to secure your piping.
Congratulations! Now your project is now complete. You’ve successfully sewn cording without a lip.

Closing Thoughts
People think sewing cord without a lip is a very hard task and it requires professional help. However, this is not true at all. You can easily sew decorative rope cord without a lip by following the steps I’ve mentioned above.
Especially if you are dealing with seam allowances raw edges, invisible zipper or plan to use hand stitching techniques to make your cord lie flat to make it appear neat and bespoke.
FAQs
1. What is cording and why is it used?
Cording and piping are both techniques that are used to create coordinating or contrasting edges. For eg, it is used to sew along the seams of items like slipcovers and pillows.
2. What are the available sizes of cording in the market?
The size of cording is actually determined by the diameter of the cord. Usually, it ranges from 6.4 mm to 12.5 mm.



6 Comments
Sewing cording without a lip was a technique I had never tried before, but your instructions made it a breeze. I’m amazed at the clean and professional finish it gave my project. Thanks!!!!
Your guide on how to sew cording without a lip was incrdibly useful. The detailed instructions and troubleshooting tips ensured that my project turned out perfectly. Your expertise truly shines through in your writing!
Your article reads as if a skilled tailor is speaking and giving instructions. One procedure after another is so clearly related and explained. Please accept my heartfelt gratitude for your efforts.
I think i got the best advice through this article about cording. sewing is an art and a person must have passion to complete every task but the details cannot be ignored. i really liked how this article explained the process one by one and made sure nothing was missed.
I believe this article about cording gave me the best advice. Sewing is an art, and mastery of the details is required; one must be passionate about the work. Your writing genuinely demonstrates your knowledge!
I’ve always been intrigued by the art of sewing and adding cording without a lip seemed like a daunting task until I stumbled upon this article. The step-by-step instructions are clear, making it accessible even for beginners like me. It’s great to see the tools and materials listed upfront, ensuring readers are well-prepared before starting their cording sewing journey. The tips on calculating strip width and sewing multiple fabric pieces together diagonally are particularly helpful. I’m excited to put these techniques into practice and elevate my sewing projects.