")


For the most part the fabric one can use in the sewing process is most interchangeable, However, when it comes to creating stuff like backpacks, outdoor gear, or heavy-duty accessories, you need something durable, weather-resistant, and probably long-lasting.
This is where cordura fabric with its toughness and resistance to abrasion properties comes into the picture.
Do you want to sew with cordura fabric but don’t know how to go about it? Here is everything you need to know to sew cordura properly, broken down in simple to understand steps.
In this blog, we will go over in detail the process in three stages and then go over some of the aftercare things you can do.
Soundgood? Let’s begin!
1. Preparation Stage
Alright, first of all, let’s begin with the preparation stage! Basically, you’re gonna gather all the core components and tools you need to do this right. Here are the things you need to effectively sew the cordura fabric without any compromises.
1.1 Special Sewing Machine
First and foremost, your typical cheap machine won’t cut it. Given its nature the cordura requires a more robust sewing machine. The most preferred ones you can go with are industrial-grade ones.
Now, if you don’t have access to the industrial grade machines then you simply opt for an heavy-duty model for this, however, once again cordura is tough to do on these types of machines, by choosing this you are choosing the danger of wear and tear in your material.
Also, regardless of the type, you also wanna have a walking foot. It has a top and bottom feed mechanism that helps prevent slippage of layers, which in turn results in more precise stitching.
1.2 Needles and Threads
For the needles you only wanna go with large-sized needles with large eyelets to accommodate heavy threads. The most recommended size are #20 or #22.
As for the thread, here you wanna go with heavy-duty robust thread only. Particularly #69 bonded nylon threads are the most preferred for sewing Cordura.
1.3 All Tools
Last but not the least, gather all your essential tools, namely; Sharp fabric scissors, rotary cutters, A hot knife, cutting mats, measurements tape, fabric clips, rulers, and seam rippers. All of these will come handy during the process.
2. Preparation Stage
Okay, now let’s go over the basic preparations. Here are some crucial steps:
- First of all, you wanna finish creating a pattern for your project. Begin by properly laying out the pattern pieces on the cordura fabric. Here you wanna pay extra attention to grain lines and fabric direction. Now, just pin or use fabric clips to secure the pattern pieces. Remember you need to take time to align the fabric accurately.
- With your fabric complete, now let’s go over and complete the preparation with your machines. First, wind your sewing machine bobbin with the appropriate heavy-duty thread. Once done, thread the machine with the same thread.
- Okay, one last thing, cordura is easy to mess with in stitches, particularly if you didn’t get the tension right. So one thing you just get some before starting your project is to get some test stitches done on a scrap piece.
3. Sewing Stage
Alright, now that we have everything ready, let’s get into the actual sewing process.
Not only does it require specific techniques but also needs some key considerations. So, to help you out here are some guidelines for sewing Cordura fabric.
3.1 Stitch Length
First and foremost comes the stitch length. First you wanna begin by increasing the stitch length. The reason behind this is that the longer stitches provide more strength. It’s also good for stability in the seams. The size you should be aiming for is typically between 5mm and 6mm, anything below that is not worthwhile.
3.2 Machine Speed
okay, on to 2nd consideration of what machine speed you should go with. To sew cordura properly you need a moderate and steady pace of machine speed. Here it is essential that you avoid rushing. Any mistake in the speed will lead to uneven stitching.
3.3 Needle Position
Nextup is the proper needle position. The only thing here to ensure is that you need to make sure that needle stays in the down position when pivoting or turning corners. The reason behind this is simply it will prevent the fabric from shifting, ensuring accurate seams.
3.4 Backstitching
Moving on to the fourth thing. Once you get into the Backstitch stage, you wanna begin at the beginning and end of each seam to secure the stitches and prevent unraveling.
3.5 Layering
It is pretty crucial to remember that one heavy-duty cordura may require manual guidance to prevent skipped stitches. So wanna carefully, guide the fabric and use hand assistance if needed.
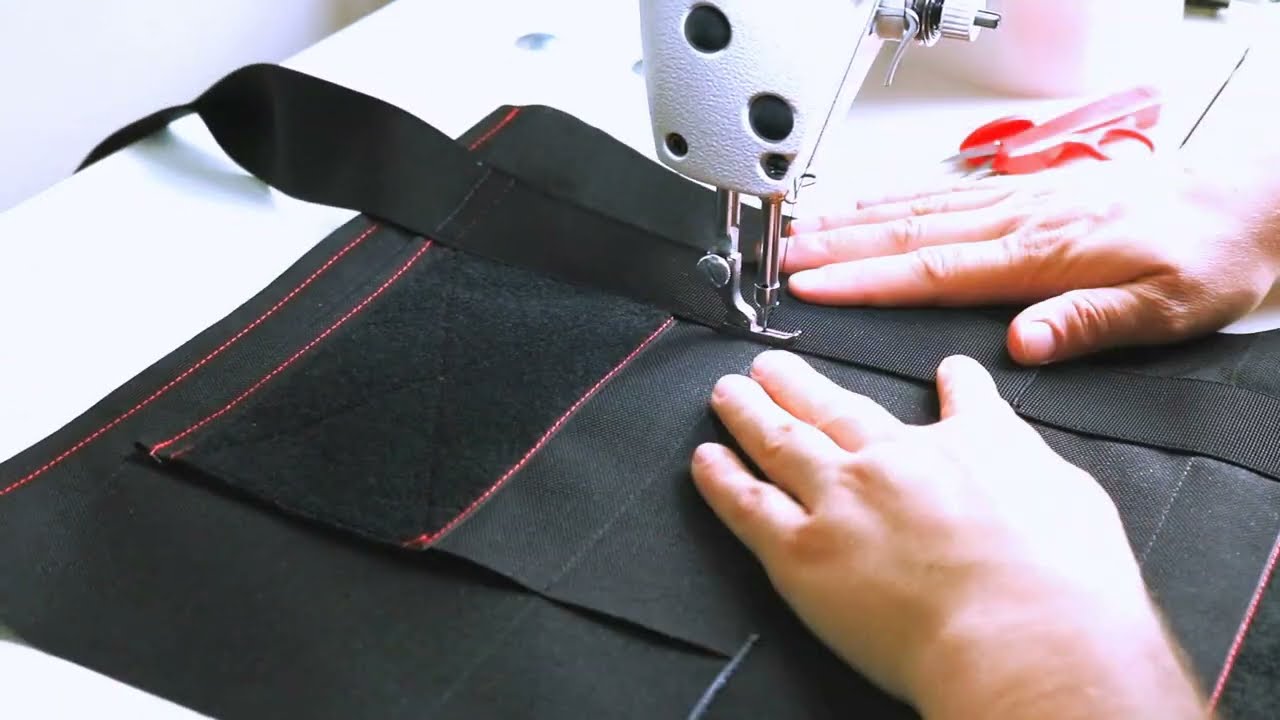
3.6 Finishing Seams
When it comes to seams you always wanna maintain a consistent seam allowance throughout your project. The most recommended allowance sizes you are going with for Cordura projects particularly are ¼ inch or ½ inch.
Also, to make your seams more durable, it is recommended using a flat-fell seam, binding the edges, or if nothing works properly then you should rely on seam tape to prevent fraying.
Closing Thoughts
All in all, whether you want to channel yourself with outdoor gear projects, make an entire backpacks, or personalized heavy-duty accessories,in all there you can rely on cordura fabric to craft products that give it that proper finish.
Do you have something to add? Let us know in the comment section below.
")


1 Comment
The sewing guidelines provide essential considerations, from stitch length to machine speed, needle position, backstitching, layering, and finishing seams. Each point is explained with clarity, which made it easy for me to follow and understand the nuances of working with Cordura fabric. Also, the reminder to conduct test stitches on a scrap piece before starting the actual project is a practical tip that can save a lot of frustration later.