Looking for new curtains but are not finding one that makes you satisfied and complement your room decor? Then solution for you, if you are somebody who is mastered or considering picking up sewing, it to create you own custom made curtains with a personalize touch.
It might sound difficult but, I’m telling you from my own experience it’s not that difficult, And to help you guys, In this piece, we go over all the things you need to know for sewing your own custom made curtains without much effort.
Sounds interesting right? Let’s begin!
1. Want to sew your own curtains?
Curtains play a crucial role in enhancing the aesthetics and functionality of any room. They provide privacy, control the amount of light entering a space, and contribute to the overall decor.

Look for many buying ready-made curtains is an good enough option but if you are some who value creativity and understand personal imperfection make something beautiful then sewing your own curtain are the best thing you can do for your home decor.
2. Tools and Materials
let start with covering our base so we can begin without any trouble. first and foremost begin by collecting the tools and materials I’ve listed below:
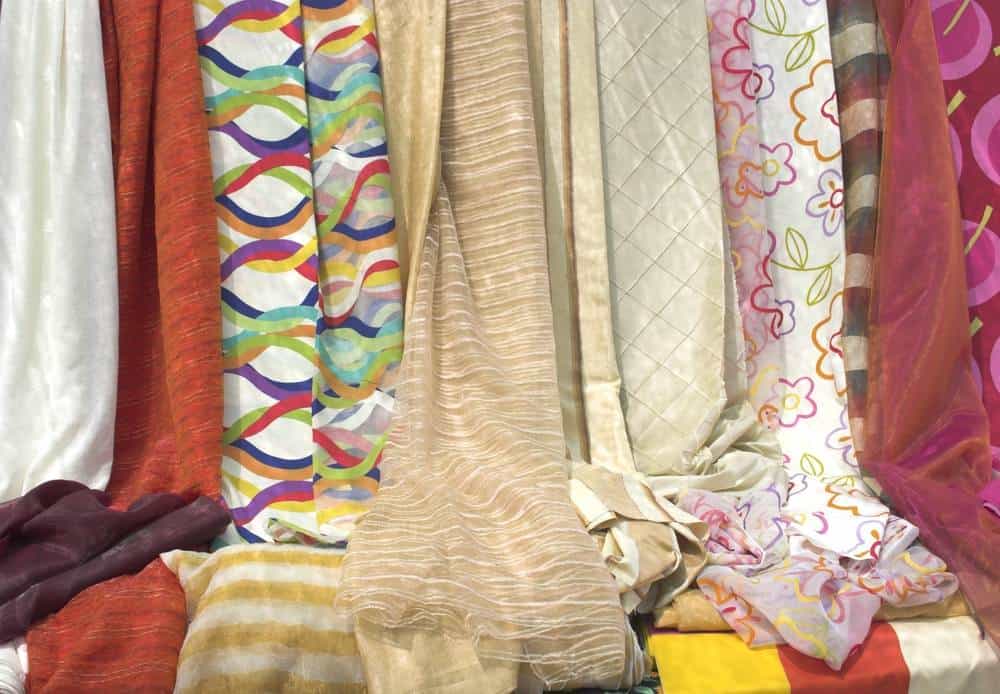
- Fabric (choose one that complements your room’s decor).
- Lining Fabric (optional but has durability and insulation)
- Measuring Tape
- Fabric Marking Pencil
- Fabric Scissors
- Sewing Pins
- Sewing Machine
- Iron and Ironing Board:
3. How To Sew Curtains – Step By Step and Methodology
3.1 Measure Curtain Dimensions
Okay, the First you wanna do is to begin by preparing your measurements. So, get you tape ready and measure your room window.
If you don’t know how to calculate your room’s curtain dimensions. Here’s how you can measure it.
precise measurements that matches you chosen design well sound complicated but they’re not. Here, If you’re thinking of going for a draping look then multiply the width of your window by 1.5 to 2 times, depending on your preference.
Otherwise don’t forget to add an extra 2 inches for hemming. If you’re making two curtain panels then divide the multiplied width by 2 and add 2 inches to each panel’s width.
To measure the length, just measure the curtain rod to your desired finished curtain length. After that, add 12 inches to account for hemming and creating the rod pocket.

3.2 Cut the Curtain and Lining Fabric
Once you’re done with the above mentioned measurements, now it’s time to start the cutting process.
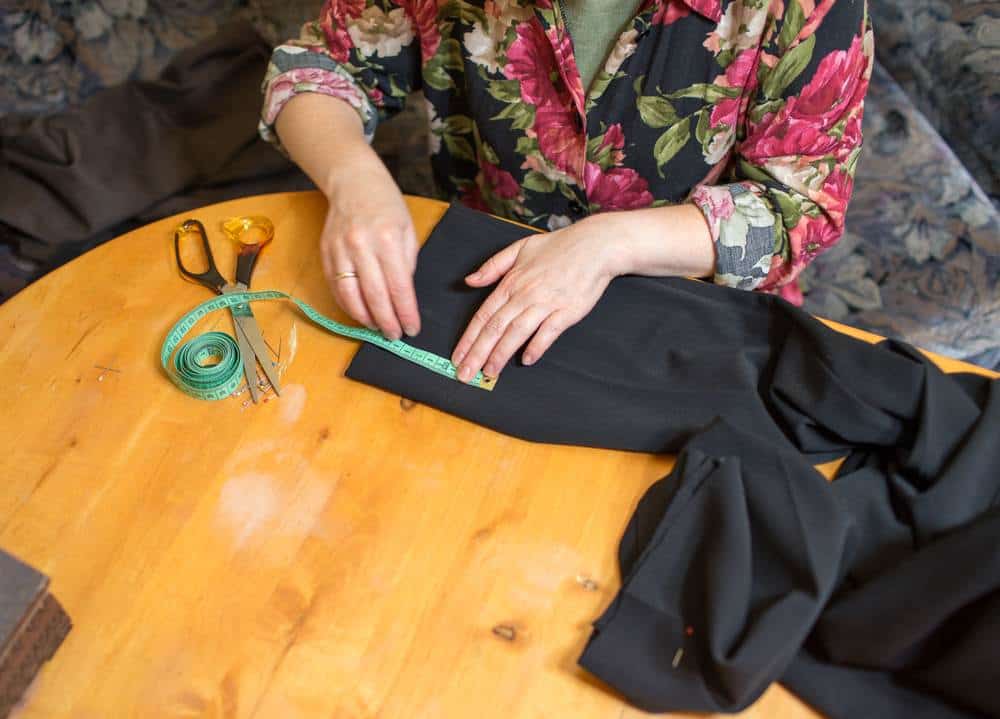
Begin by laying your curtain fabric flat on a surface, after that, use a measuring tape and mark the lines where you need to cut.
You can use a rotary cutter for cutting fabric too. Repeat this entire process for the lining fabric, subtracting 7 inches from the length measurement.
2.3 Hem the Bottom Edge of the Curtain Fabric
To give your curtains a polished look, you need to hem the bottom edge of your curtains. Here’s is how you can do it:
- Put your curtain fabric on an ironing board. After that, fold the bottom edges of the fabric up to 4 inches and use a irom to make a crease.
- Now, fold the curtain fabric up again by 4 inches and after that iron it to create a double-folded hem. You can use sewing pins to secure it in place.
- Once you’re done with the above mentioned process, it’s time to start sewing. Just sew along the length of the double hem and repeat the entire process on the lining fabric as well.
2.4 Attach the Lining Fabric to the Curtain Fabric
Now, you need to combine the curtain fabric and the lining fabric. Place your curtain fabric on a flat surface and after that just put the lining fabric on top of it.
Make sure to put the right side, it needs to align the top edges. Now, pin the fabric panels together and sew along each side.
2.5 Hem the Side Edges and Create the Rod Pocket
In this step, I’ll be telling you how to create the side hems and the top rod pocket from my sewing experience. Here’s how you can do it:
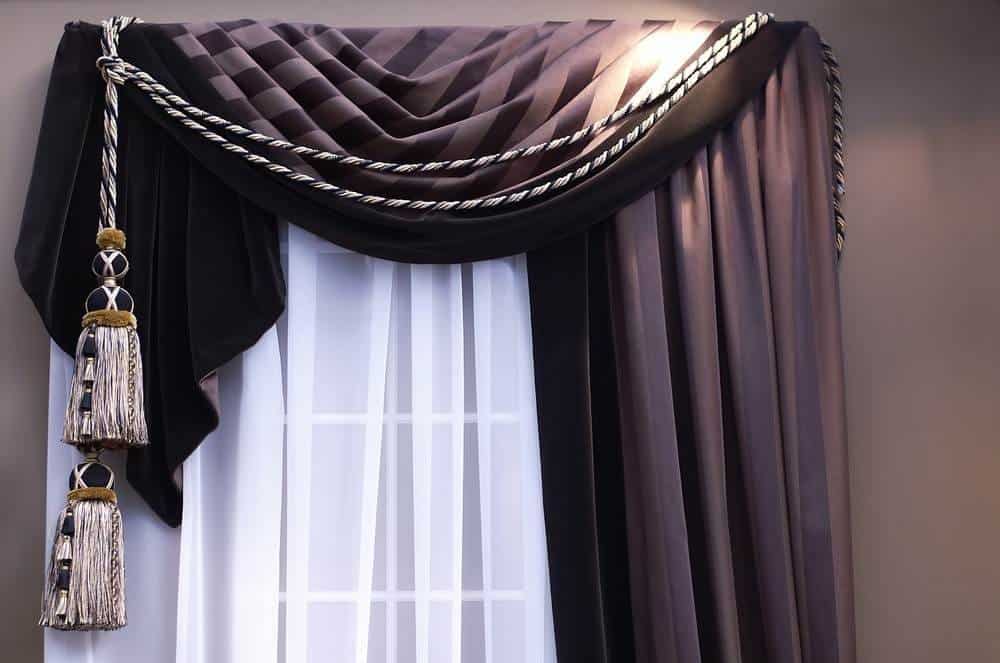
- Place your curtain fabric right side down on an ironing board. After that, fold one side edge of your curtain up by 1 inch and iron it to create a crease.
- Now you need to fold it up by another inch and create a crease by iron again. You can use sewing pins to secure the double hem.
- You need to repeat the entire process on the opposite side also. After that, just sew along the length of a double hem of your fabric on each side.
- For the top rod pocket, you need to fold the top edge of your curtain fabric up by 2 inches. After that just use iron to create a crease. You need to fold it up again by another 2 inches. After that use iron again to create creasing.
- Now, just start sewing along the length of the double hem (around 1/4 inch from the interior edge) of your curtains. This creates a rod pocket to feed the curtain rod through.
2.6 Hang Your Custom Curtains
Congratulations! Now your curtains are now complete, it’s time to hang them. After hanging them, stand back and admire your beautiful handiwork.
Closing Thoughts
Many people believe that sewing curtains on your own is a very difficult task. However, it is not.
So, don’t be discouraged by the misconception that DIY curtains are a challenging task. With the right guidance from a helpful curtain tutorial like our, you can confidently create your custom-made curtains.
When deciding how much fabric to use, always refer to your youtube tutorial for answers. So, always to have a bit of extra fabric on hand just in case, and pay straight lines for a polished finish.


13 Comments
As someone relatively new to sewing, this article not only taught me the mechanics of attaching a rod pocket but also instilled confidence in my ability to tackle more complex projects. The troubleshooting tips provided were especially helpful, addressing potential challenges that might arise during the process.
A helpful DIY curtain tutorial! Sewing handmade curtains is enjoyable and gratifying when done with clear instructions. We’re toasting to personalizing interior design!
I am trying to sewing the curtains for the first time and it seems really hard but your post is so supportive for me as you have mentioned each tiny step that must be followed and what things should I keep in mind when sewing the curtains, thanks.
Very happy to see this blog post. Love to learn new skills, but sewing skill is not considered so handsome skill to learn physically. Planned to try this curtain sewing skill. Handy skill.
I always like to learn sewing but this is not considered as a handsome skill so never dare to learn this physically. But, I found this blog post. Step by step guidance how to sew curtains is very helpful for me to learn something new. Thanks for sharing such a good content. Keep up the good work.
This is just amazing. I was really obsessed with sewing and decorating my interior designs. With the help of your tips as well as procedures that you explained so briefly I just got so much motivation to my work. Thanks for sharing the idea.
I really had difficulties trying to make some curtains for my room last months, this article has really been helpful. A step by step explanation was just all I needed to get it write. Thanks for coming through for me with this amazing piece.
Making curtains on our own is a good idea. Your guidance gives me the courage to try it on myself. The write up by Anna is quite informative and helpful. Thanks for sharing your thoughts and ideas.
The guide not only provided a step-by-step methodology but also added a touch of fun, emphasizing the importance of having extra fabric for unexpected moments and the significance of straight lines for a polished finish. Covering everything from tools and materials to the final hanging process, this guide turned what could have been a daunting task into a seamless project. My curtains are now complete, and I owe it all to the invaluable insights from this article. A must-read for first-timers like myself.
This step-by-step guide on sewing curtains for first-timers is a lifesaver! The detailed instructions and tips provided by Anna Smith made the process so much less intimidating. Now, I have custom-made curtains that perfectly complement my room’s decor. Thanks for empowering beginners like me with such valuable insights!
Creating your own curtains can be a rewarding and cost-effective project. Following a step-by-step tutorial like this one provides clear guidance, making it accessible even for beginners. The benefits include customization to match your style and the satisfaction of crafting something functional for your home. Additionally, having extra fabric ensures flexibility, and paying attention to straight lines contributes to a polished final look. Overall, a DIY approach to curtains offers a sense of accomplishment and allows you to tailor the design to your preferences.
Anna Smith’s step-by-step guide on how to sew curtains provides a comprehensive and easy-to-follow tutorial for both beginners and experienced sewists. The guide covers essential tools and materials, emphasizing the importance of creativity and personalization in home decor. The step-by-step methodology includes measuring curtain dimensions, cutting curtain and lining fabric, hemming the bottom edge, attaching the lining fabric, hemming the side edges, and creating a very the rod pocket. Anna’s detailed instructions, accompanied by visuals, make the process accessible and enjoyable for readers. The closing thoughts encourage individuals not to be discouraged by the misconception that DIY curtains are challenging, emphasizing the confidence gained through the right guidance. Overall, the guide empowers readers to create custom-made curtains with a professional finish.
This step-by-step guide on sewing curtains is a game-changer for me! As a newbie to sewing, the clear instructions and tips made the process surprisingly enjoyable. Now my room will have a personalized touch, thanks to this helpful tutorial!