Welcome to your shoulder pad sewing guide! You’re in the right place whether you just started sewing or are a seasoned pro. If you’ve always been fascinated by how jackets and dresses look so good on everyone else but not on you, then shoulder pads are the solution.
The pads can subtly shape your body while adding definition and sophistication. This tutorial gives you everything you need to add form and structure to your garments using this small but powerful material.
1. Get to know Shoulder Pads
Shoulder pads come in different shapes, sizes, and materials. All are designed for various fabrics and offer an array of effects when worn. For example, thicker shoulder pads made from firmer materials add more drama to an outfit than soft ones that deliver a subtle effect.
Before starting the custom sewing process, you must have the appropriate shoulder pad for your garment. Consider the fabric type, style, and impact you want created before choosing.
On the one hand, large-sized firm shoulder pads might be suitable for heavier structured jackets or clothing made of thick fabrics such as wool or cotton blends. On the other hand, smaller shoulder pads or softer ones could bring out a nice shape without exaggerating those curves if lightweight, delicate materials like silk or lace are used.
2. Preparation for Sewing
2.1. Choosing the best type of Shoulder Pad
It’s time to select appropriate comfortable shoulder pads that match the fabric and design to enhance the quality of your garment.
2.1.1. Picking the correct Size Shoulder Pads
Size matters when it comes to what size shoulder pads will go with what garment because all play a part in ensuring they fit perfectly. Measure your shoulder pad width, then compare it with the chart on pattern paper or packaging guides.
2.1.2. Understanding Different Types of Shoulder Pads
Shoulder Pad options could range from raglan, which fits the shoulder line very well in clothes with sleeves pointy at the top (raglan sleeve), to set-in, a more common setting where you slide it inside a sleeve hole. Then there are also Shoulder Pads specifically made for different fabric types. Examples are pads suitable with silk and chiffon materials and those that work with wool or tweed.
2.1.3. Materials Required to Sew
Items needed for this process include; Shoulder Pad, Lining fabric, Garment fabric, Fabric Scissors, Pins, Needle & Thread.
2.1.4. Shoulder Pad Pattern
The pattern cuts out the shoulder pad into the correct size and shape. It has curved edges that fit on the straight edge of the shoulder part, then a straight line that aligns with the garment’s seam allowance.
3. How to Sew In Shoulder Pads
3.1. Attaching Shoulder Pads to Garment
You’ve done all the prep work necessary. Now it’s time to get down to sewing them in!
3.1.1. Identifying Shoulder Seam
The first thing is knowing where the shoulder seam lies in your jacket or dress because that’s exactly where the pad will sit. Typically, it runs across the top of the jacket lining and sleeve head from one armhole to another on the sleeve head at the opposite end.
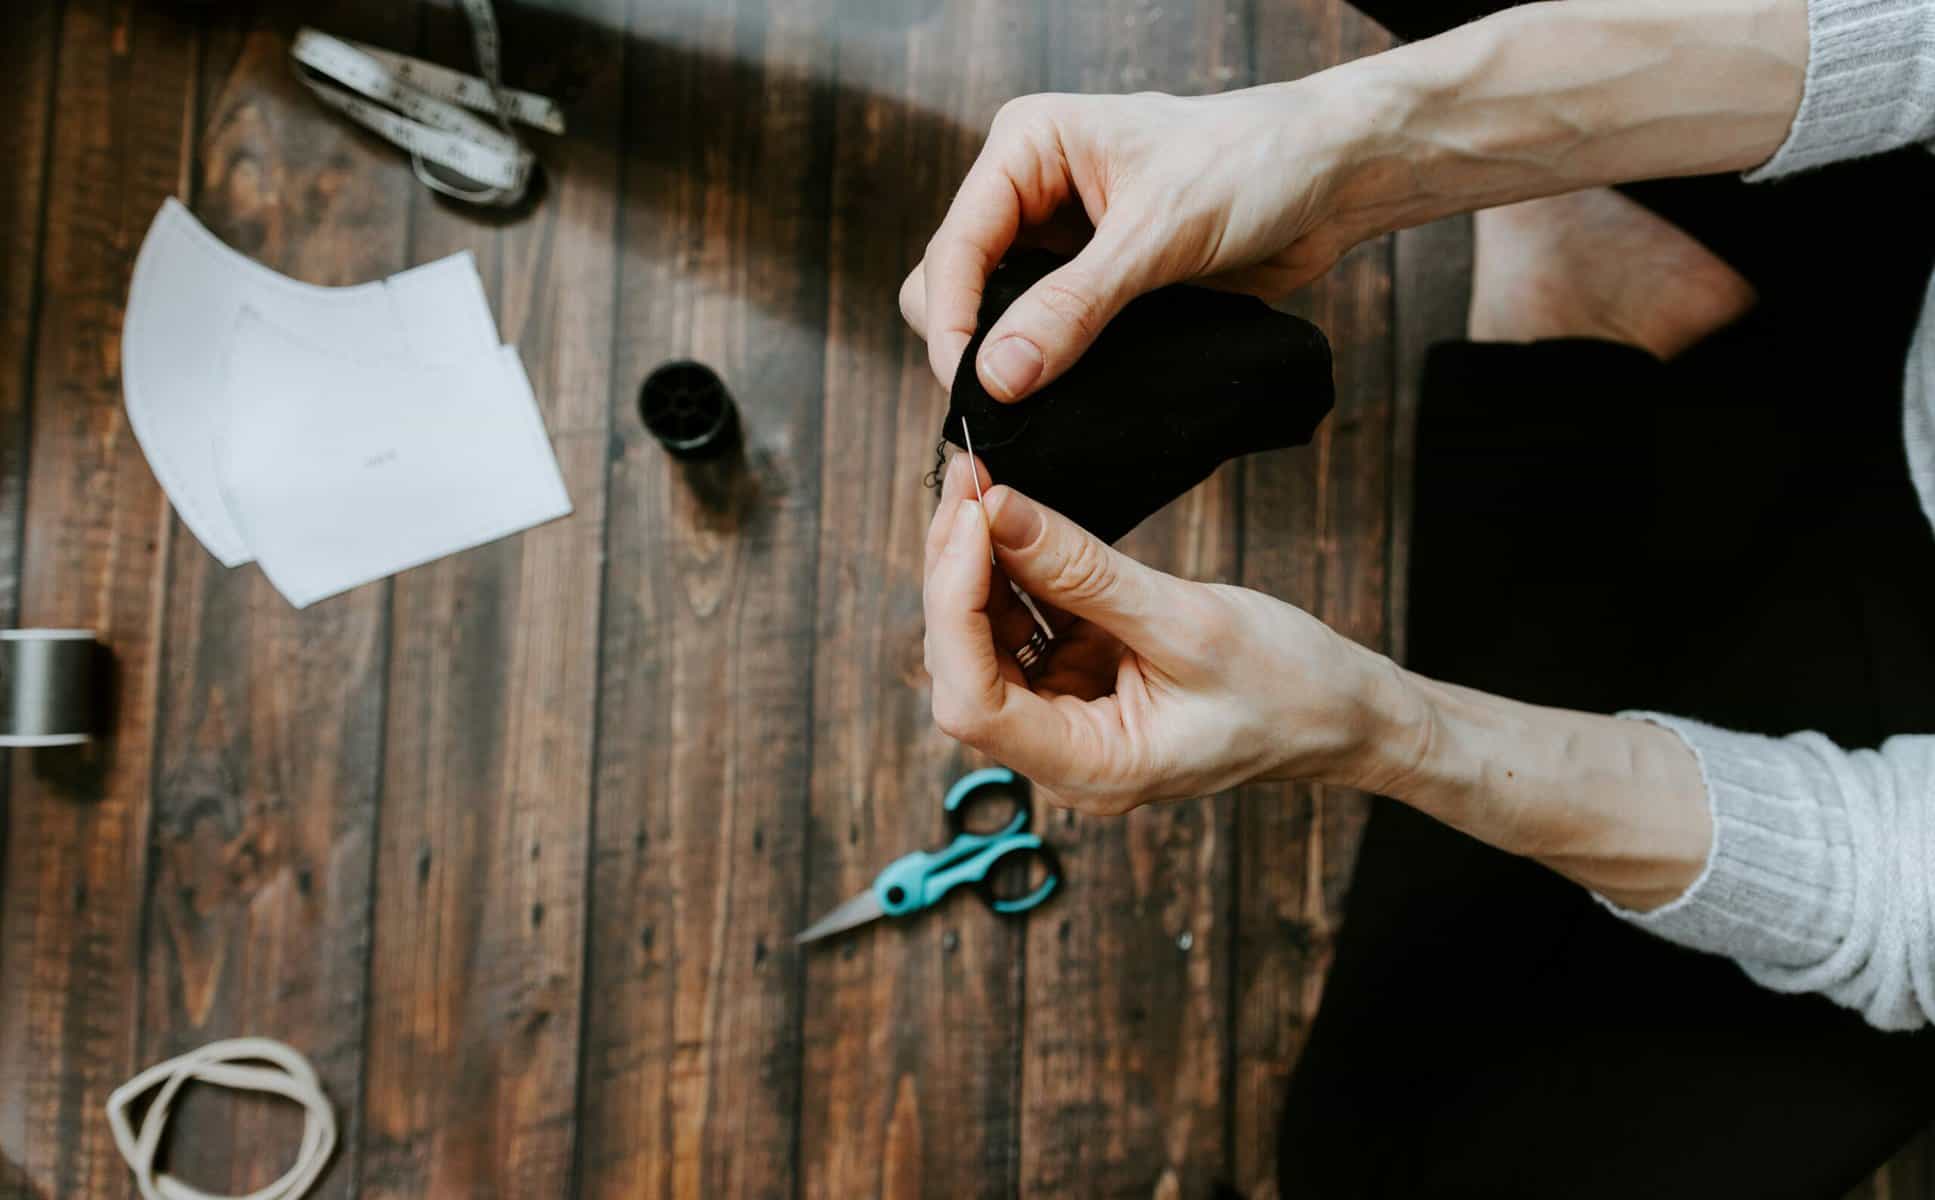
Use small hand stitches or a straight stitch on a sewing machine to create a stronghold for the shoulder pads. The shoulder pad should be sewn around the edge to connect it to the garment’s shoulder seam and sleeve top.
3.1.2. Blending Shoulder Pads into the Garment
The shoulder pads should blend seamlessly with the fabric of your garment. To do this, make sure that the edges of the pad are enclosed within either the fabric or lining of your garment. If your garment has a lining, stitch the straight edge of the pad between the two layers. Cover garments without a lining with a strip of fabric from your garment.
3.1.3. Creating a Curved Edge
Trim away any excess material and round out the curved edge if necessary until the pad mimics the shape of your shoulder.
4. Stitching Techniques for Sewing Shoulder Pads
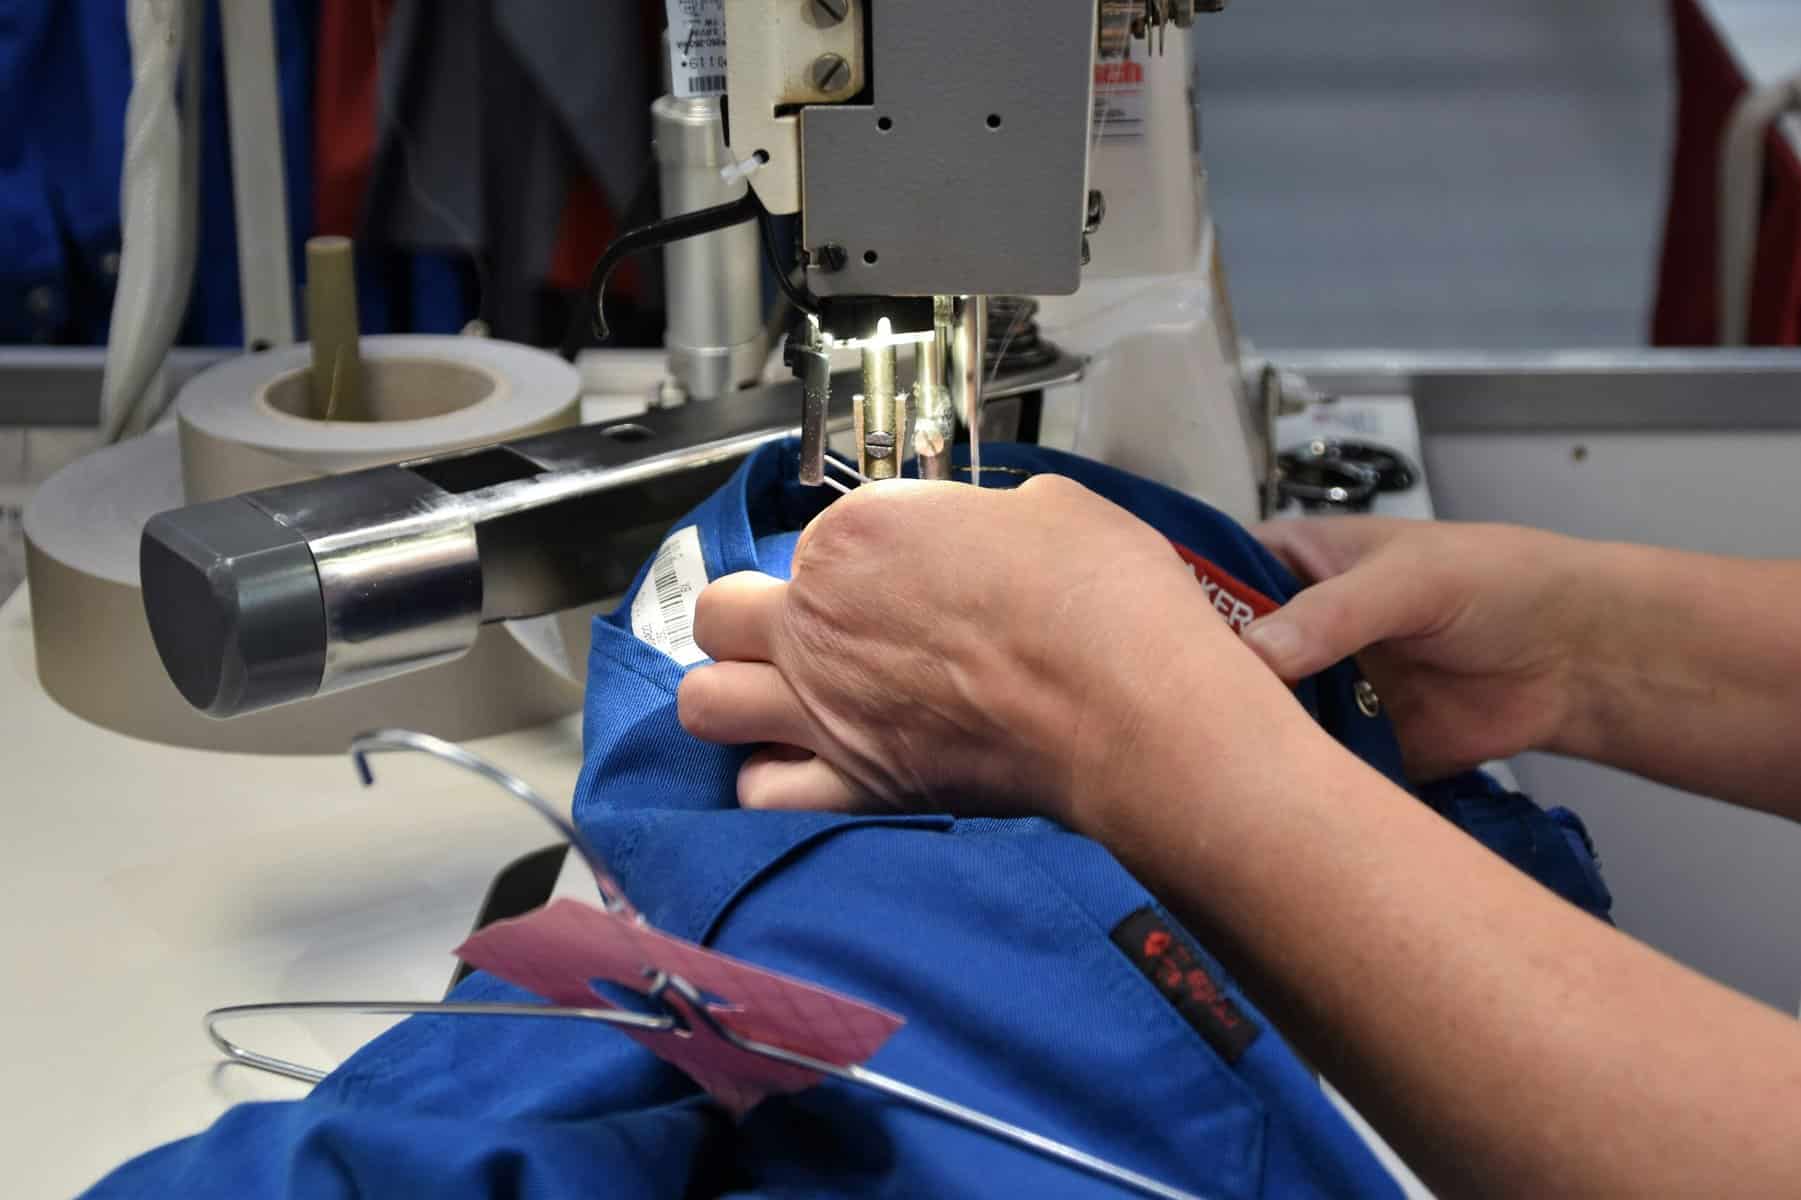
Different stitches can be used based on the general location of the garment, what type of fabric you’re going to get, and how durable you want your stitching to be. Common stitches include:
1. Slip Stitch: A discreet stitch for delicate fabrics so that it isn’t seen.
2. Backstitch: A very secure stitch good for heavier fabrics where durability is key.
3. Zigzag Stitch: An elastic-friendly technique for stretchy fabric that won’t break when pulled.
4. Blind Stitch: Keep stitches hidden from outside view.
5. Finalizing the Details
5.1. Check for Placement
After securing the shoulder pads to the garment and ensuring they are seamless, you’ll want to double-check their placement. The two covered shoulder pads should rest comfortably on your shoulders and extend just past the edge without poking out or moving around. You must put on the garment and move around to ensure that wherever you go, so check the covered shoulder area and pads.
Some adjustments might need to be made if they don’t sit right or start altering your garment’s shape. This could involve shifting them a little, trimming them down, or swapping them for something thinner or thicker, depending on your settings and what’s needed.
5.2. Ensure Comfort and Fit
Other than just how they look, it’s important that shoulder pads feel good as well. When working with a good shoulder pad, you need to consider how heavy it is to measure its effectiveness about everything else. If it’s too sturdy or bulky, it might restrict some movement and make them uncomfortable during long use. But it won’t provide enough support if it’s too thin.
5.3. Disguising with a Sleeve Cap
There are many ways of sewing and attaching shoulder pads that can help hide them effectively with an added touch of style. One way is by using sleeve caps covering up the shoulder line with any left ends visible along shoulder seams.
5.4. Finishing Touches and Double-Checking
Get those final touches in place so that each side is symmetrical and all parts work seamlessly with your product. A mirror check will uncover hidden imperfections easier than adjusting while looking at your reflection through the back and ends.
6. Summary of Sewing Shoulder Caps
Ensuring each side looks identical and fits properly with its surroundings is key when adding shoulder pads to a garment design. Examine every angle closely and make tweaks where necessary — such as influenced by things like size or shape — so there’s no distortion caused by anything unnecessary sticking out.


