Learning the Japanese sewing patterns may seem daunting at first, but with as long you pursue this art with dedication, detail and patience, it becomes a gratifying skill.
In recent years, these sewing patterns have gained popularity worldwide for their simplicity and innovative constructions.
If you seek to emphasize clean lines, minimalism, and functionality, reflecting the Japanese aesthetic of simplicity and elegance in your art, then Japanese sewing is perfect for you. In this blog, we’ll explore the art, from understanding the basics to creating beautiful garments.
By following our steps below carefully, you can create garments tailored to your specific style while embracing the uniqueness of Japanese fashion.
Sounds Good? Let’s begin
Mastering The Art Of Japanese Sewing Patterns
Japanese patterns come with their own set of conventions and variations that will feel intimidating to any beginner. However, if you are someone who wants to master this art, then you follow its traditional rules in a proper order.
Here’s a process of tracing and adapting Japanese sewing patterns into manageable steps.
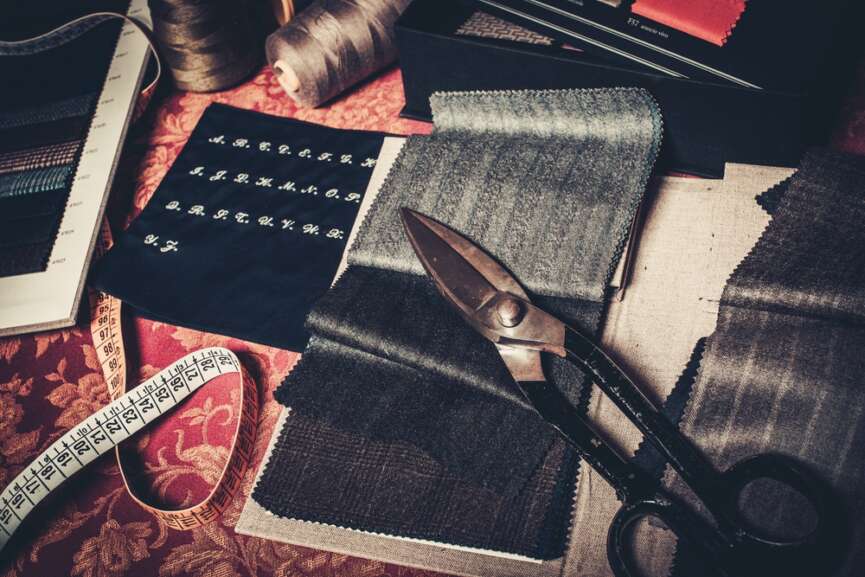
1. Choose Your Pattern with Select a Pattern Book:
First of all, you begin by choosing not a particular pattern but a Japanese sewing pattern book that aligns with your style and skill level. Do not try to copy and pattern initially; you won’t be able to do so.
A pattern book often features a good variety of designs, from casual wear to formal attire, all broken by the skill level needed to achieve this.
In a nutshell, the first step for you is to take your time to review the patterns featured in the book. Also each pattern has a specific letter or code. So, identify the design you wish to create and make a note of its corresponding code.
2. Gather Materials and Tools
Alright, let’s start for real this time. First, compile a list of materials needed for your chosen pattern, as specified in the book.
This typically includes the basic stuff. All needed fabric, matching thread, interfacing, buttons, zippers, and any other specialized required for your specific design.
Besides that, you also ensure you have the sewing tools you need for your specific design. A list of what you need can be found in the book design.
There was a sewing machine, sharp scissors, pins, a seam ripper, tracing paper (24″ roll), a pencil, a ruler, a seam allowance ruler and other related things. Also, if somebody needs them, gather pattern paper, a tracing wheel, and transfer paper for durability.
3. Prepare Yourself and Your Measurements
Step three begins by taking accurate body measurements, following your chosen pattern’s guidelines for girth and height. You wanna keep in mind that Japanese patterns often work with specific measurement charts, so ensure your measurements align correctly with the pattern size.
4. Trace the Pattern
Now, it’s time to put the tracing paper to use. Begin by laying out a piece of tracing paper on a flat surface. Remember to ensure that the tracing paper is larger than the pattern you intend to trace. Go to the pattern you want to create on the pattern sheet.
As mentioned above each pattern is usually represented by a letter in the book. Just Look around the edges of the pattern sheet to locate the pieces you need.
Also, remember Japanese patterns often use kanji characters to differentiate between front and back pieces, as well as adult and child sizes. A pro tip to identify the specific pattern piece you intend to use and label it.
5. Copy the Pattern
Okay It’s time to copy the pattern. First, using a ruler for straight lines and a quality pencil, carefully trace the pattern onto your tracing paper. Remember to pay close attention to the lines, symbols, and markings.
Also, be meticulous with the details to avoid copying the wrong line. Once you ensure you copy the pattern properly. Also, go over any marks in the design, such as notches and grainlines, as these are essential for proper garment assembly.

6. Add Seam Allowances
Japanese patterns typically do not include seam allowances in the pattern pieces. This is an omission to save space on the pattern page and reduce confusion.
For this, using your seam allowance ruler, you need to measure and draw the required seam allowance (around one centimeter) around all sides of the traced pattern piece. Here, pay close attention to the pattern’s instructions for specific seam allowances.
7. Finalize Your Pattern
For step seven, you need to begin with a ruler and pencil. Properly transfer the seam allowances in the layout drawings onto your fabric. Now, measure and mark approximately every inch or inch and a half while connecting the dots to create your seam allowance lines.
Alright, once you’ve drawn in the seam allowances, you are ready with your pattern, and your piece is almost complete. Now, to finish the work, just carefully cut it out along the outermost lines, including the added seam allowances.
If you are having trouble finishing your Japanese design, refer to the instructions provided in the sewing pattern book for troubleshooting. The instructions include diagrams illustrating each step that you need to follow In the sewing process.
Closing Thoughts
Sewing Japanese patterns is a rewarding journey into the world of minimalist design and innovative construction methods for even the veteran of the sewing arts.
Mastering How to sew Japanese sewing patterns is a really great step for anyone looking for better themselves.
It’s japanese sewing pattern books, often referred to as Japanese pattern books, are invaluable resources for this. Not only These Japanese pattern books offer a glimpse into the elegant but also help you learn which designs that Japanese women tend to favor.
And the best part is you don’t need to speak Japanese to benefit from these books about sew japanese patterns. Just remember when working with japanese sewing book, it’s essential to select the right fabric, the thin fabric are the most recommended type for this.
All in all, Japanese pattern sewing and create bespoke garments that reflect Japanese design principles beautifullly.



6 Comments
I found this guide on sewing Japanese patterns incredibly helpful! Exploring the art with dedication, detail, and patience truly made it a gratifying skill. The article beautifully captures the simplicity, innovation, and elegance of Japanese sewing, making it accessible for those aiming to emphasize clean lines and functionality. The step-by-step instructions offer a great resource for creating garments that reflect both personal style and the unique charm of Japanese fashion.
These guidelines are very useful for those who are passionate about sewing different types of dresses. Japanese attires are the ones that I wish to try. Thanks for the guidance.
This guide to Japanese sewing patterns provided a clear and practical step-by-step approach, making it easier for me to navigate and create garments with a touch of Japanese elegance. The detailed instructions and insightful tips transformed what initially seemed challenging into an enjoyable and rewarding sewing experience.
This article on sewing Japanese patterns is an absolute gem for anyone venturing into the world of garment creation. The comprehensive guide provides a fantastic roadmap for both beginners and seasoned sewists eager to delve into the intricacies of Japanese sewing. The step-by-step instructions and detailed insights into the unique features of Japanese patterns offer invaluable assistance.
The Japanese sewing patterns are popular for a reason. The popularity also keeps increasing. Wouldn’t it be great to possess such a skill. Thanks for this blog as it has enlightened me greatly
This article on “How to Sew Japanese Sewing Patterns” is incredibly helpful for someone like me who’s interested in exploring minimalist design and innovative construction methods in sewing.