When it comes to finding hair extensions that can offer longer, thinker and more hair volume instantly, sew-in extensions are best in the business. It is a go to tailored solution for many stylish hairstyles in the fashion industry.
However, for newbies, it can become a very daunting issue in the aftercare. Specifically if not handled with care. The reason behind this is, if the hair extensions are not properly installed, it can be really difficult to remove this extension without hurting yourself.
That’s why, if you are someone looking to use the sew-in extension on yourself, you should take some precaution under consideration.
To help you out, in this blog, we will discuss 5 best ones that you can try out today.
If you’re interested? Let’s begin
Best Precautions for Easy Sew-In Hair Extension Removal
1. Quality tools Is The Key
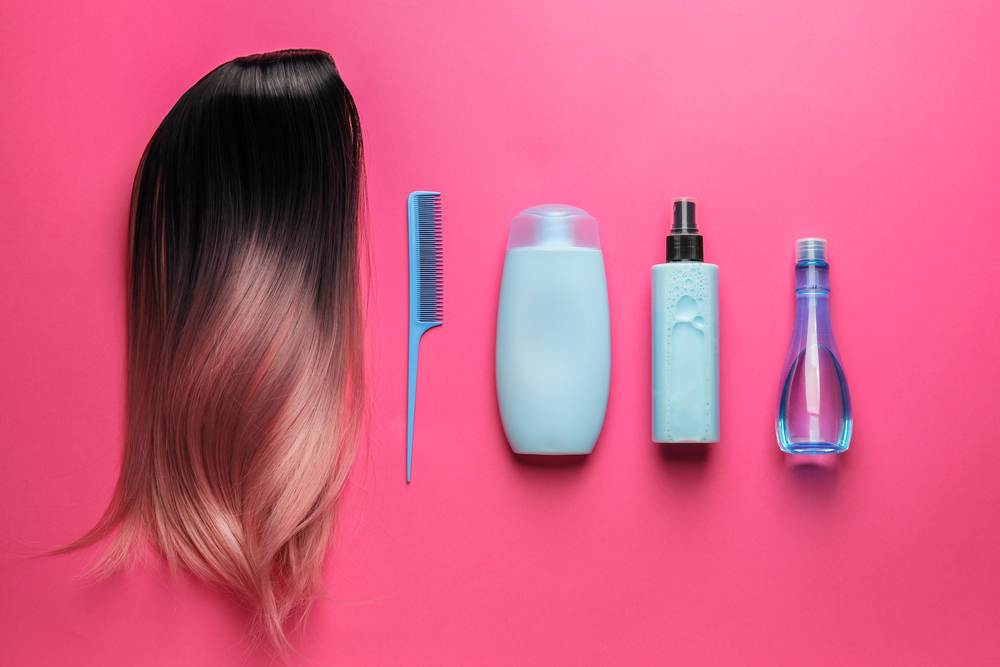
First and foremost, You wanna begin by gathering the necessary quality tools. These will help you out a bunch during the removal and aftercare later on.

Most necessary ones, we recommend are;
- High-quality hair shears
- Detangling brush
- Rat-tail comb
- Some hair ties
- Leave-in conditioner
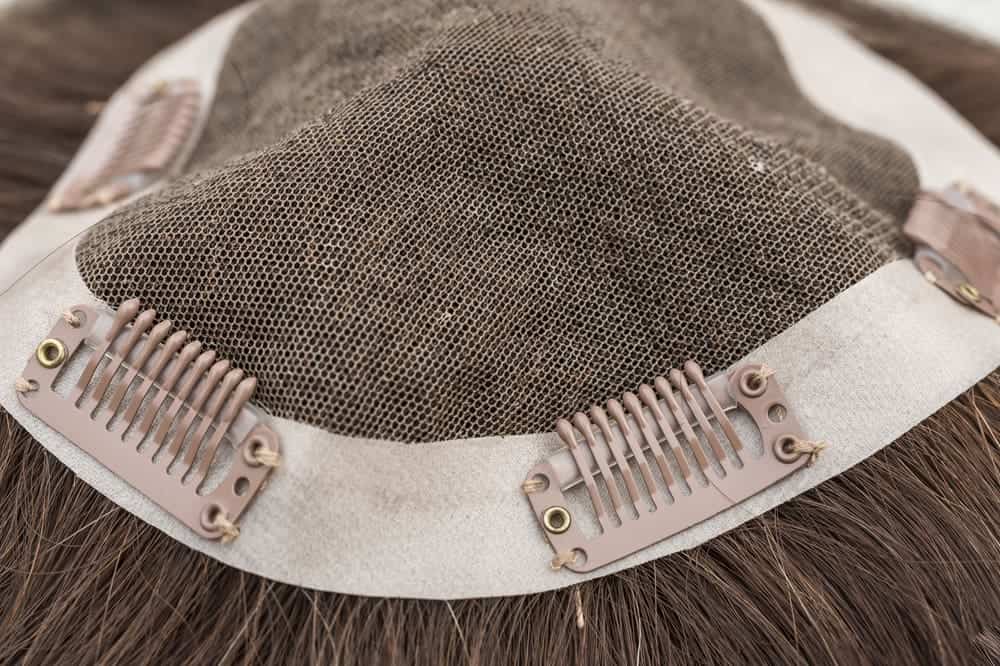
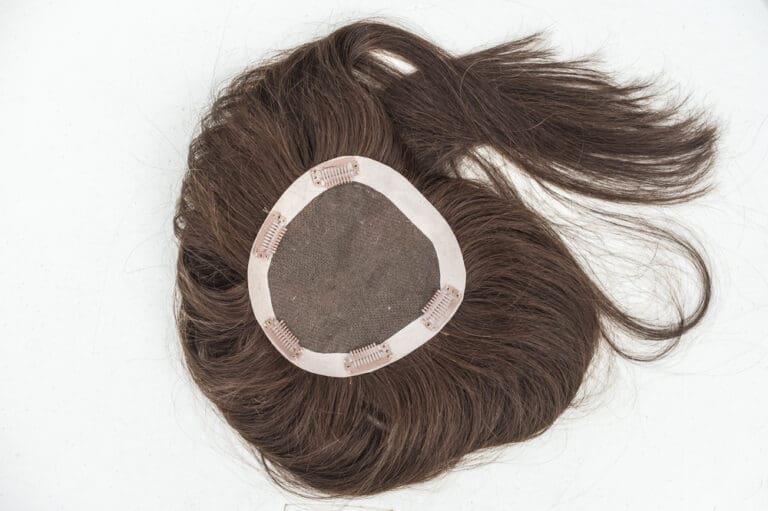
2. Consider Using a Hair Weave Cap
Okay, now that we covered the basic necessities. Let’s get into the actual consideration that you should keep in mind for better results.
And the first one that comes to mind is using a hair weave cup.
When it comes to the easy and comfortable sew-in removal accessories, the cap ranked as the number one in everyone’s list.
The reason for this is that the cap can act as a barrier between your natural hair and the extensions ensure no long term damage to the hair.
The methodology is the same as the standard one, first of all, the braiding of your natural hair is done just like a traditional sew-in. However, instead of sewing the extensions directly onto your braids, they are sewn onto the cap.

Once the extensions are properly attached to the cap, it is then placed around the circumference of one head, where your hair has been braided. (remember this is under the assumption that the hat fits properly to the person you never use a random hat without checking the circumference first).
The best part of this method is that it minimizes the direct contact between extensions and your braids, which can be really helpful if you want to prepare multiple ready to go extensions beforehand.
This is the reason why it is particularly popular in film and theater productions as it allows actors to play the roles without worrying about their real hair.
3. Invest in Quality Hair Shears
The next comes the quality hair shears!
As you might already know, ordinary scissors are often not suitable for the job. The reason behind this is sometimes they can be cumbersome to use and lead to accidental snipping of your natural hair. Which in the long term can be really really damaging to the real hair.
However, By Investing in high-quality hair shears. Which is specifically designed for cutting thread.
You can get yourself more precise and sharp cuts, which in turn allow for clean and controlled cuts, ultimately reducing the risk of damaging your natural hair during the removal process.

4. Apply a Leave-In Conditioner
Next crucial step you can take into consideration is using a leave-in conditioner. The simple reason it can be useful instead of just shampoo is the simple fact that even after you have removed the extensions, you will still have the braids in place.
So, not only the preparation beforehand but taking proper steps for aftercare is also very important.
With the help of leave-in conditioner you can easily avoid breakage when detangling and unbraiding. This extra layer of moisture and silkiness also ensures when you take down the process of taking down the braids much smoother.
In a nutshell, if you are someone in need of a method to ensure lower the friction in your hair, then applying leave-in conditioner can help prevent your natural hair from becoming too dry and weak.
5. Detangle and Unbraid Gently
One final thing you can do to ensure a painless experience and it is simply to take a gentle approach to detangling and unbraiding.
One can easily start by detangling the ends of your extensions. The most recommended things you can use for this is a detangling brush or a wide-tooth comb as long its a high quality.
All you have to keep in mind is that you always need to avoid pulling or tugging. The reason behind this lay down the foundation for every damage and discomfort.
The most recommended approach to do this is to gradually work your way up towards the roots. The reason it works so well is that it ensures the hair stays free from knots formation and tangles.
Next comes the pacing! You always wanna unbraid the braids one by one while ensuring you start from the ends and move upward.
Protip : Here by combining it with leave-in conditioner as previously mentioned you will also get the benefit of reducing the time needed to untangle. Though remember that you stay patient and gentle, as rushing through this process..

Closing Thought On How To Take Sew In Out
Sew-in hair extensions can be a fantastic way to change your hairstyle, add volume, or achieve the look you desire.
In summary, while when it comes to adding volume and changing hairstyle sew-in hair extension has been a game changer for many, but it comes with its own challenges.
However, with proper care and precautions during the installation and aftercare, you can comfortably take them out without causing damage to your healthy hair.
Do you have some secret method to remove the sew that we didn’t mention? Let us know in the comment section below.


