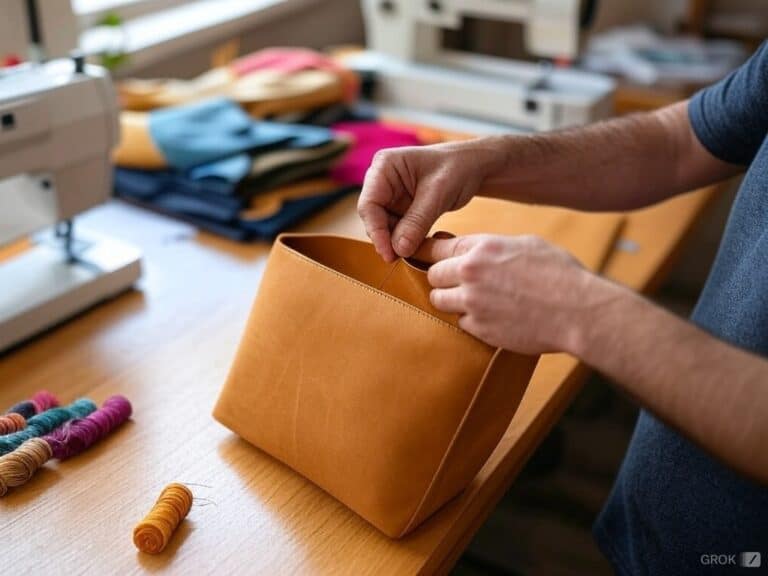
I’d like to tell you that when I first tried to make my tote bag, it was nothing more than an old sewing machine, a shaky hand, and scraps of fabric hidden in a box. I ended up with a tote bag that I could use and form a fashion statement—that is just a spoiler alert. Let me tell you just the way I did: You, too, are more than capable of doing and achieving this.
Making a tote bag is an easy undertaking, ideal for novices. They are useful and provide a good means of artistic expression. Last but not least, they’re also the perfect canvas to get the creative juices flowing, and you can show off the end result.
1. How I Choose the Perfect Accessory Sewing Patterns
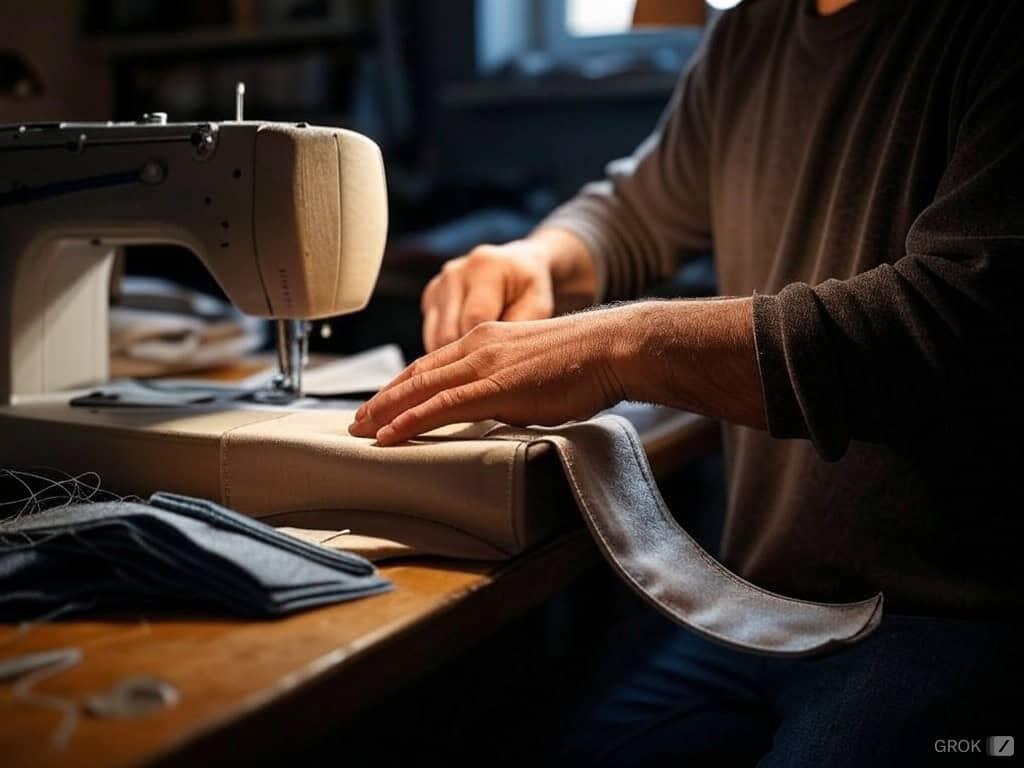
Choosing an accessory sewing pattern is like selecting a new recipe to try out; it has to complement my decor, the fabric that I have, and my skill set. To start, I picture the item that I want to sew, for instance, a tote bag or bucket hat, and search for instructions that are appropriate for the needed accessory. No matter what the case may be whether it is an attractive boxy bag or an everyday bag, locating the right pattern is a good place to begin the project.
They say that skill level is of utmost importance. Initially, I only used basic patterns for my projects as I had no experience. These days, I do not shy away from detailed and elaborate designs that can assist me in developing my skills. The choice of fabric also plays a big role; I select patterns based on the fabric that I will be using, for example, heavy bags can be made from canvas material while a more relaxed and casual piece can be made from light cotton fabric.
Further, I consider the finer details and accent features that will enhance the accessory. Using minimal or clean lines on the accessory and adding other details on costumes is one of the things I would want to accomplish. The pattern very often gives an indication of the extent to which I can exercise imagination and creativity to modify the pattern and add some individual elements to it making it more bespoke.
Lastly, I remember style at all times – whether I need something contemporary to be in the limelight or a rarely seen vintage that can be worn with any outfit. Trying to think about these elements not only renders the act of sewing easier but also guarantees that the end product is something I will cherish and wear for a long time.
2. My Go-To Materials and Tools Checklist
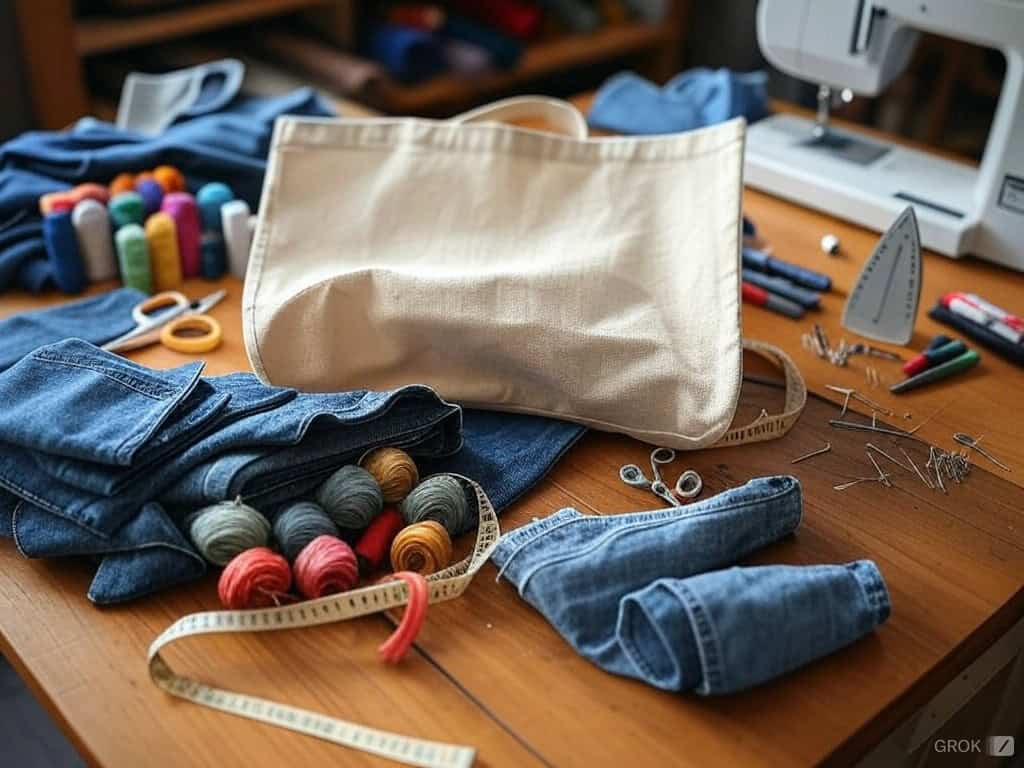
Here’s what you need to gather— and allow me to throw in a bit of my cheekiness to make this list even more tantalizing:
- Some good quality fabric (canvas, thick cotton, denim, or any tough fabric– not grandma’s curtains like I almost grabbed unless you want to end up in tears)
- Thread
- Measuring Tape
- Scissors
- Pins
- A sewing machine (Or a pure will because you hand sewing!)
- Fabric markers or chalk
- An Iron
- Optional: interfacing for structure, embellishments, or pockets
3. The Basic Skills I Always Brush Up On
Imagine being a chef collecting supplies for a Michelin-star meal: that’s how I felt when I was amassing my tools for the first time. Well, that’s precisely the part of the task that’s the best! One other tip for when you’re in the thick of it: basic skills to brush up on no need to be a sewing master— just get comfortable with these fundamentals.
When I first started, I thought that to be a sewing master one needed to know every stitch from every corner of the world but in truth, these basics came to my rescue:
- Determining size and marking the fabric
- Dismembering fabric in a straight and clean fashion
- Even stitches (an easy yet the most essential skill gifted to your sewing machine)
- Stitching components
- Pressing seams (or getting your partner to do for you because “teamwork is a dream work”)
When you become an expert in these senses then you are in a position to create magic.
4. How I Prepare My Materials for Sewing Success
Fabric Selection and Measurements
If you were to select fabric for a tote bag then it would be similar to picking ice cream. Few people would want to buy a sturdy ice cream because it is tasteless. When it comes to fabric, one would like to go for the flavor they want but it has to be durable enough to withstand multiple washes. If you are looking to make a simple 14” x 16” tote bag, you will need the following materials:
Main body: Fabric pieces, Two pieces, Size: 16” x 18” each
Straps: Fabric pieces: Two each: 4” x 22”
Optional Pocket: Fabric pieces : Two each: 8” x 8”
Pro Tip: The very first time I looked at a fabric, I took its measurement based on my sight. Unless you are looking forward to participating in a reality show titled “Sewing Gone Wild”, then don’t do it.
Cutting The Pieces
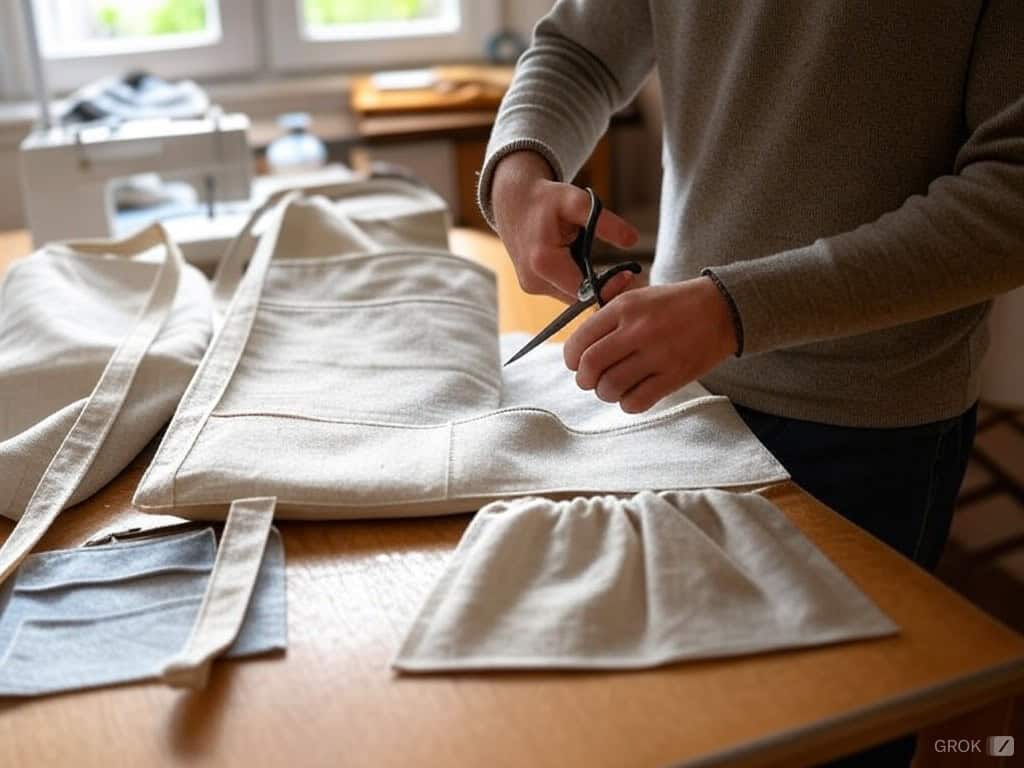
Just take a deep breath and grab your scissors as this will mark the beginning of your tote bag journey. When I cut up my first piece of fabric, my hands were shaking so much you would think I was trying to defuse a bomb. I have learned a golden rule about cutting pieces of fabric: accuracy is everything.
Cutting edges of fabric is the golden rule. If you don’t want your 14-inch chunk of fabric cut down into a mini clutch or purse then remember the phrase: “measure twice, cut once”. Before cutting, it is best to double-check the size of your fabric by using a marker, once you have checked and are satisfied proceed forward to cut.
For clean edges, it is best to use sharp scissors. If I were you, I would trust me, your sewing machine will thank you for it.
Set the Table
From my experiences, one can note that disorder and stitching are very difficult to correlate. Trust me, trying to focus on sewing in a busy sewing room is just asking for frustration. I first focus on cleaning my environment and organizing my instruments such that everything is in close reach. I put the pieces of fabric in the order I want to assemble them, grab my scissors, and put them close to me as well as my iron.
Here’s something I’ve picked up on, a piece of advice: good light is a must. I’ve sewn in the dark before, and attempting to stare through my threads as I sew is not a good time. Spare yourself the trouble and set yourself in a brightly lit place, it makes everything easier.
5. How I Approach Tote Bag Design
In my view, the beauty of tote bags lies in their practicality, wide usefulness, and unique design characteristics. For the most part, tote bag construction is pretty straightforward; however, some aspects require some level of attention.
The typical shape of a tote bag is rectangular and possesses two straps or handles. One of the materials I like to use for the body is canvas, cotton, or denim. In some of my earlier works, I used leather for the straps as well, trying to create a more luxurious appearance. It all depends on the materials that best fit the particular event I am decorating for.
The first question I always ask myself is: What do I need to add to it? After all, there is no point in choosing a small tote bag if the intention is to do some grocery shopping. Depending on a few factors that I will carry in the bag, I will decide on the size.
My go-to designs of tote bags tend to be rectangular or square and while those two remain favorites, sometimes I will get the urge to try a more rounded or curved design.
Other details that I tend to consider a lot are closures. Depending on the use, I might just go for a fold-over. However, for added security, a zipper or magnetic snap is a surefire way to add extra security. These details may seem small but they greatly impact the entire design scheme and give it character.
In conclusion, I do not mind adding some finishing touches such as extra straps decorative stitching, or pockets. Not only do they add a personal touch to the bag but also increase the functional aspect. Designing a tote is such a fun activity for me as it combines the best of both worlds creativity and usefulness.
6. My Approach to Designing and Creating Pockets
Making the Pocket
I cut two squares of fabric measuring 8” by 8”, I made sure this time to press the edges. I fold the top by a quarter of an inch followed by another fold that measures half an inch and I grab my sewing machine and tack it down. The additional three edges of the other sides get a simple one-quarter of an inch turn and press in order to have clean edges. This helps in making certain that the pocket is presentable and that it is made professionally.
Attaching the Pocket
I attach a pocket to the inside of the uploaded tote approximately 3 inches below the edge of the top part and then I sew the sides as well as the bottom of the pocket together. To tailor the sides of the bottom and to keep the top corners from ripping out, I use “X” stitching which is reinforcement that I learned from my first pocket that did not withstand the strong shove of a book! It is an additional step but it increases strength and durability significantly.
7. Assembling My Tote: Making the Straps
Measuring and Cutting the Straps
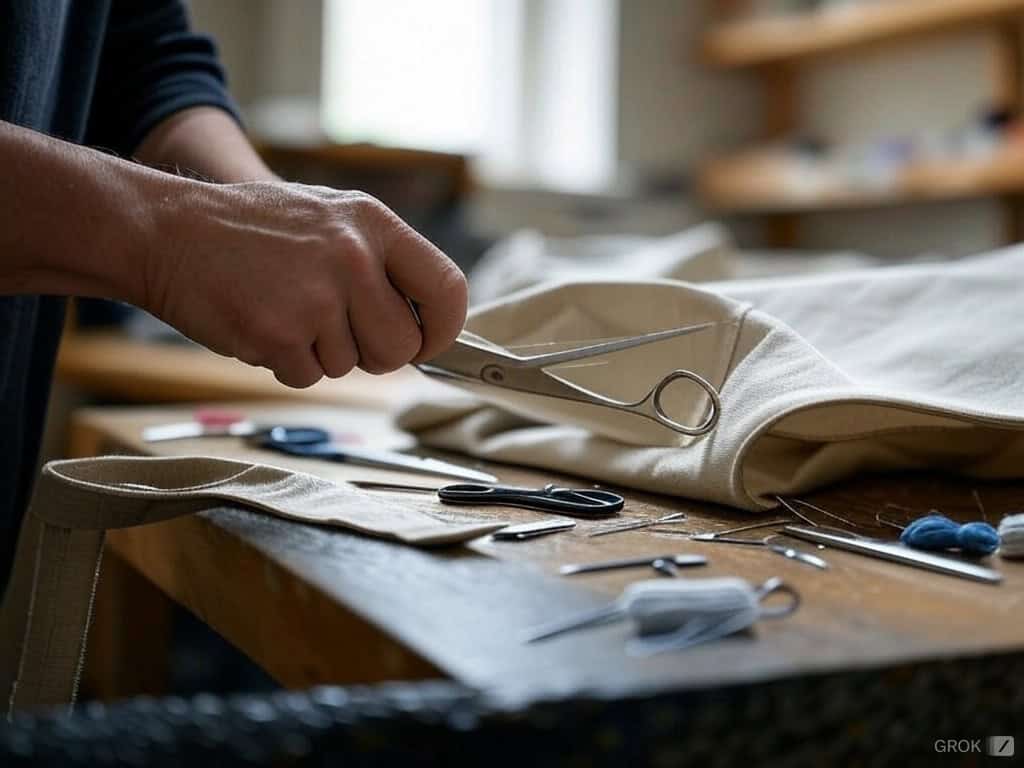
To get started, I begin by making two straps, to do so, I grab two fabric cutouts, each measuring 4” by 22”. They need to be tight, neat, and free of any torn spots or corners for an impressive finished product. After the straps are done, the tote is almost done, it’s as if it all starts falling in place.
Joining the Straps
I then grab each strap and fold it in half along its length, create a crease with an iron, fold all the edges to the center, iron again, and fold it double. A topstitch 1/8” from everyone’s edge makes the strap presentation smooth while at the same time reinforcing the straps. There’s nothing worse than flimsy straps and trust me flimsy straps are no fun; my first try at this resembled overcooked spaghetti! Pins and ironing are powerful tools, don’t sleep on their importance.
Attaching the Straps
I attach the straps to the body of the bag with pins, placing them three inches from each side while keeping 1.5 inches from the top. I reinforced it by sewing a rectangle with an X shape stitched inside it. For me, this step has been worth the effort; I have carried a watermelon in my tote without worrying, and this step is the reason why.
8. How I Approach Crafting the Main Body
Aligning and Pinning
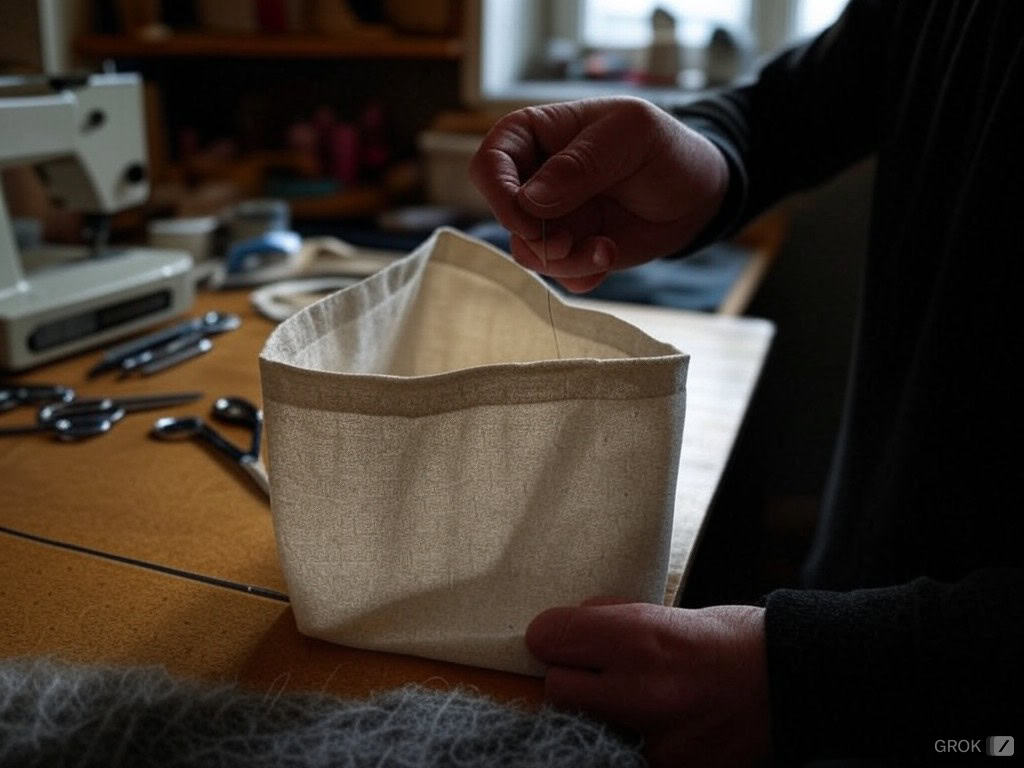
To begin, I take the two pieces for the main body and position them with the right sides facing each other. Now, I switch to the edges and begin pinning, but before that, I leave the upper part open. At this stage, I examine how else the bag can be improved and how else it can take maximum capacity.
Sewing the Seams
Next, I move to the sewing phase with calculated stitches to ensure strength, I reinforce stitching the sewn segment at both the starting and endpoint. Then I grab a straight needle and blanket stitch the edges meticulously, making sure I observe half an inch of seam tail indentation. After the sewing part is accomplished, I flip the bag inside out and iron the seams so that they all look even.
Strengthening Stress Points
Scraps of fabric that could weaken the seams go erect corners, and a stitch there would be a must too. It’s not one of those bags that solely run errands; it’s the bag that I don’t want to lose during a ‘surprise’ incident! It has to survive the stress!
9. Adding My Finishing Touches to Make It Shine
Top Stitching
As I reach the upper edge of my bag, I usually want to add some neatness by incorporating a top stitch. On the other hand, some people set the stitch to quite a long one and disregard dimensional stability. The somewhat crooked topstitching will attempt to appear as flannel, but in my opinion, it more closely resembles those who wear odd socks; cute but not deliberate some of the time.
Embellishments
This one is all about me diving in full force. A drawstring neck closure that is nice and tidy may be added, or I will applique or fabric paint.`Once, I decorated a bag with a stick-figure family’ -one of the dumbest ideas for bags I have made, but nice, after all, it’s my handbag! I’ve also found that adding simple accessories, like sewing headbands to match, can completely elevate an outfit into a fashion statement.
10. Troubleshooting the Common Mistakes I Encounter
Even as an experienced sewer, I still encounter hiccups along the way. Rather, I tell myself to stay calm and take it as a normal practice of progression whenever I come across obstacles. Let me share some common mistakes I’ve made and the tips I use to troubleshoot them:
First and foremost, I never forget to read the pattern instructions in full detail before commencing with the work. This would eventually minimize the chances of disillusionment as a result of misunderstanding or ignorance of some of the subsections of the work.
I’ve come to understand that measurement being exact is the key. When working on a piece of fabric I make a point to measure it a couple of times to avoid making any cuts. “Measure Twice, Cut Once” is what I live by in carpentry as it stops me from creating too small or large parts more times than I can count.
Another issue I have run into concerns the sewing of the pieces of fabric in the wrong order. Now and again, I closely knit the stitches together as per the pattern and keep checking their positioning before stitching them. Should I make an error, I no longer lose my cool as I tend to do. Instead, I find the piece making the error instructive assist in measuring my pair or identifying the phenomena much of an ardent seamstress for inspiration.
I consider mistakes as valuable learning experiences. I view them as opportunities to better my skill set. With each project, I’ve noticed myself advancing in skill and confidence– and you will as well.
11. How I Take Care of and Maintain My Work
To keep my tote bag sharp and always ready for the trip, I take care of it in the way that I have learned over time:
Canvas/Denim: I put it into the machine with cold water and let it dry off by itself.
Cotton: I put it on a gentle wash and let it dry on low heat.
Linen: It’s hand-washed and then laid flat to dry.
If possible, I will keep my bag in a flat position– if not I will suspend it. I do not keep it all squashed in a confined space. And if a strap is not properly distanced I properly stitch it back on– by the way this is part of my responsibilities as a sewer!
My Journey to Creating the Perfect Tote Bag
And that’s how you get a tote bag that is versatile, good-looking, and 100% designed by you. I felt like I was climbing Mount Everest for the first time, or at the very least a hill. There is a sense of achievement in doing it, and this feeling cannot be felt anywhere else. It doesn’t matter if you are a novice or a professional, the feeling of doing a handcrafted one is incomparable. Now, show off your creation and if everyone wants one, make one more!


